So excited to be finally sharing my kitchen over on Heather‘s “Room Made Lovely“!
I’ve had so many requests so I was glad when Heather asked me to give a tour for her series because it made me set a deadline. :)
Share some love over on her adorable space Life Made Lovely.
You will find great inspiration there!
*update* I added the full post below but don’t let that keep you from checking out Heather’s lovely space.
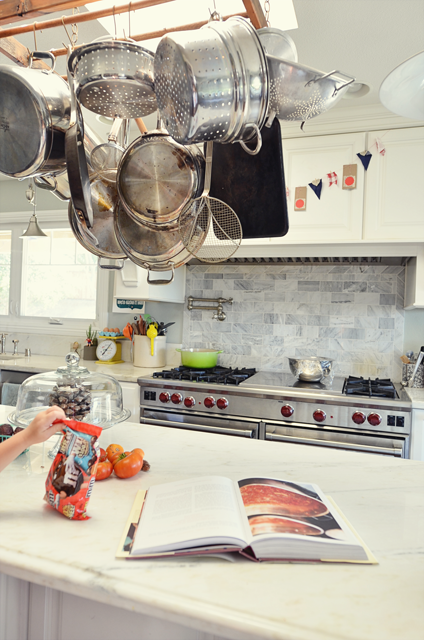
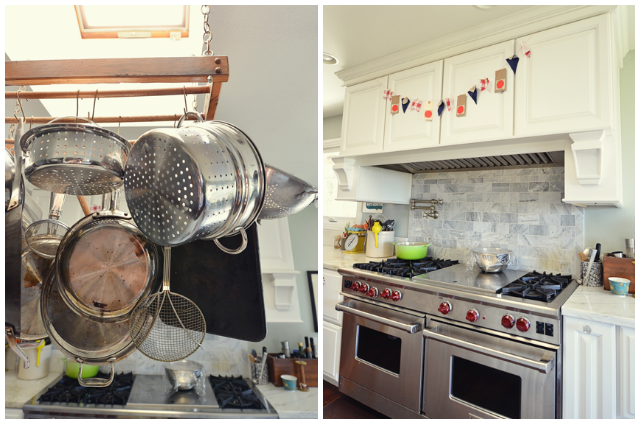
We have lived in our house for 4 years and have been gradually changing it from not cool 1975 colors, to a fresh and clean look. We remodeled our kitchen a few years ago and I feel so blessed to be able to design it the way I wanted it. We definitely splurged on a few things but I do cook almost every meal we eat in this space so it’s a little more justified, right? That’s what I tell myself, anyway. I wanted open shelving for easy access to my most used items and to give the space a more open feel. I also chose most of my lower cupboards to be mostly deep drawers instead of doors. I love being able to find things better than reaching back into the dark corners of a cupboard. I also was able to get the oven of my dreams: the double WOLF oven. So thankful for this piece. I use both ovens almost every day. The top of the range also has a french top which is perfect for canning things like strawberry jam in my HUGE pressure cooker. I highly recommend this range!
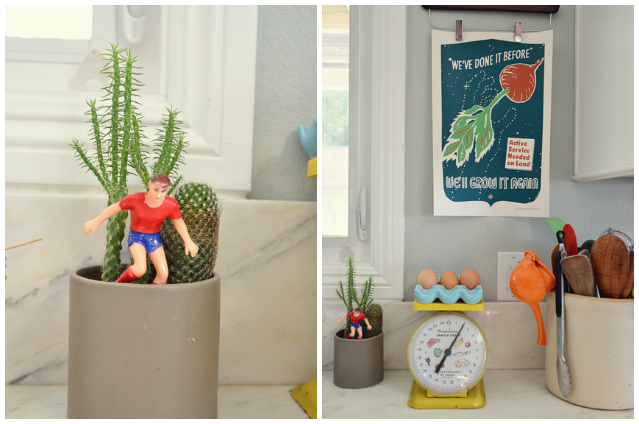
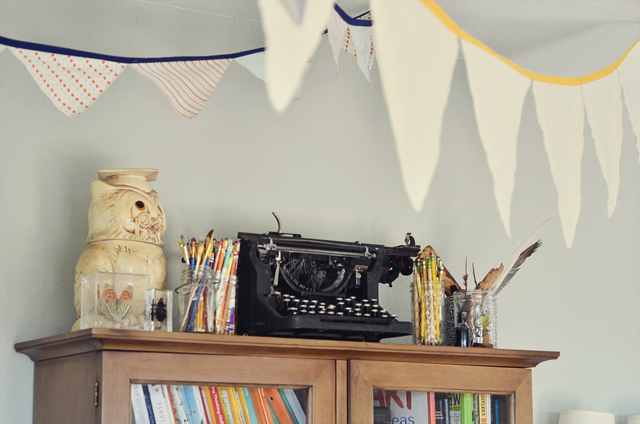
I have been collecting fun vintage things for as long as I can remember. My mom taught me a lot about finding good deals. Whenever my husband is out-of-town, we still love to go estate sale shopping together on a Friday or Saturday. I like a mix of handcrafted things and old-time-y, sweet things that carry stories and reflect upon a time that is no more. My most favorite items have memories or family attached to them somehow. I use my grandpa’s old clay pot for my utensil storage. The owl seen in my school area pictures below is one of his creations, along with his brother, for their company, Twin Winton. I was never able to meet him so these items are very special to me.

A few things and where they came from:
- If you are a fan of Liberty of London, you probably notice that it’s all over my kitchen. I went a little crazy when they finally released their prints through Target. It was a line to remember, for sure!
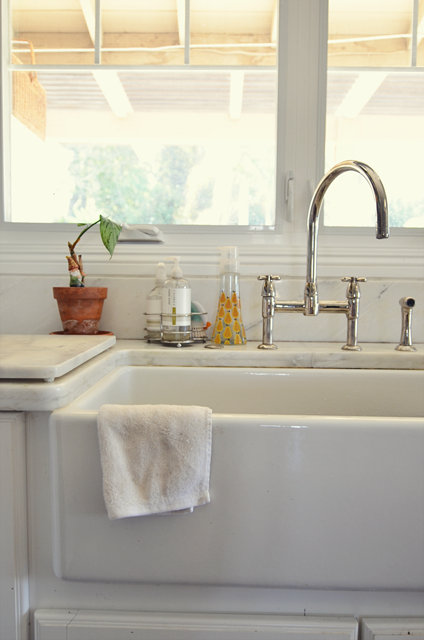
- My sink is another favorite. I was so excited to get the deep sink so it can
hide hold many dishes. (Shaws Sink)
- My pot rack came from Ebay. I bought it from a sweet older couple who took salvaged barn pieces and made them into lovely things like pot racks (couldn’t find it online).
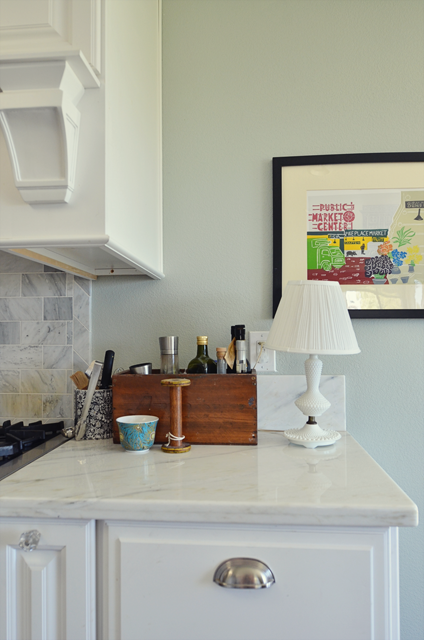
- Block prints from Pike’s Place Market and Victory Garden of Tomorrow
- My favorite soap product, Caldrea, is always found next to my sink.
- My most used pans are Le Creuset and All Clad Copper Core
- Most used olive oil and balsamic vinegar come from St Helena Olive Oil Company
- old spool for kitchen twine
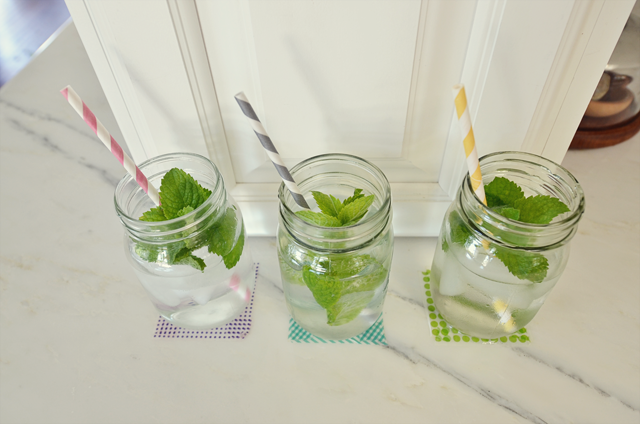
- kids drink area marked with washi tape. They keep their cup on their color :).
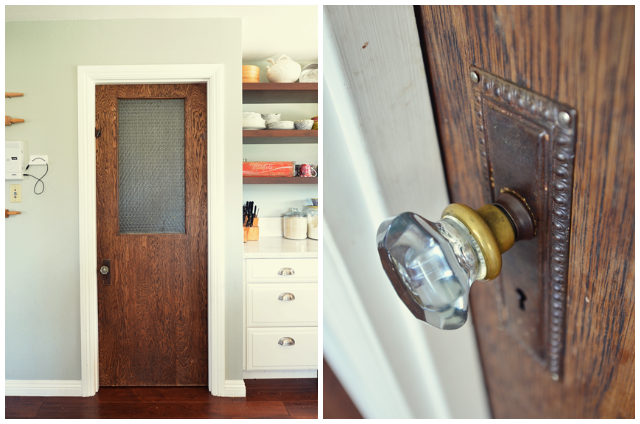
- I re-finished an old door for my pantry door. I kinda love it a lot, especially the handle.
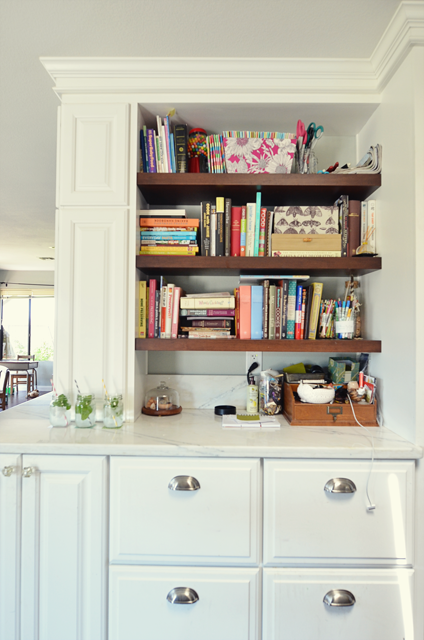
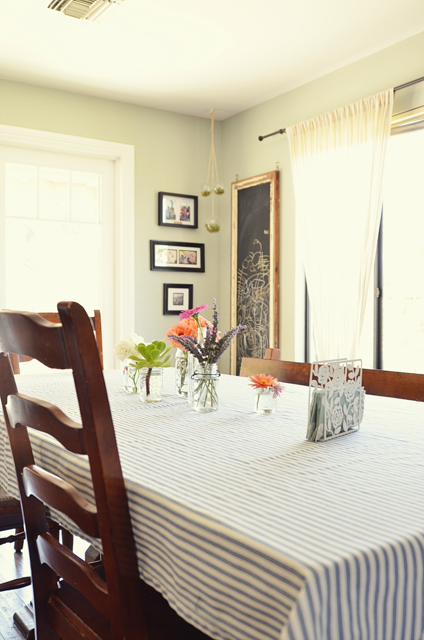
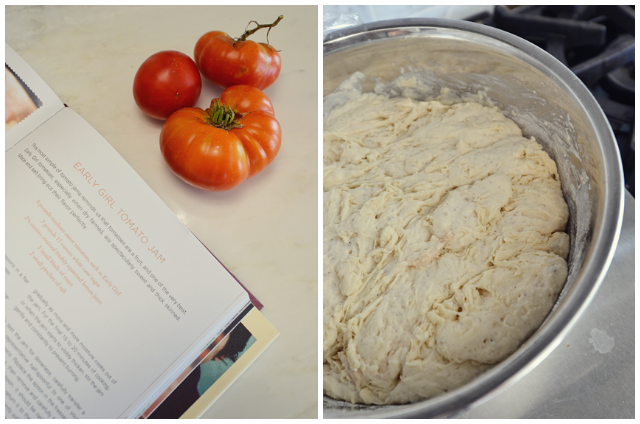
When I think of my home, I think of comfortable. I have always wanted my home to be a place where many gathered. I like people to feel comfortable, loved, and for their hunger to be satisfied. Some favorite foods of my guests have been Shepherd’s Pie with Guinness, Oatmeal with Browned Butter, Cheese-its, and the always popular, Monkey Bread! Food definitely brings people together and I am so happy this happens on a regular basis in my home. I know cooking can be intimidating, but don’t let it stop you from inviting people over!
You won’t regret that time, even with all of the hours of cleaning it may bring.
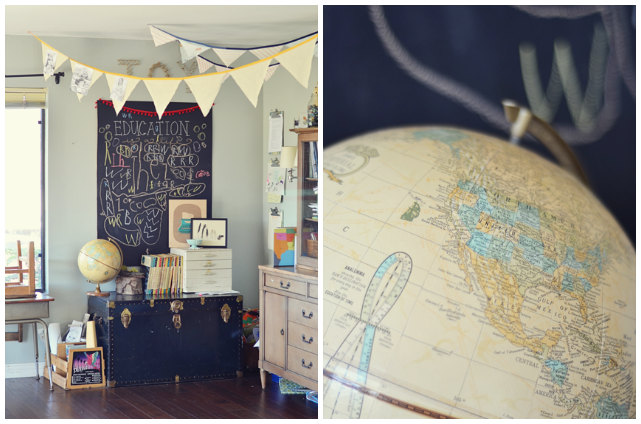
Now, for the school area across from the dining room.
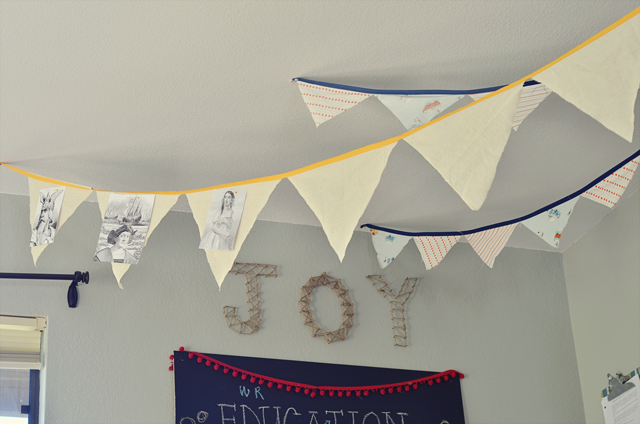
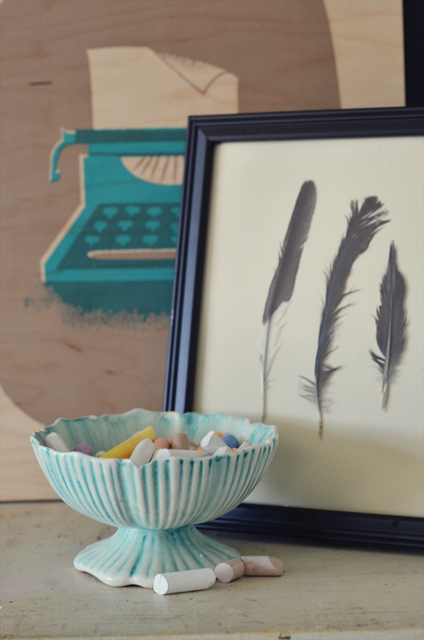
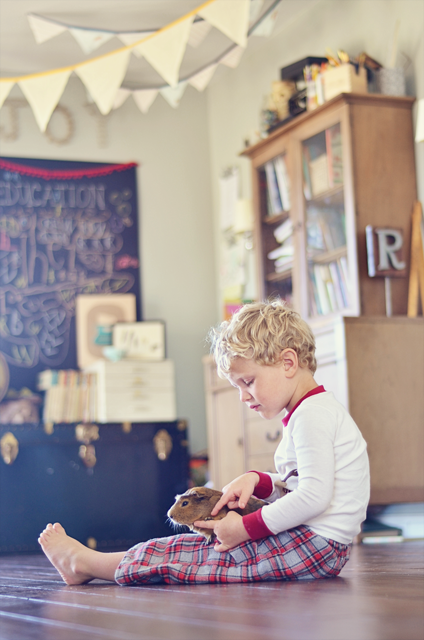
We have this random space that has become our school area. The room isn’t its own distinct space, but more of a walk-through area between our dining room and side patio area. It was too far to walk from the kitchen to put the table there so it sat empty for a while. Last fall, I started homeschooling and became thankful for this random space. We have filled it with our nature hike finds, our maps, and our favorite vintage encyclopedia set that we use ALL the time. The banner serves as our history timeline which has worked out really well. I’m not a fan of plastering my wall with random papers.
I’d love to keep this party going! Come find me on my blog, A Golden Afternoon or Instagram:
I’m @agoldenafternoon.
Aren’t you guys just loving fall?!
spice
chill
snuggling
baking
leaves
cider
friends
The weather stays pretty mild here, but we try to soak fall in whenever we can. Sometimes we just pretend it’s cold and bake something anyway.
For the holidays, I would be lying if I said I like to keep it easy. I do however like to find ways to make the process easier. I’m learning. One way to keep things simple is to make the cranberry sauce ahead of time. I usually make 2 kinds, this one and a canned remake you can find here…tin can mold and all!
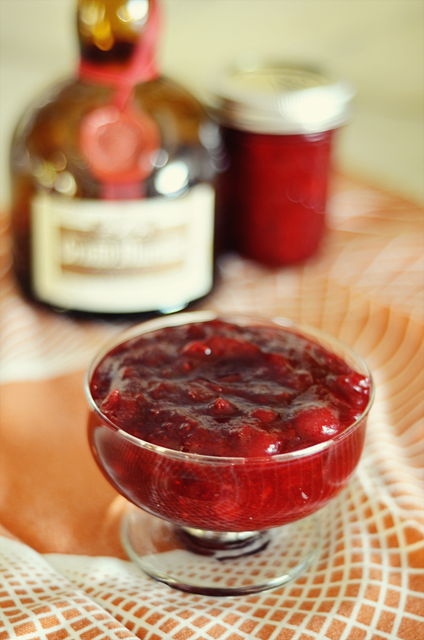
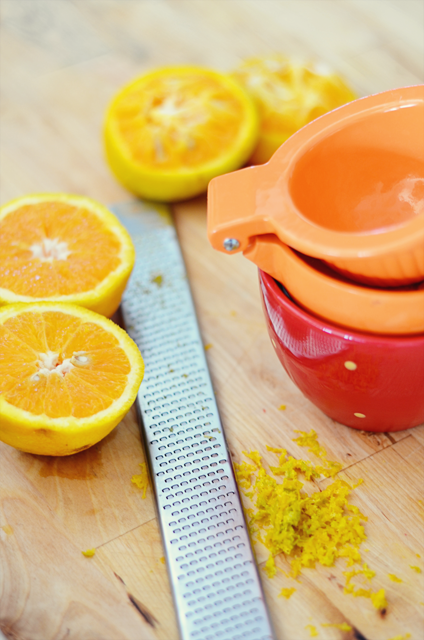
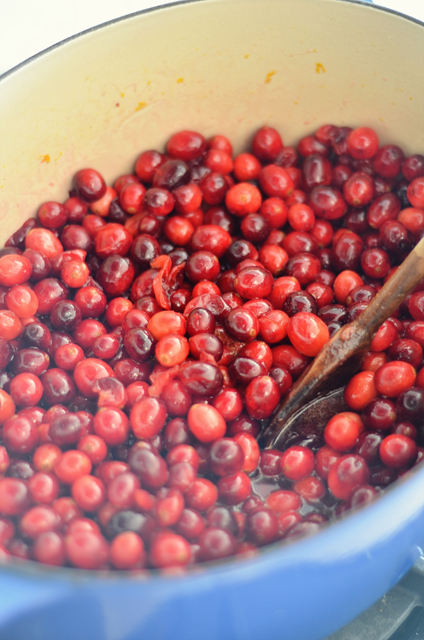
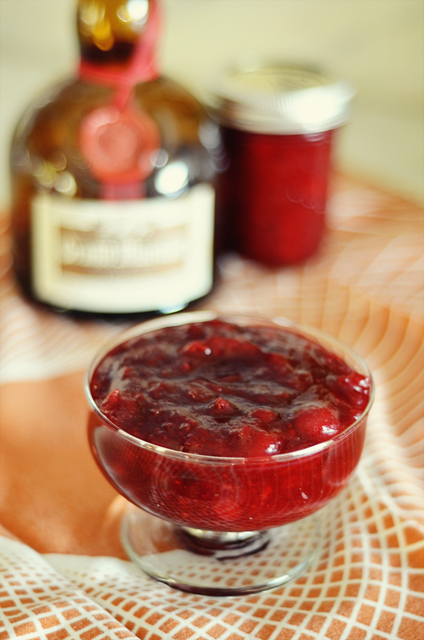
The orange zest and Grand Marnier in this cranberry sauce are a bright and fresh addition to any holiday table. This recipe makes plenty to share. If you are just a few this year, cut the recipe in half, share with a random neighbor down the street, or follow the instructions for canning it!
Fresh Cranberry Sauce with Grand Marnier
2 12 oz. packages of cranberries
2 cups of sugar, add more if desired really sweet
zest from 1 orange
juice from 2 oranges
4 Tablespoons Grand Marnier
few dashes of cinnamon
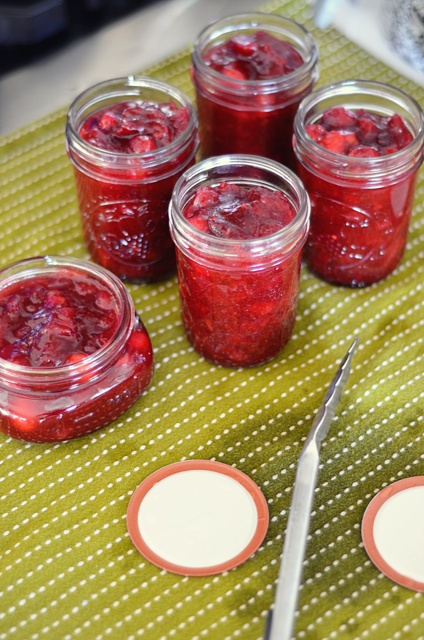
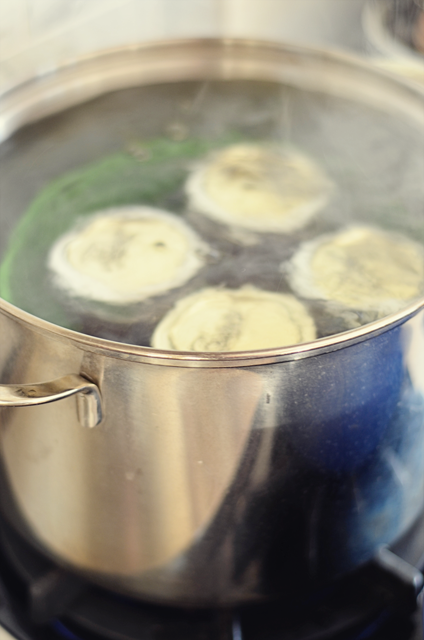
Boil a large pot of water, 3/4 full (only if canning the sauce). In a second large pot, combine all ingredients. Over medium heat, simmer the mixture until the cranberries have burst or until it has thickened. If not canning, refrigerate up to 3 days before you would like to serve it. If canning, sterilize the jars and lids, then immediately add the hot cranberry sauce to the jars, leaving 1/4 of headspace/room on top. Wipe the rims with a clean cloth to prevent the lids from sticking and to encourage a proper seal Process/boil with 1 inch of water covering them for 5 minutes, remove, and cool for 24 hours before moving.
If you can this sauce, you can easily travel with it to parties or give as hostess gifts. I did this last year and it saved me a lot of time. You could even check it in your luggage as a way to bring some homemade to wherever you are traveling this holiday season!
Either way, it’s a wonderful handmade gift!
Add a lovely label from Heather’s new Paperie Shop for a perfect finishing touch!
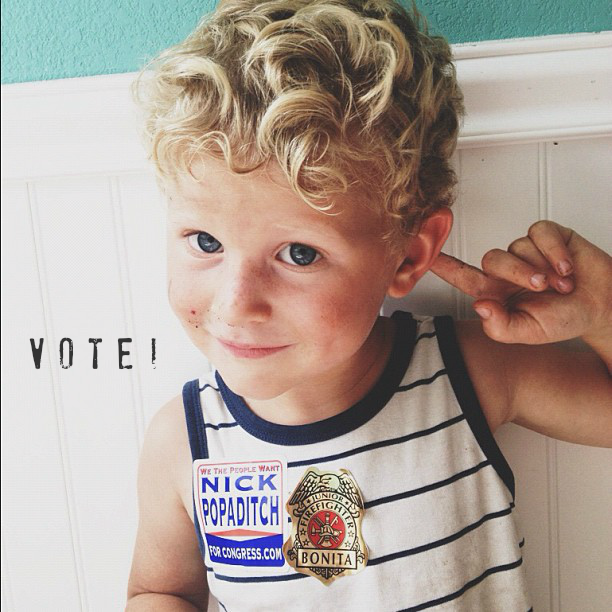
Anyone else have that song from Mary Poppins in your head around election time?
Yes!
We can vote!
Don’t waste it!
I know everything can seem confusing, but one thing stands true. You need to vote. My husband had some great words on why here. There are so many things that can happen tomorrow. There are few things that could make you too busy to show up to the polls. My friend comes to mind. Her son is in the hospital. She might not make it to the polls, but YOU can!!
More important than president could possibly be your congressman. To me, this person is my voice and my representative. He will sign papers and make decisions in my name. I need to know that he will make the best choices for me and my family. The best decisions for my area of San Diego.
If you live in District 53 of San Diego, vote Nick Popaditch to be your local representative!!
Who is your local congressional representative? Check it out before you vote!
I will be voting for:
lower taxes
a lower water bill
my ability to care for those in need with my own money instead of allowing the government to do it
the consistution to be respected as it was meant to be
V O T E !
For a great resource for teacher kids the process of voting and why we do it, go to Kids Voting USA for great activities and explanations for those little ones.
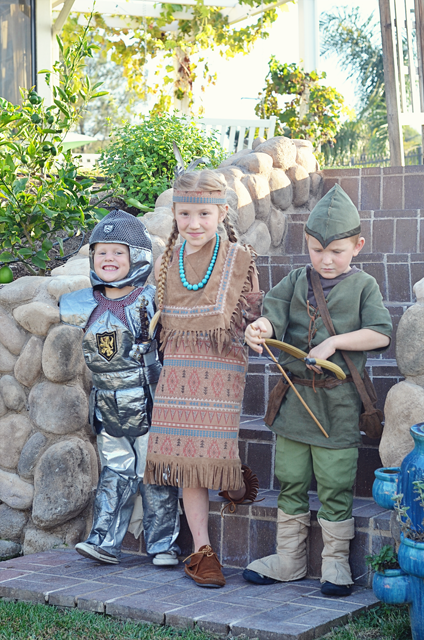
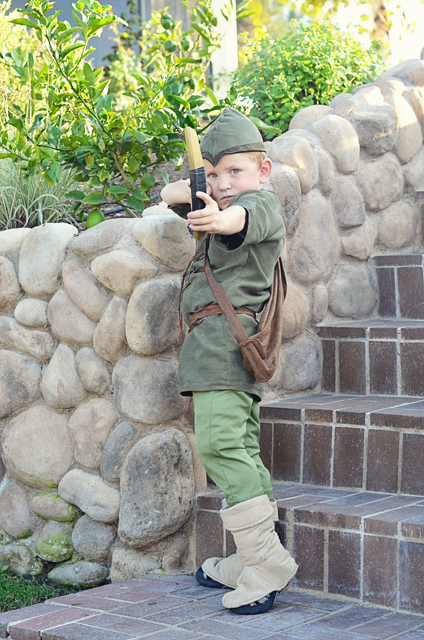
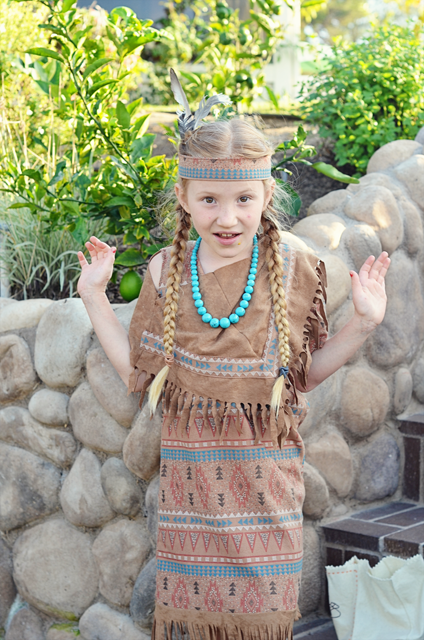
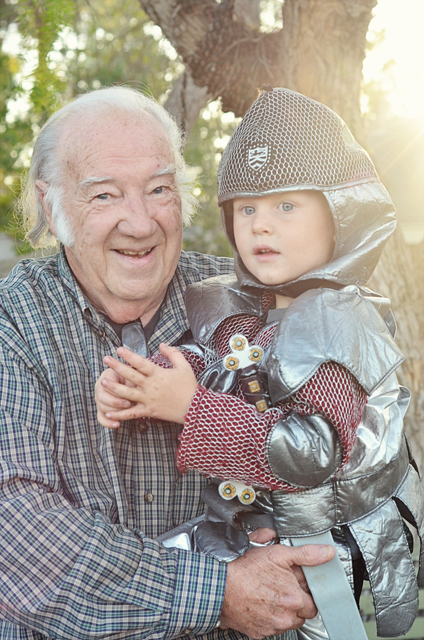
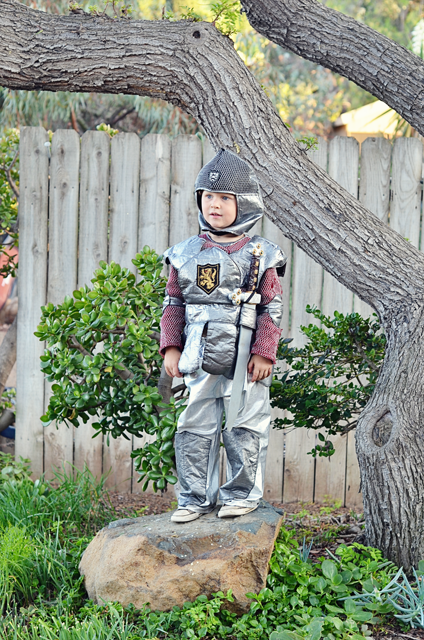
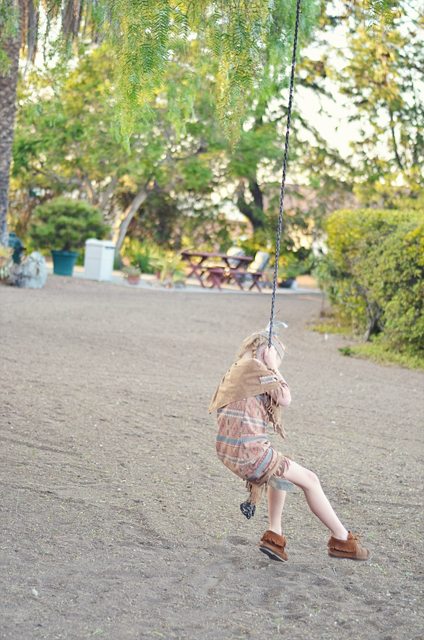
So, here they are: the 2012 costumes.
Another Halloween came and went and so did my birthday right with it. More on holiday birthdays another time.
Just to compare, here are last years pictures. It’s amazing how their personalities are pretty much the same. No big changes in that department. Except this year, Faith has personality with no bangs.
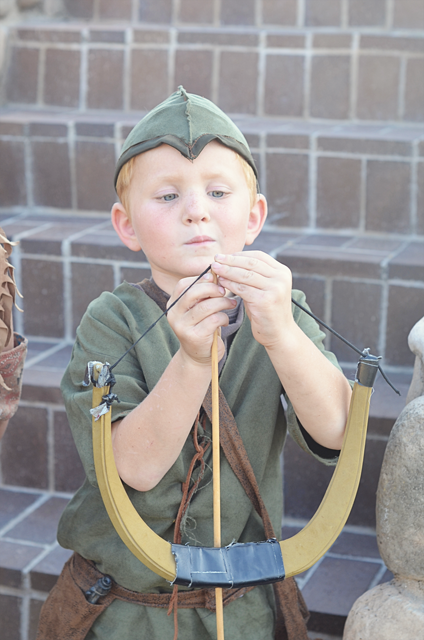
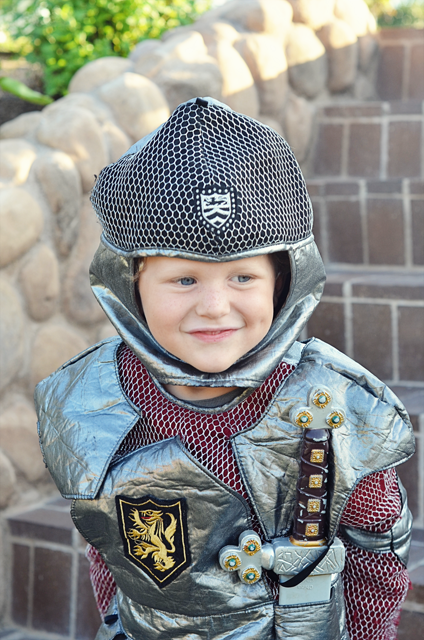
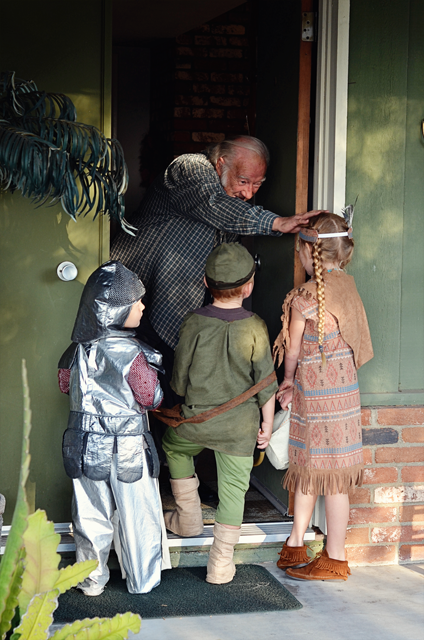
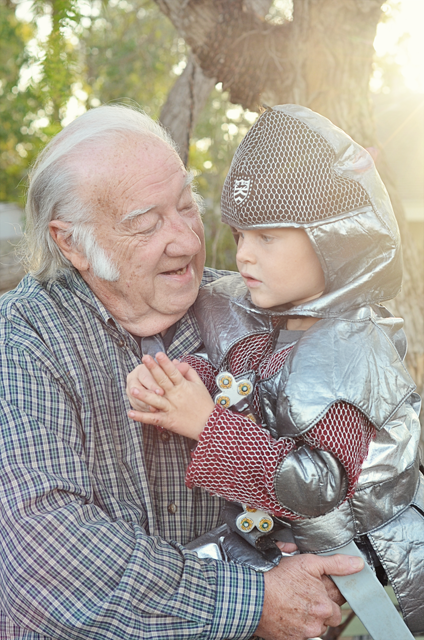
Faith knew right away she wanted to be Pocahontas. Hers was a lot of fun to make because it had fringe. So much fun to cut! Dean knew 6 months ago he wanted to be a knight like his brother was last year. He actually stuck with the idea which is quite amazing for a 4-year-old. Jack took a little time to decide but finally landed on Robin Hood. We are reading the legit book for our school reading so it was on his mind. Plus, I told him he could carry his “bone and arrow”, as he calls it.
We have lived in our house 4 years and every year we go to neighbor’s house behind us. The first year we went trick or treating around here, people told us they hadn’t seen a kid trick-or-treating for 10 or 15 years. Not very many kids around here at all. Craziness. In any case, our neighbors are so sweet to us when we come. They have almost a little party for us with ice cream, candy, and even gifts at the end for the kids. Isn’t that sweet?
After, we went over to some friend’s house for a party and to trick or treat where there are more kids. I don’t have any pictures of that because of the always awesome time of year when the sun is shy and leaves early. We had a lovely time visiting with many new friends.
You can see a few more on my Instagram:
@agoldenafternoon


If you are new to this space and have enjoyed your time, stick around and find me on:
F a c e b o o k // T w i t t e r // P i n t e r e s t // I n s t a g r a m // E m a i l
How many of you like pumpkins? Yeah, me too.
Carving them? Some of you? Not my thing.
Do you like messes? Yeah, I don’t either.
Do you like to do fall decorating projects with your kids? Totally!
That’s why you’re reading this, right?
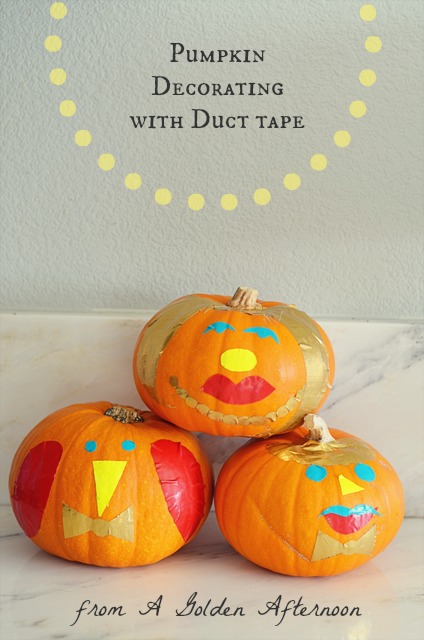
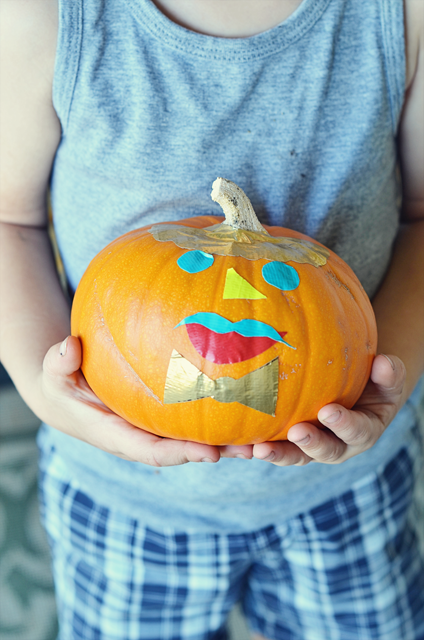
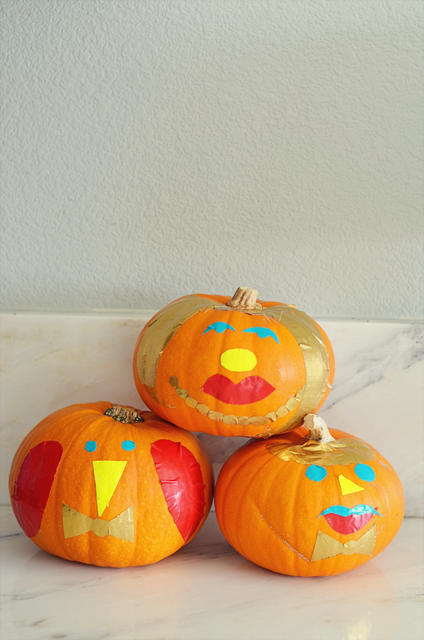
So, basically I created this project to be a fall activity, to do with your kids, which is not messy, still involving a pumpkin (although it is not being carved), and can still be used as a decoration.
***SPECIAL BONUS: YOU CAN STILL EAT THE PUMPKINS AFTER! YAY!***
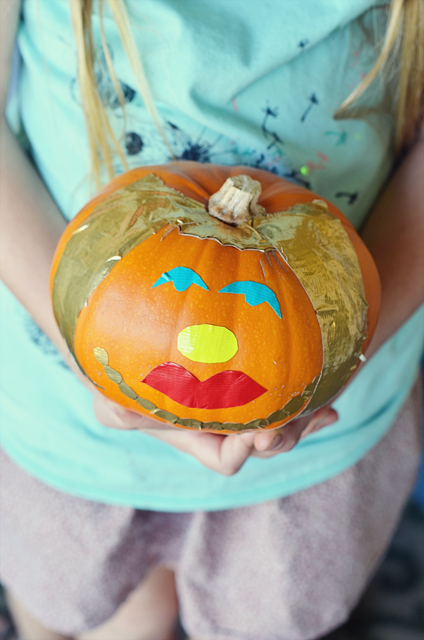
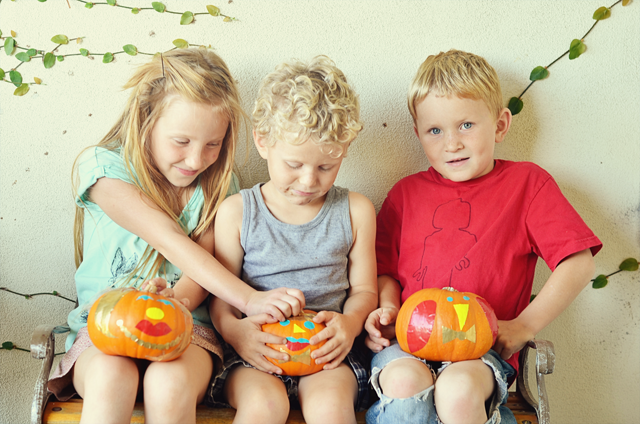
To start, become familiar with what will be your new friend….DUCT TAPE. We all love it and use it regularly. I recently repaired my central vac hose with it, “fixed” the bottom of my computer so it wouldn’t fall off, and put board game boxes back together with it. It is an amazing invention and I am so very grateful to Johnson & Johnson for creating cloth backed tape in WWII days (yes, I totally googled that).
The brand Duck has since turn this remarkable product into something beautiful as well. There are so many designs and colors to pick from so run out and grab some so you can start some projects, including these pumpkins. While you are on their site, check out the amazing contest they are having right now. You could design the next Duct Tape!
No-Carve pumpkin decorating with Duct tape:
I based my designs on a template I printed from Merrilee over at the always lovely Mer Mag blog (best wishes with the new bebe!). She has a post on creating felt pumpkins with interchangeable faces and pieces. You can find her template here, which can be used as a starting point for this project and you can also use to make her felt pumpkins.
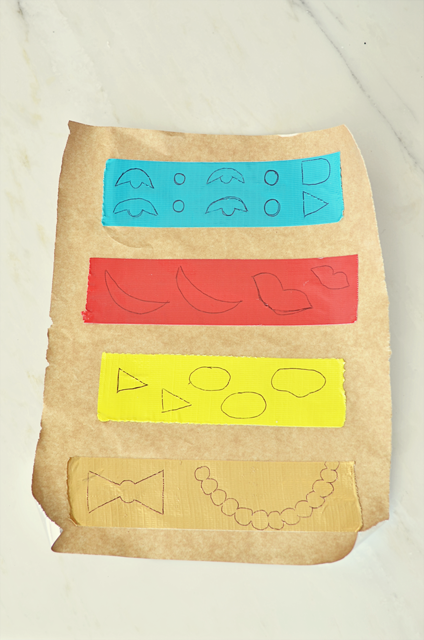
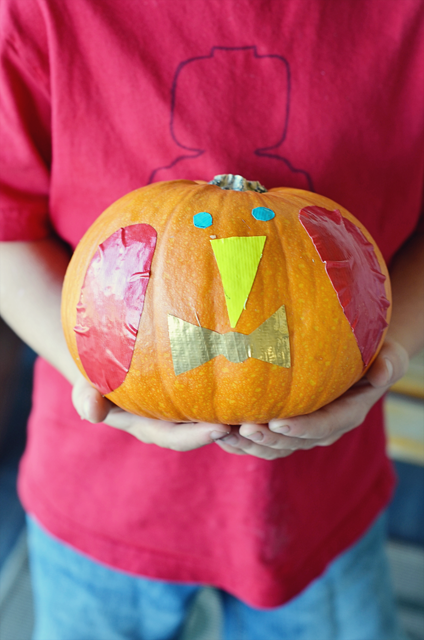
I placed strips of duct tape on parchment paper so they would be easier to cut. I just learned you can also buy duct tape sheets which would save this step. Then, I drew the shapes from the template plus my own. You could also cut out the template pieces and then place them on top of the tape so you can trace them if that’s easier. I added a few bird pieces (for Jack who requested it), a pearl necklace, some girl hair, a mustache, and some curly hair for Dean (also, by request). Cut the shapes out and remove the parchment paper backing.
The faces are very easy to take off and move around as you please!
If you are new to this space and have enjoyed your time, stick around and find me on:
F a c e b o o k // T w i t t e r // P i n t e r e s t // I n s t a g r a m // E m a i l
|
|


