Freckle Sandwiches

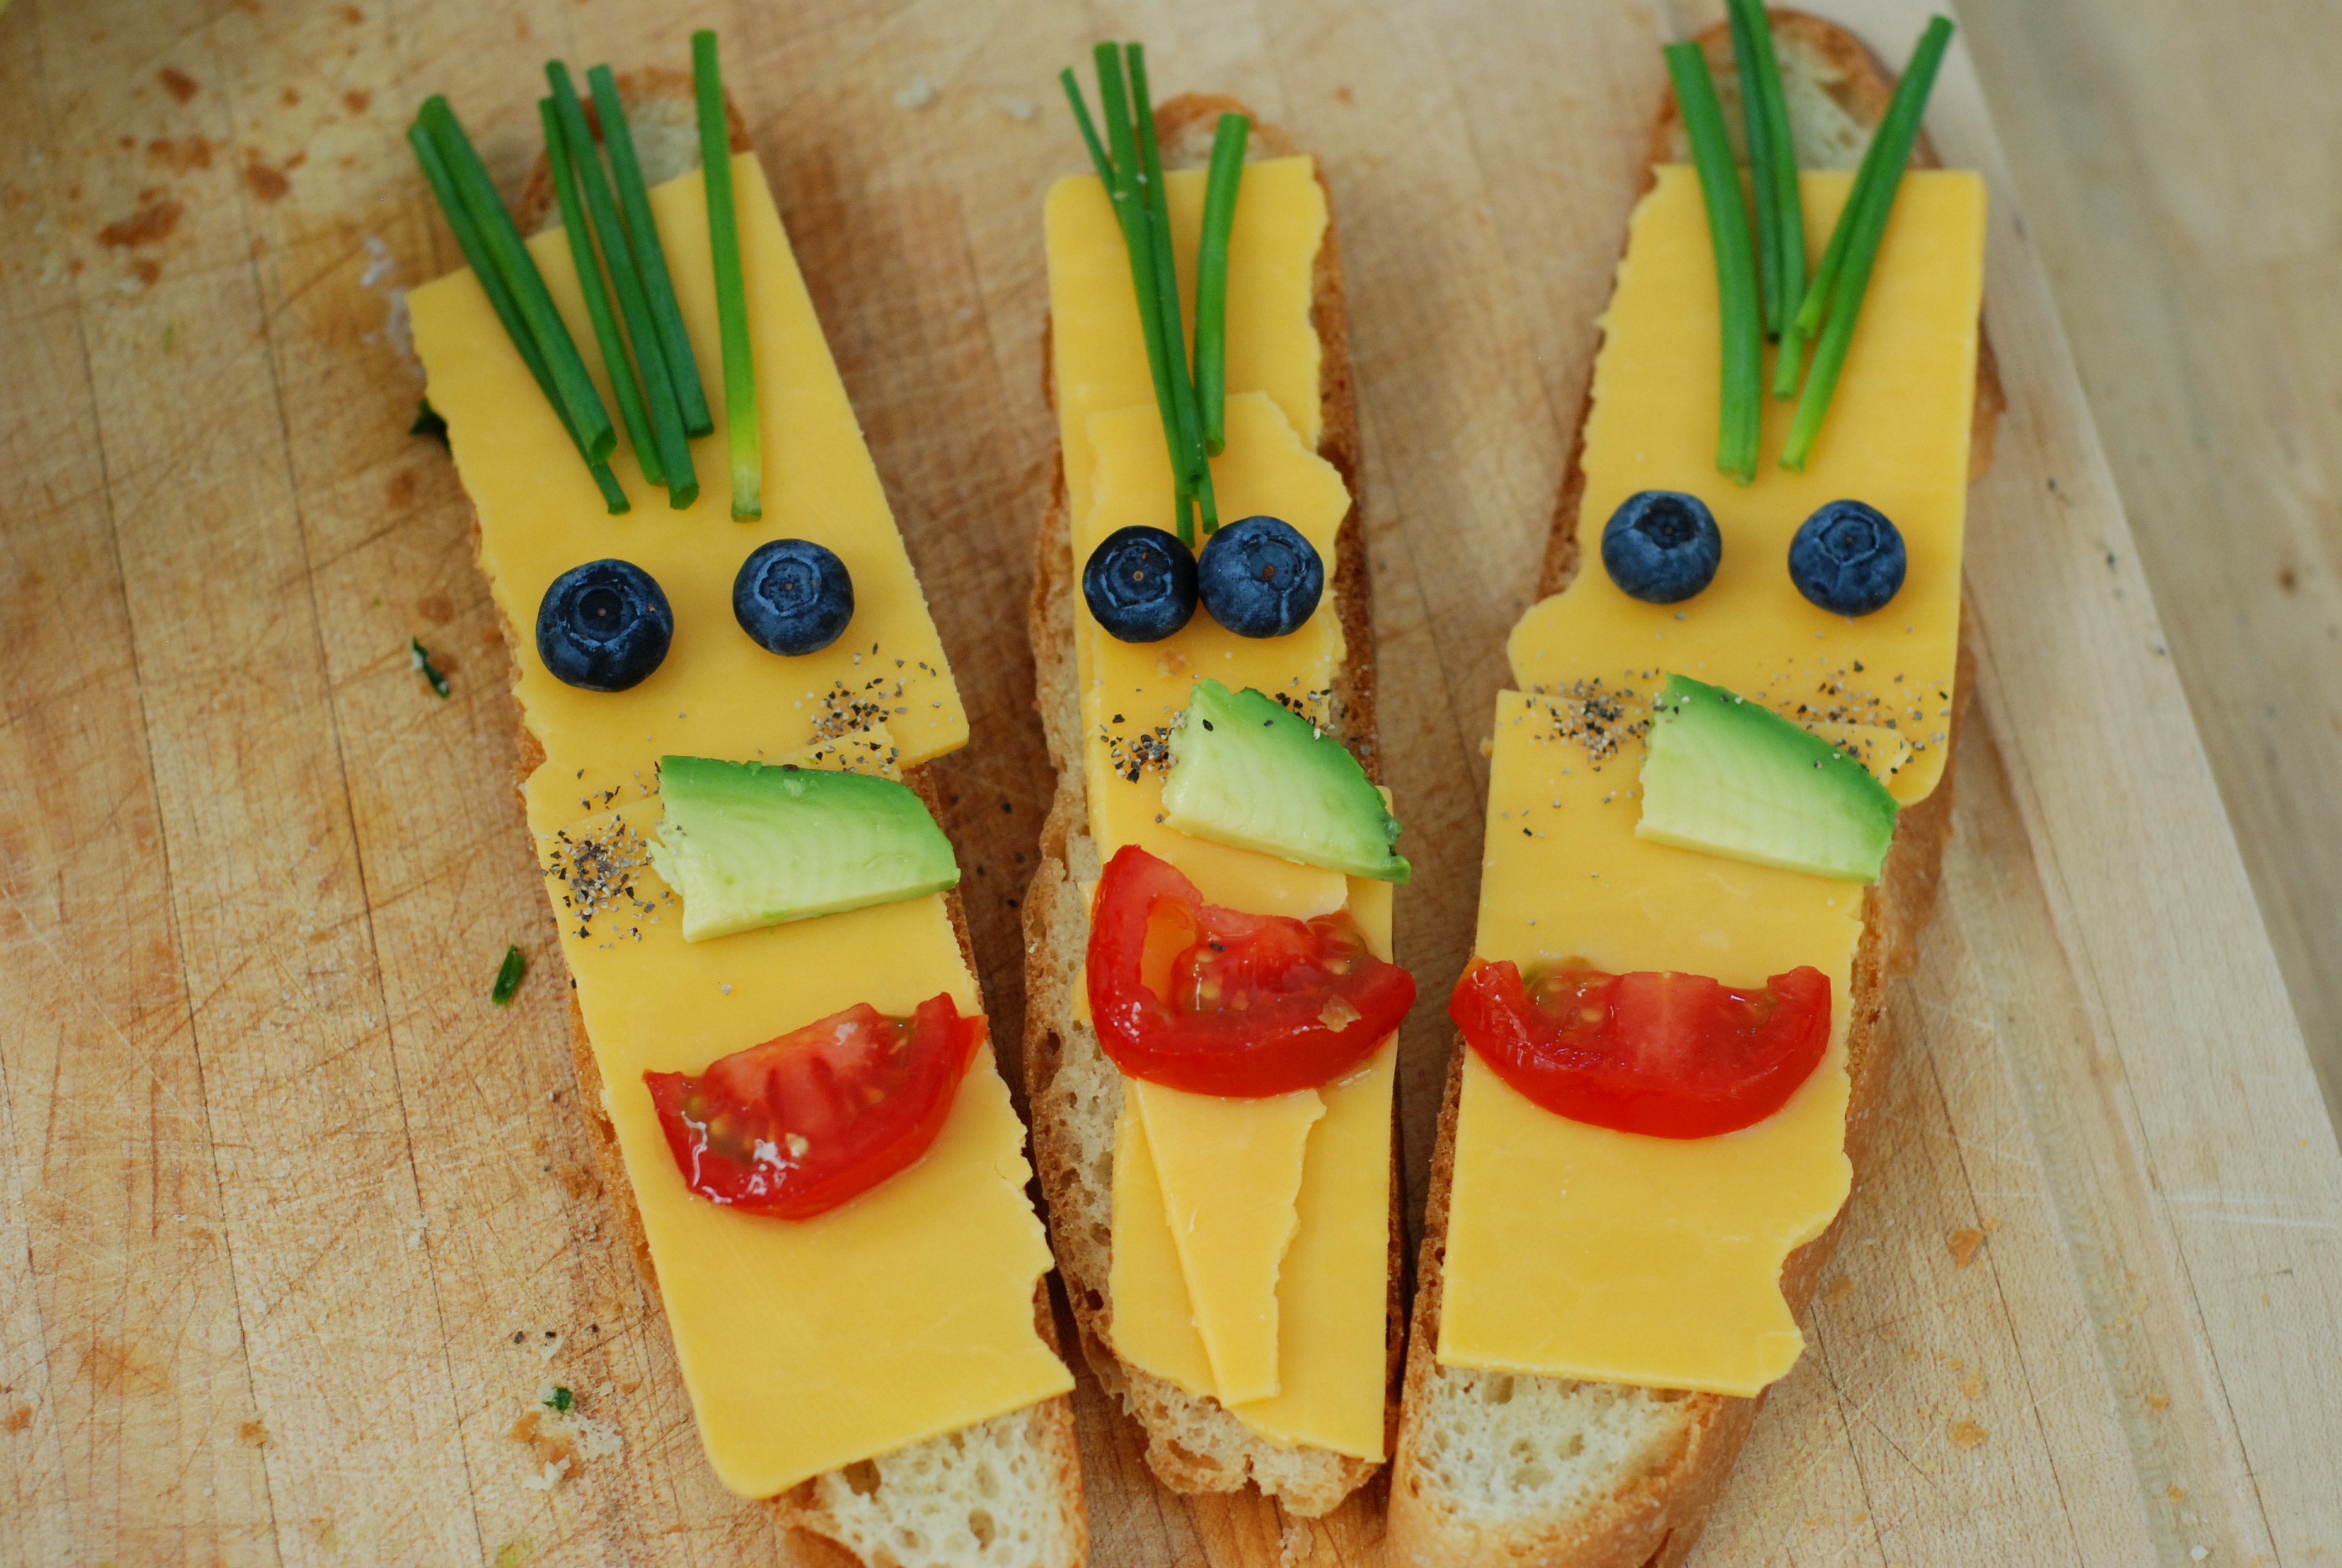
My kids as sandwiches…including freckles. My husband called these “Easter Island” sandwich heads.

Here is one way to ensure lunch is gobbled up.  I’ve seen so many wonderful photos of  Japanese lunches lately.  Their food is made with such care it’s so contagious!  I don’t know if a Japanese mom makes them that way every day, but either way they are pretty amazing to look at and certainly inspiring.  Bento boxes are getting pretty popular again and I hope the fresh food comes with it.

Yes, I am aware blueberries are out of place in this sandwich, but what’s a mom to do when you have no olives to slice and you are in need of sandwich eyeballs?  I rest my case. Blueberries it is.

I have found that kids will eat the very same foods they pretend to dislike in completely different forms (even though we still have them eat them with a smiling face and excitement to grow big and strong).

Example:  Turkey Sandwich with cheese and tomato

Turn into: sliced cheese, pieces of sliced turkey, tomatoes and whole wheat crackers arranged on a plate for them to create with.

Turn into: cheese quesadillas with turkey, diced tomatoes (add some chives for color and dash of vitamin K).

Turn into: cracker pizzas with a cracker as a base.  Add turkey, cheese, a slice of tomato.  Microwave or melt ingredients until just softened and add some fresh chopped basil (note: adding it before microwaving will result in ugly brown basil. blech).

Turn into: snail wraps which are all the above common ingredients in a tortilla wrap.  You slice the wrap once rolled and add a cornichon (read small) pickle  for the snail head. Put the roll on its side and attach the pickle to it with a toothpick.

Prepare to go ‘awww’.

Turn into: panini it or make a  grilled cheese with it!  Kids LOVE melt-y cheese.

The food is basically the same regardless of the composition and kids love to have a litte bit of control so why does it matter how it gets inside? Right?

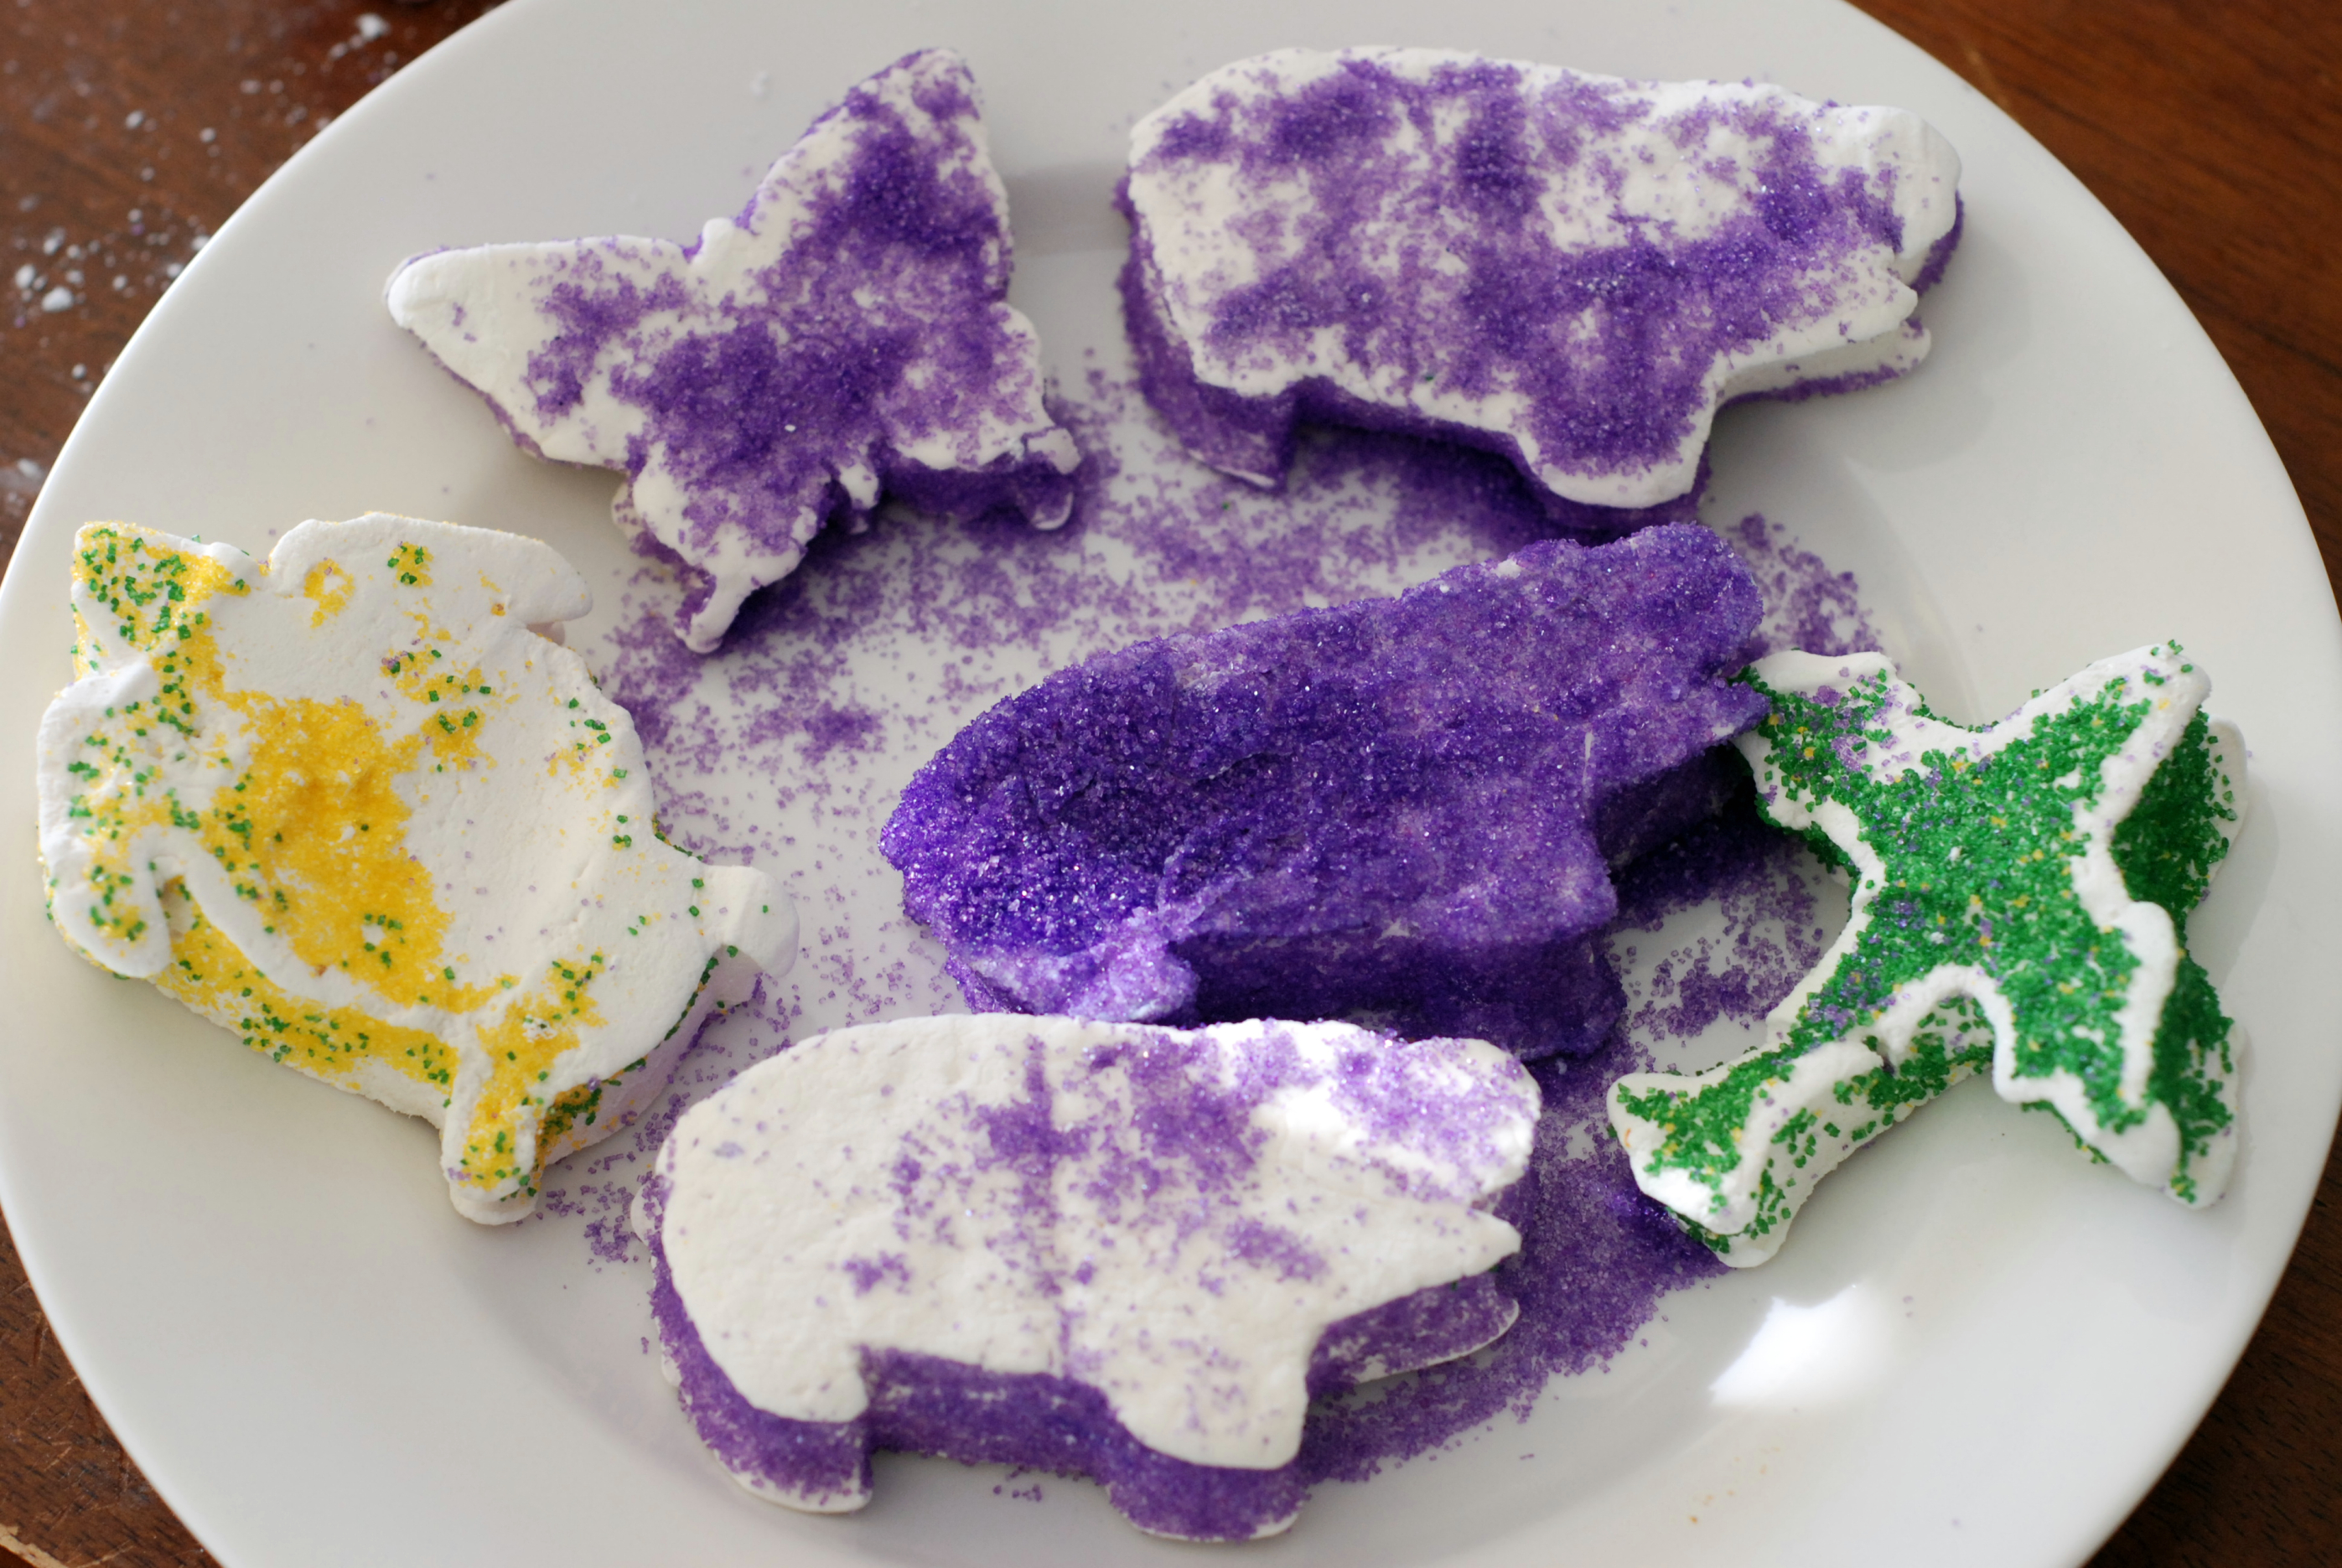
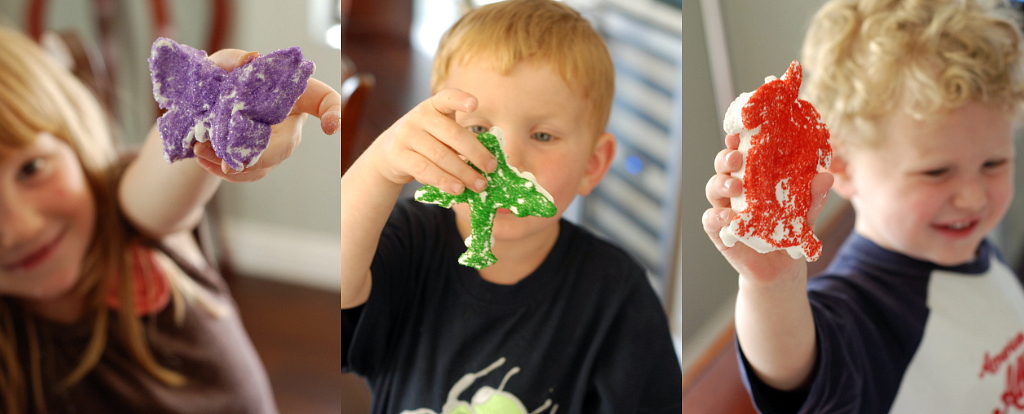
Peeps the other way

Look at those little cuties.  I love that they are not perfect because that means the kids were do them by themselves and making it their own sweet little way. I have to admit I was excited to finally get to use my hippo cookie cutter (eek!).


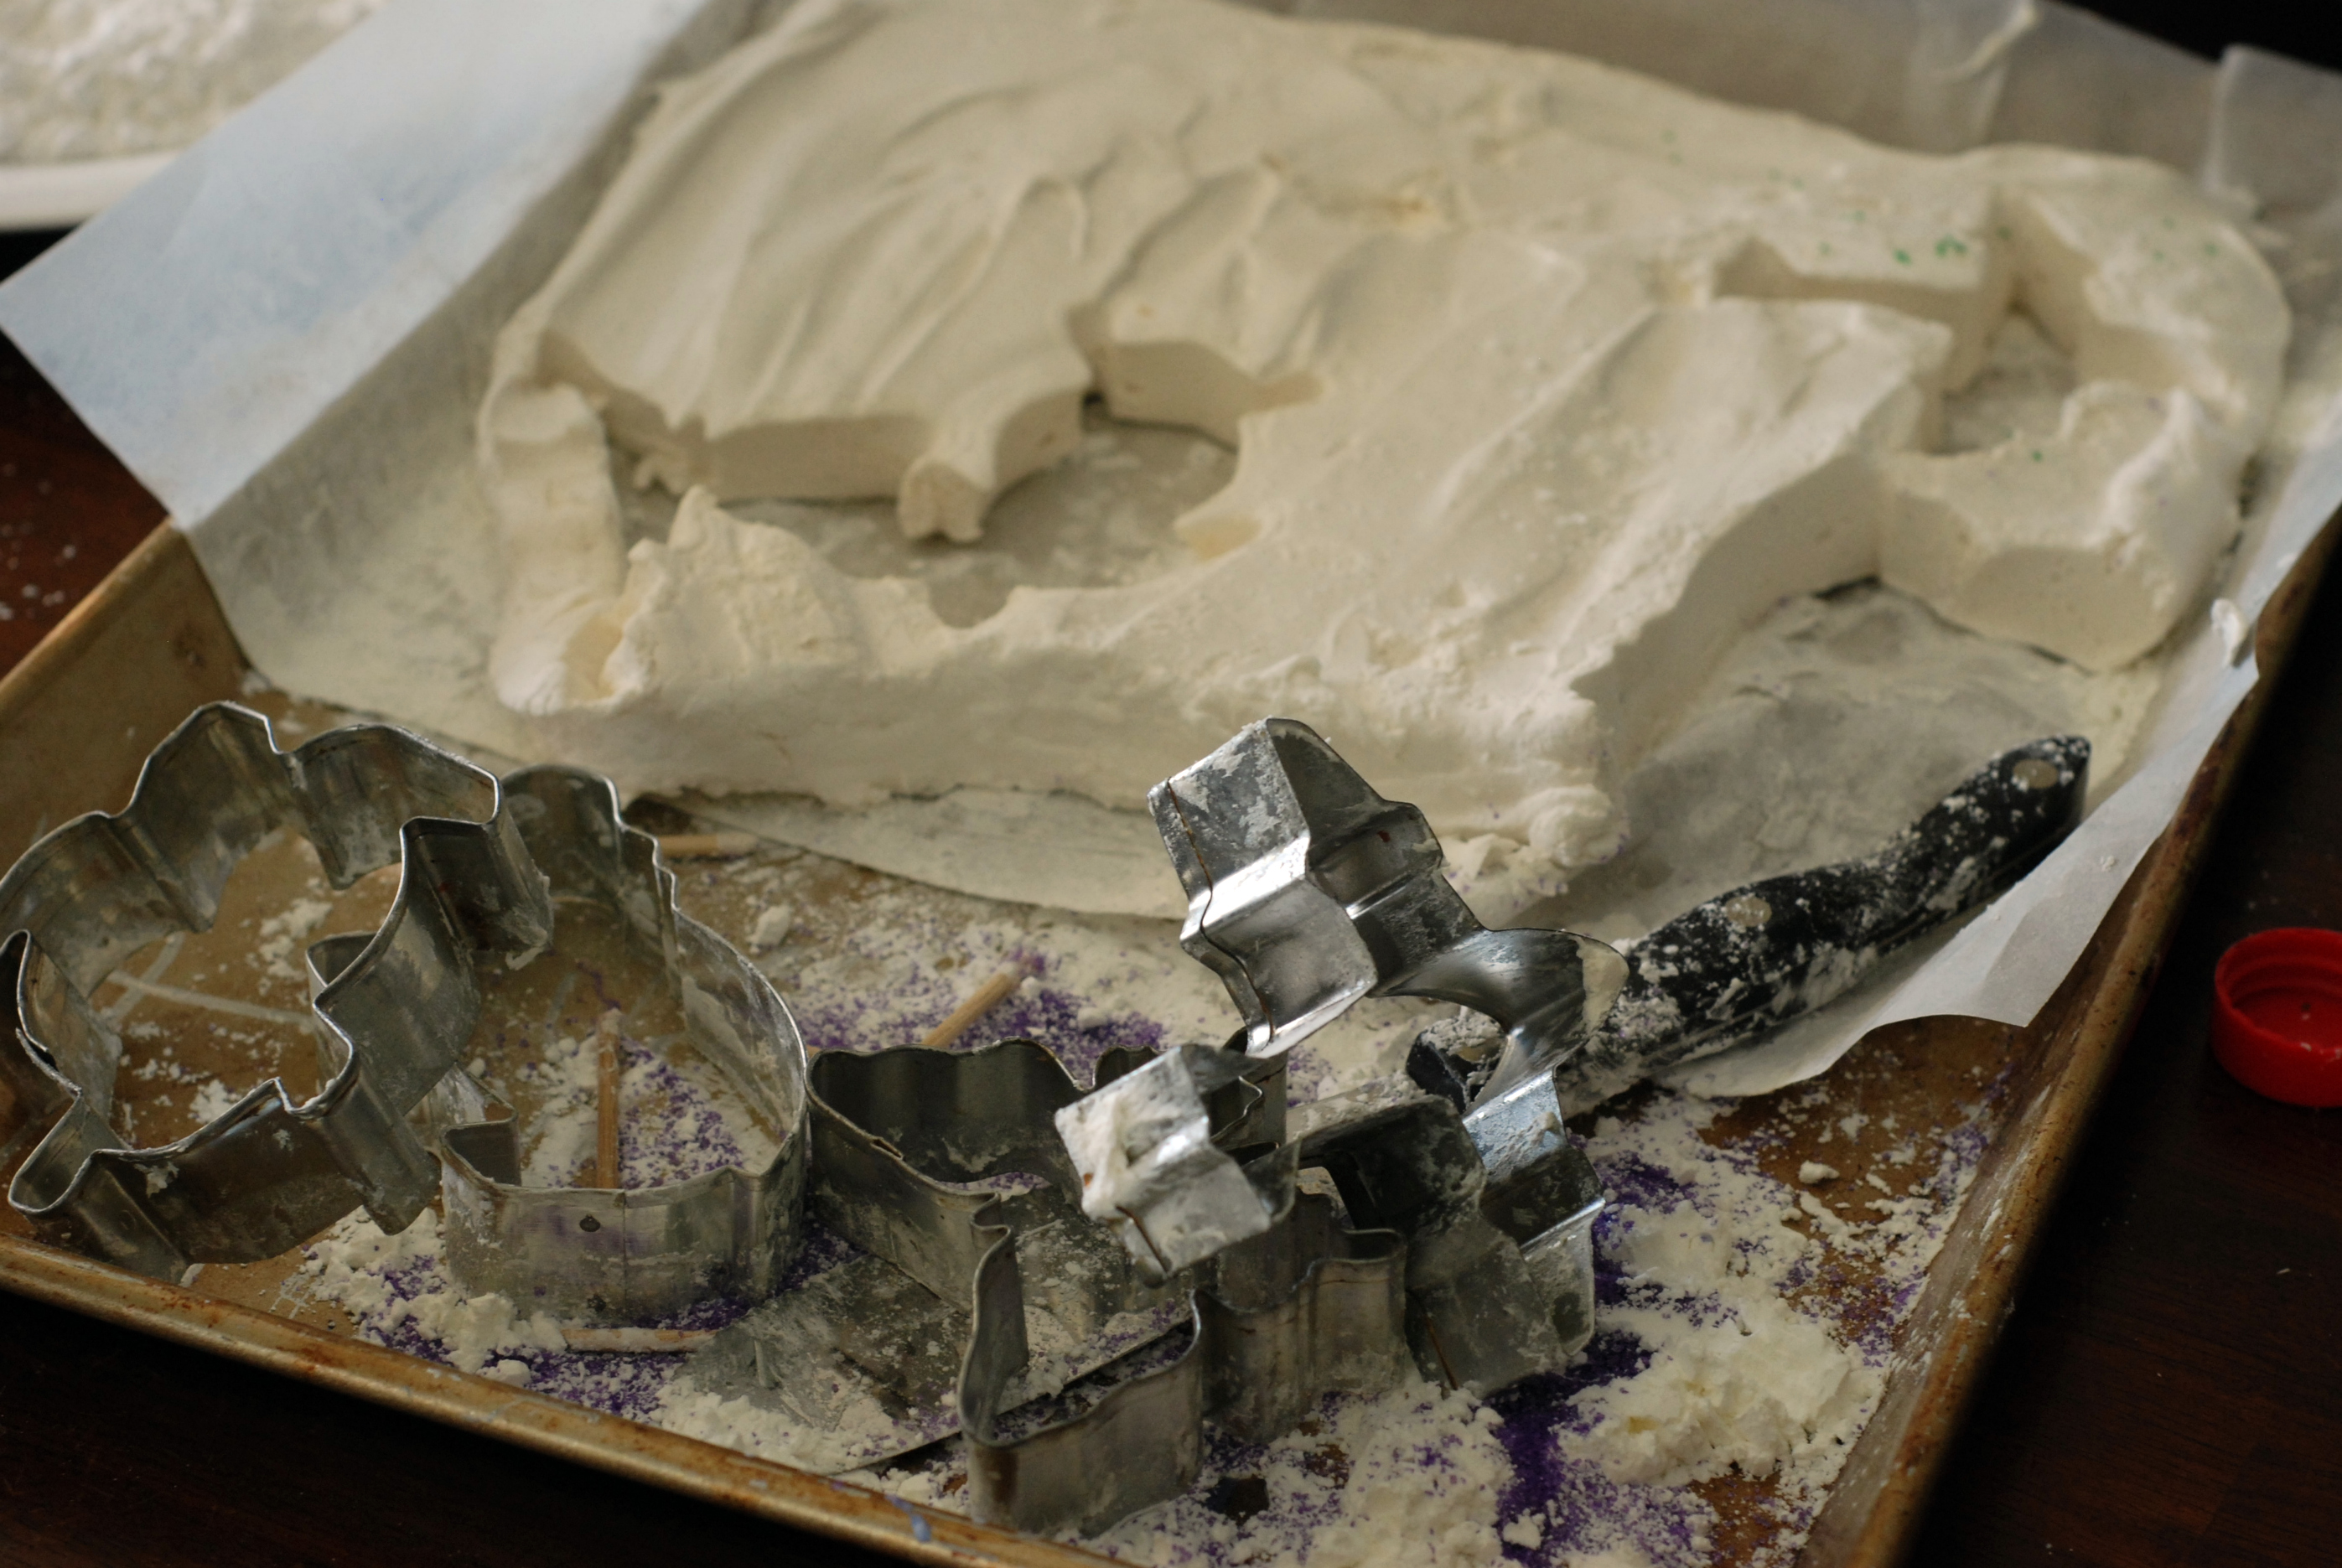
The possibilities extend as far as your cookie cutter collection.


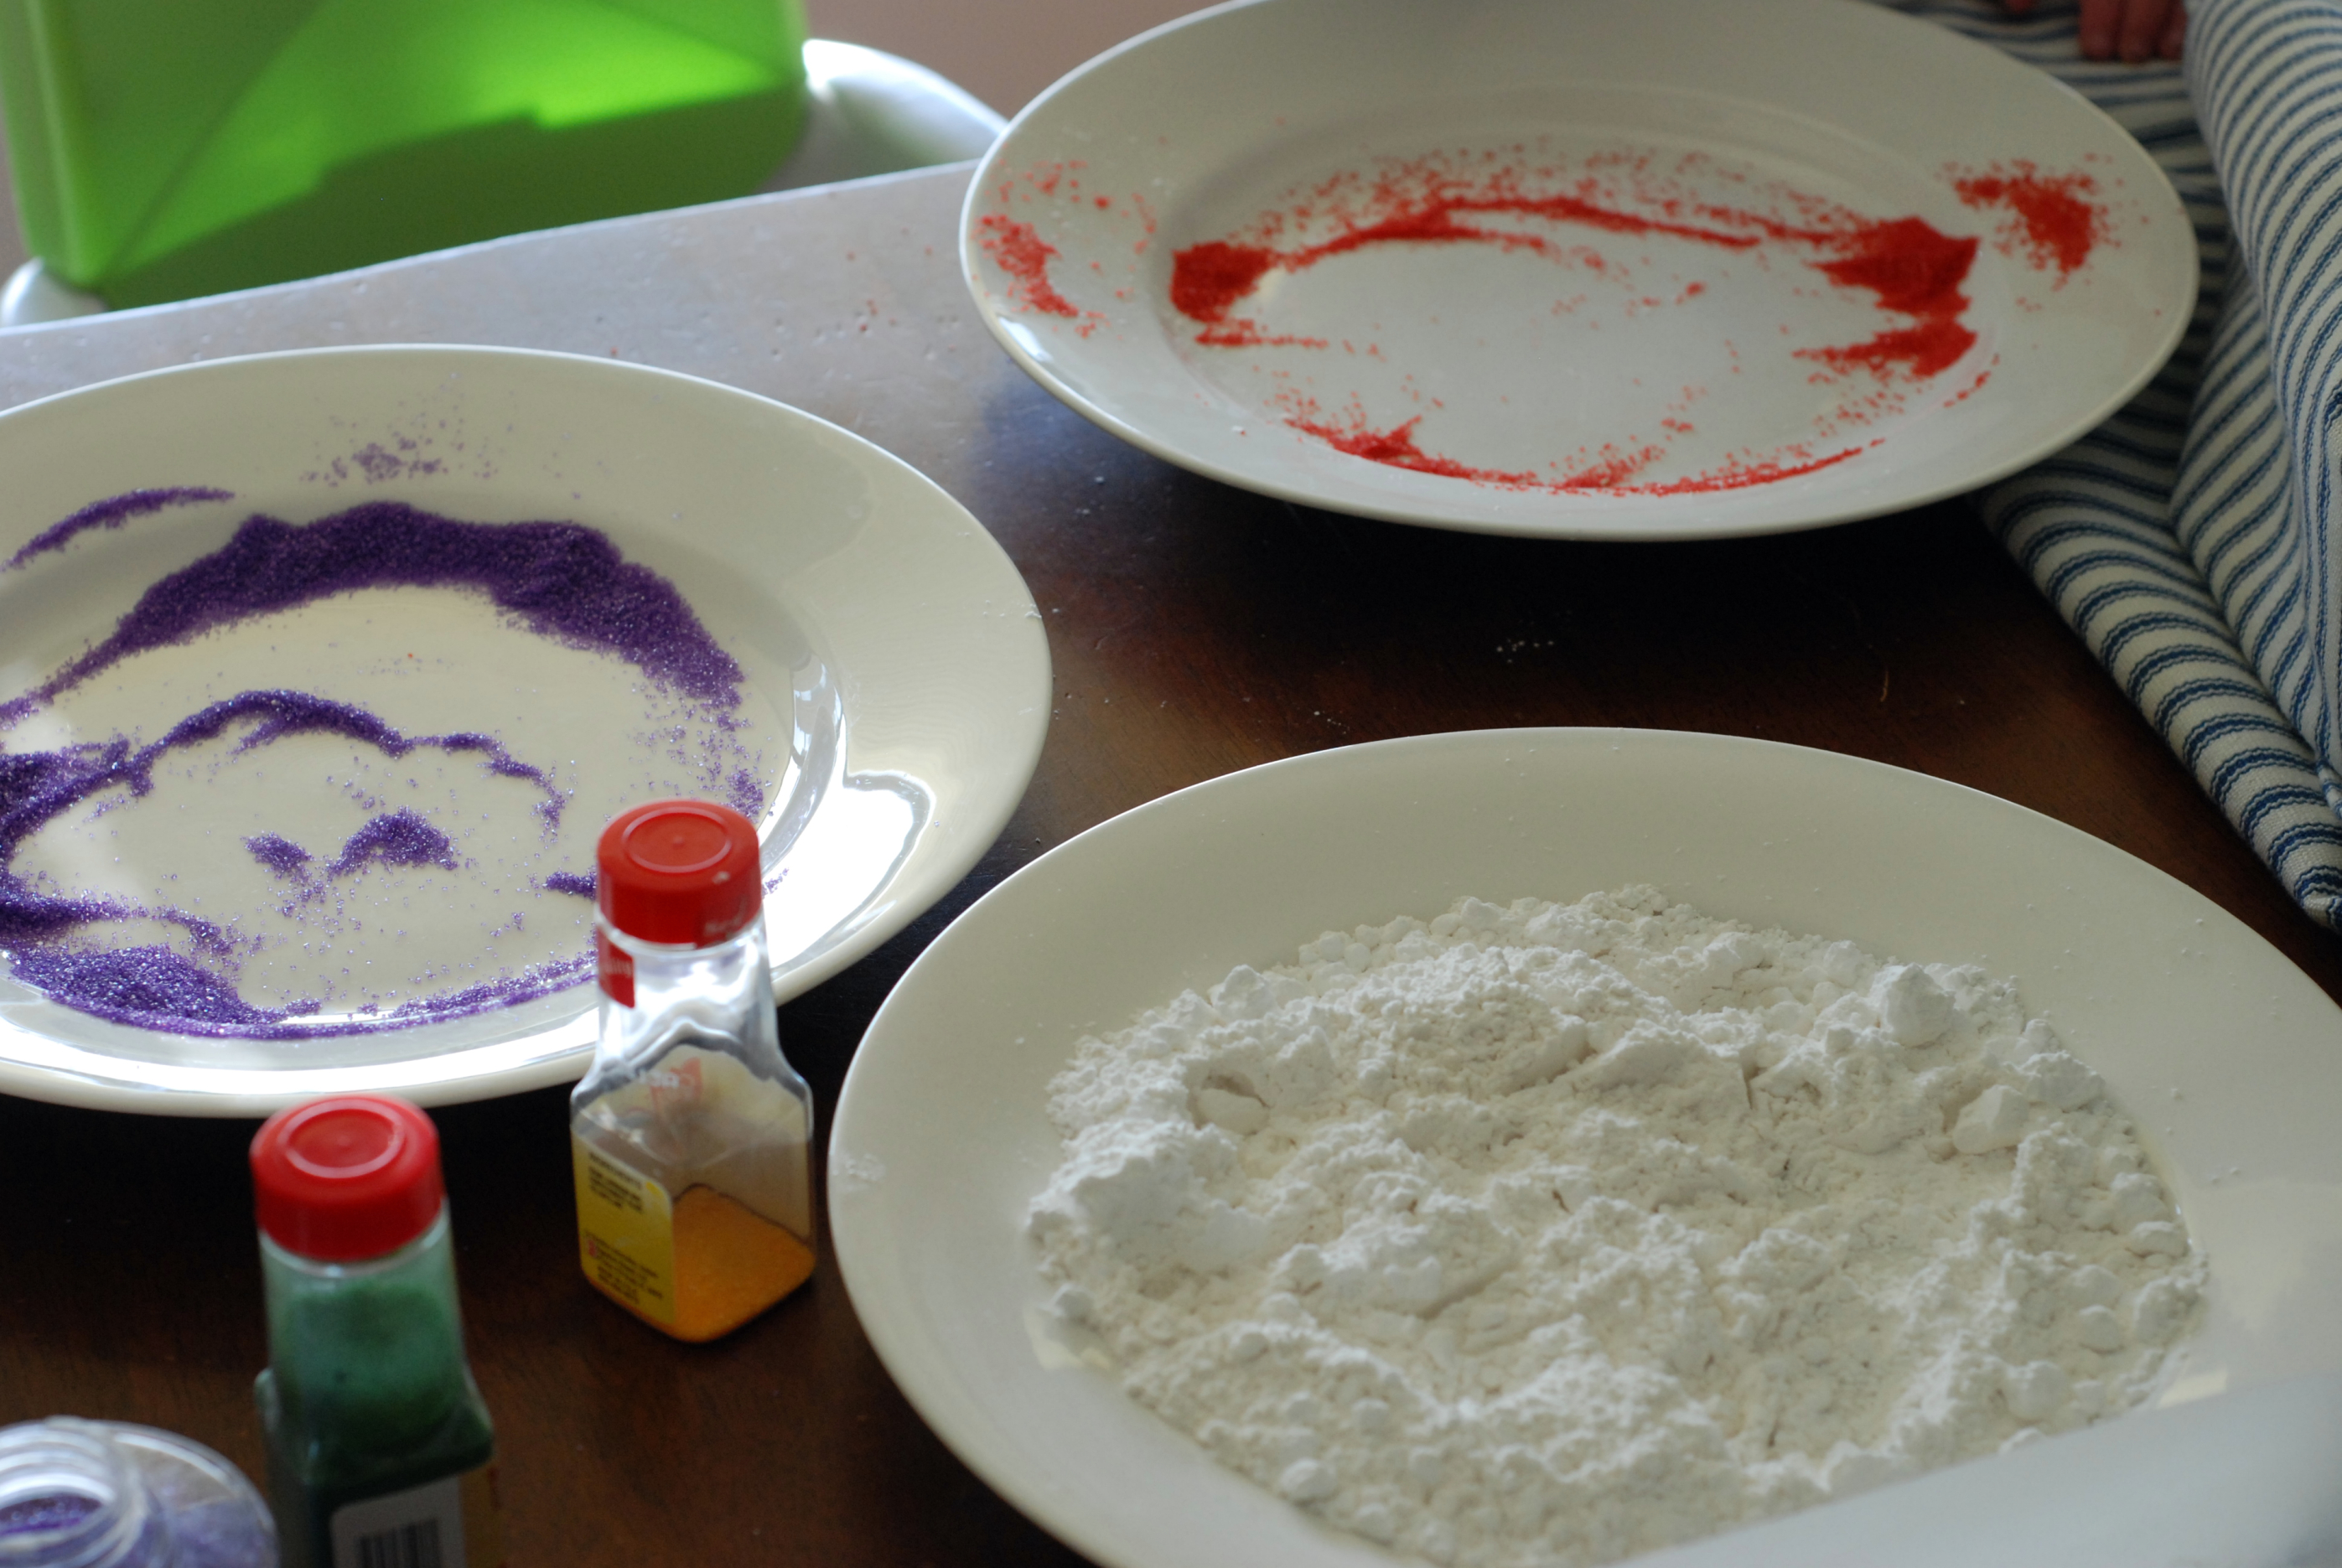
Use up those superfluous sprinkles that have gathered in your cupboard.


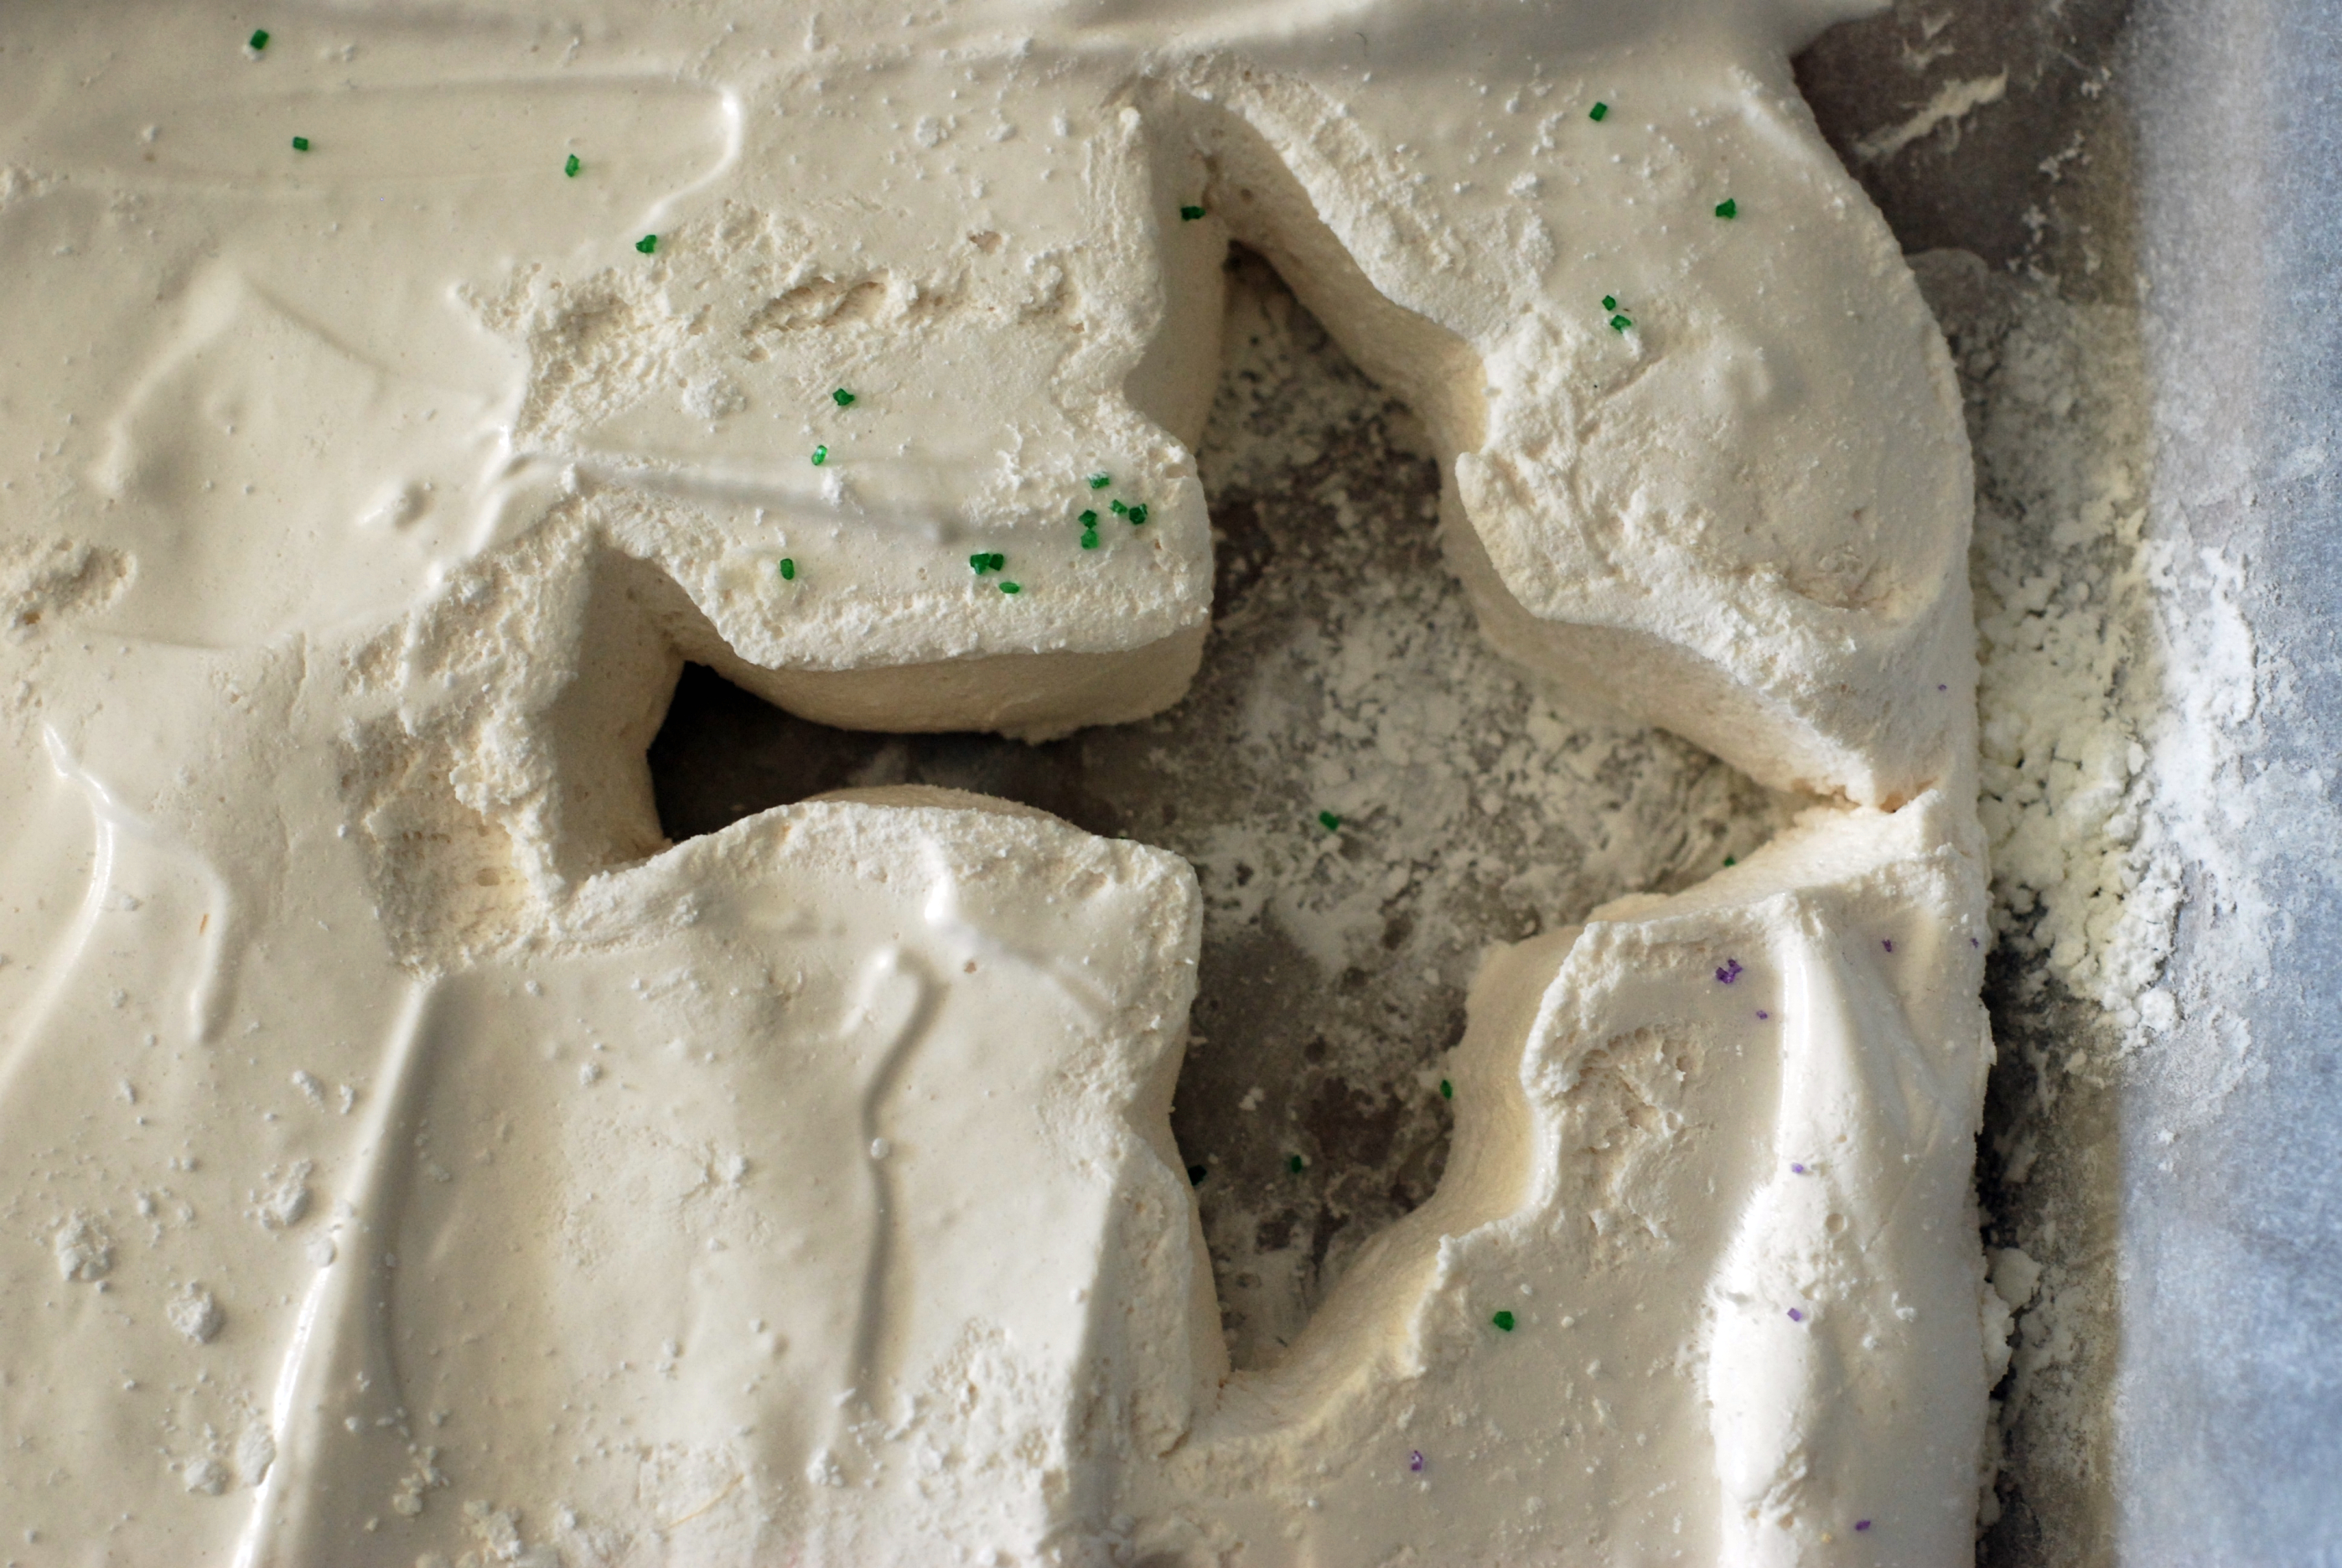
The kiddos can dip cutters in cornstarch and squish it down until it can be squished no more. If you have a spray bottle you could spritz the marshmallows so that the sugar coats more evenly, but I was just enjoying the moment and didn’t want to flirt with perfection.


The best part of making your own peeps (besides eating the extra marshmallow pieces) is picking your favorite shape…like a hippo.


Maple marshmallow recipe adapted from this one:

4 envelopes unflavored gelatin

3 c. sugar

1 c. maple sugar

1/4 c. corn syrup (it can be all maple but I didn’t have enough)

1/4 tsp. salt

1/1/2 c. cornstarch

I’ve found that recipes either call for cornstarch or powdered sugar.  Powdered sugar leaves a more pleasant (read sweeter) effect, while cornstarch can be pretty plain (read tasteless).  However, powdered sugar will eventually absorb moisture and harden, while cornstarch keeps your marshmallows “pillow-y” soft. Bummer for the sweet-tooth crowd, but i guess there is enough sugar in these little fellas already.


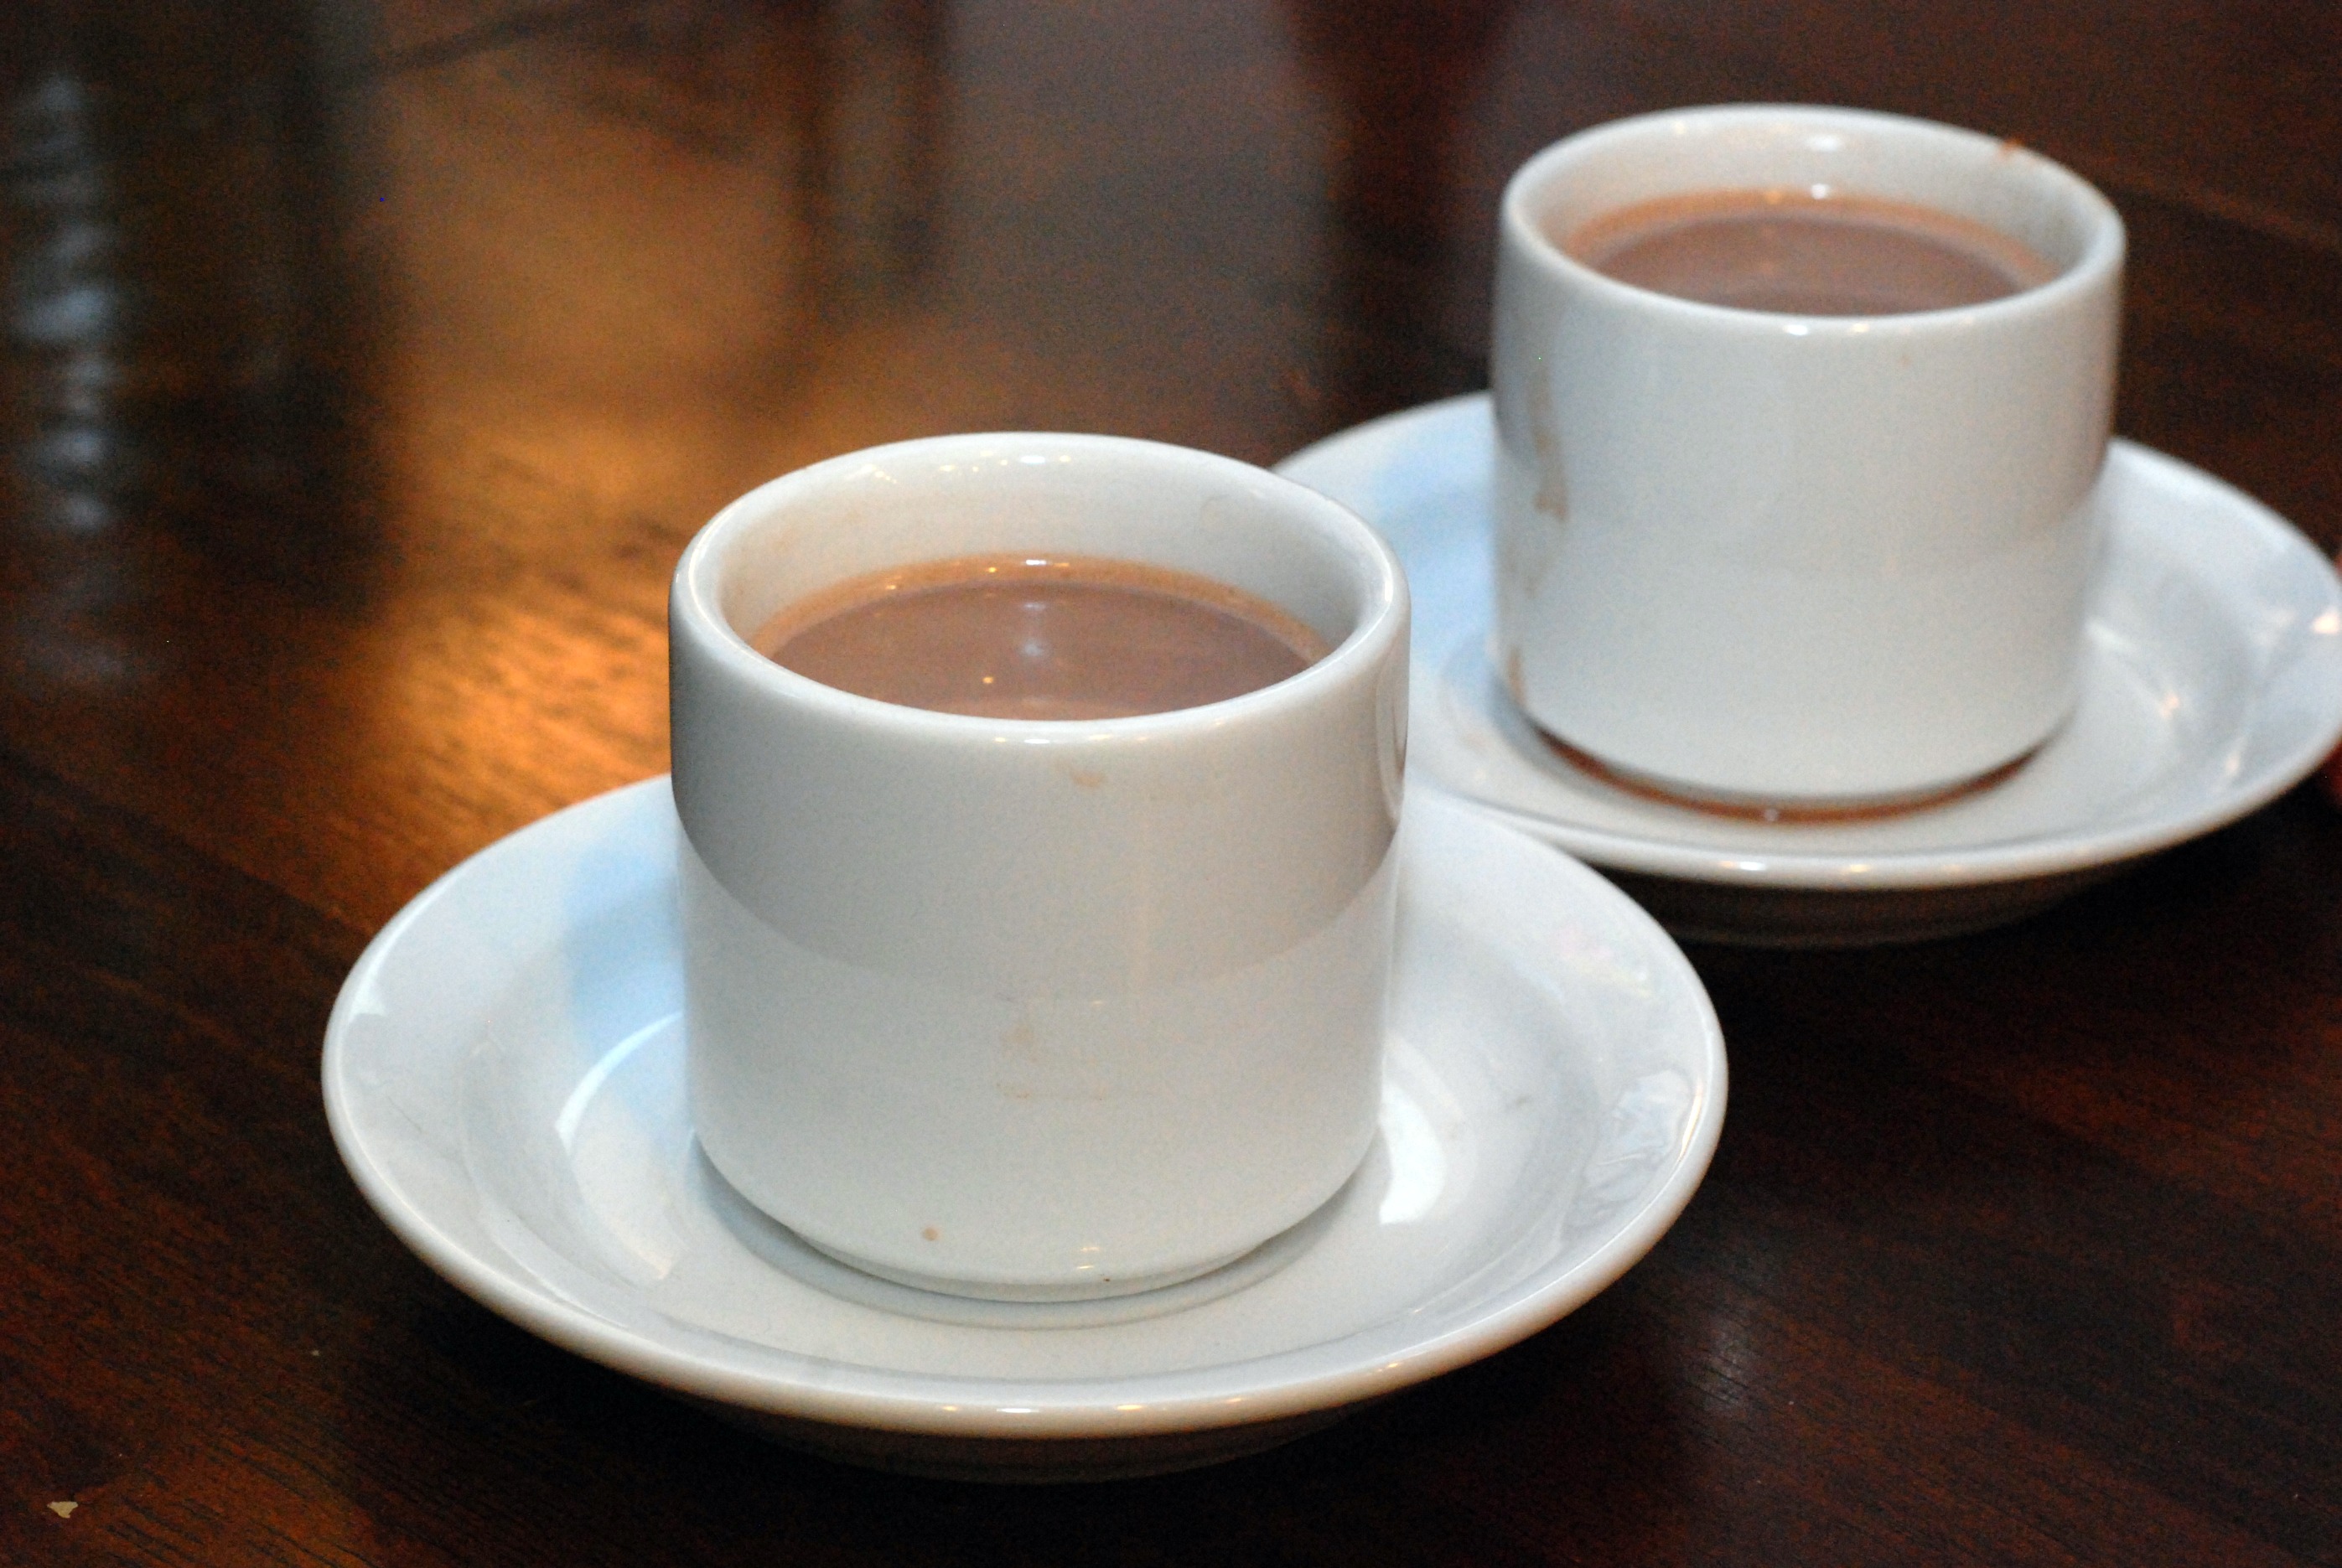
Sea Salt Hot Chocolate


It rarely gets cold here in San Diego, but when it does we like to break out our cold weather kitchen tricks.

We knew we wanted cocoa, but needed a dash of  awesomeness.

Sea Salt Hot Chocolate

2 c. milk (I used whole for an extra creamy flavor)

3 T. cocoa powder

3 T. granulated sugar

dash of vanilla extract (homemade if possible…jump here for recipe)

dash of sea salt

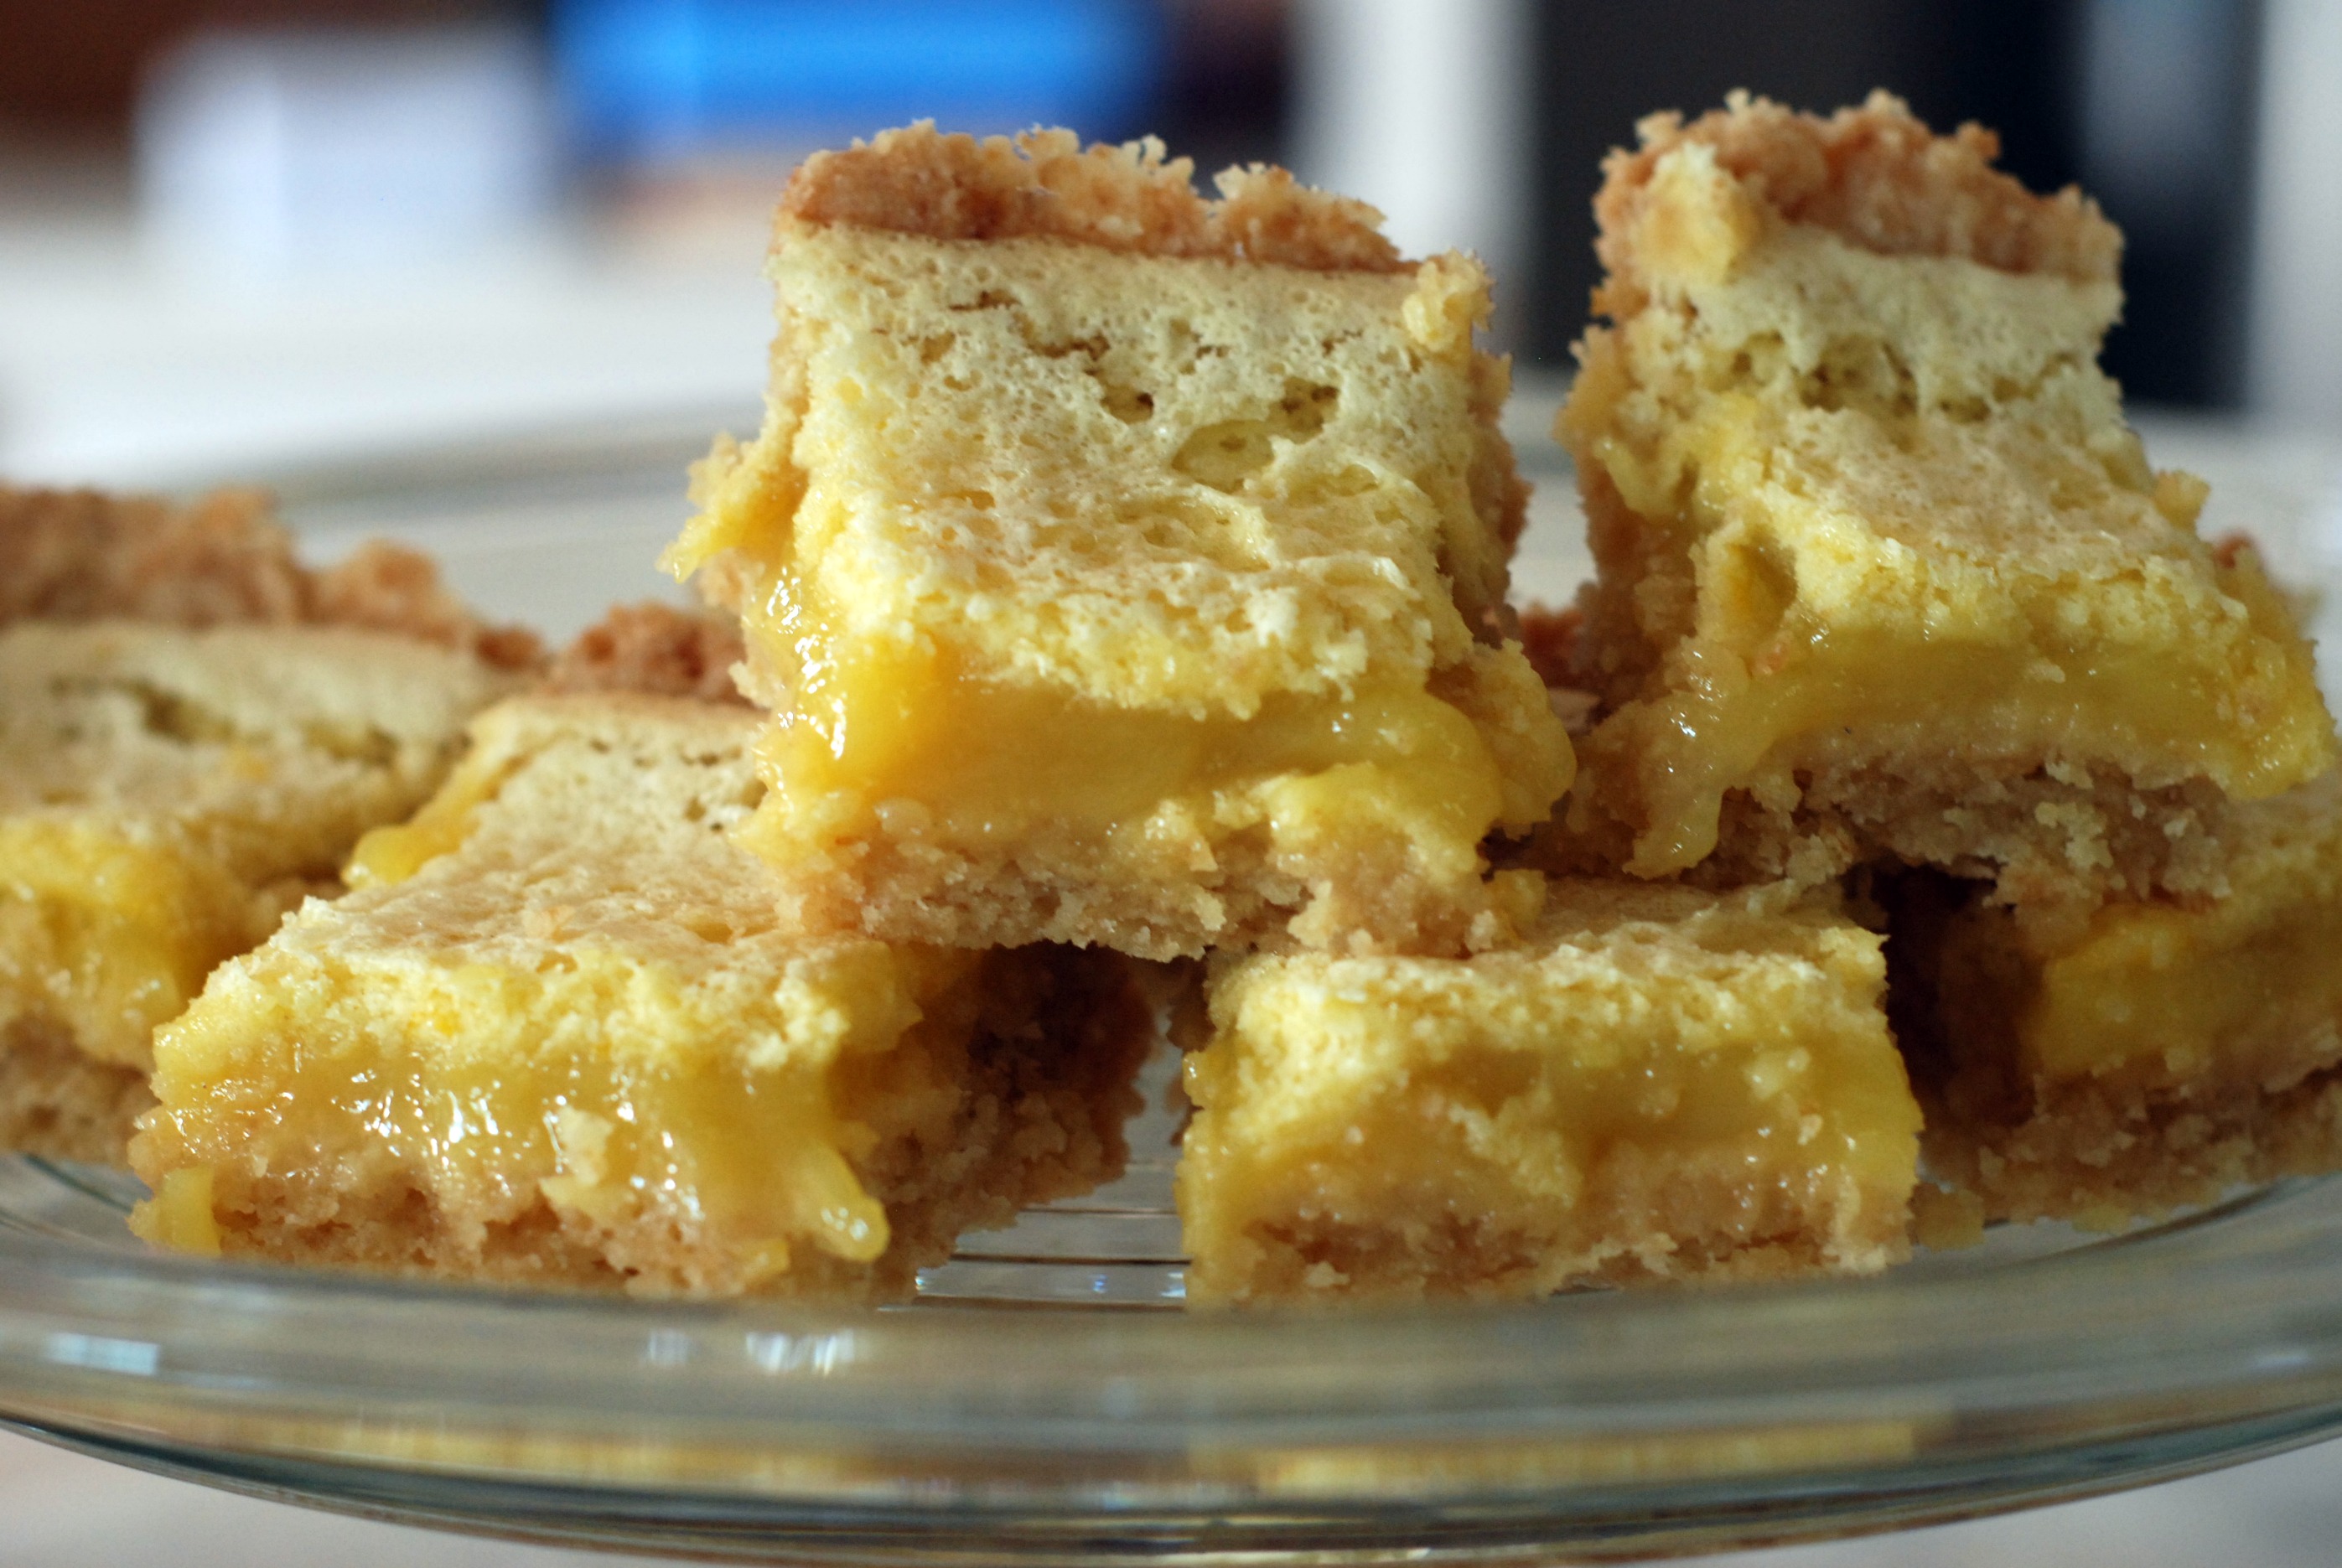
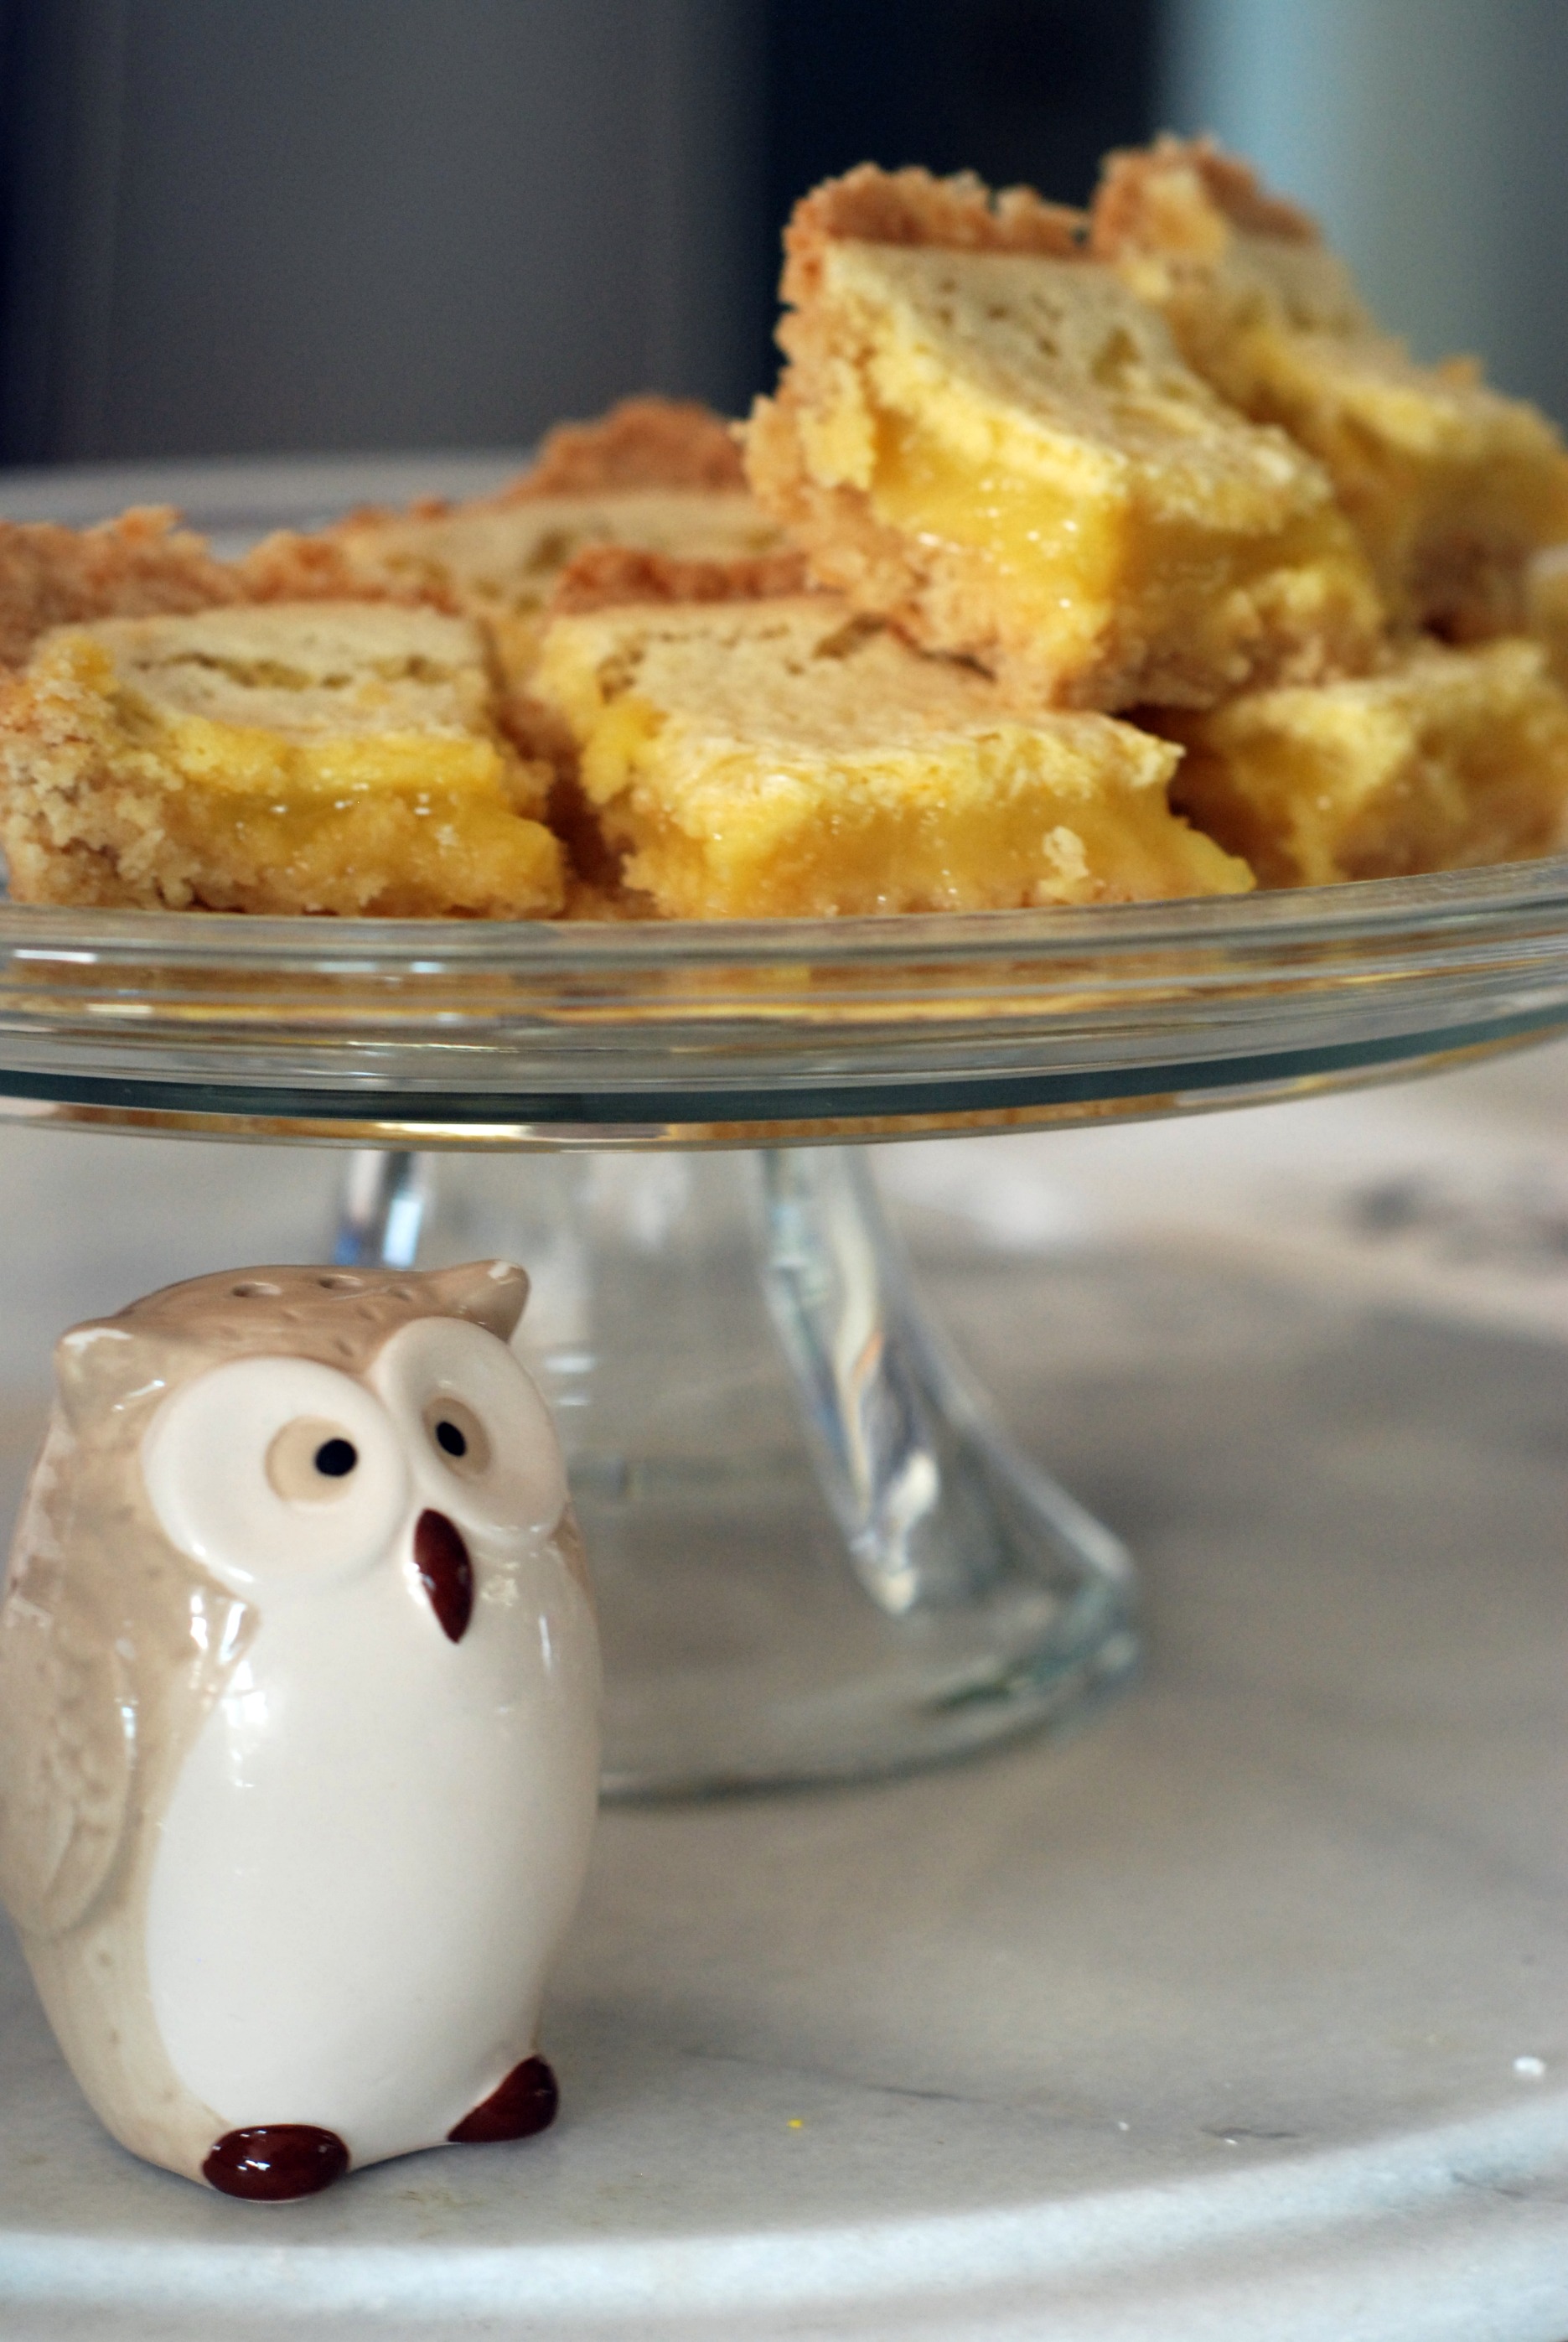
When life gives you lemons, make lemon bars.


Around our house, the kiddos some of us have a hard time waiting to pick the fruit when the time is right.  Seriously, who wouldn’t want to pick a bright yellow lemon or a deep red strawberry?  They almost beg a kid to pick them with their flamboyant garden attire. So, these lemons got picked and were thankfully a teeny tiny bit green and not half green.  I ran inside simultaneously explaining to my littlest man which color we are waiting for them to be and also scheming what I was going to make.  As kind of an informal tradition, I like to make lemon bars with the first batch of lemons I get just because they seem to have such a loving history with most people I tend to bake for, including my dad.

Zesty Lemon Bars

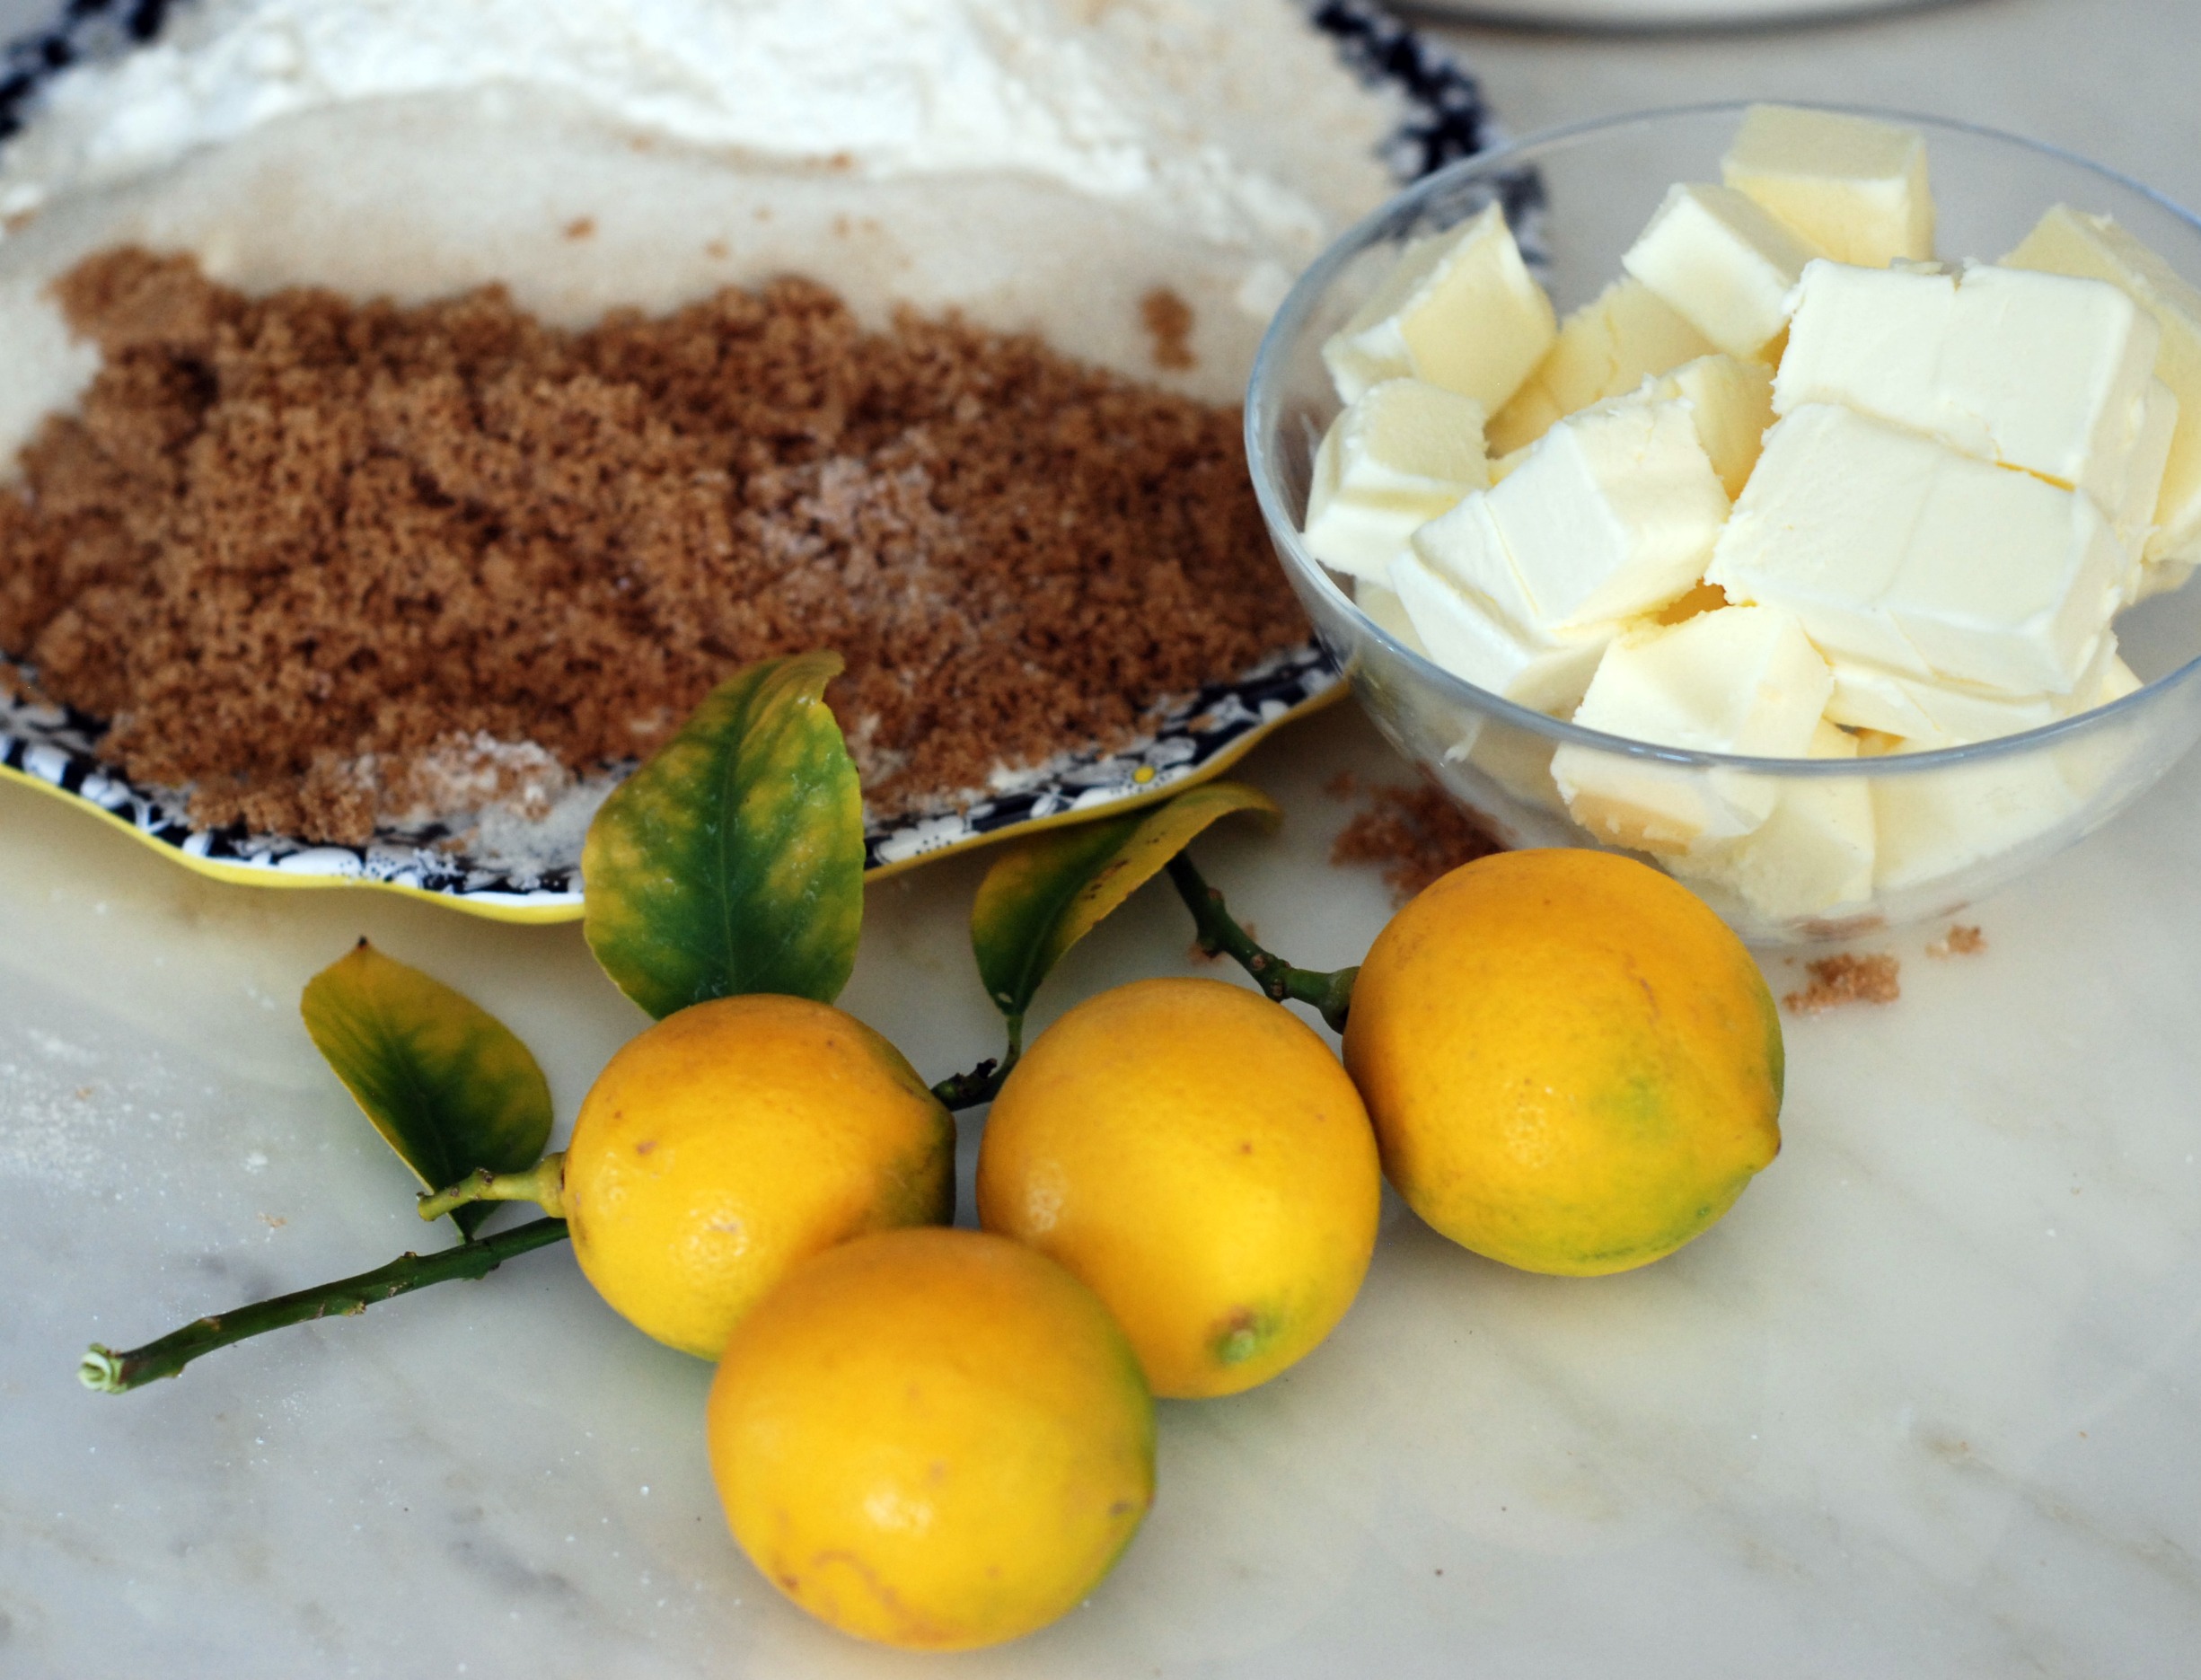
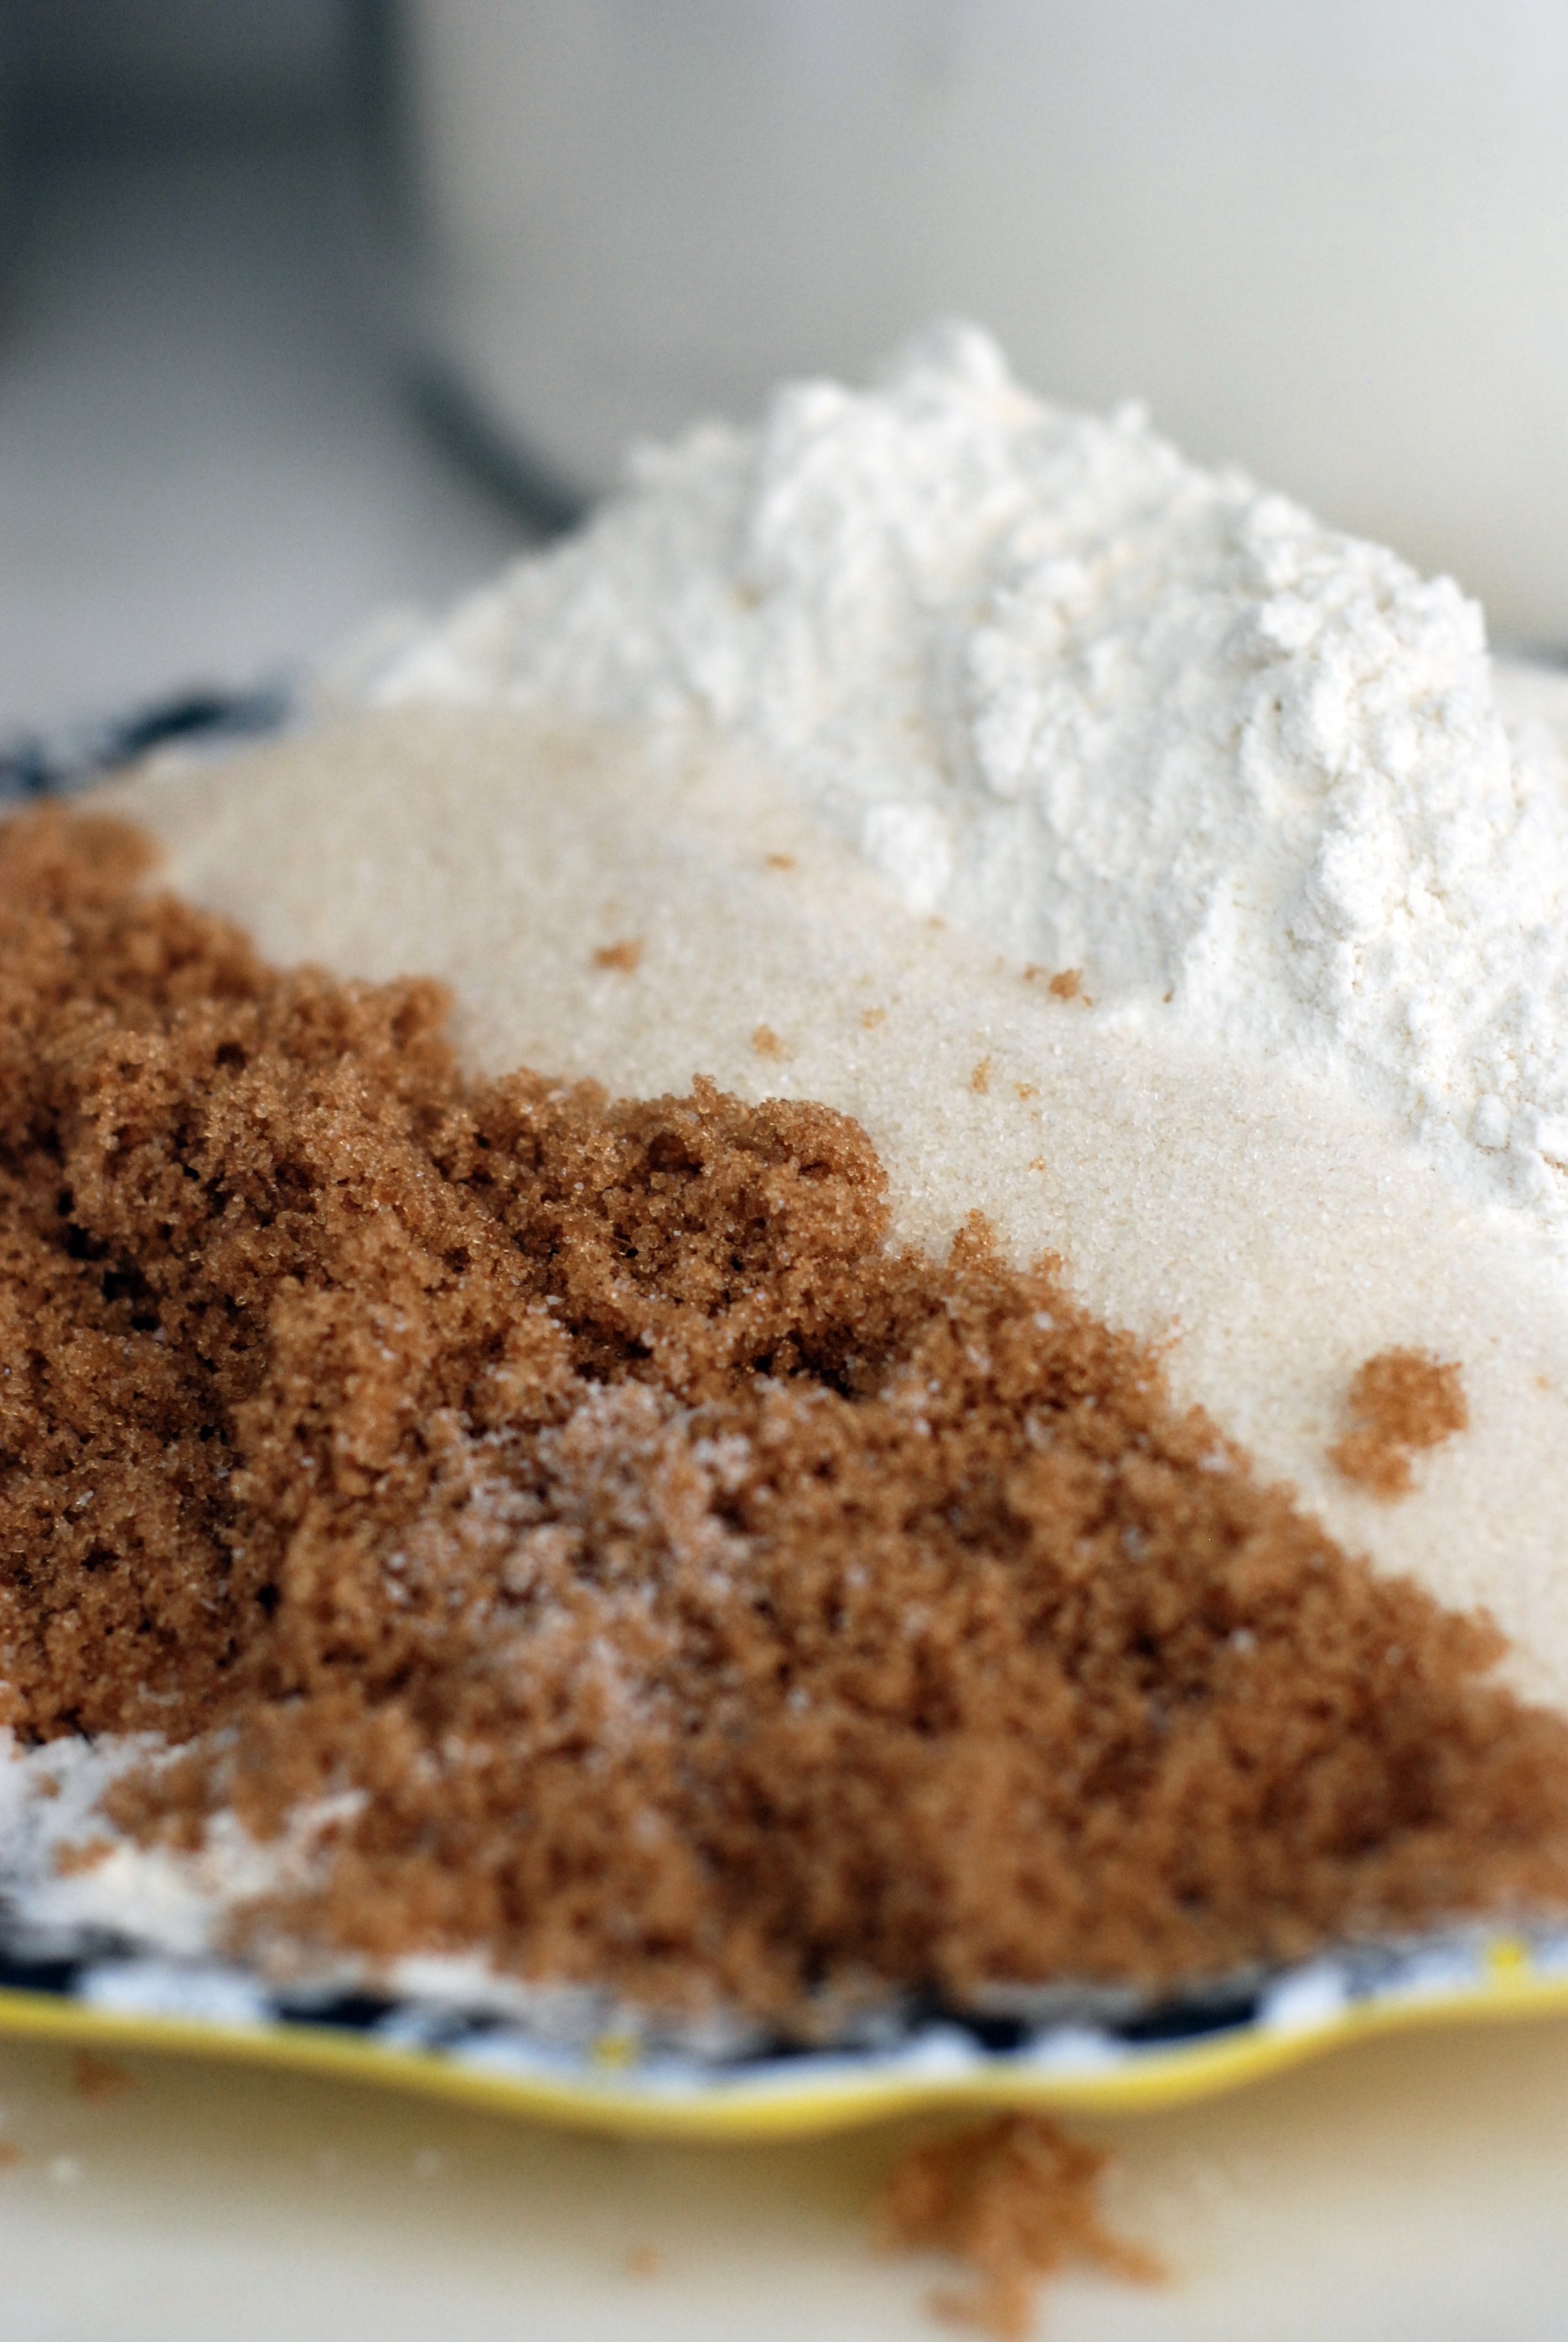
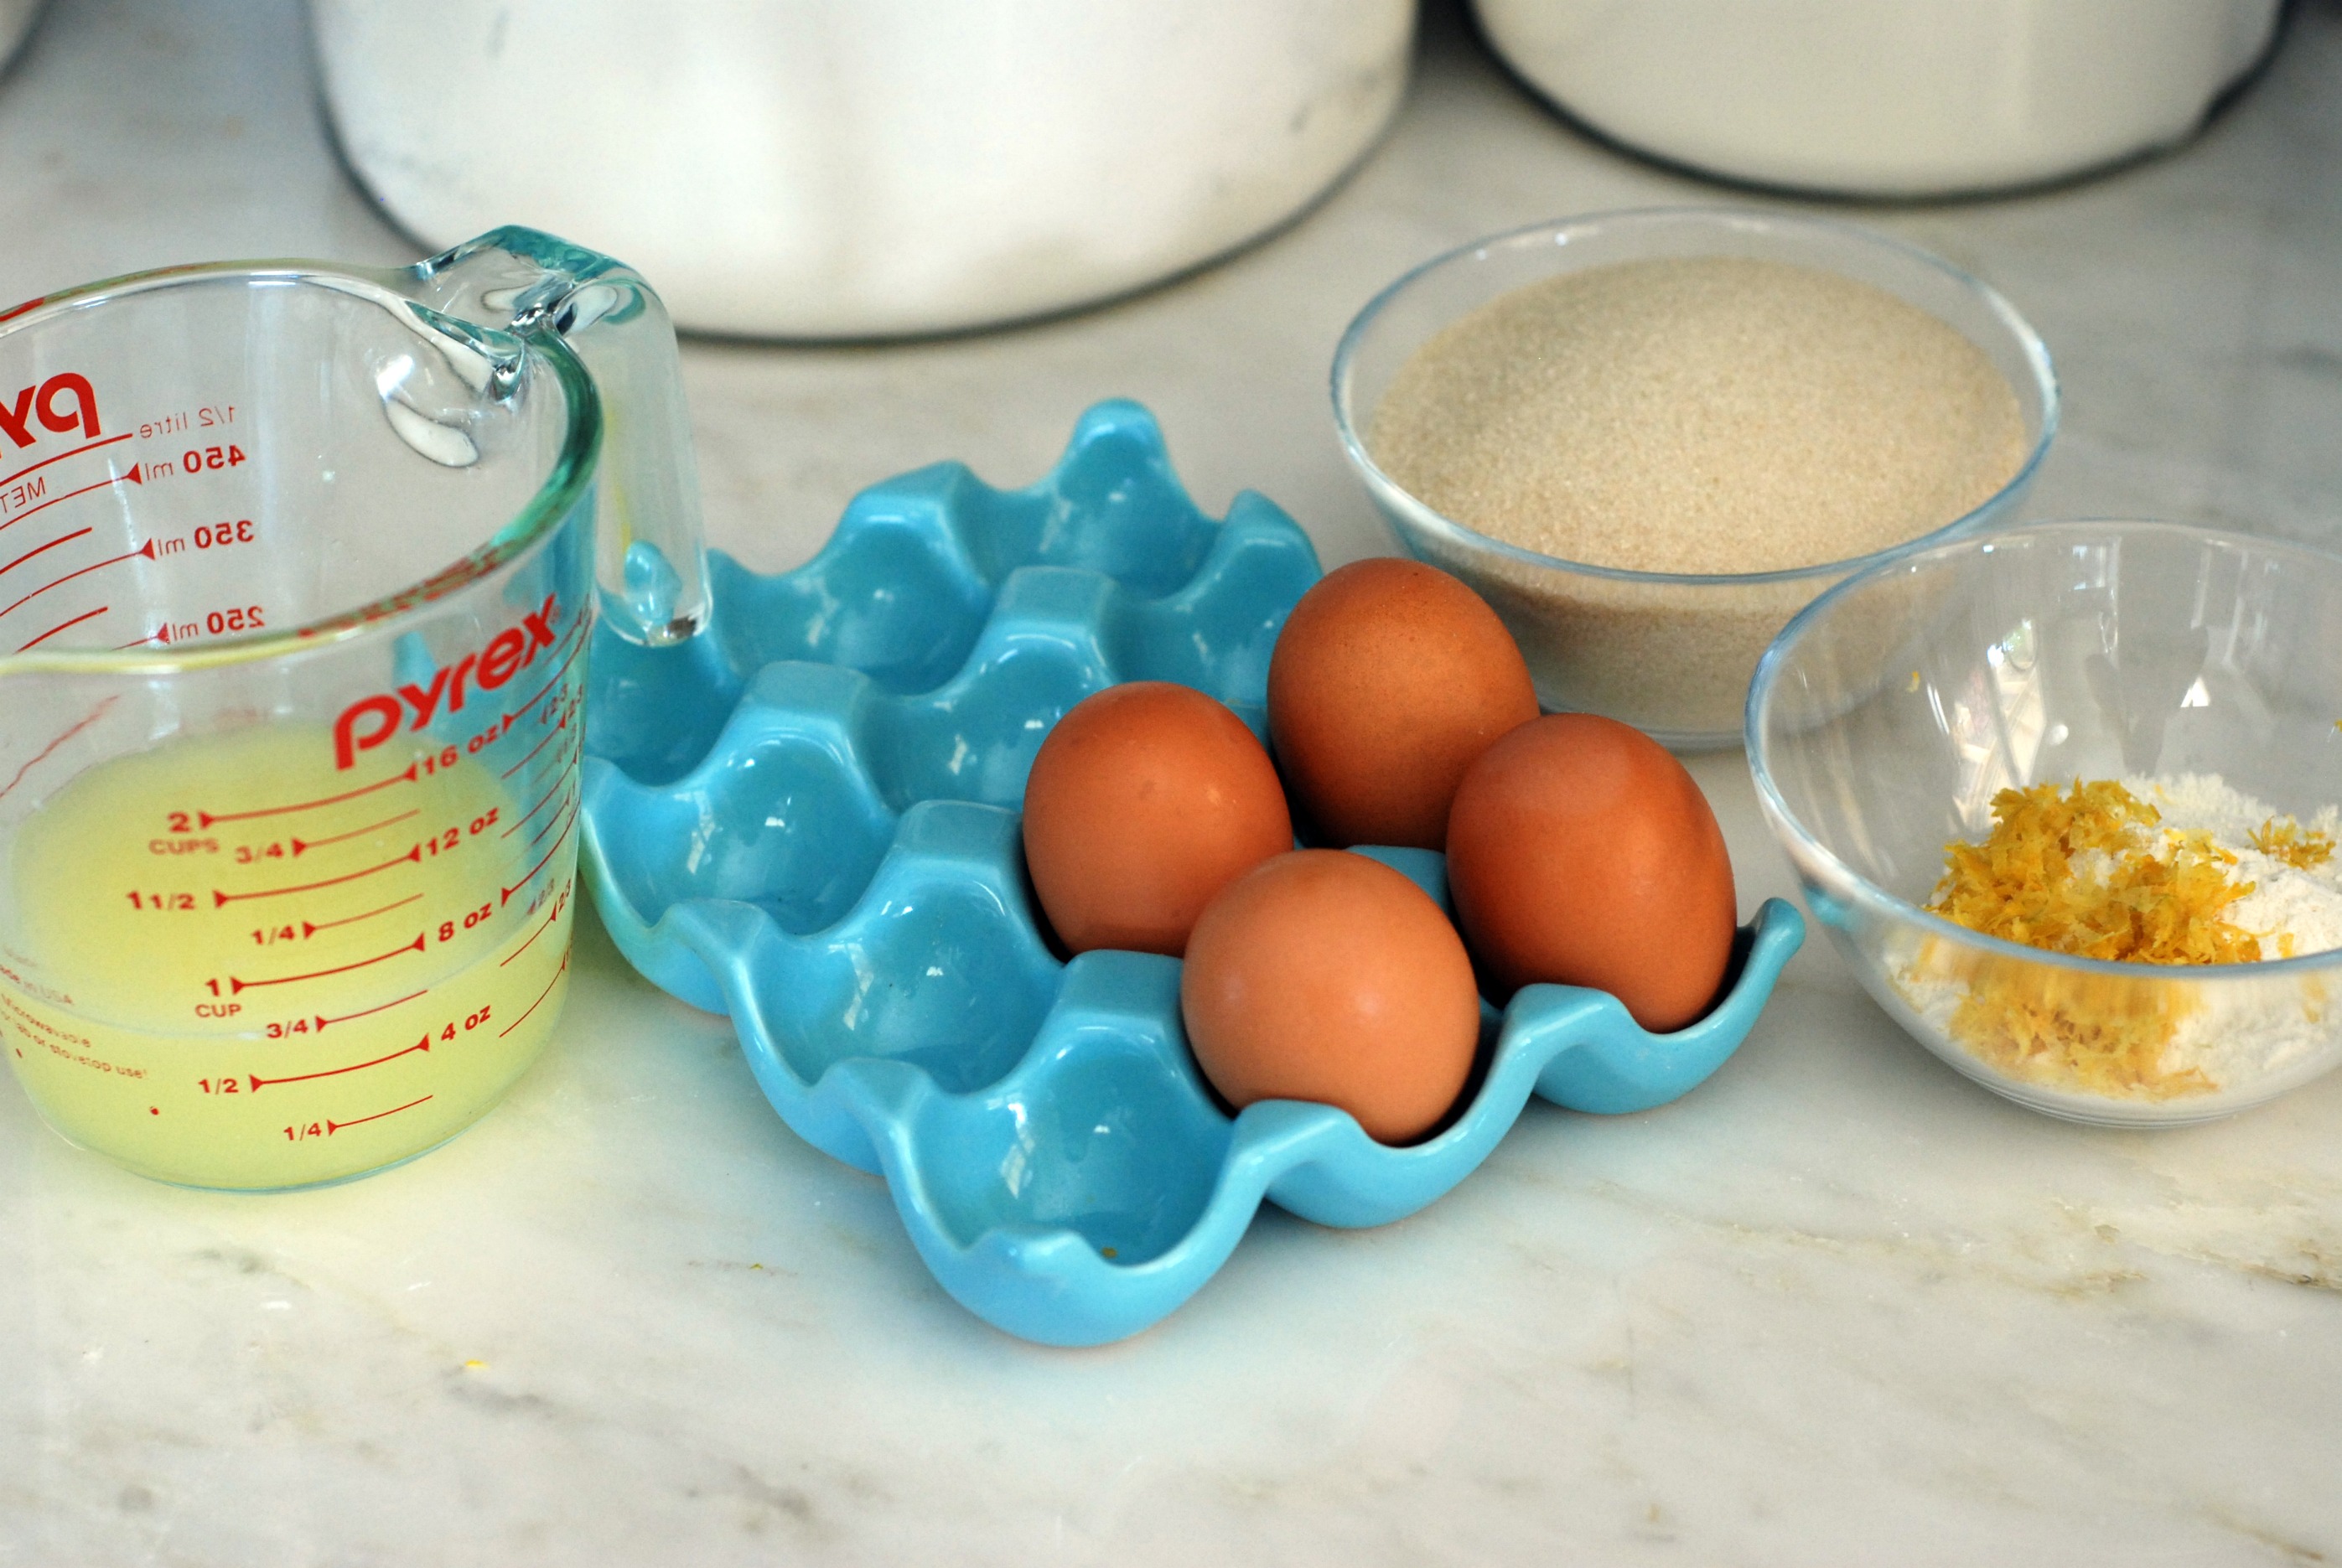
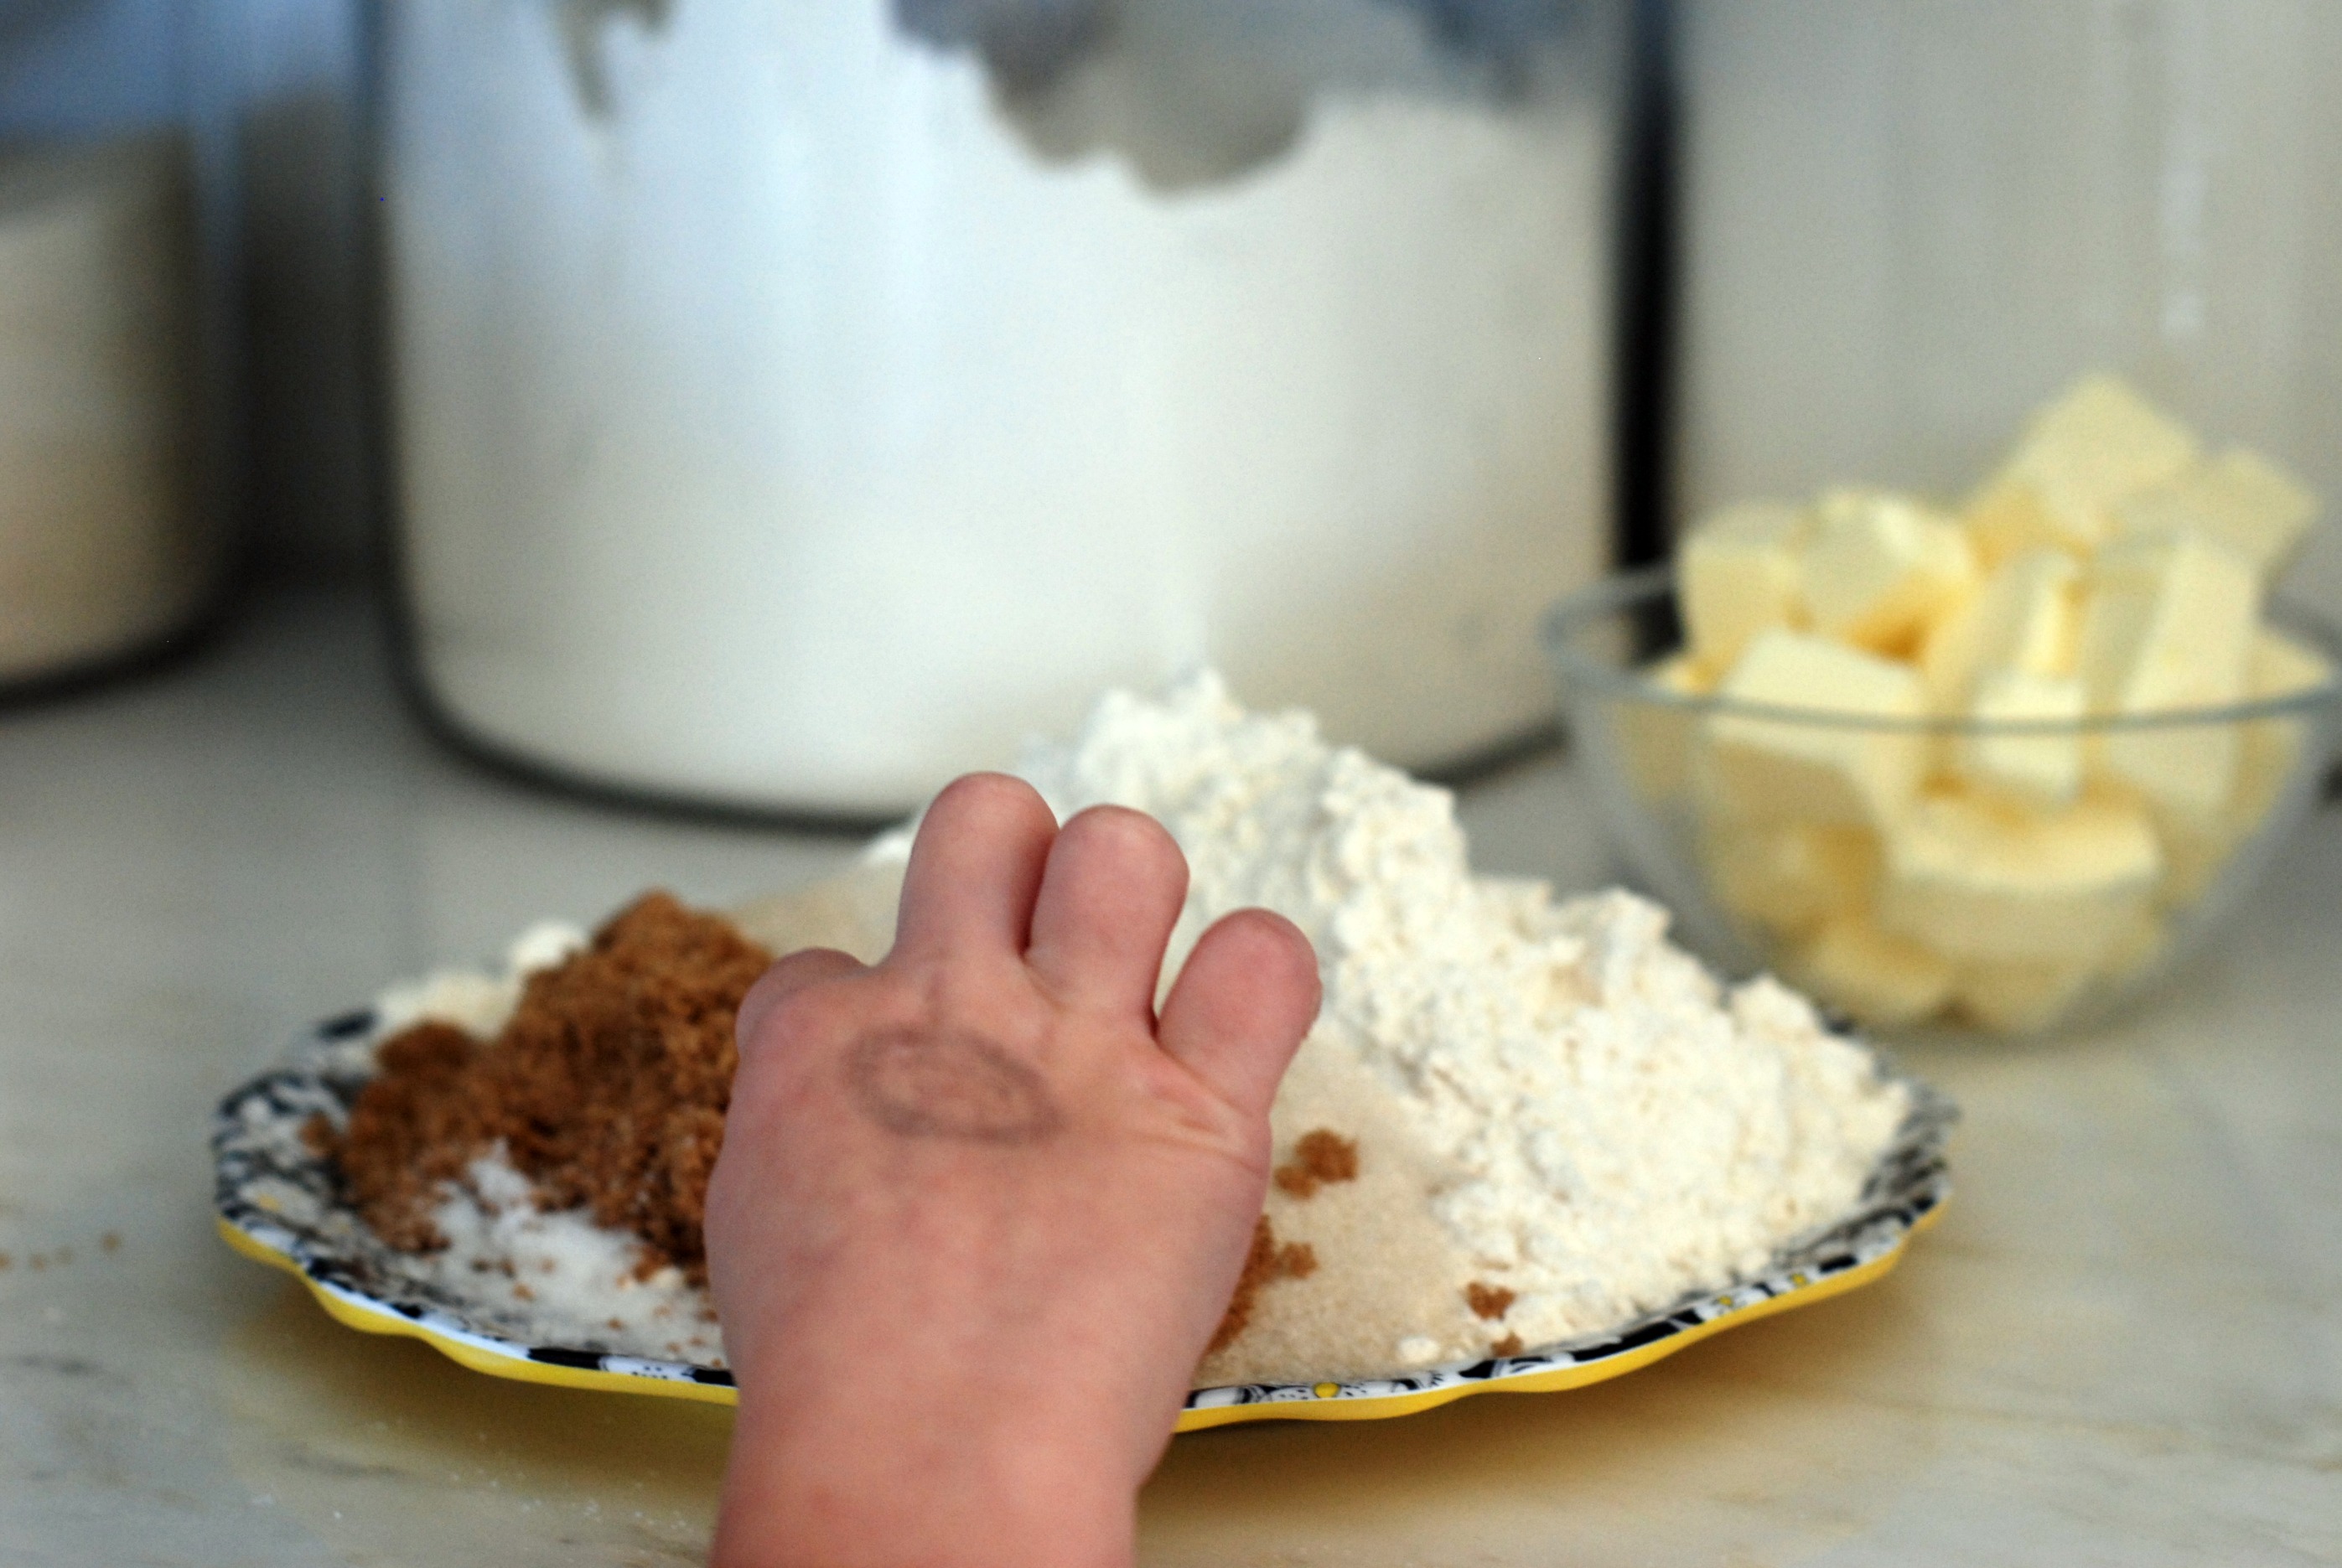
Measure dry ingredients, cube butter, and stare at the radiant lemons because it’s about to be gone.

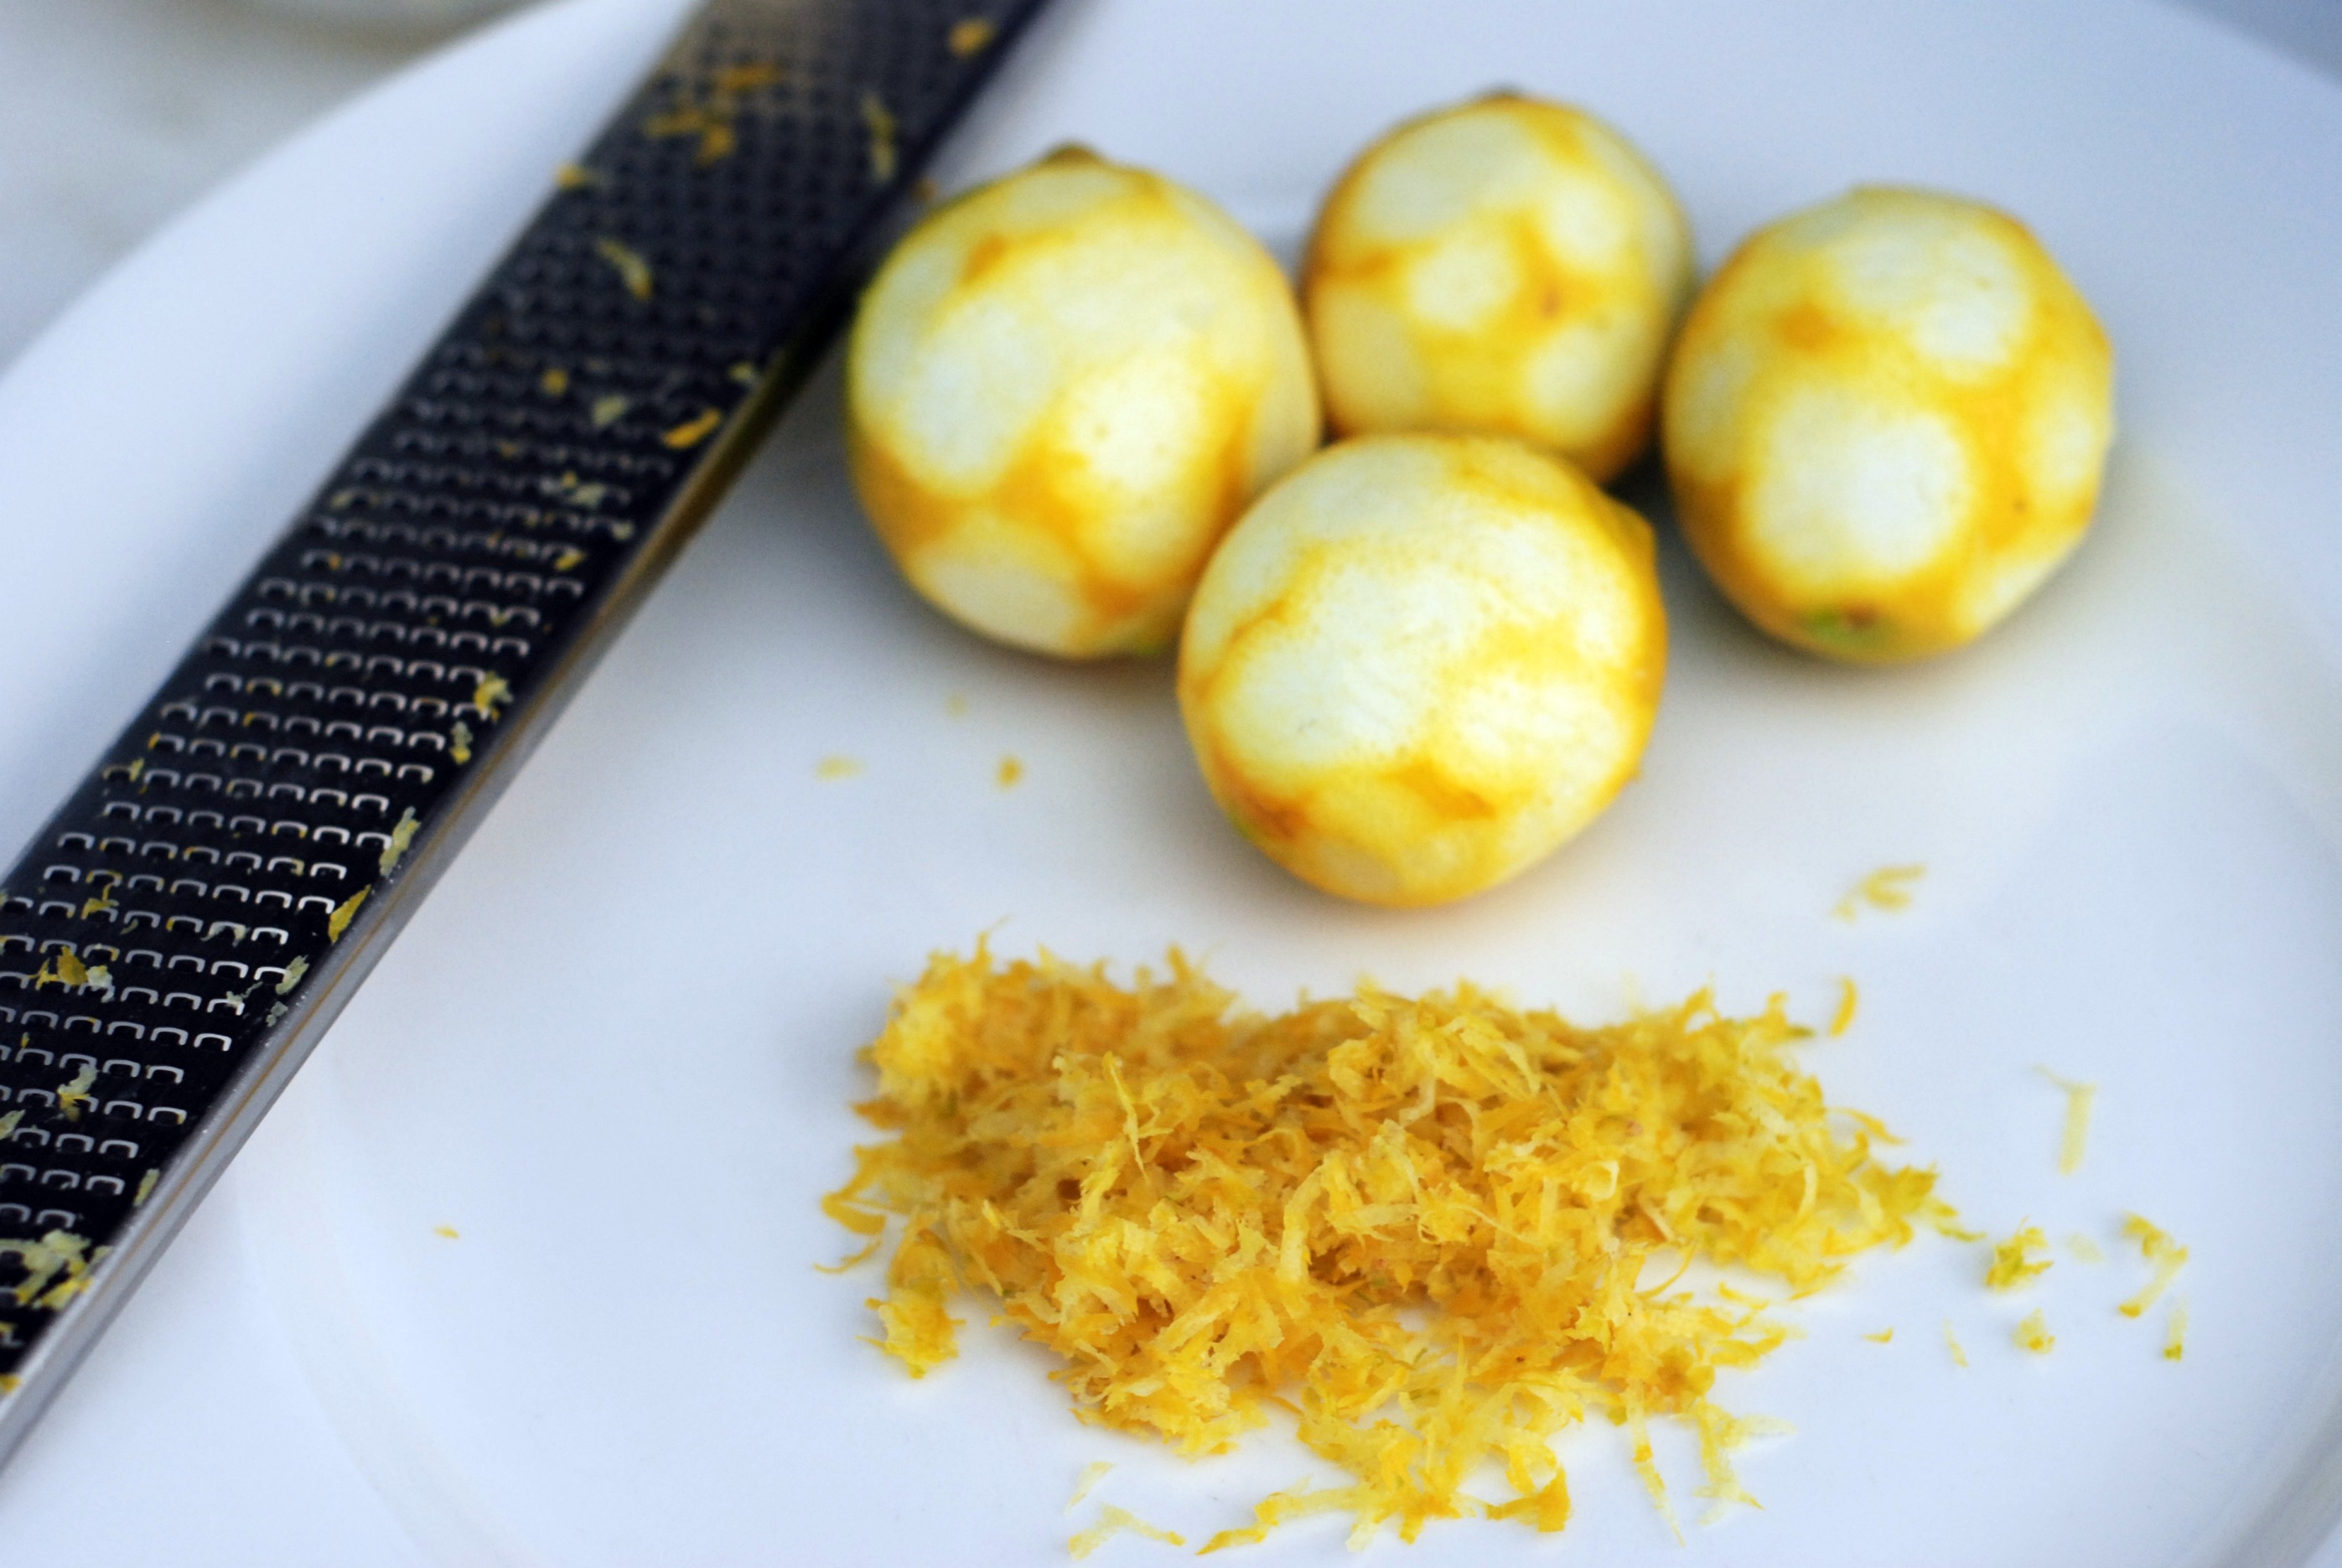
Zest the lemons.

Add the crust dry ingredients to a food processor or a bowl for hand-blending.

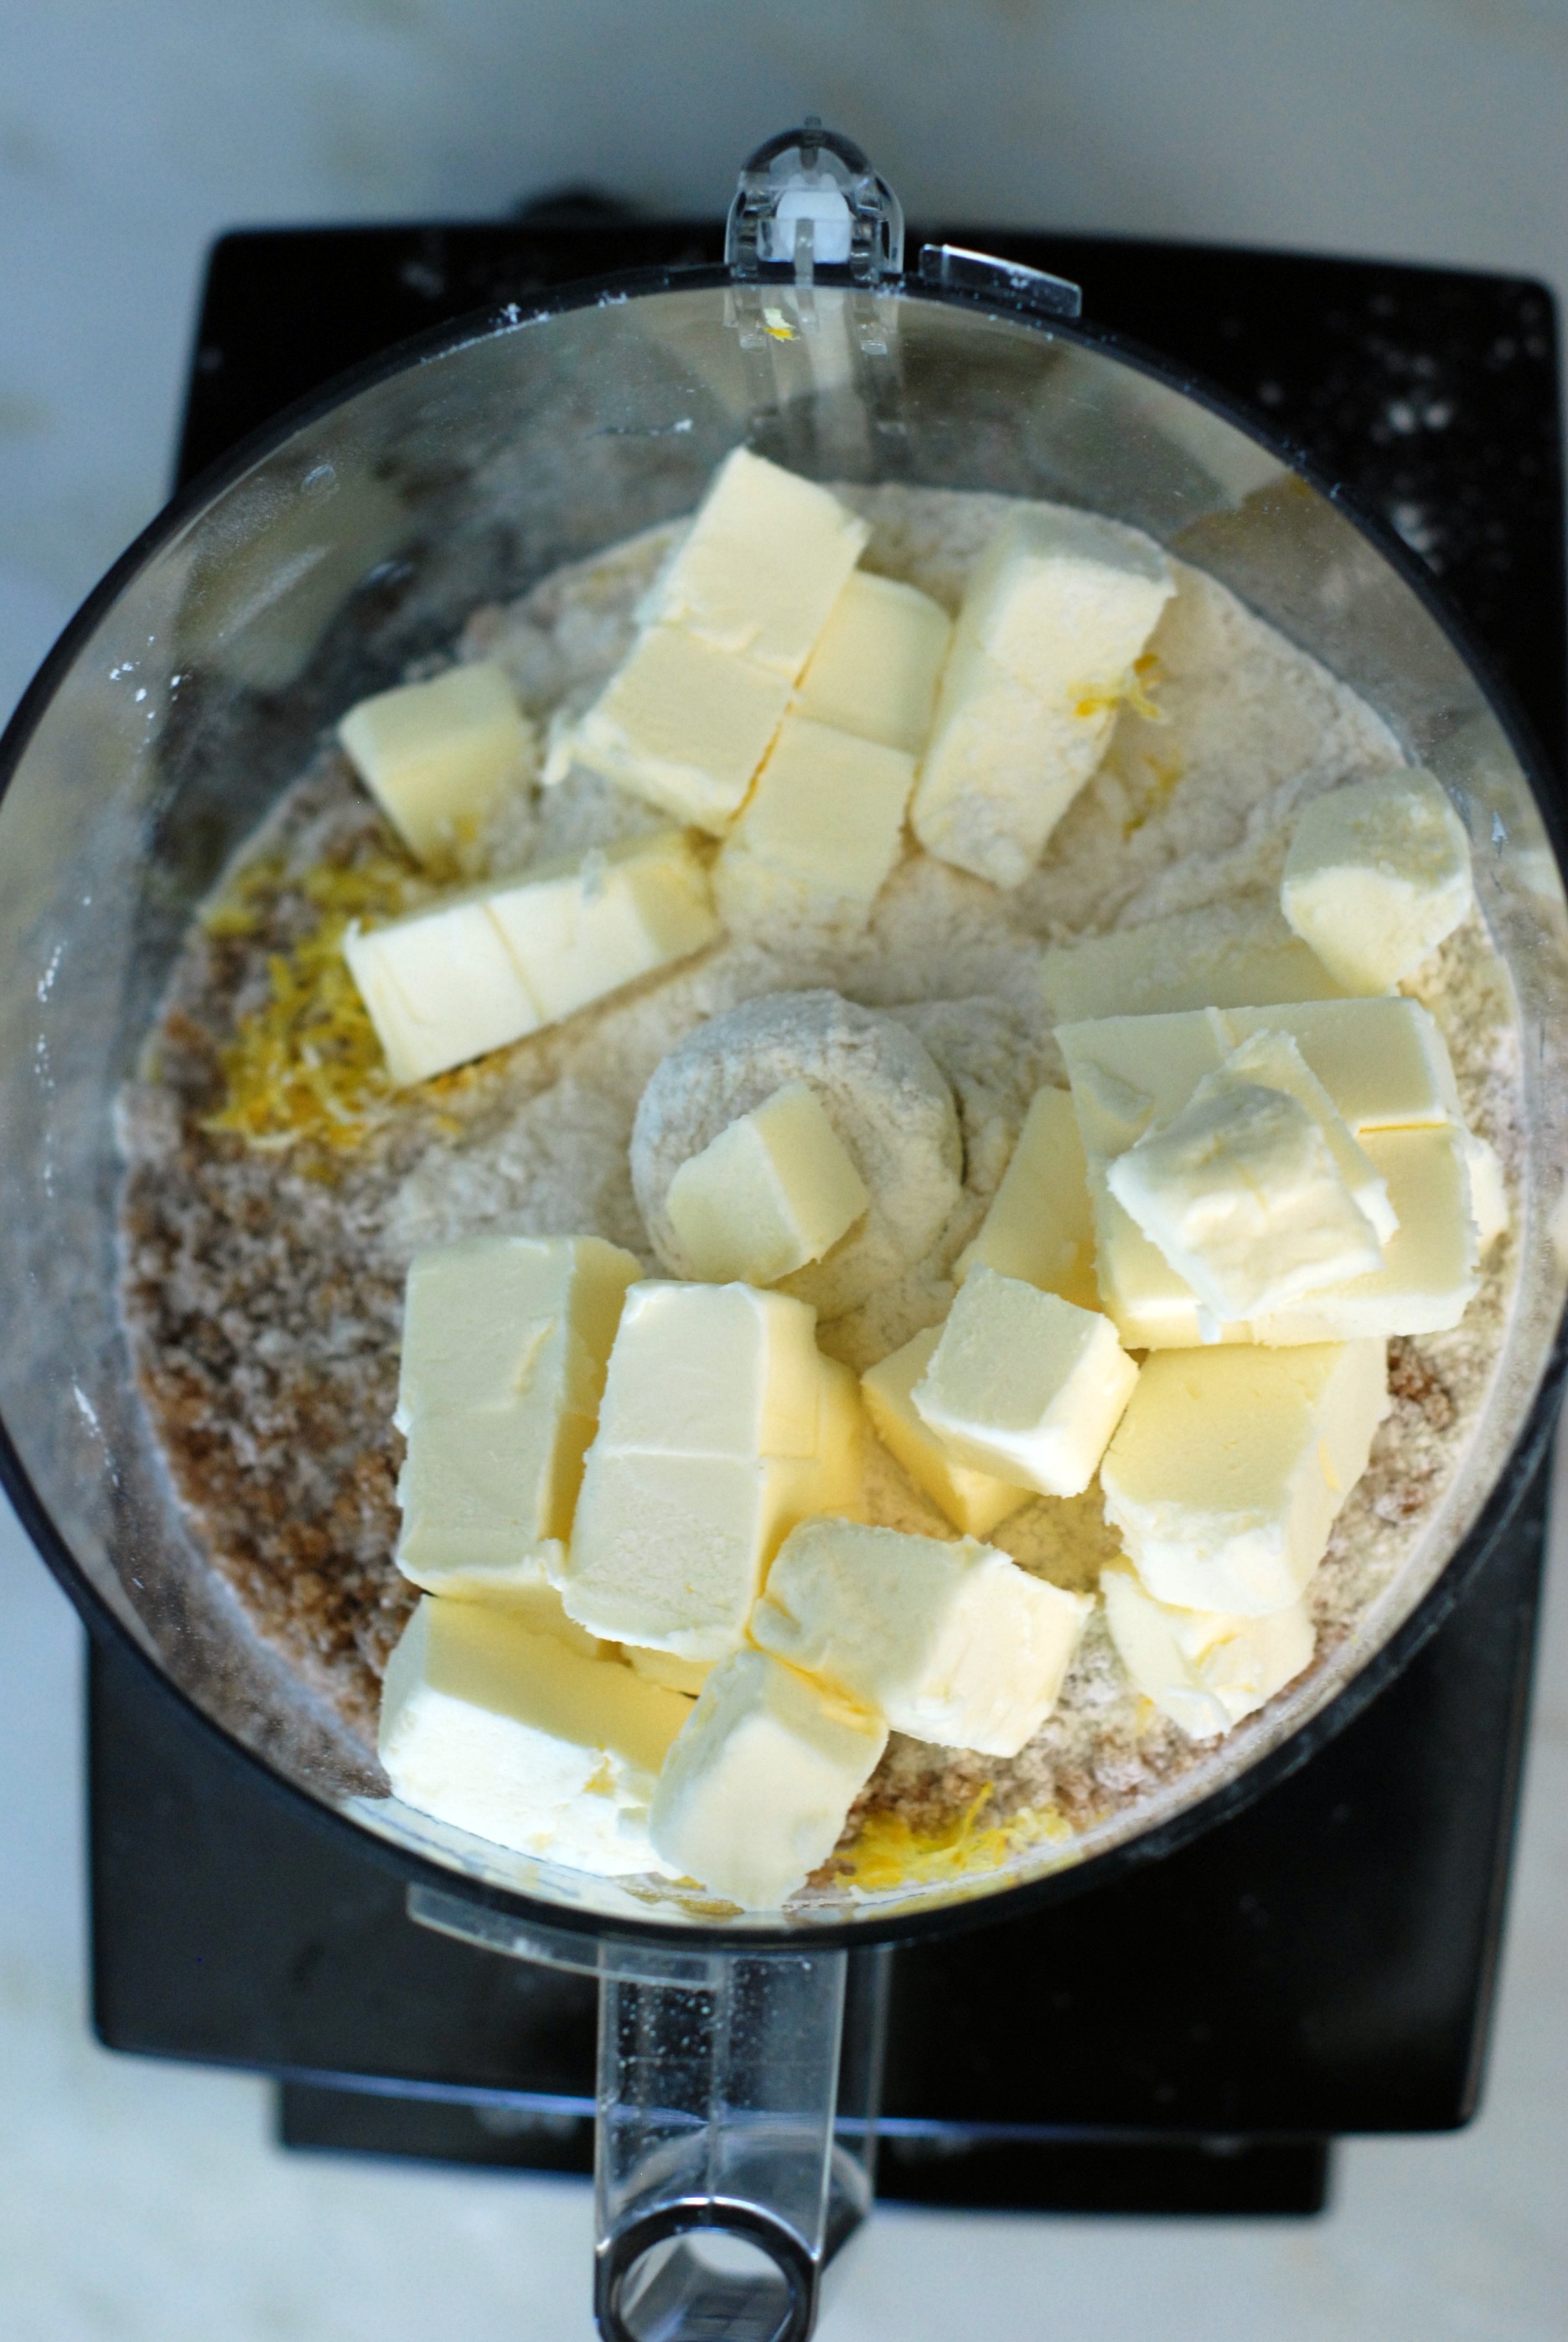
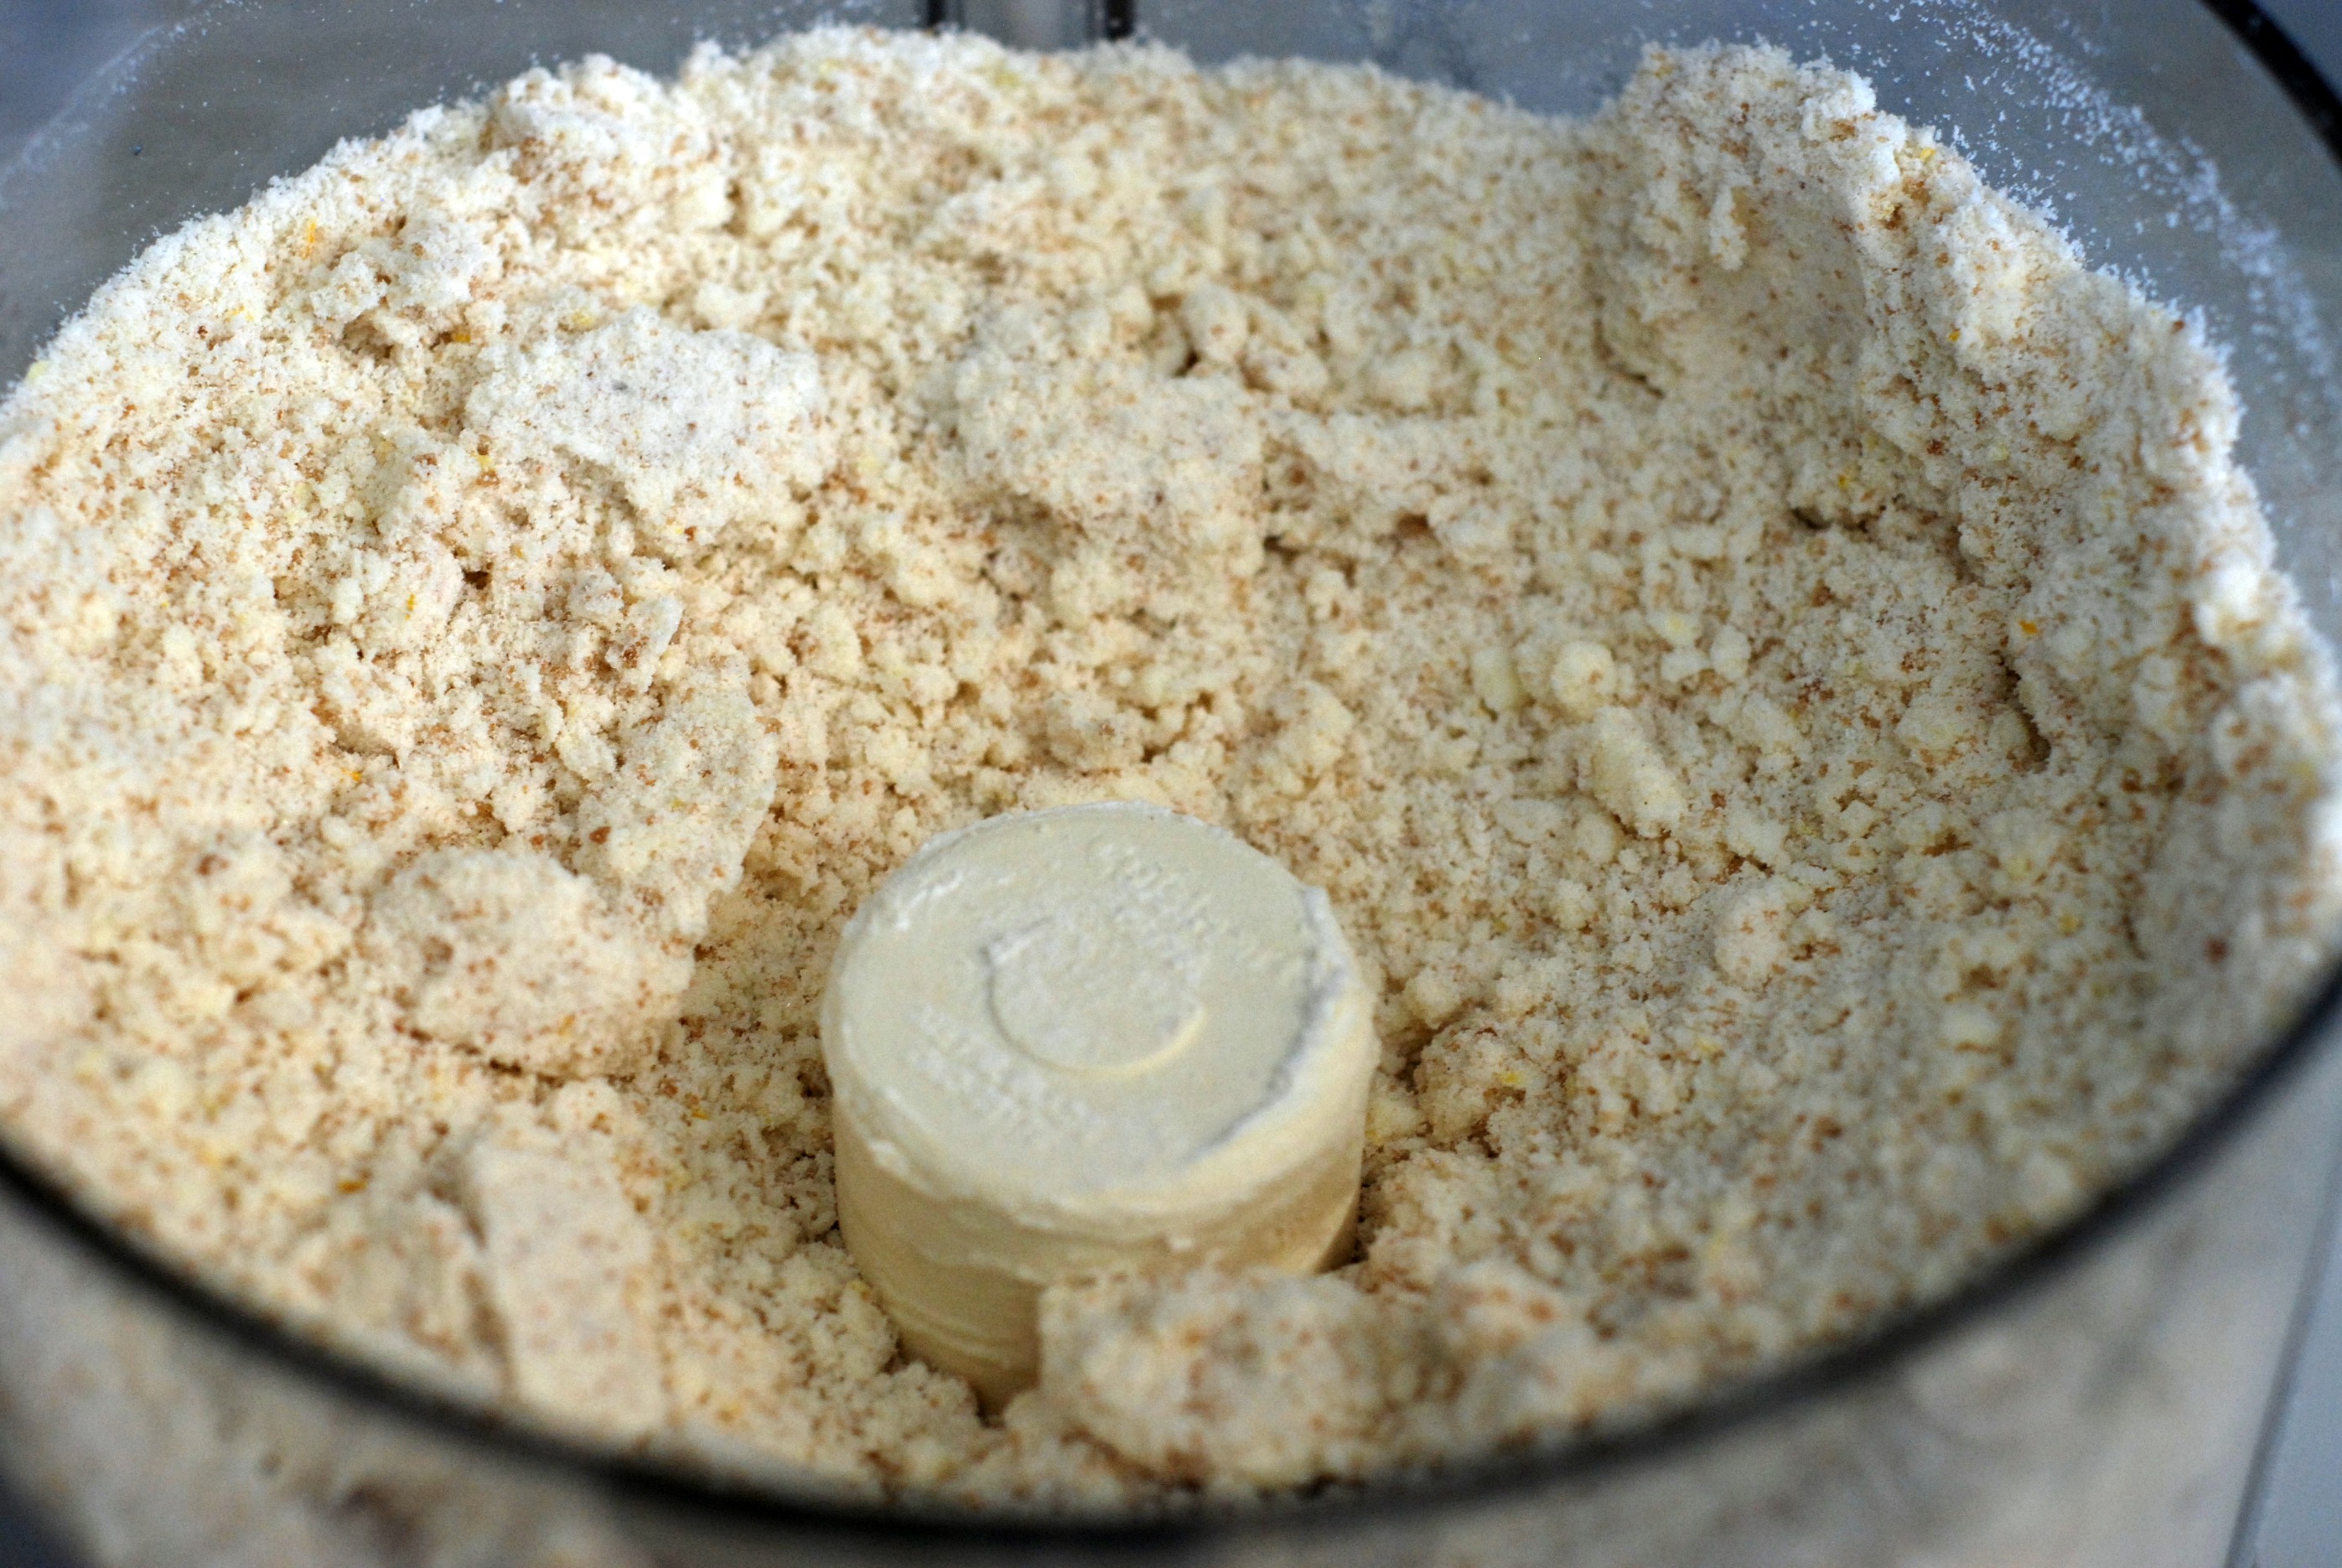
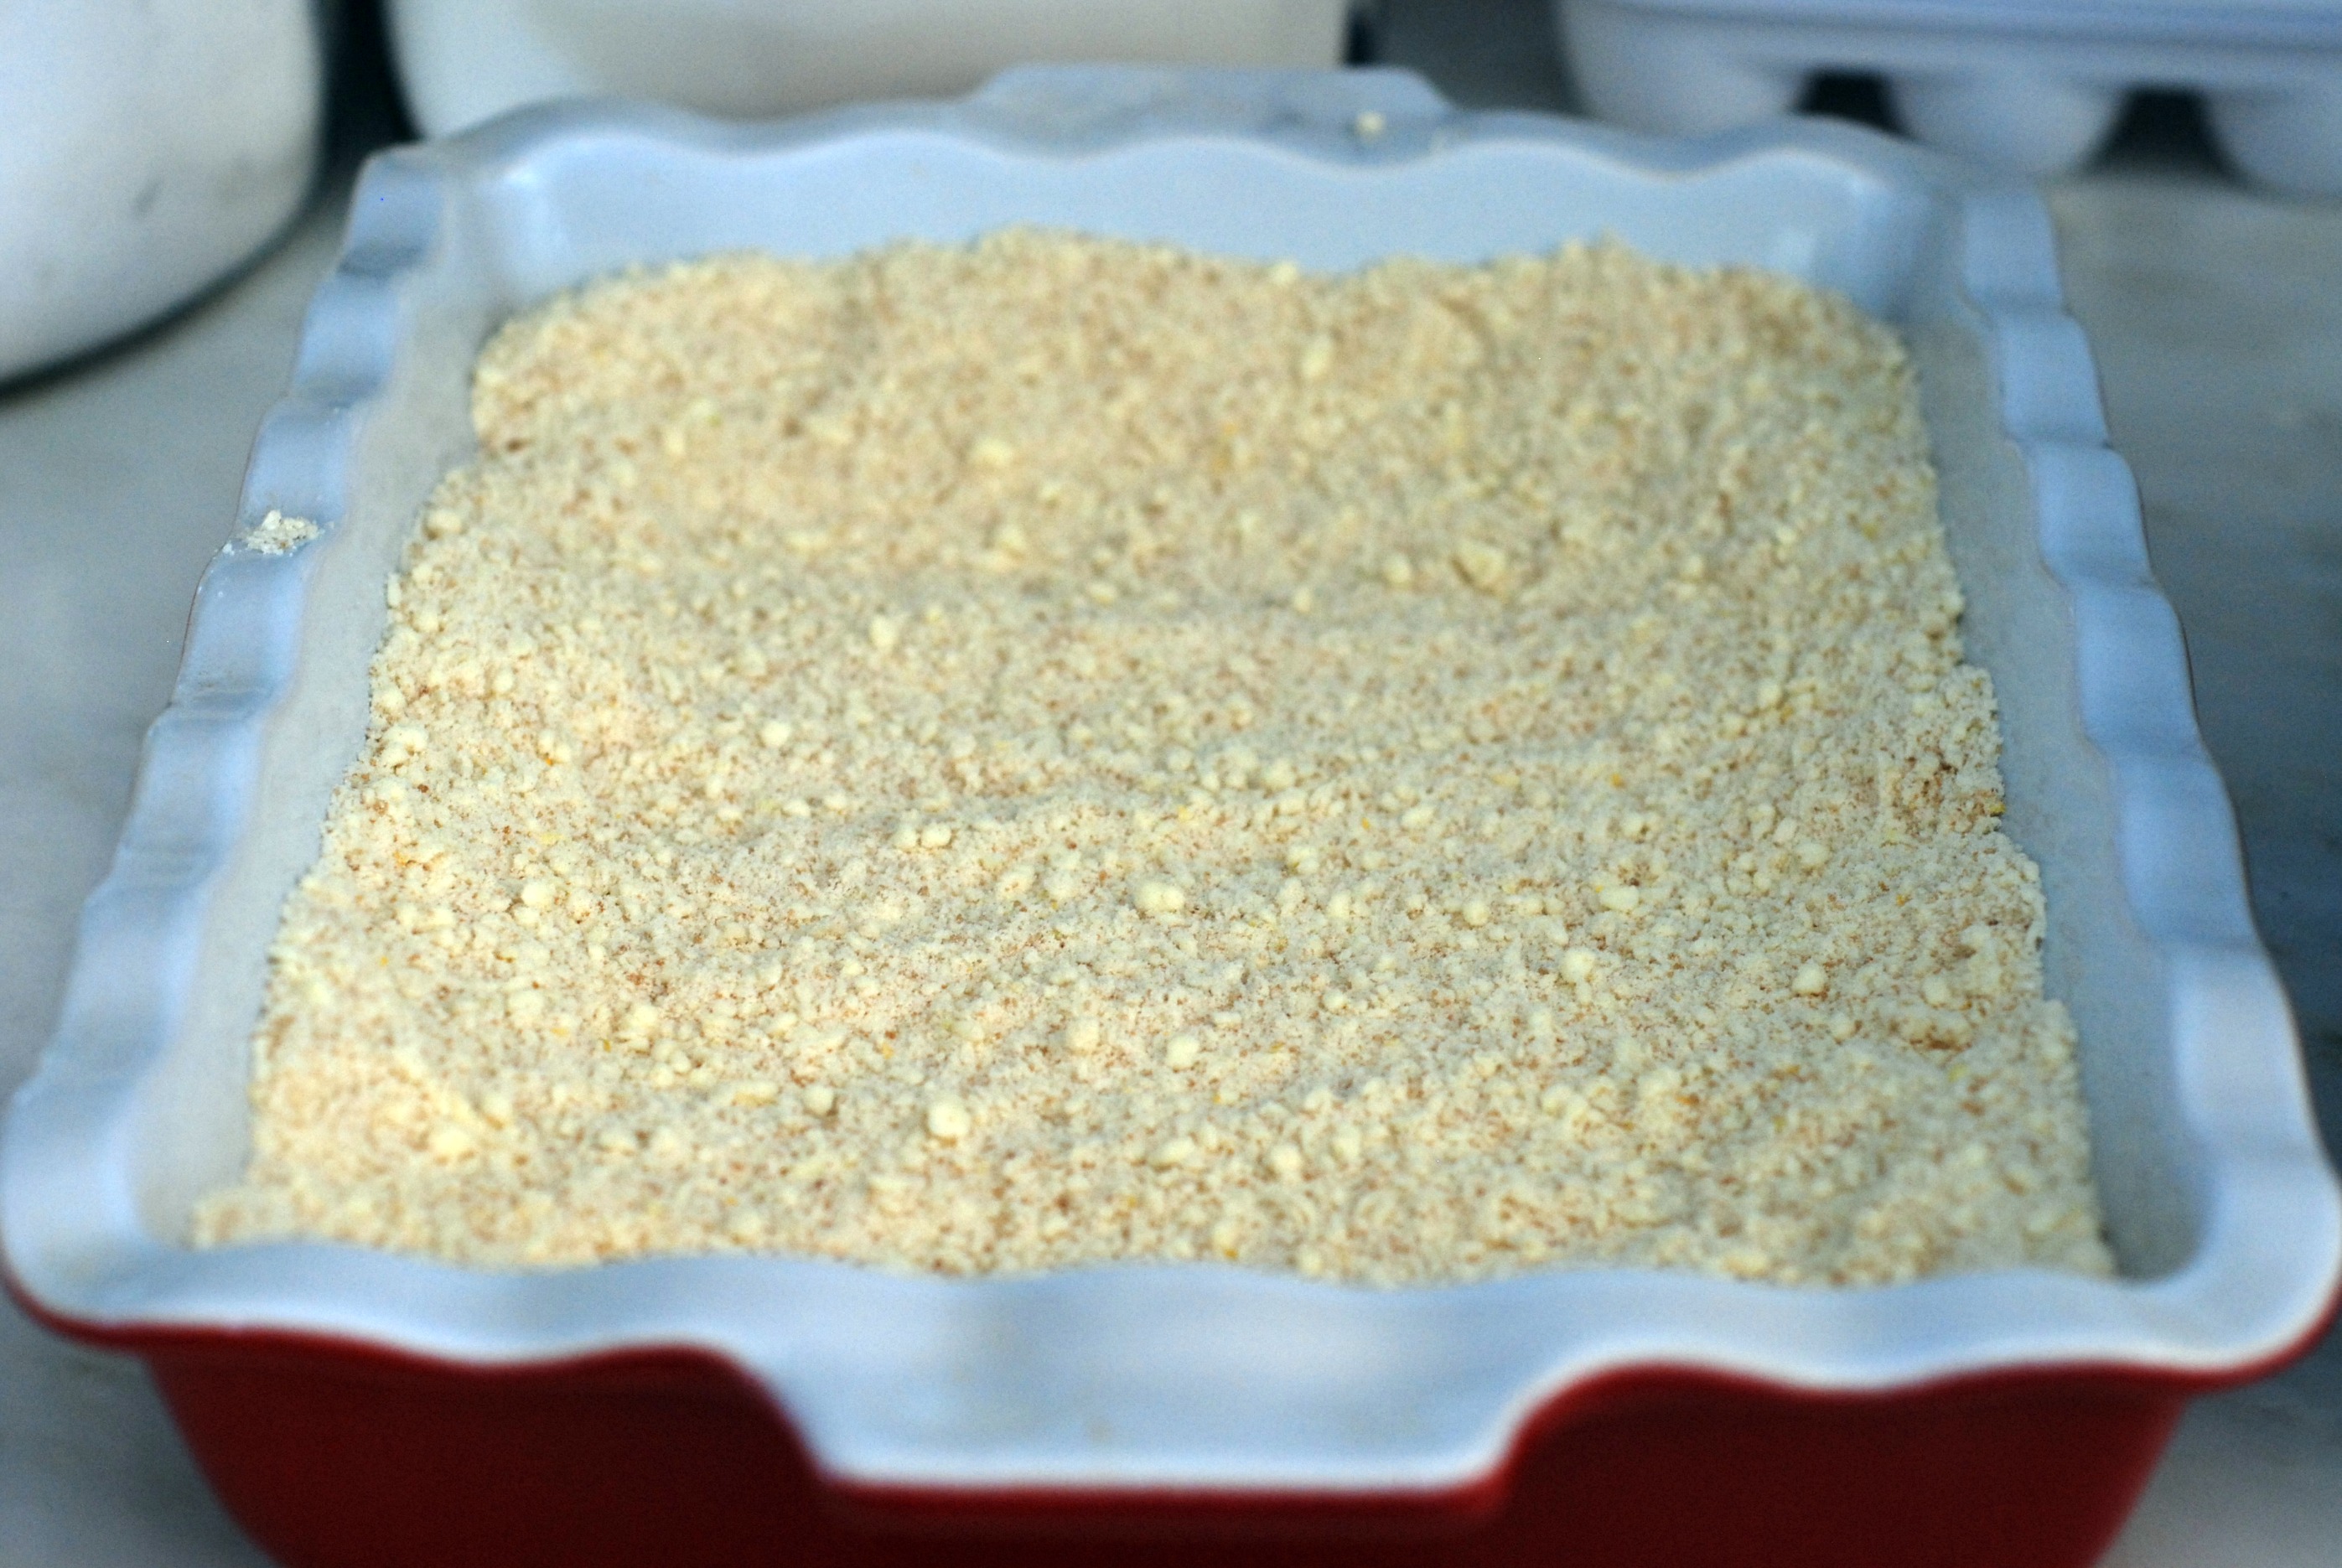
Add the cubed butter and zest.  Pulse until mixture forms small beads.

Like this –^

Press into a 13×9  dish on the bottom and up half of the pan’s side.  Bake for 25 minutes.

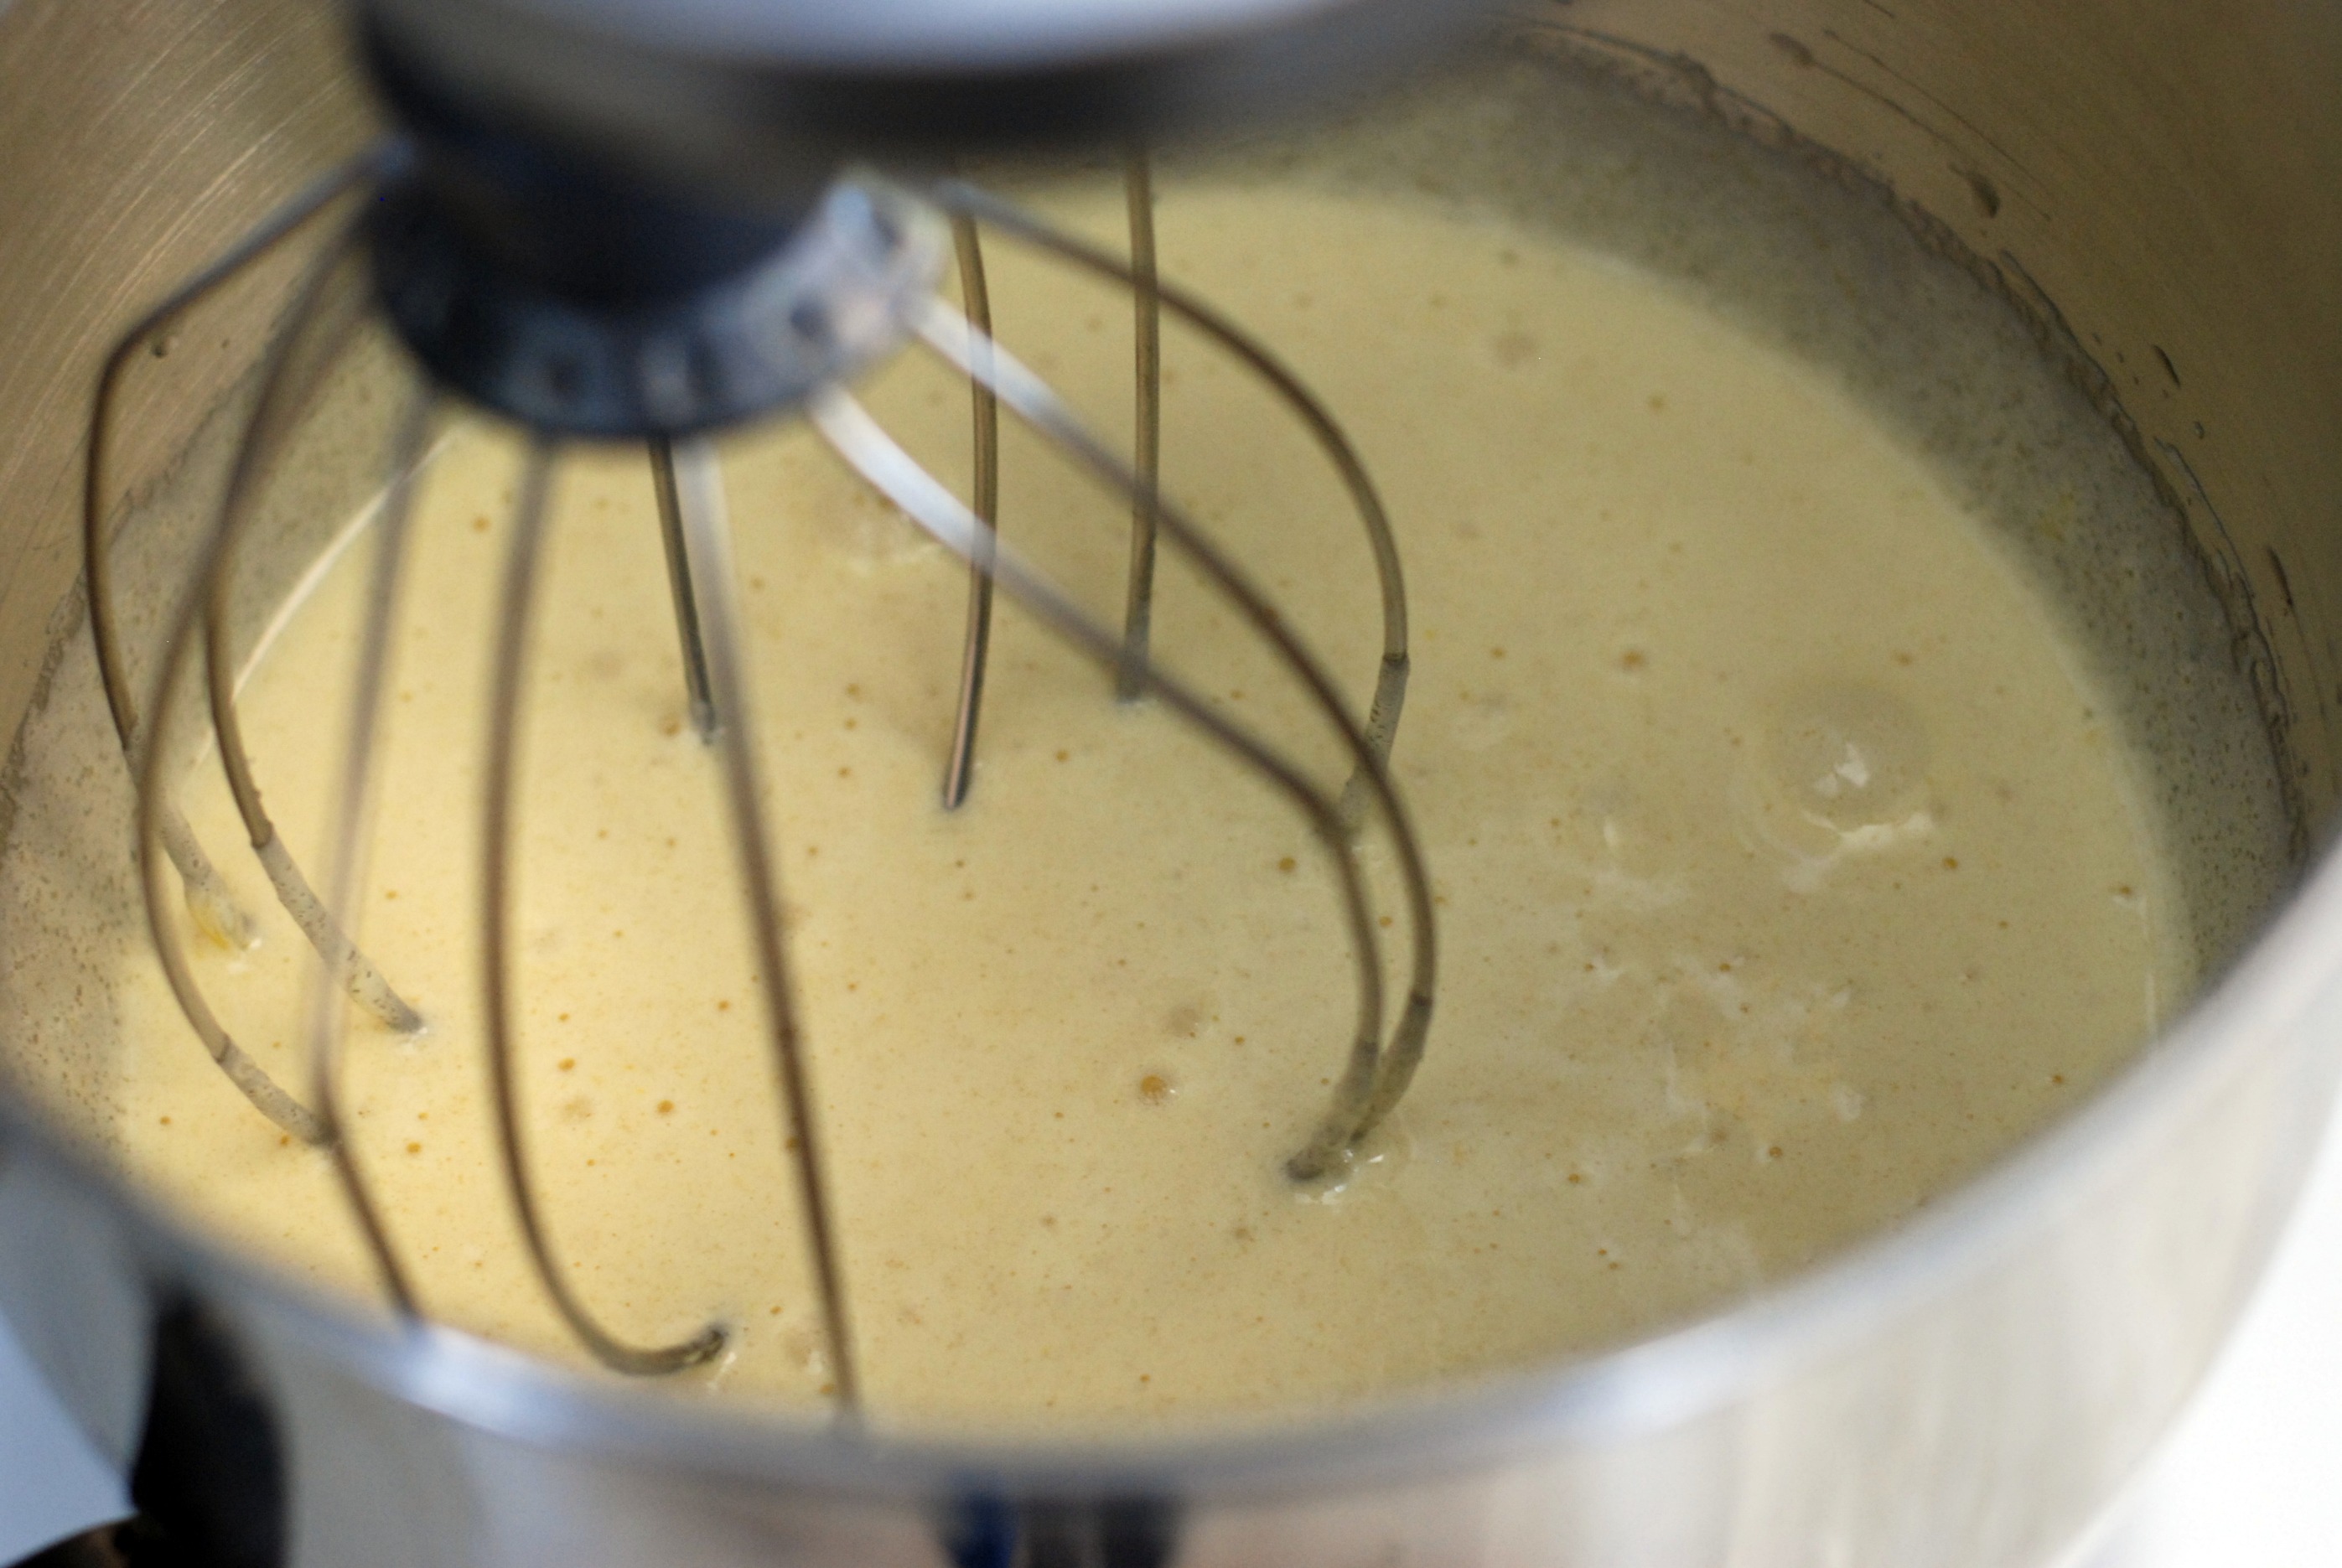
While the crust bakes, wisk butter and eggs together.

It should look like this –^  Then, gentle stir in the lemon juice,  flour, and zest.

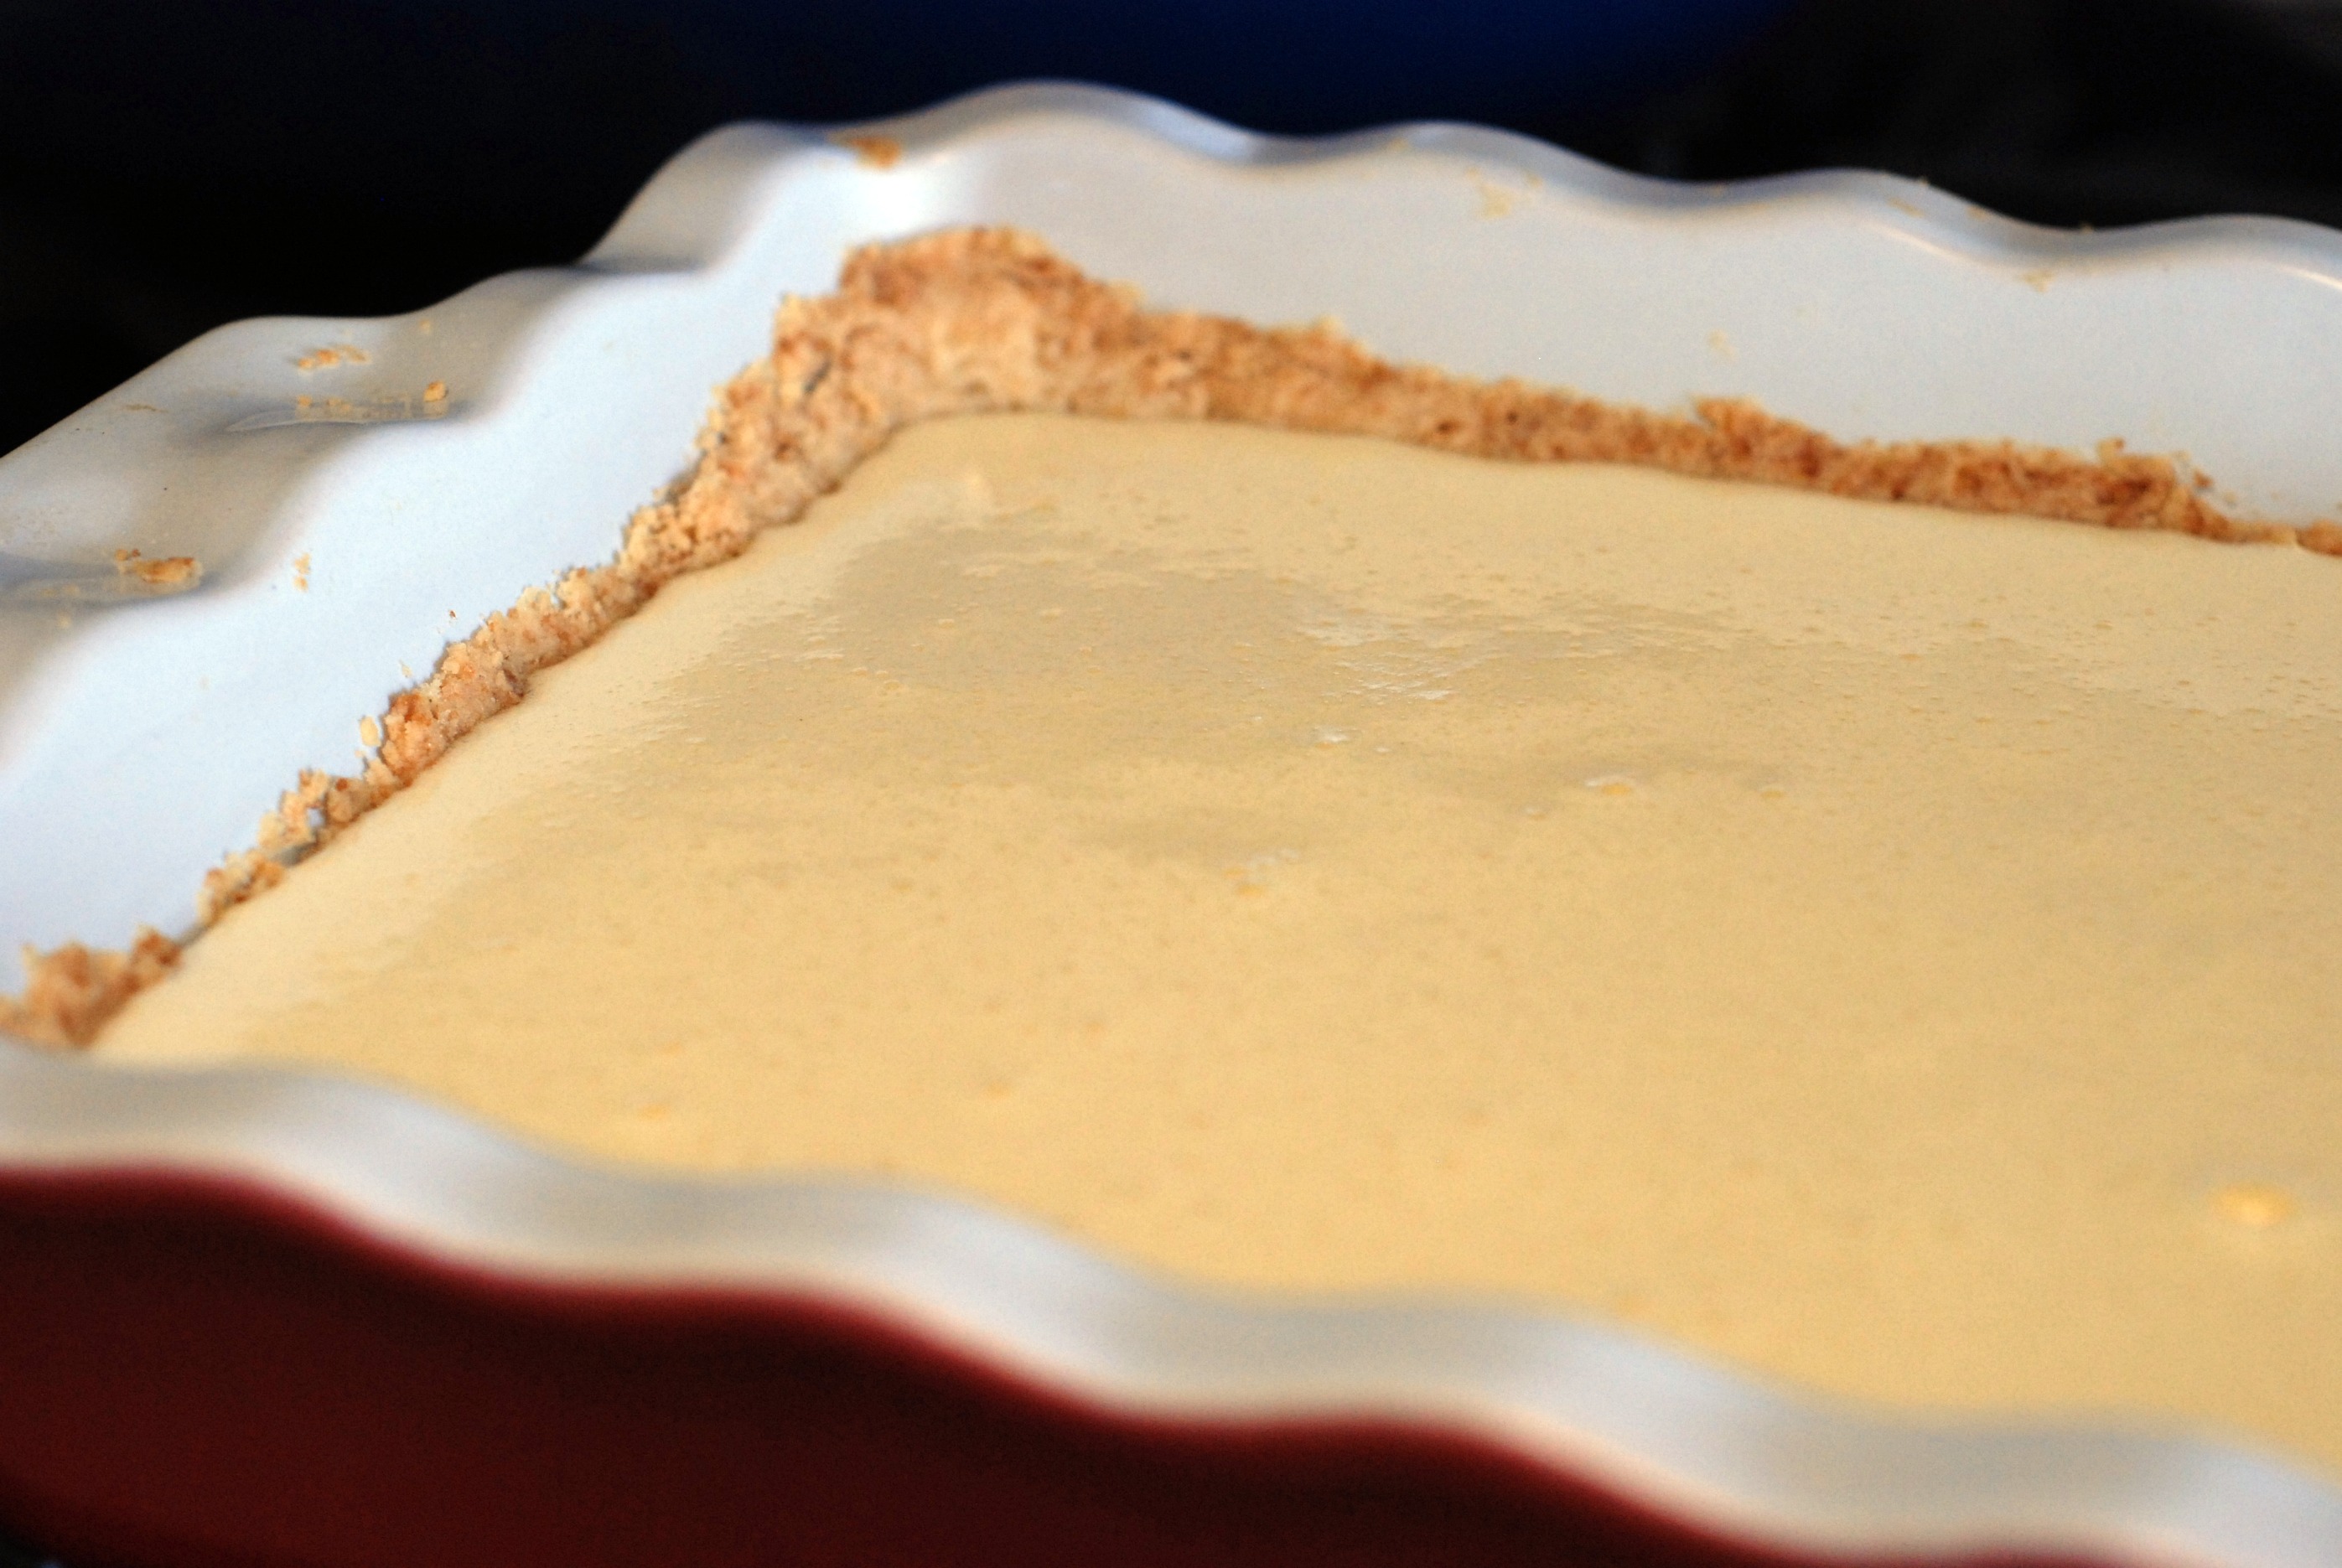
When the crust is done, turn the temperature down to 300, add the filling, and bake for about 30 minutes.

note: I was not patient and did not wait until it lowered all the way which is why the tops of my bars have the texture they do.  I knew this and almost wanted it :).

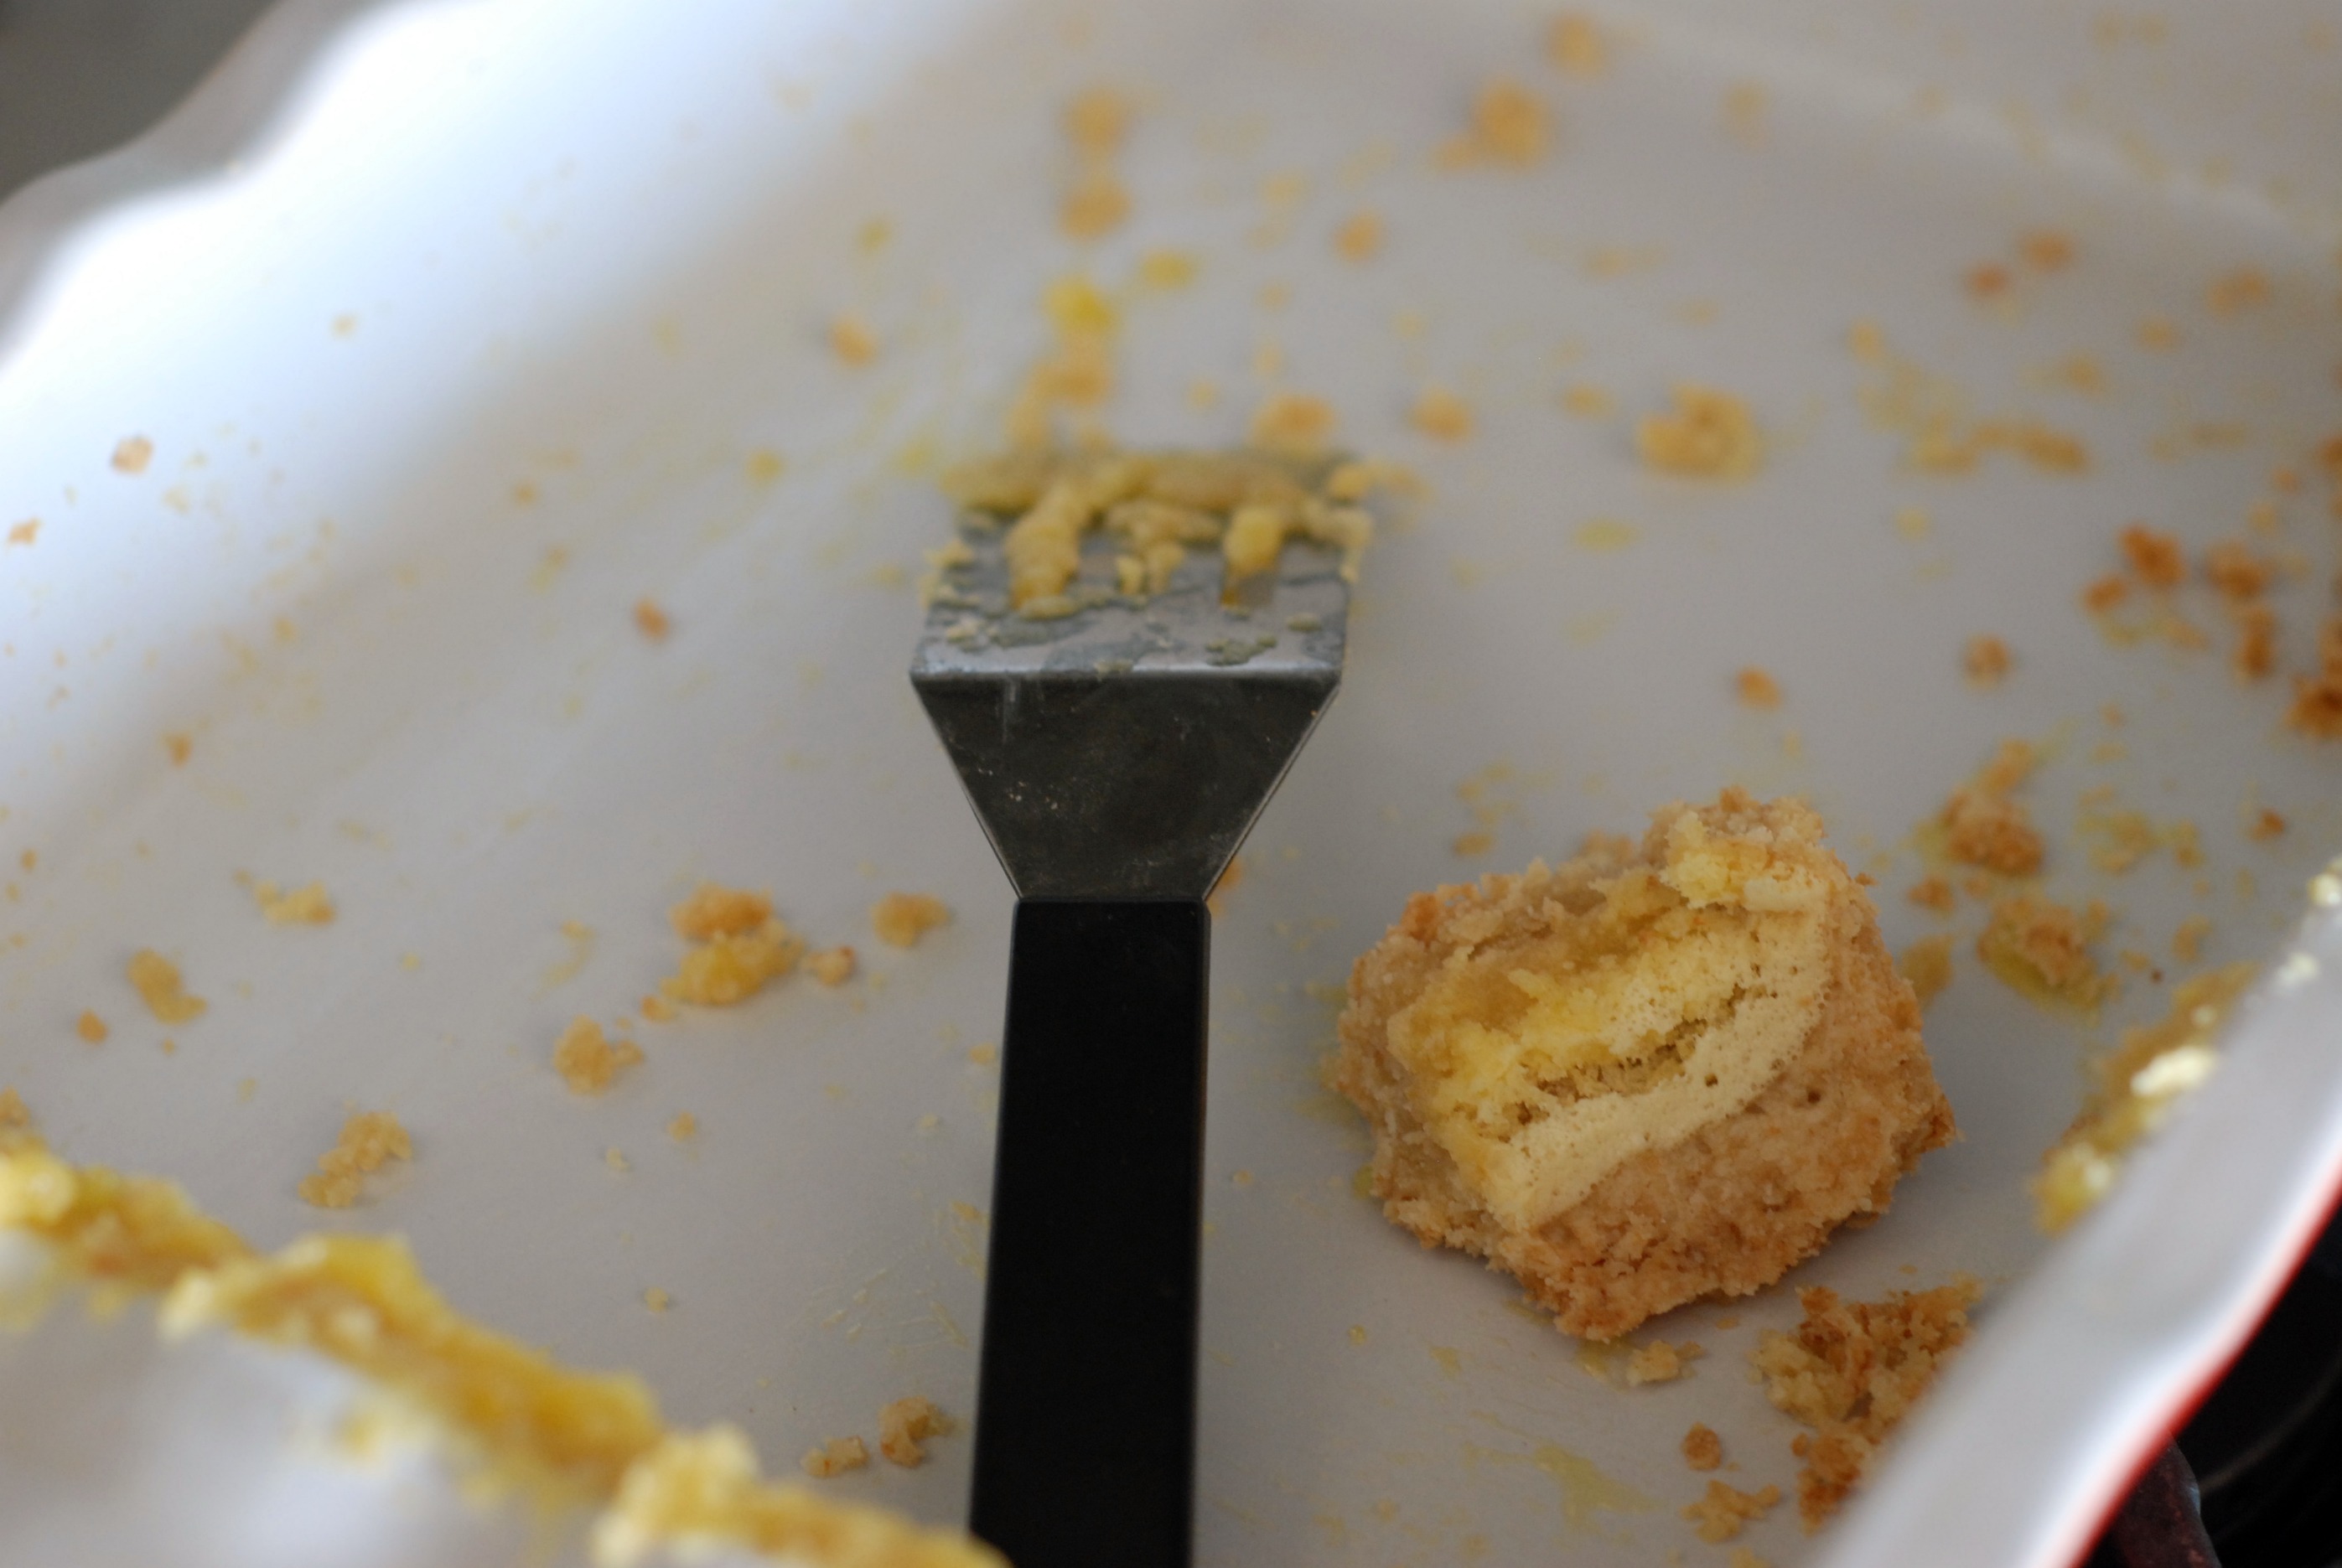
Enjoy!  I obviously did.  Make sure you share some with some friends and neighbors.

This recipe was adapted from the Serious Eat‘s “Zesty Lemon Bars”

Crust:

2 cups all-purpose flour

1/4 cup sugar

1/4 cup packed brown sugar

1 lemon, zested

1 cup butter, cold (cut into 1/2 in cubes)

Lemon filling:

4 eggs

1 1/2 cups sugar

3/4 cup fresh lemon juice (about 3 large lemons)

1/3 cup all-purpose flour

1 lemon, zested


Beware

of

leg monkeys

and

snitchers.

Vanilla extract. You’ll never buy it from the spice aisle again.

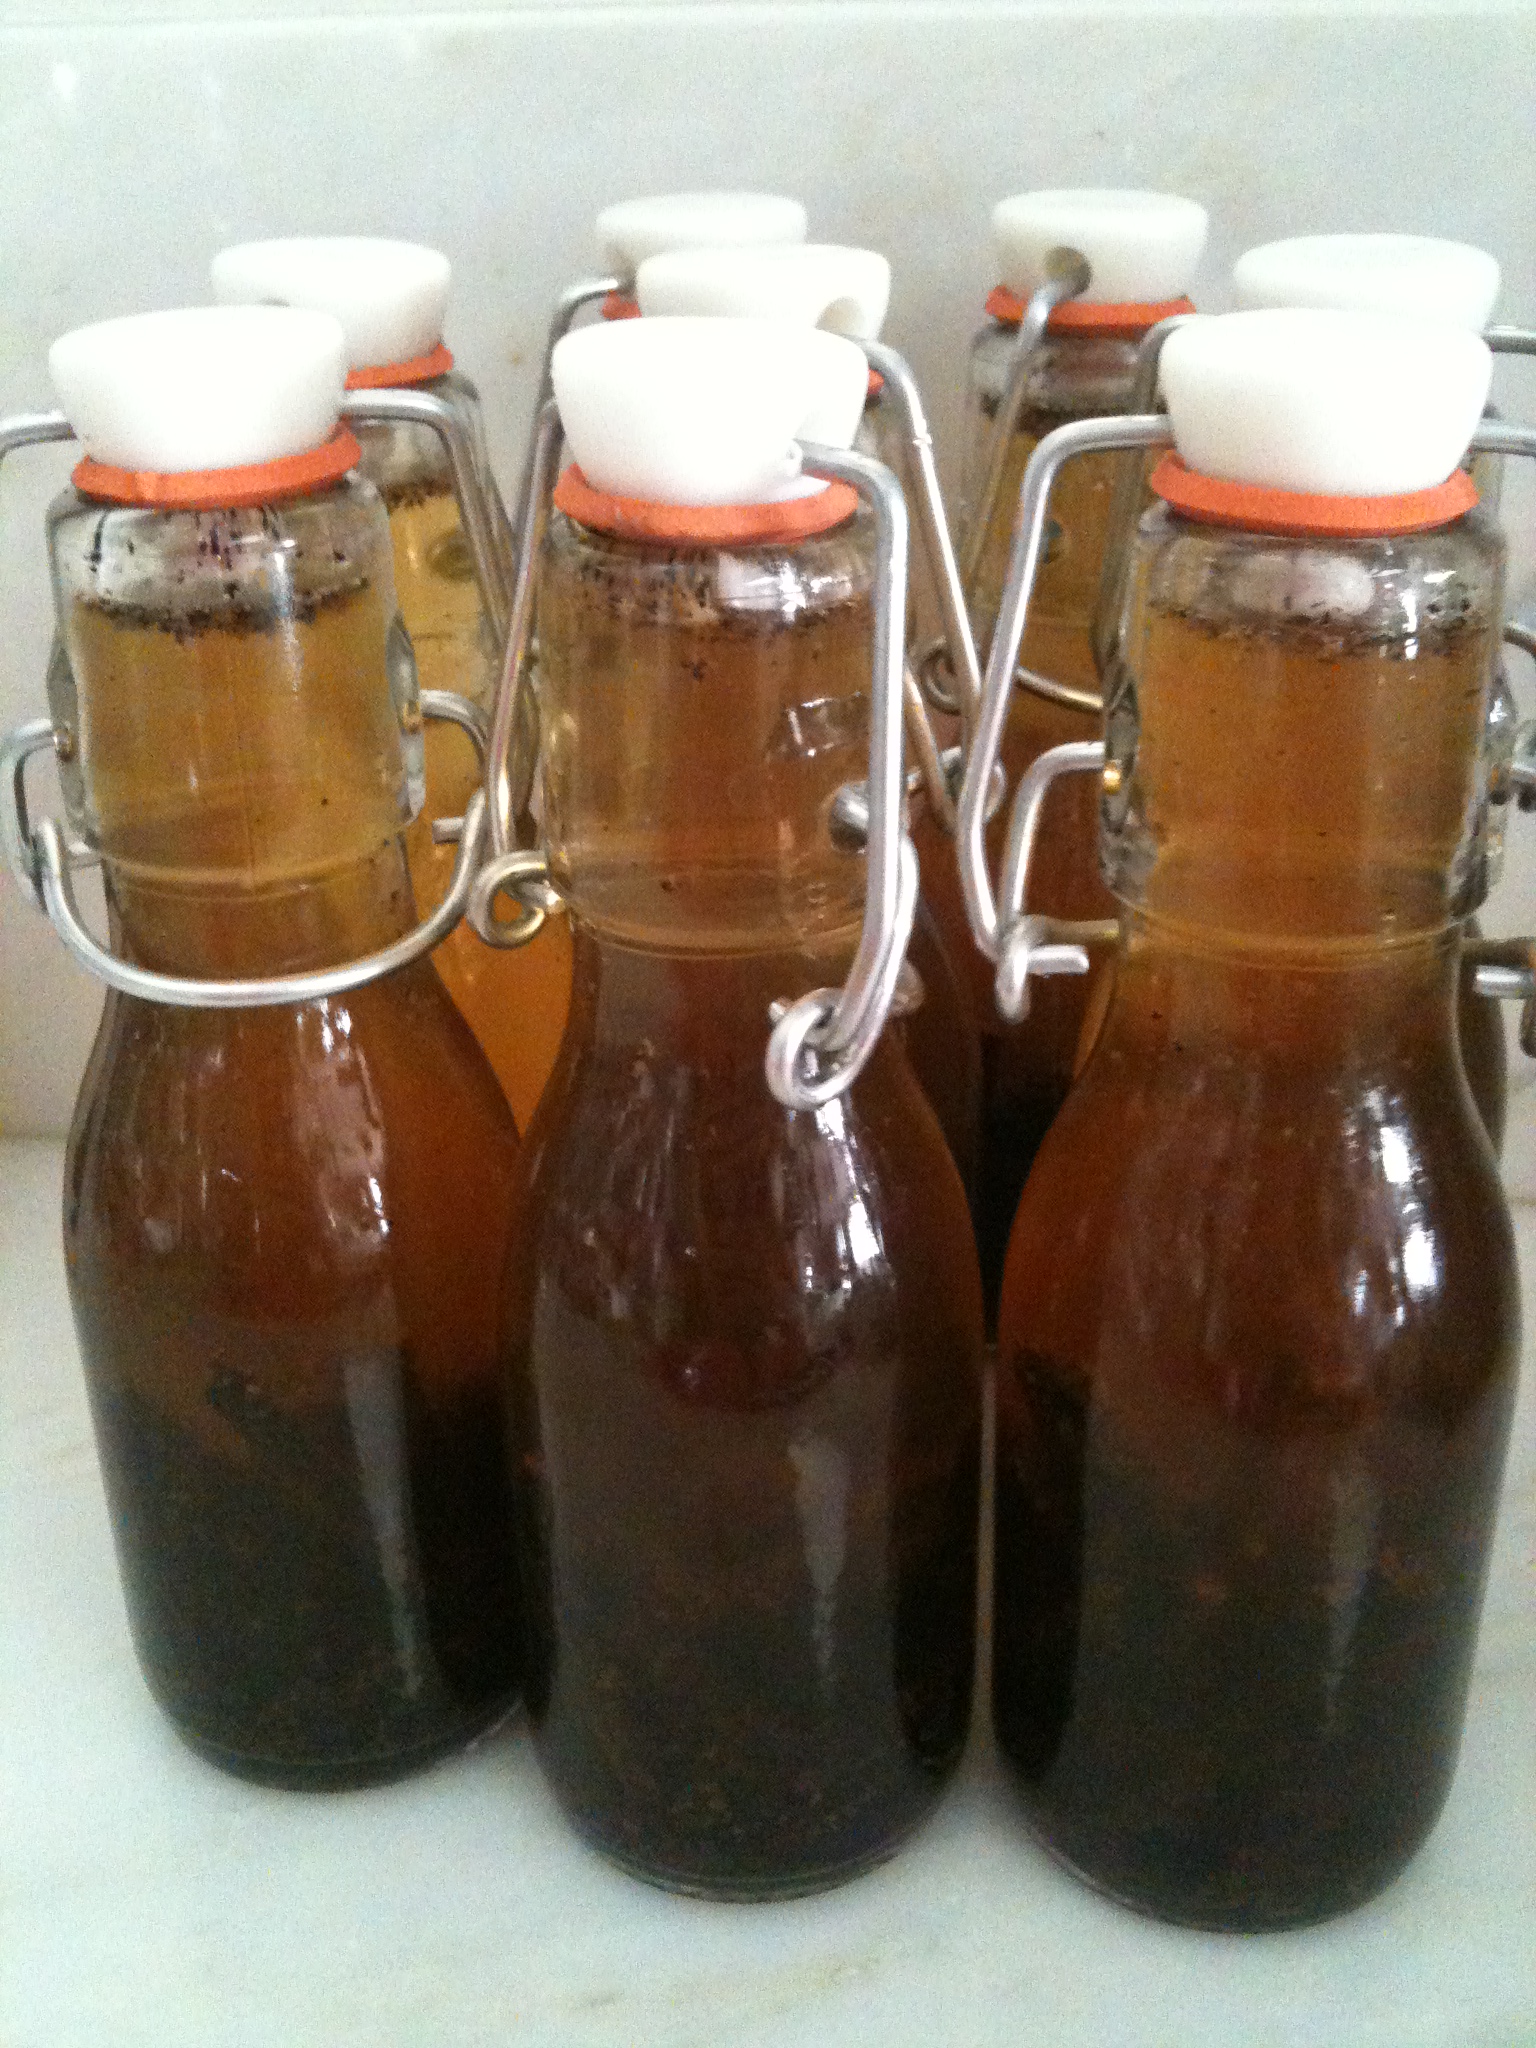
I have wanted to make vanilla extract ever since my Grandma told me about how she used to get the “real deal”  from Mexico, as opposed to the imitation extract which I don’t think I have ever used knowingly in my own home.  Call me a vanilla snob…I can take it!  .  It even would come in a coke bottle, she said, which I think is awesome.  I figured it was easy as far as projects go and would only require time and patience, instead of just plain skill.  I had my game plan made until I found this amazing site called Vanilla Review, which does THE BEST job of explaining the process of creating this wonderful substance.    I decided to accept the advice of this wise vanilla extract maker and do his 8 beans to 1 cup vodka ratio.  I have complete confidence it will work out because Ian seems thorough and everything makes complete sense the way he explains it on his site.

Cute, right? The bottles should be brown, but I could only find these ones while I was shopping.

Page 18 of 19« First...10...1516171819