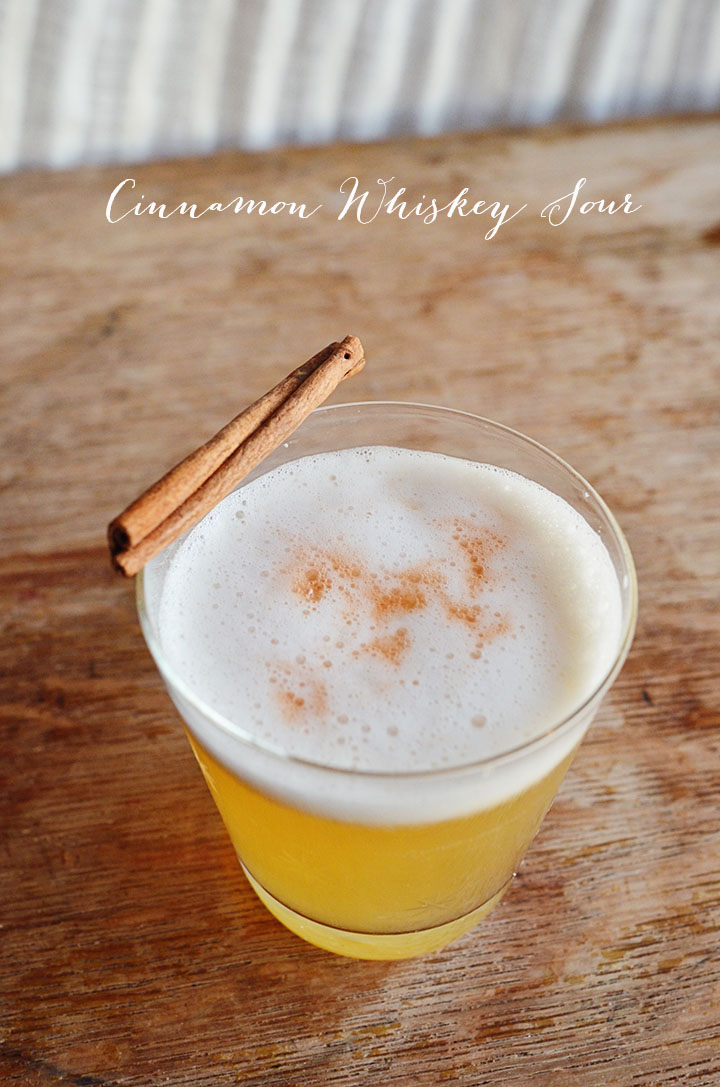
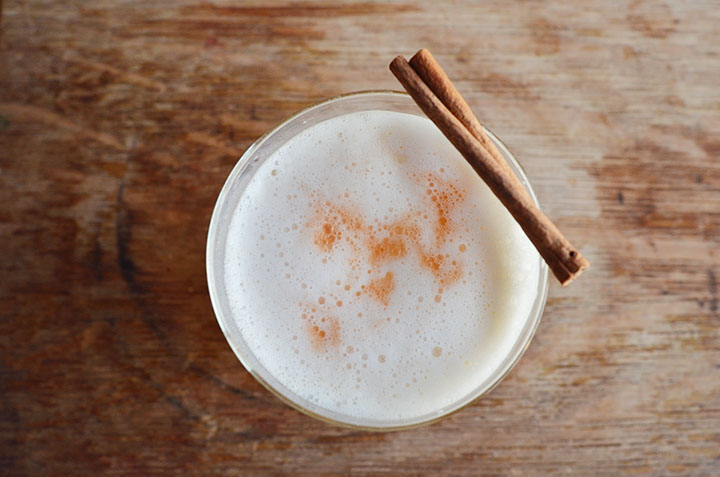
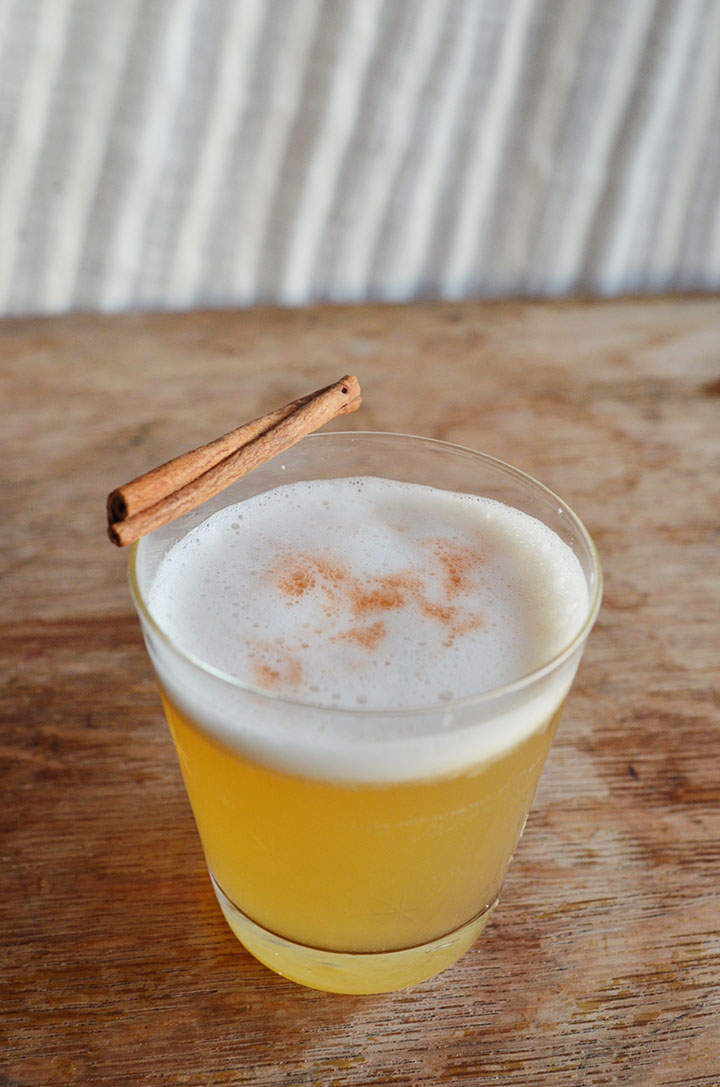
The whiskey sour is my favorite drink right now. I love the way the egg whites bring a touch of stability to the always battling sweet and sour elements of a cocktail. Whiskey sours are also very fun to play around with as you can try so many different flavors in the simple syrup. For this drink I went with cinnamon. I had this combo at Craft & Commerce (our best restaurant/bar for cocktails in San Diego) and I fell in love immediately. It brings a little bit of holiday spirit but can totally be served any time of the year. Plus, cinnamon is a wonderful health aid…so…bonus points!!!
For those who are wondering about the raw egg white, don’t worry. If you get your eggs from a local farm who is taking care of their chickens the way they should, raw egg whites are totally fine. If you are super nervous about this idea and still want to try the drink, then you can buy pasteurized egg whites at whole foods if you have no other options and NEED to have whiskey sours in your life. I would still recommend that you look into fresh eggs anyway, for the sake of your overall health. Did you know that America is one of the few countries who refrigerate their eggs? That’s kind of a scary thought when you beg the question why. Something to ponder…
Local Hint: San Diego, you can find amazing pasture-raised chicken eggs from farms like Spur Valley Ranch. Doesn’t get much better than them unless you are raising chickens yourself! ;) Check here for market availability.
Cinnamon Whiskey Sour:
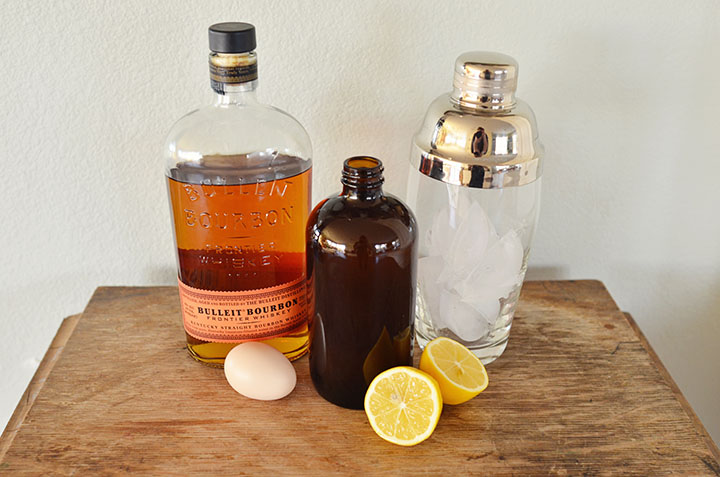
2 ounces rye whiskey (preferably Bulleit or your favorite small batch)
3/4 ounces freshly squeezed lemon juice
3/4 ounce cinnamon simple syrup (recipe below)
1 egg white
a few dashes of bitters
For the syrup: Combine 1 cup sugar, 1 cup water, and 1 Tablespoon cinnamon bark in a small pan. Cook over medium heat until boiling and the sugar is dissolved. The cinnamon bark from Ceylon cinnamon, as opposed to Cassia, is what you’re looking for. Ceylon is known as the “true” cinnamon that was bartered and traded so long ago in the days of Marco Polo and beyond. Obviously, you can make a syrup with a cinnamon stick but I threw that little bit in there in case you are the type of person who wants to know such things and make the best cinnamon syrup possible. ;)
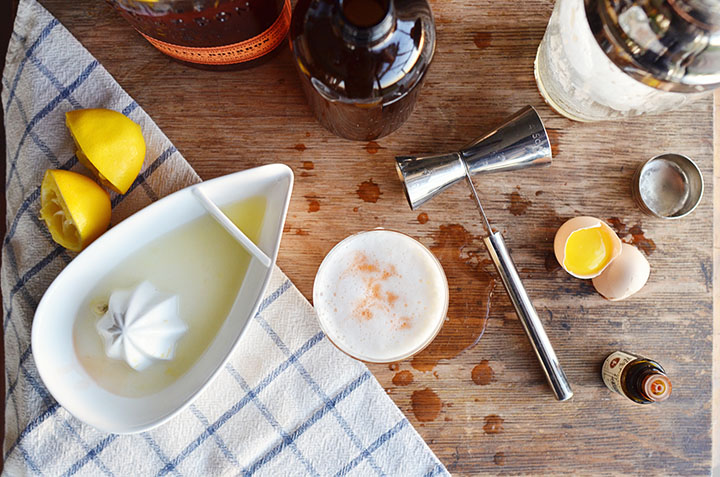
For the drink: Fill your cocktail shaker with ice and add all of the ingredients besides the bitters. Shake for at least a minute so that the egg white can get a nice foam in the shaker. Pour into a glass without ice and throw a few dashes of bitters on top. If you find the drink to be too sweet, try substituting all or half of the lemon juice for lime juice. Enjoy!
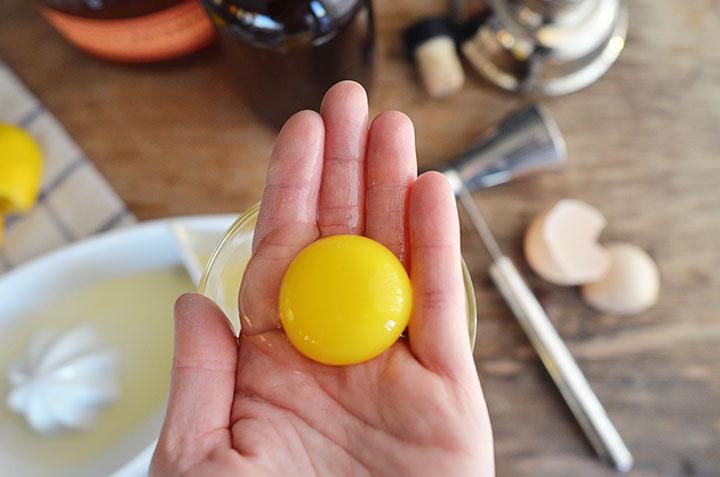
Best way to separate the white from the yolk is with your hands!
Click below to follow us on:
F a c e b o o k // T w i t t e r // P i n t e r e s t // I n s t a g r a m // E m a i l
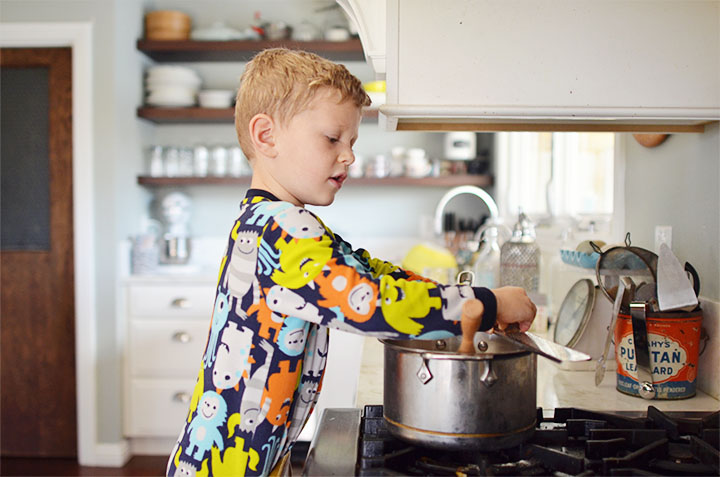
Cooking with kids can be a lot of work, but the memories and experience are worth it! I have 3 kiddos. When I cook with one of my kids, I love to engage with them one-on-one…if I can. This is the most relaxing for me, the kiddo feels successful and important, and our recipe gets completed without any arguing…assuming the others stay out of the kitchen, which doesn’t usually happen!
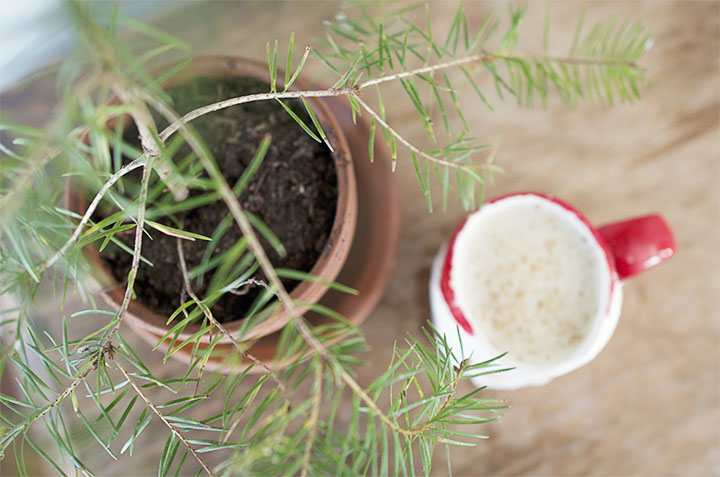
The recipe in this post was made with almond milk but you could totally substitute regular milk. ;) I made the complete switch to almond milk a year or so ago. Before that, I drank raw milk for a while before it got too expensive and difficult to acquire without waiting out long periods of time where California was deciding how it felt about raw milk.
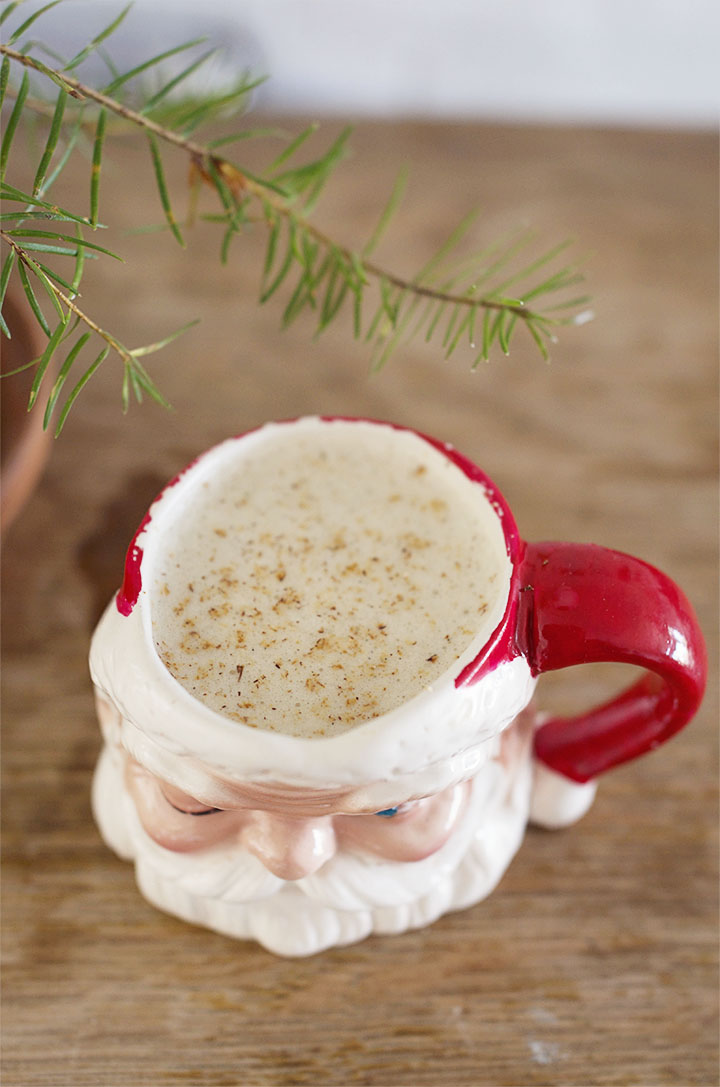
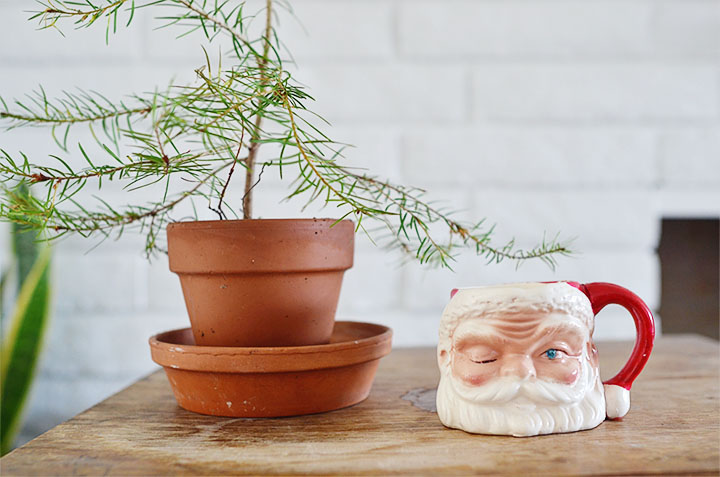
My littlest loves eggnog so we decided to make some together, using the most authentic eggnog style (recipe below). I love his little hands in these pictures! I hope I always have little hands in my kitchen on some level!
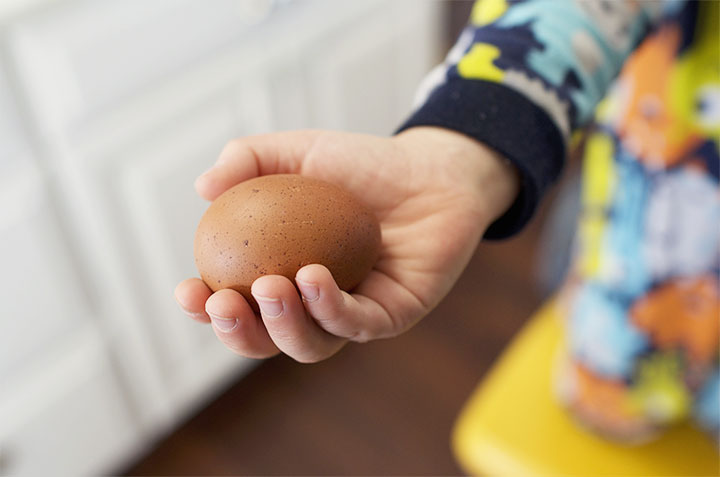
Eggnog is made several different ways. The most traditional way blends the egg yolks in with the milk and sugar mixture, then is combined at the end with whipped egg whites. The eggs need to be fresh because they are consumed raw in this and most homemade eggnog. Don’t worry too much about the warnings for raw eggs if you are getting your eggs from a local organic, free-range farm that operates properly or even above that or use eggs from your backyard chickens like we did! You also have the choice to make this raw, cooked and cooled, or just cooked and consumed warm. For the health fans, eggnog is supposed to be a treat so don’t be put off by the amount of maple syrup. At least it’s a more pure sweetener, right?!
Eggnog with Almond Milk
1/2 gallon almond milk or regular whole milk
1/2 cup Grade B maple syrup
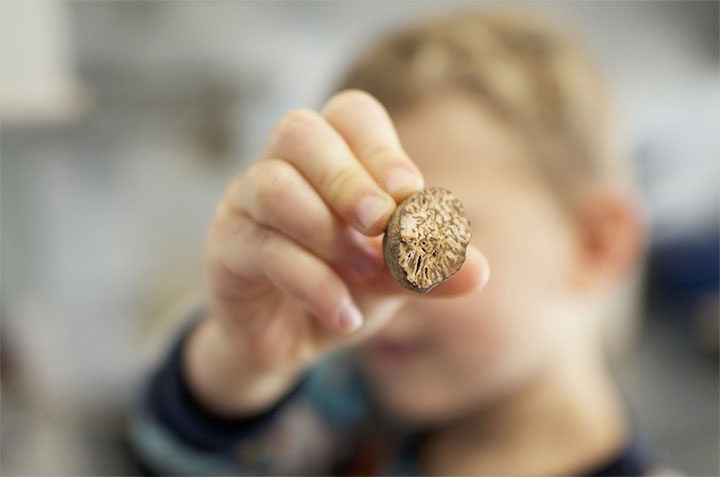
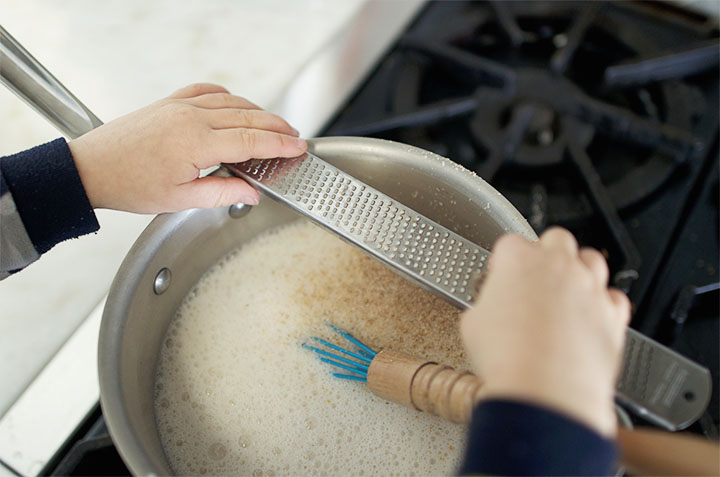
2 teaspoons fresh nutmeg, grated plus more for garnish
1 Tablespoon vanilla paste (my favorite option!) or 1 Tablespoon regular vanilla
6 super fresh eggs, yolks and whites separated
1/4-1/2 cup Bourbon (note the times in each option for when to add bourbon)
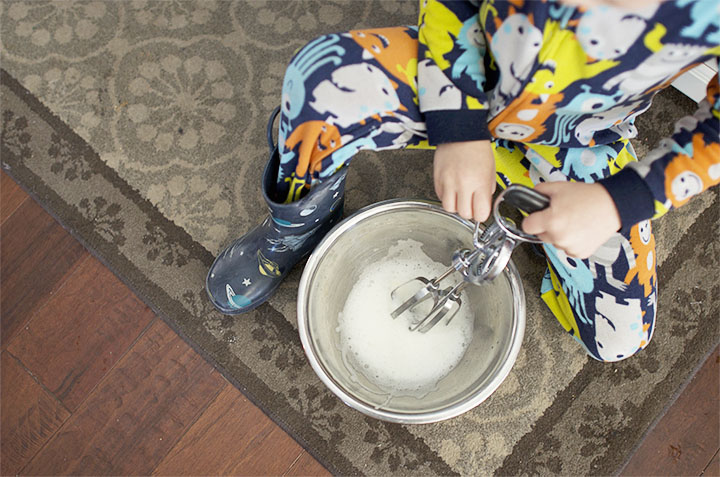
For raw eggnog: Combine all ingredients but the egg whites and bourbon with a whisk. Bourbon can be added at any time. It really is an important flavor component so if you don’t desire alcohol, I suggest using the cooked method below and adding it at the beginning so the alcohol can cook off but leave the flavor. Now, whip the egg white until stiff peaks form. We use a hand blender around here so that the kids can whip things more easily instead of just watching a mixer! Slowly add the whipped egg whites to the milk mixture. Serve in a punch bowl or individual cups then garnish with freshly grated nutmeg.
For cooked eggnog: Combine the milk, nutmeg, and vanilla paste in a saucepan. Bourbon can be added at any time. It really is an important flavor component so if you don’t desire alcohol, add it at the beginning so the alcohol can cook off but leave the flavor. If you desire a spiked eggnog, add the bourbon after the end product is removed from the heat or just go for the raw option above. Cook the mixture until it’s hot to the touch. Almond milk doesn’t burn like regular milk and doesn’t need to be stirred as often. So, stir the regular milk more often if you’re using it. Meanwhile, in a separate bowl, beat the maple syrup and yolks until they are light in color. Combine the egg yolk mixture with 1 cup of the milk mixture to “temper” the eggs or neutralize the heat so the yolks don’t cook in the super hot mixture, then add the rest of the milk mixture. If for some reason you find yolk, just strain before you serve it and try again next time. Heat the milk/yolk mixture until it’s hot. Remove from the heat. While it’s cooling, whip the egg whites until stiff peaks are formed (we use a hand blender for easy whipping), then add them to the milk/yolk mixture. Serve in a punch bowl or individual cups, then garnish with freshly grated nutmeg.
Does anyone else collect these vintage santa mugs?! Love them!
Click below to follow us on:
F a c e b o o k // T w i t t e r // P i n t e r e s t // I n s t a g r a m // E m a i l
Christmas Lists…
They excite us and they stress us out. Gift giving has become expected instead of spontaneous. How do we simplify our gift giving at Christmas but still show our love and thoughtfulness to friends and family?
Whether you make your entire gift by hand or purchase it from the store, it’s always nice to have a thoughtful touch to your gift or gift card. Here are some of my favorite ways to bring a personal touch to gifts:
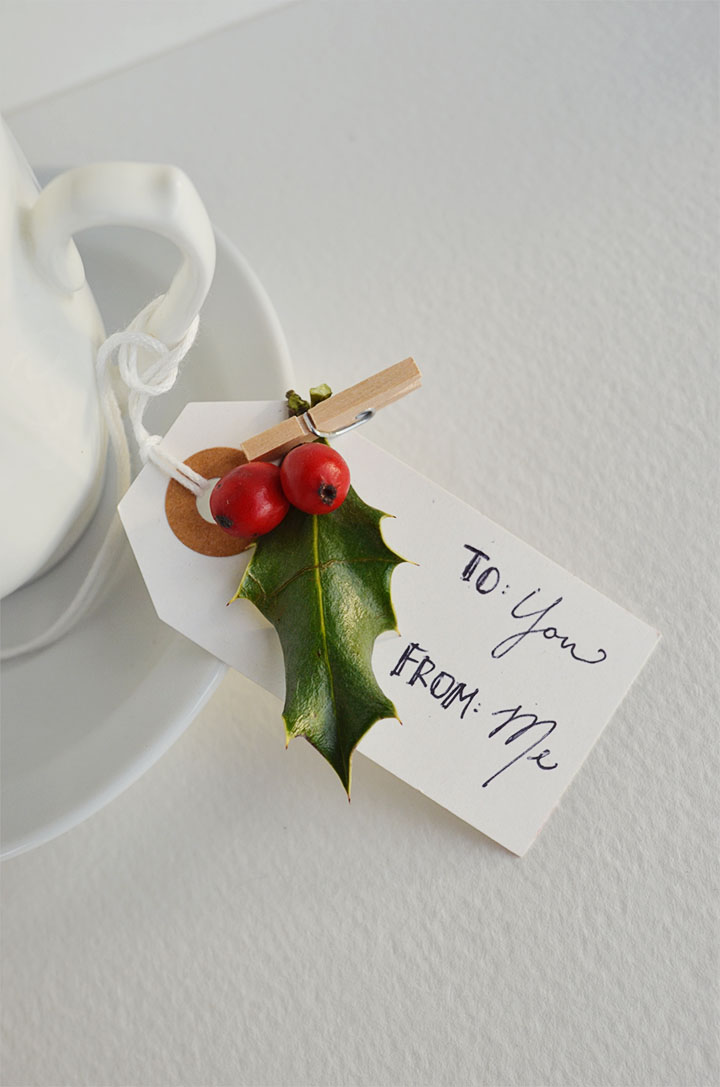
- Live greenery brings the feeling of freshness and relaxation that can be found for FREE from your yard, someone else’s, or purchased from a store.
- Create handmade tags using supplies from home. Old book pages, maps, old postcards, or vintage wrapping paper can be salvaged from your craft closet or even someone else’s!
- Include an item that is either your favorite, their favorite, or just something that recalls a memory or joke between the two of you.
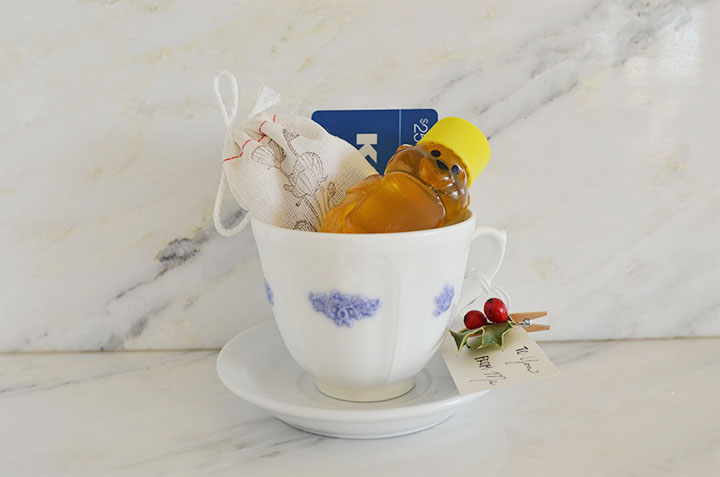
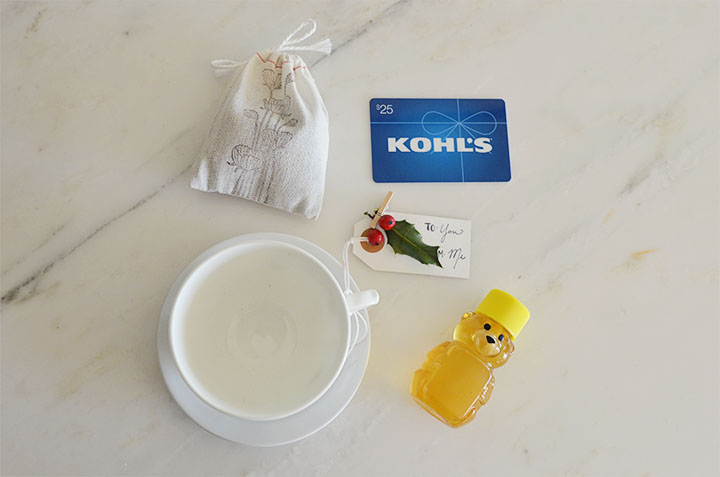
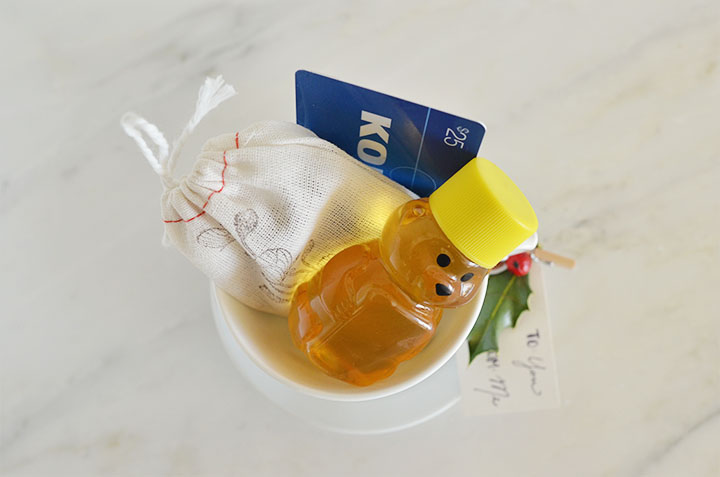
- Gather items that create an experience or tell a story. This tea-cup, tea, local honey, and gift card communicate a relaxing afternoon for a friend, loved one, or just a Mom you know who needs a BREAK! It shows care and attentiveness. Why not throw in some babysitting which will cost you only your time. Perfect for any budget, people! ;)

For the tags in this post, I used plain tags found here or use some more fun colored ones from We Love Citrus here. I attached greenery using mini-clothespins from We Love Citrus found here.
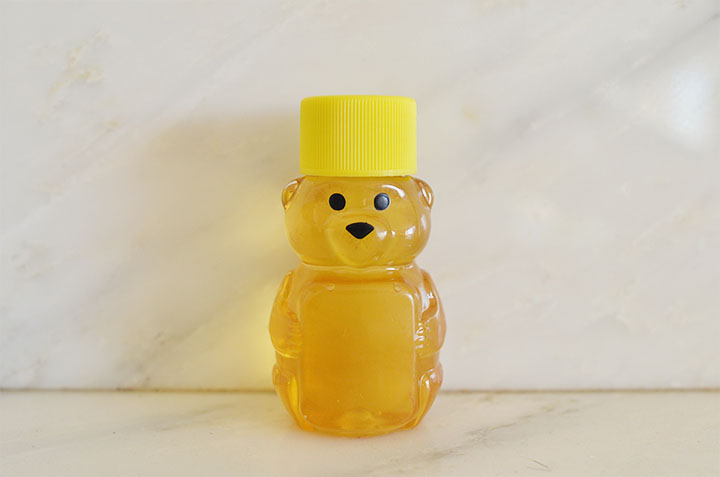
For the honey bears, I added my own favorite local honey from Mikolich into the CUTEST mini honey bear containers you can find here. I can’t even stand how cute they are!
For the tea, I added my favorite local decaf Earl Grey tea into plain cloth bags you can find here. I stamped them with a fabric-safe ink. Cute, right?
For the final and biggest touch, I added a gift card that I got to the tea-cup. Some of my go-tos are iTunes, REI, and Target. All of the small items pictured make that gift card so much for meaningful, don’t you think?!
Click below to follow us on:
F a c e b o o k // T w i t t e r // P i n t e r e s t // I n s t a g r a m // E m a i l
For writing this post, I received compensation. However, the opinions expressed are my own and I was totally thrilled to write it and share my ideas and thoughts on how to make your holiday easier.
Congratulations, Christina!
You won the book!
(comment #13)
Email me at bonnie.rush@gmail (dot) com to claim your prize! ;)
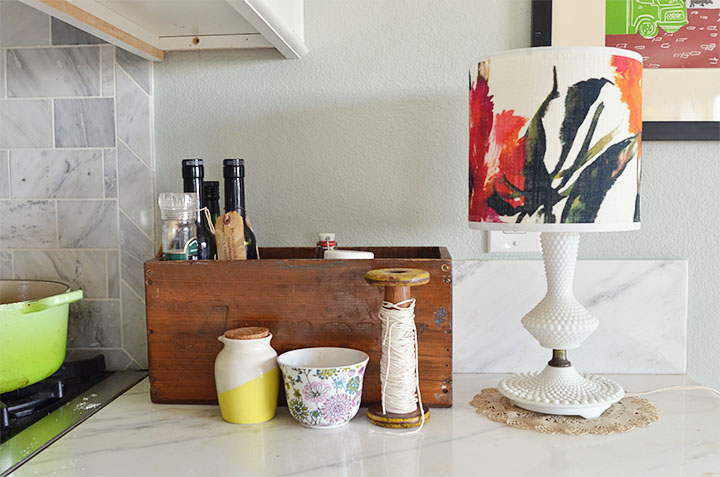
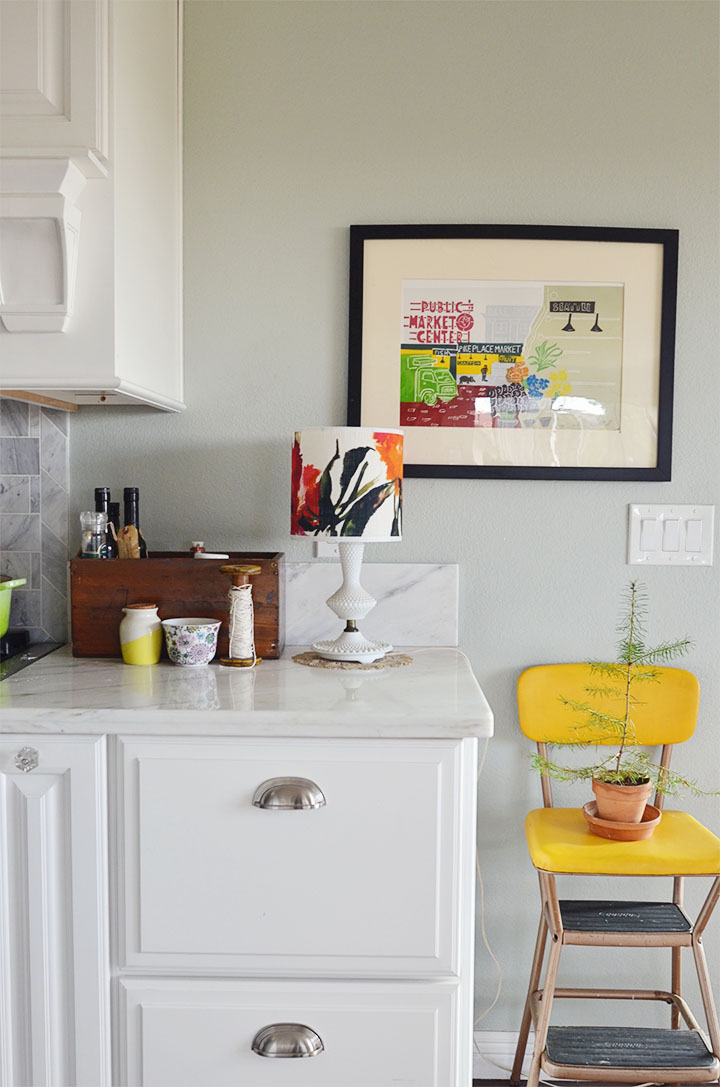
Last January, when I went to AltSummit, I was so thrilled to be able to take a class with Amanda Brown on making a lampshade (that’s mine above!). She provided the materials and took us through, step-by-step, how to make it. It was definitely my kind of project. There’s something really exciting to me about learning a new skill and conquering a project that is on my list of things I’ve always wanted to make. Is anyone else that way?
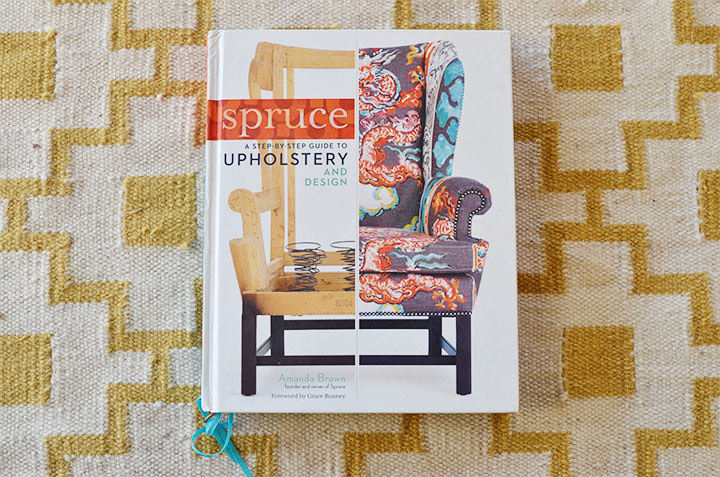
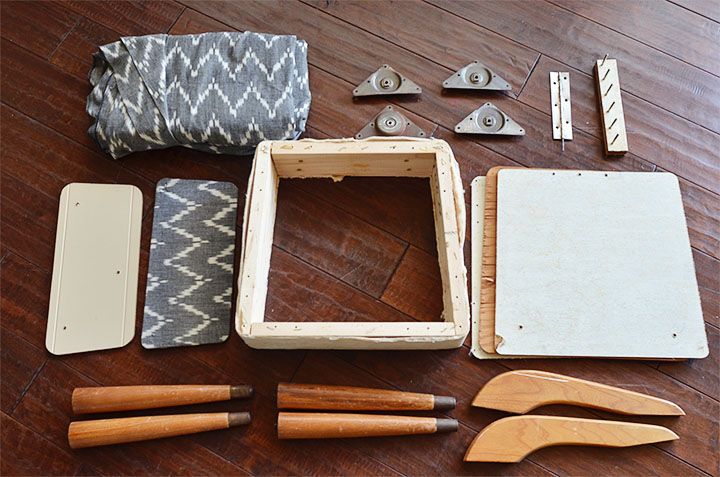
Last week, I received Amanda’s new book in the mail, “Spruce: The Step-by-Step Guide to Upholstery and Design” from the Spruce team right before I left for vacation. I was super excited to tackle an upholstery project as SOON as I got home. I went to Joann’s (with multiple coupons), grabbed supplies, and immediately began deconstructing the mid-century sewing chair (I LOVE the frame of but not the plastic, off-colored covering). She shows you how to easily deconstruct in the book as well. ;)
Then, BAM. Nutcracker. Piano recital. Homeschool Handicraft Fair. Family in town for Wedding on Saturday. Christmas decorating. School. Cleaning.
So, this is what my chair looks like right now.
 I was sitting on the floor of my living room and I suddenly stopped and said, “What in the world am I doing?!”. Not a great week for this. Sometimes I push myself too far, because I’m so ridiculously excited to work on a project. Sometimes I don’t say “No” when I should. I didn’t make that mistake this time. This project can wait until after the holidays. “Good choice”, I said to myself (please tell me you talk to yourself too?). The first week in January is my time-frame goal for this project. I feel good about that. Setting goals and making lists are the two best ways to accomplish what you want to accomplish in life…and also in upholstery projects! I was sitting on the floor of my living room and I suddenly stopped and said, “What in the world am I doing?!”. Not a great week for this. Sometimes I push myself too far, because I’m so ridiculously excited to work on a project. Sometimes I don’t say “No” when I should. I didn’t make that mistake this time. This project can wait until after the holidays. “Good choice”, I said to myself (please tell me you talk to yourself too?). The first week in January is my time-frame goal for this project. I feel good about that. Setting goals and making lists are the two best ways to accomplish what you want to accomplish in life…and also in upholstery projects!
Now, if I hadn’t been given this book, it would totally be in my amazon cart right now, ready for purchase. I really love it. I wouldn’t share it with you if it wasn’t amazing or something I would buy. We all need a little more step-by-step in our lives and Amanda rocks the DIY upholstery scene in this book. I’ve never seen a book like this for upholstery. Here is a trailer for the book.
Have any DIY ladies or gentleman on your shopping list?! They will love this book. I’m so excited I get to give away a copy to one of my readers…YOU!!! All you need to do is leave a comment at the end of the post about what you would love to have re-upholstered in your home and you get an entry!!! (U.S. only) The contest ends on December 11th, 2013 and the winner is announced on December 12th, 2013! If you can’t wait to win or you just need this for yourself right away, go here to purchase.
After you enter in the comments below, be sure to go to Facebook and enter Spruce’s Ugliest Chair Contest here for a chance to win a hand upholstery kit, $200 worth of fabric, Amanda’s personal advice for your chair, and a signed book! You can check out my picture over there as well to see which chair is my ugliest! ;)
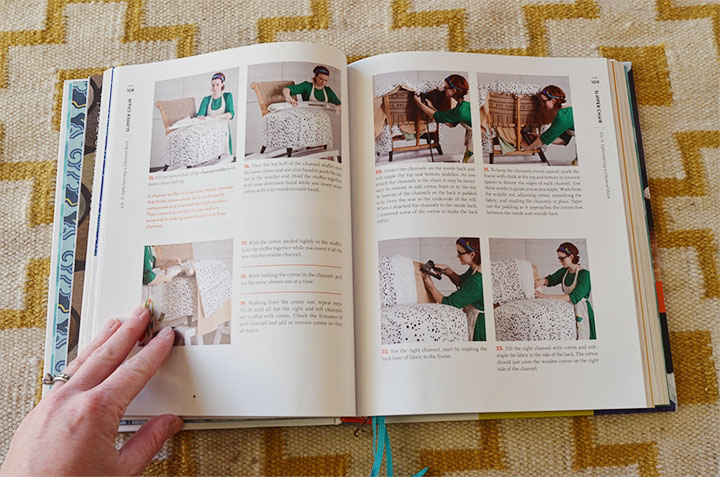
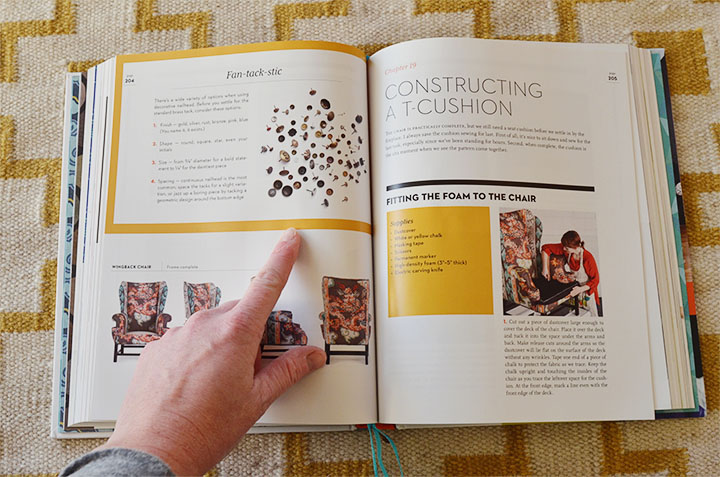
Here are a few peeks inside for my visual friends (pardon my gardener’s hands)…

Comment below to win a copy of the book for you or someone on your Christmas list, then head over to Facebook to enter the Ugliest Chair Contest!
Click below to follow us on:
F a c e b o o k // T w i t t e r // P i n t e r e s t // I n s t a g r a m // E m a i l
|
|


