Camper Crayons

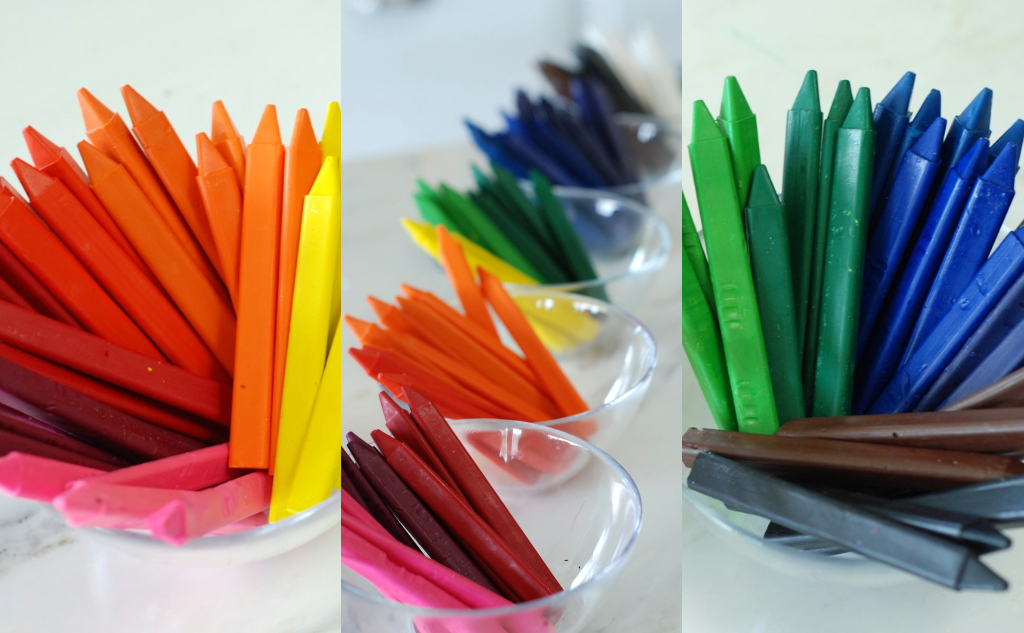
My little buddy and I decided crayons in the shape of a camper would give his 4th birthday party an extra touch of awesomeness.  I immediately ordered the only camper mold (super good deal) I could find.  What I didn’t expect was this project to be one of the most relaxing, child-involved projects I’ve done TO THIS DAY.
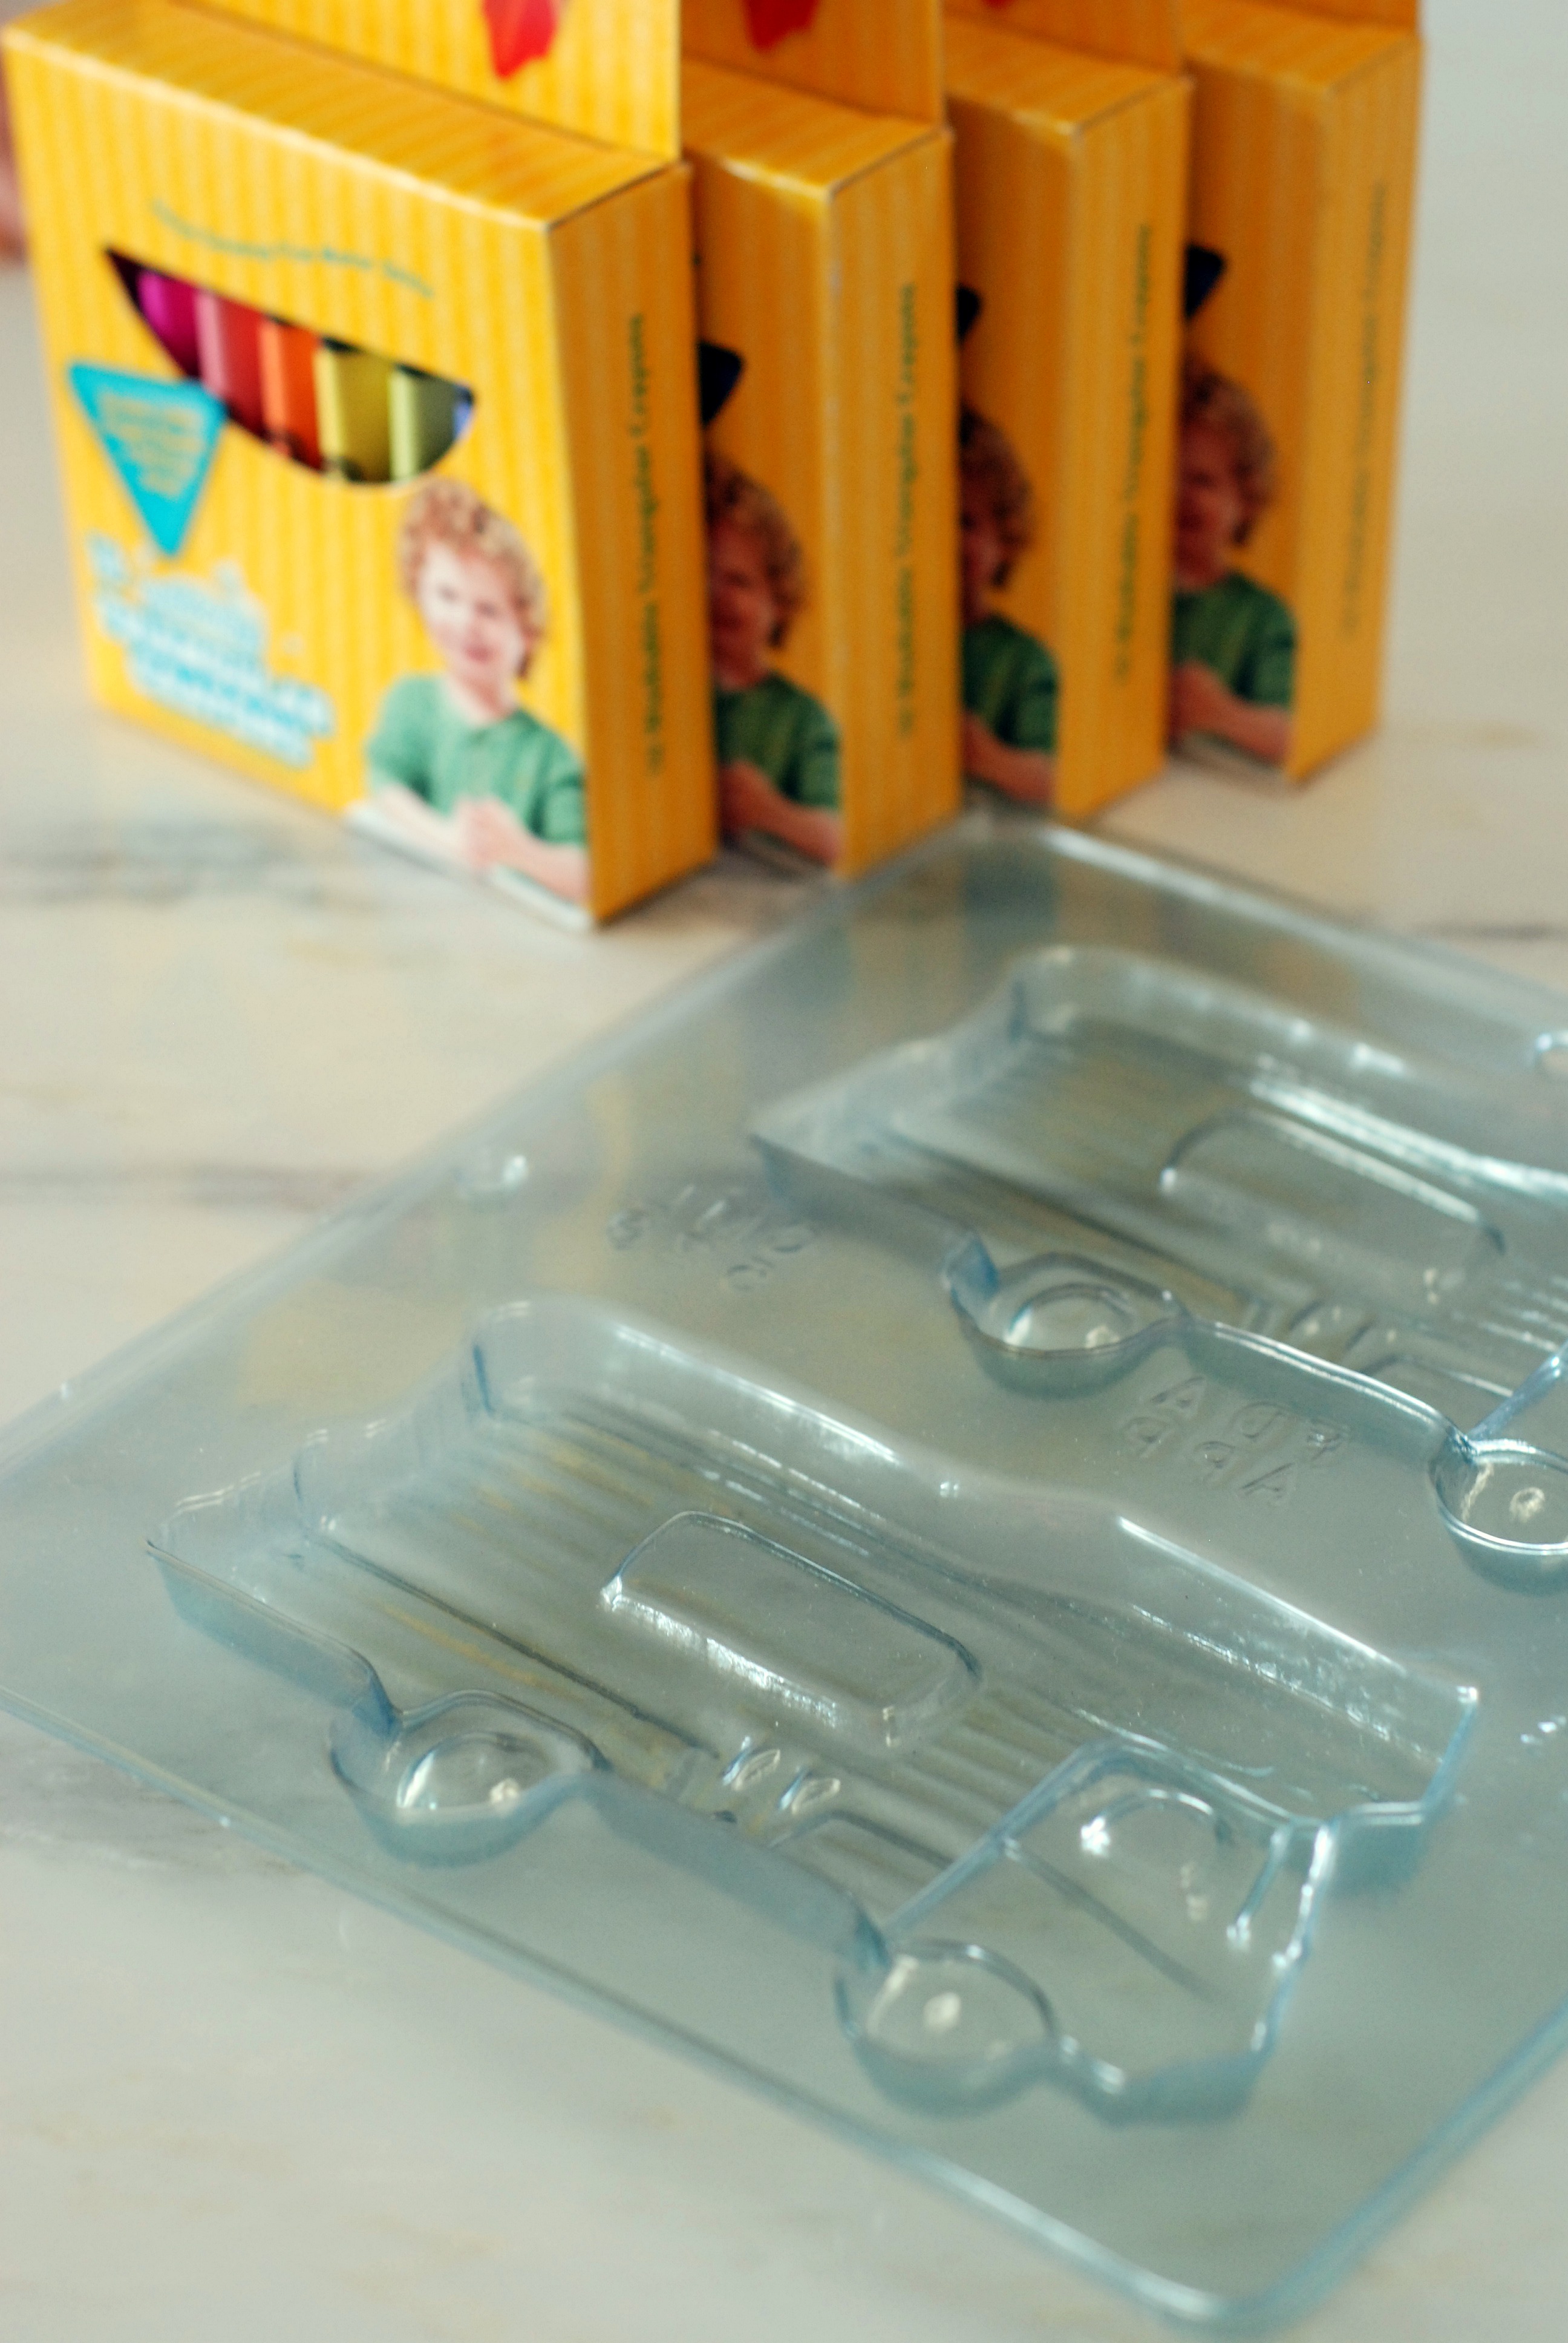
Start with any chocolate mold or even the synthetic rubber ice cube trays from IKEA would work.

Now the fun part.  What phrase is always said while kids are using crayons? 

“Please, don’t peel the paper off”. 

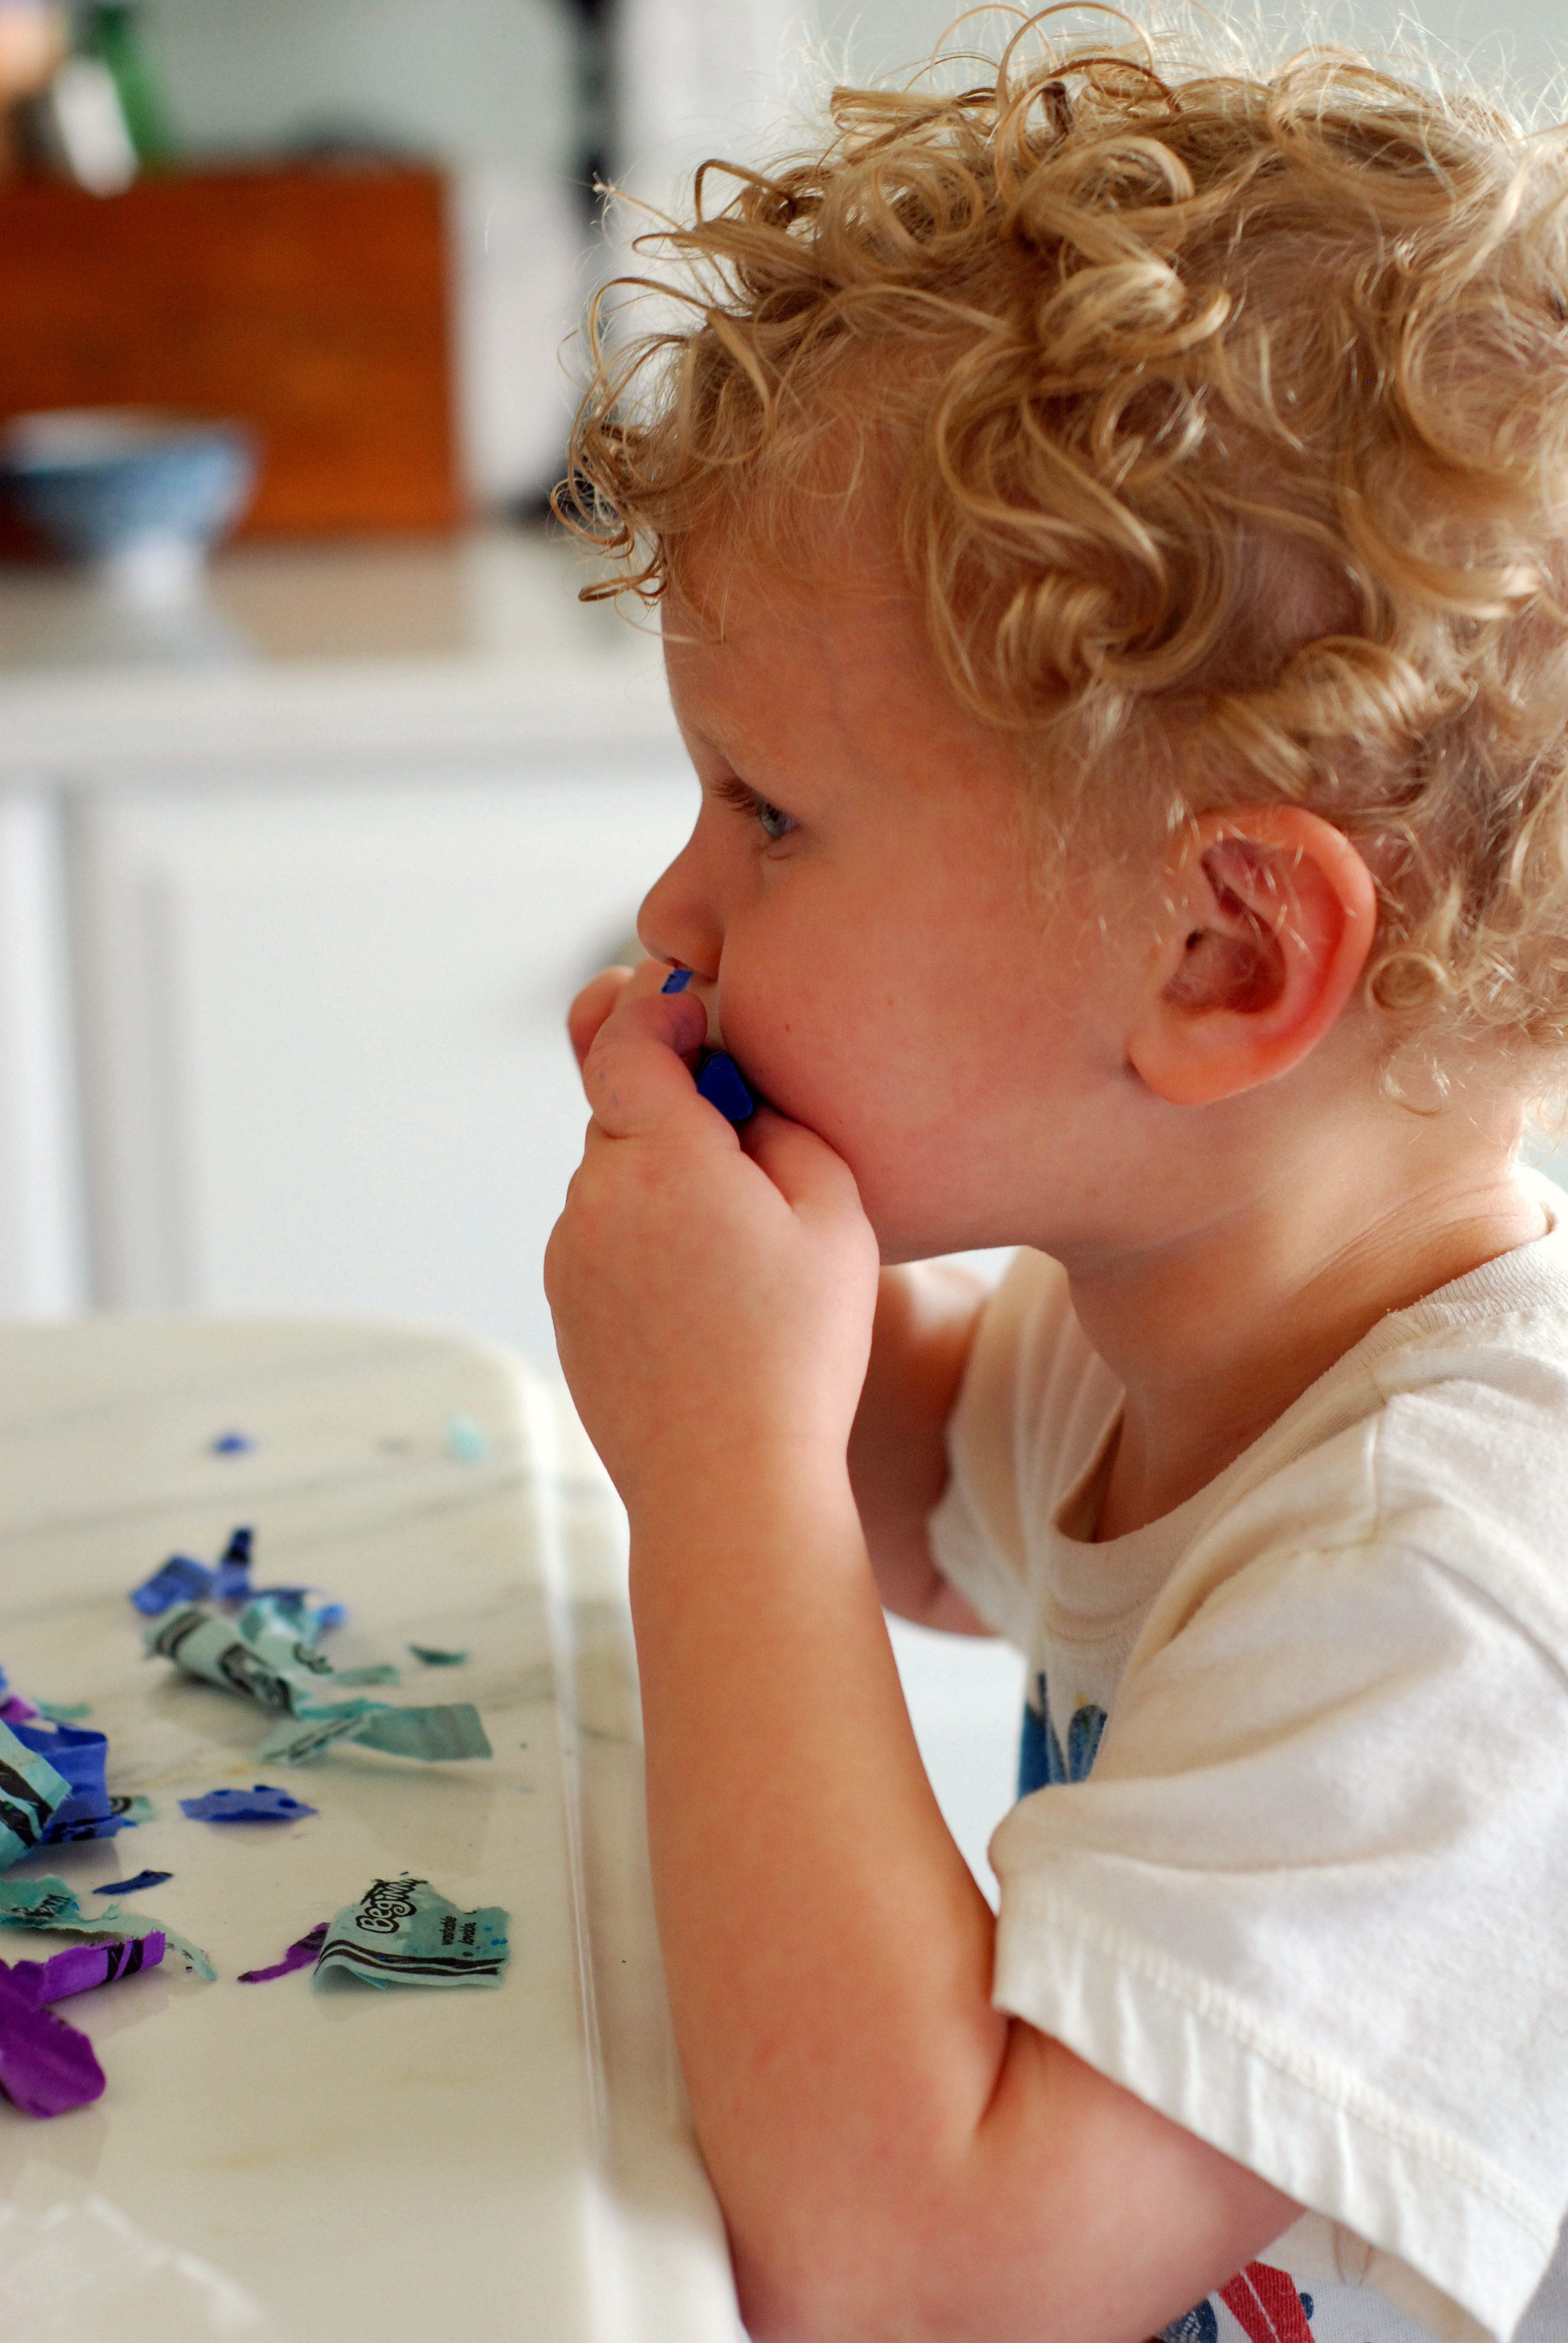
How cool would you be to say, “Please, take the paper off of all 64 of these crayons”?  Very Cool.

They did this for 45 lovely minutes and never fought once.  We had a great chat about our favorite colors.
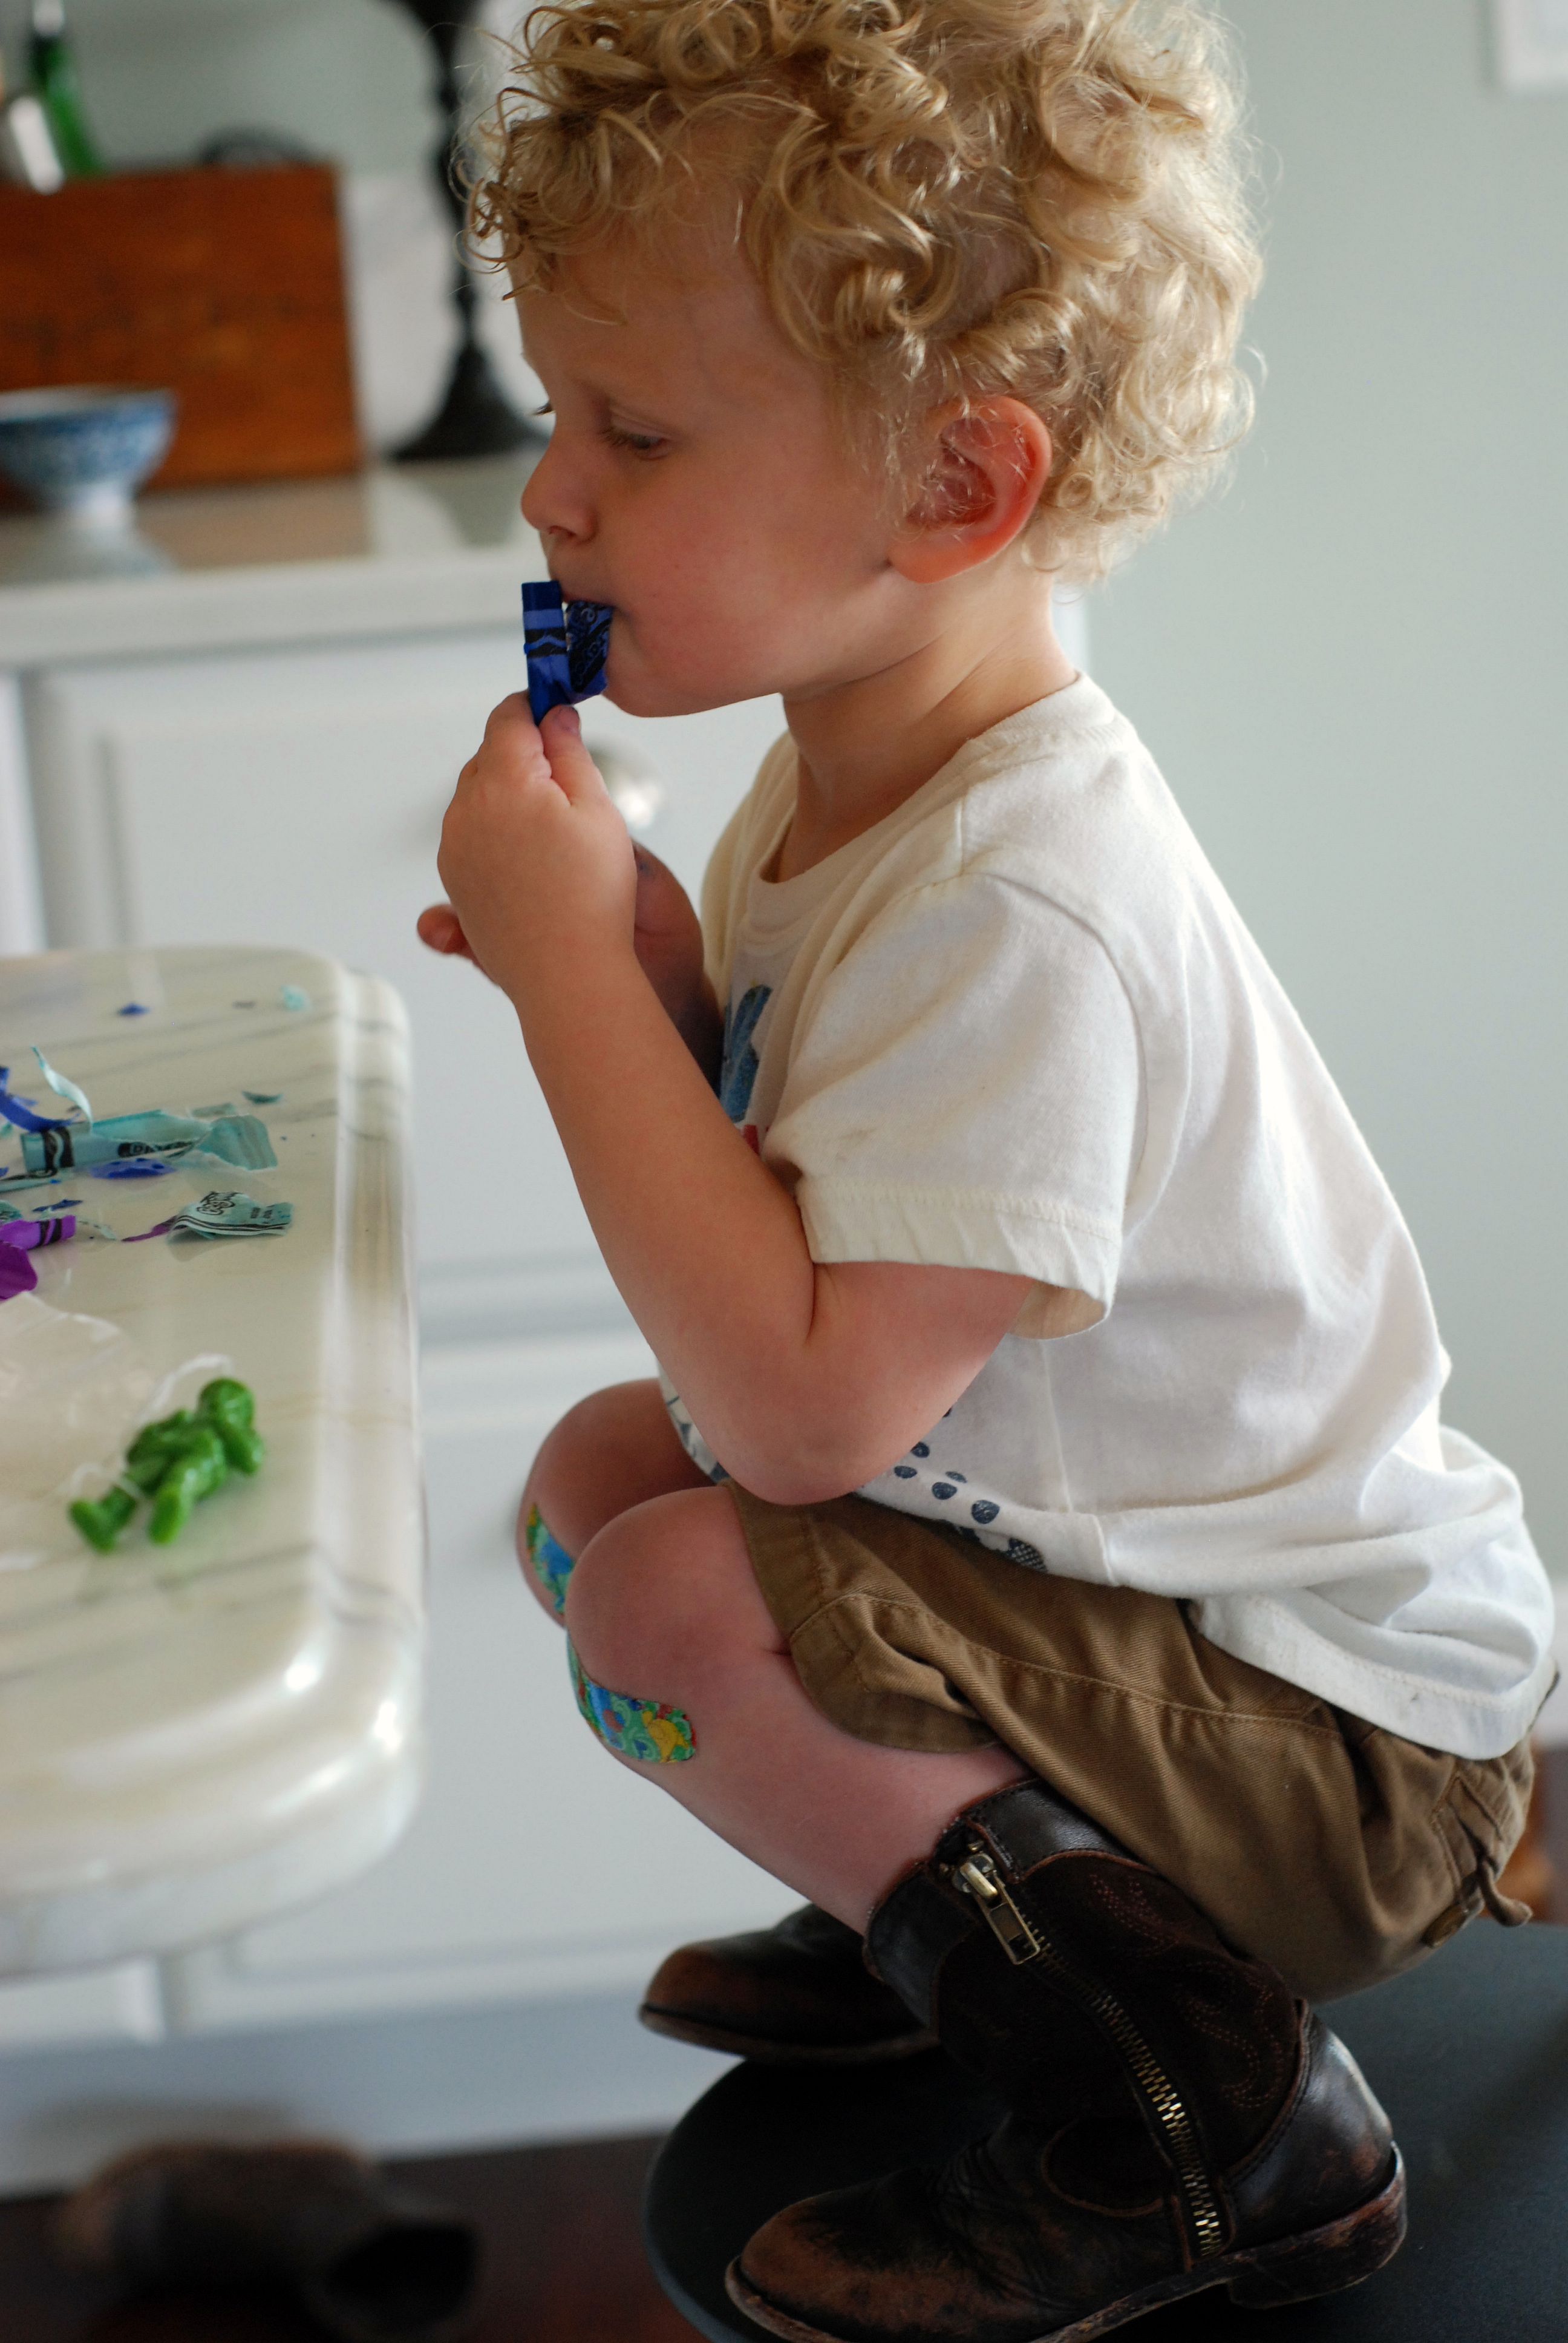
Any method is acceptable. Boots are optional.

These crayons are non-toxic.

I love them.

Leonard caught between his morning nap and mid-morning nap.
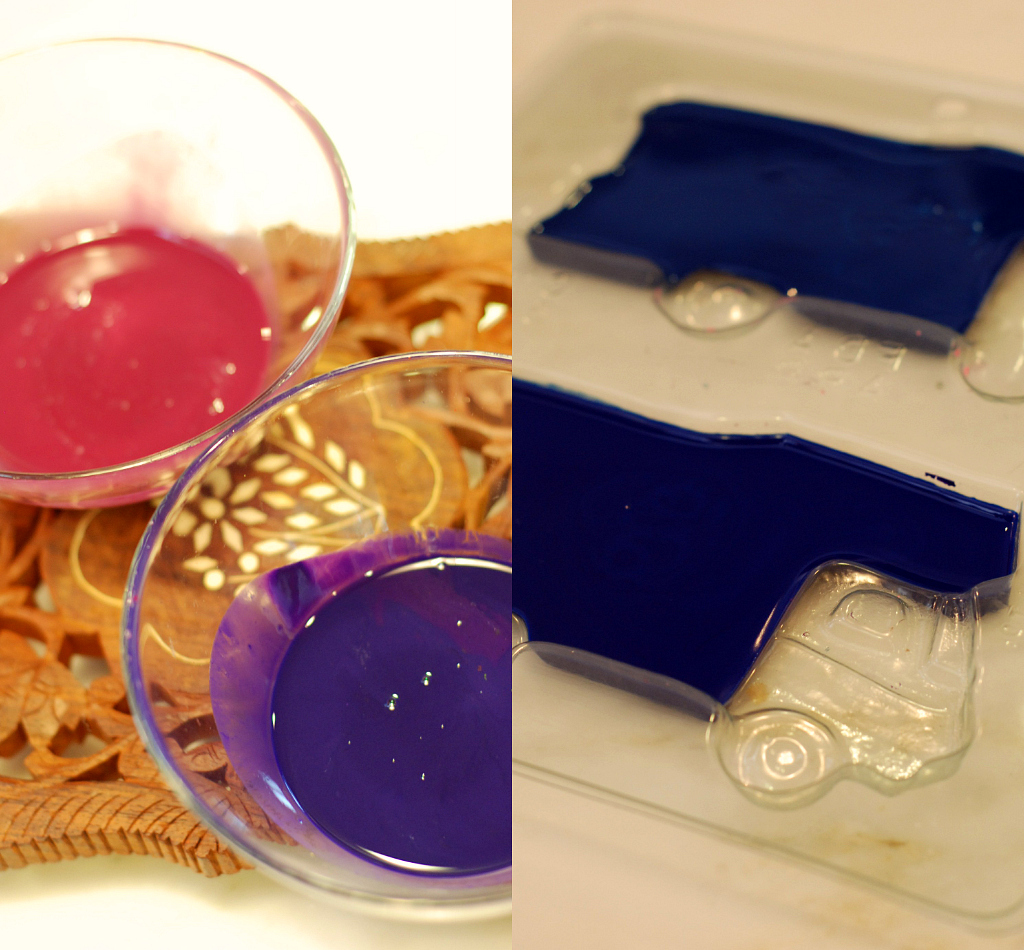
Melt desired colors in microwave and pour in the mold.  My molds were not microwave safe. Leave them to set for 20 min on the counter or put them in the freezer to speed up the process.
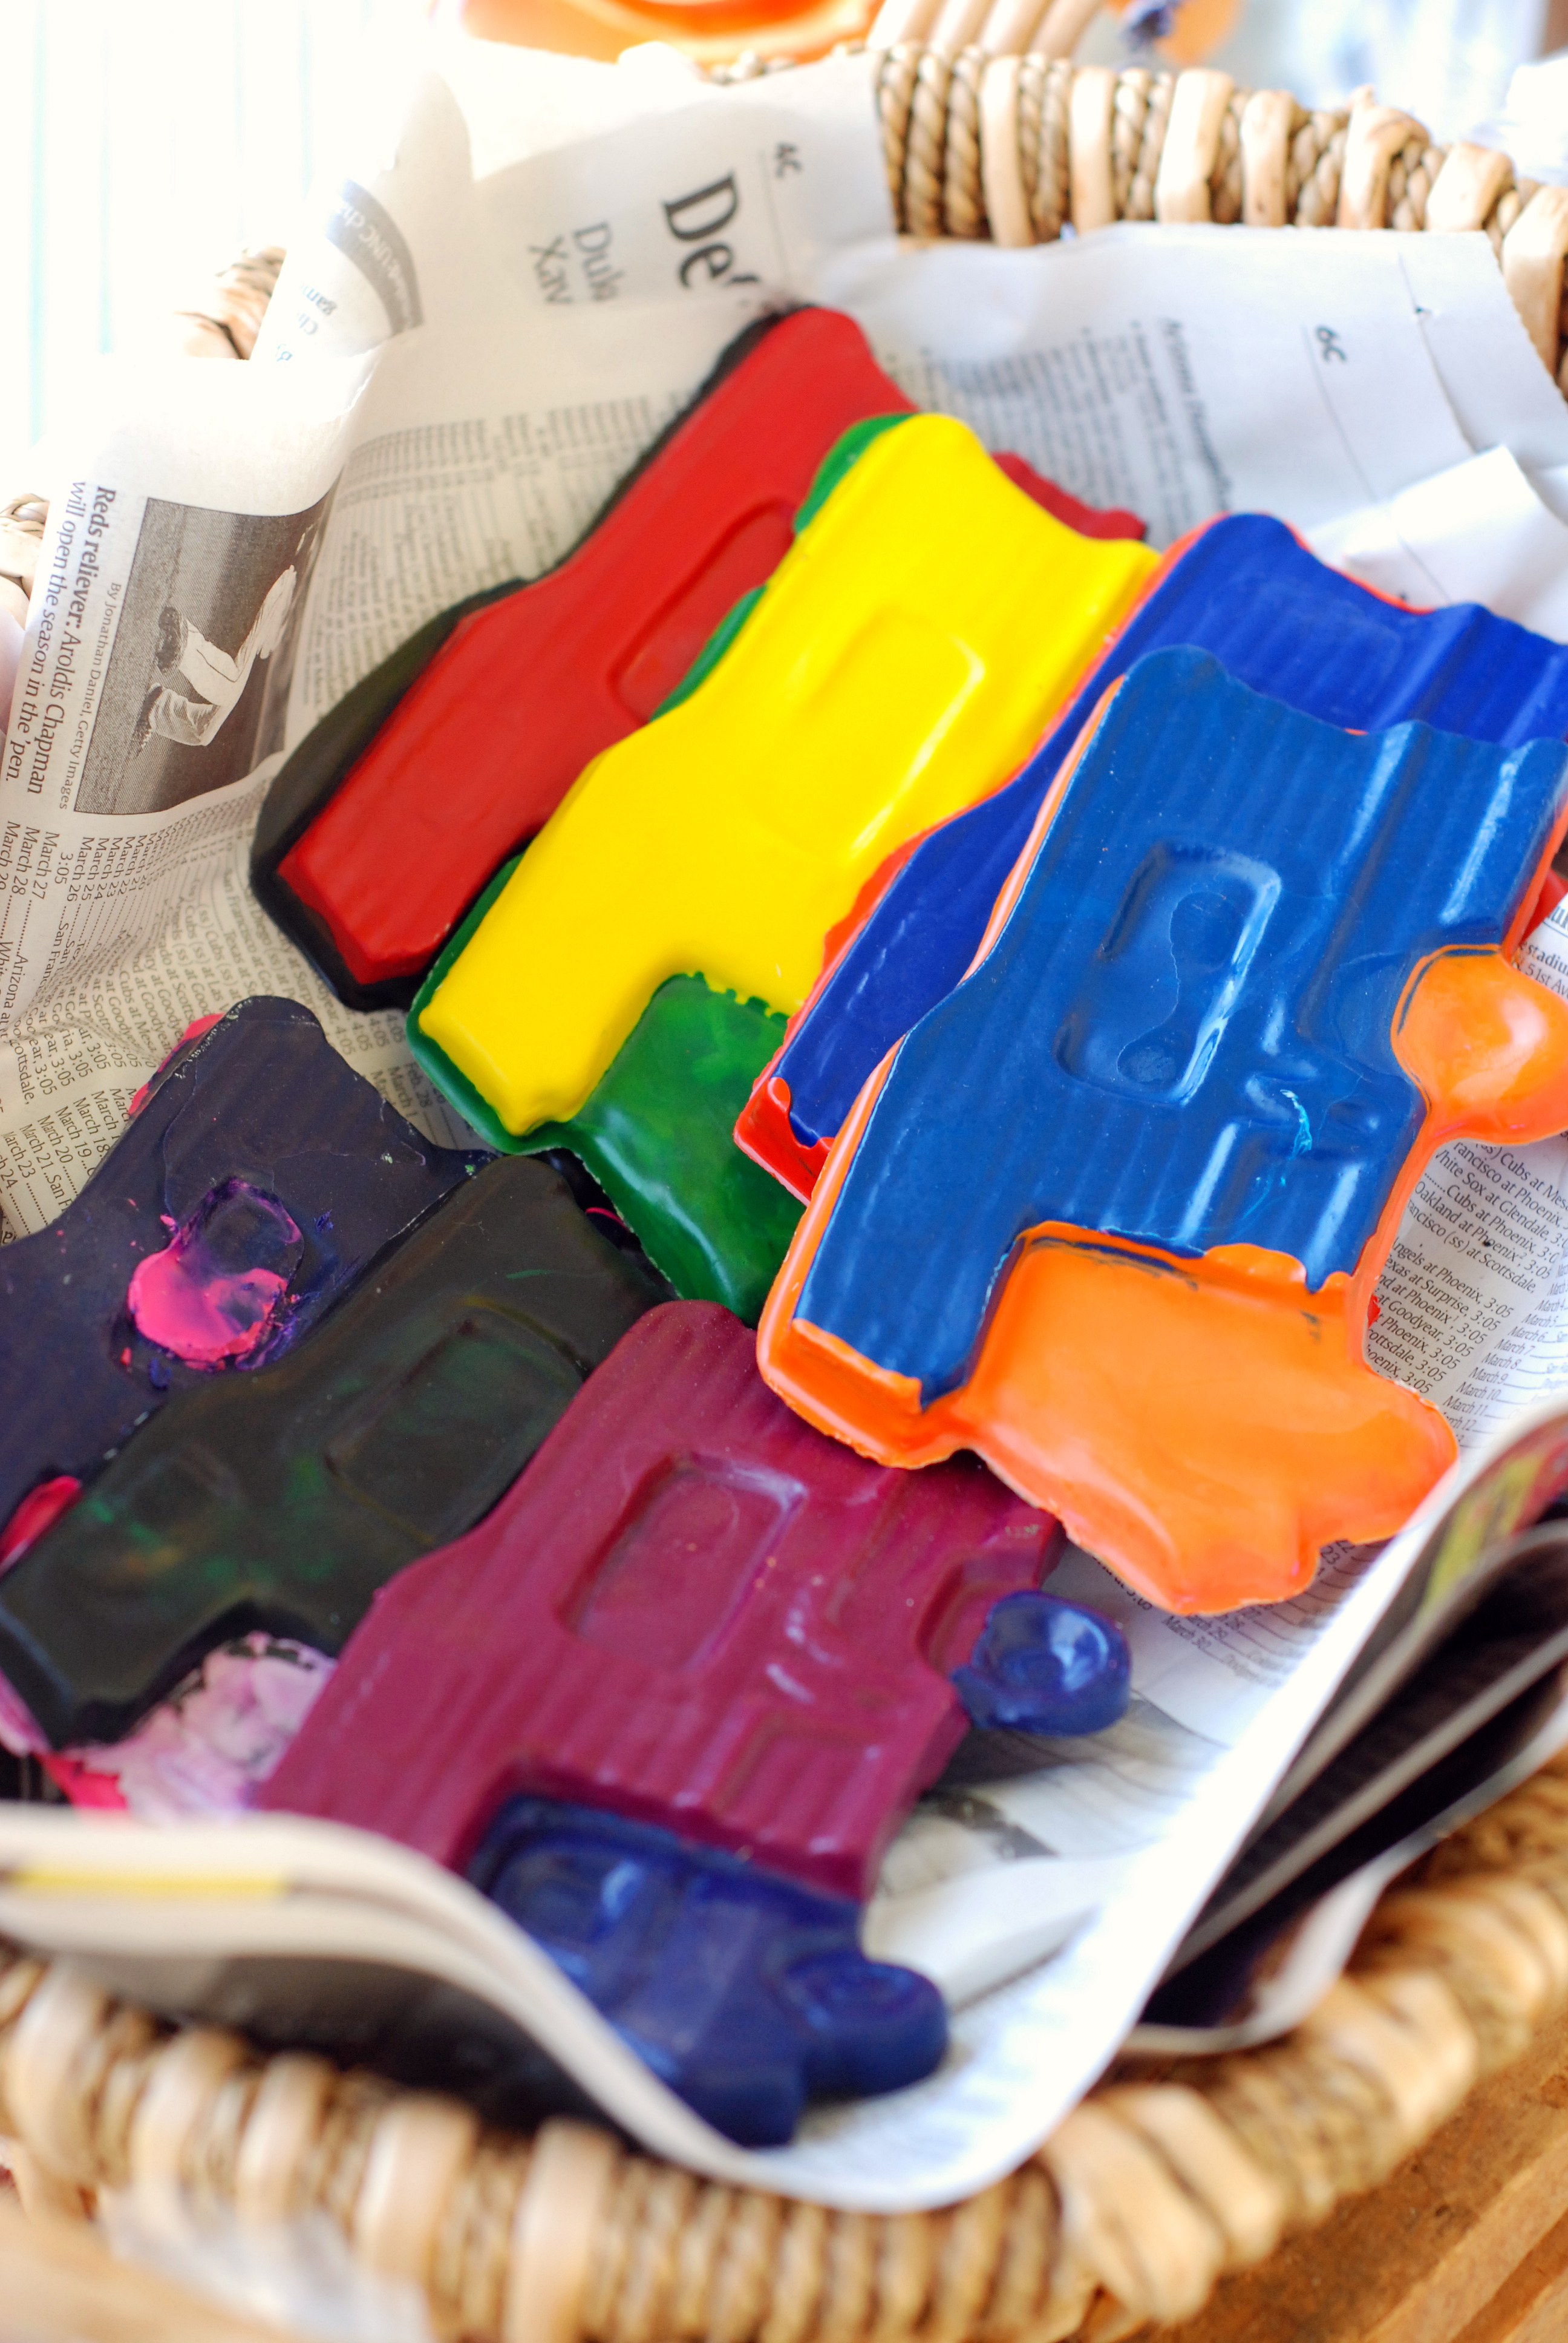
My molds were a little big but I would definitely try this again with smaller molds and my stash of crayon nubs.

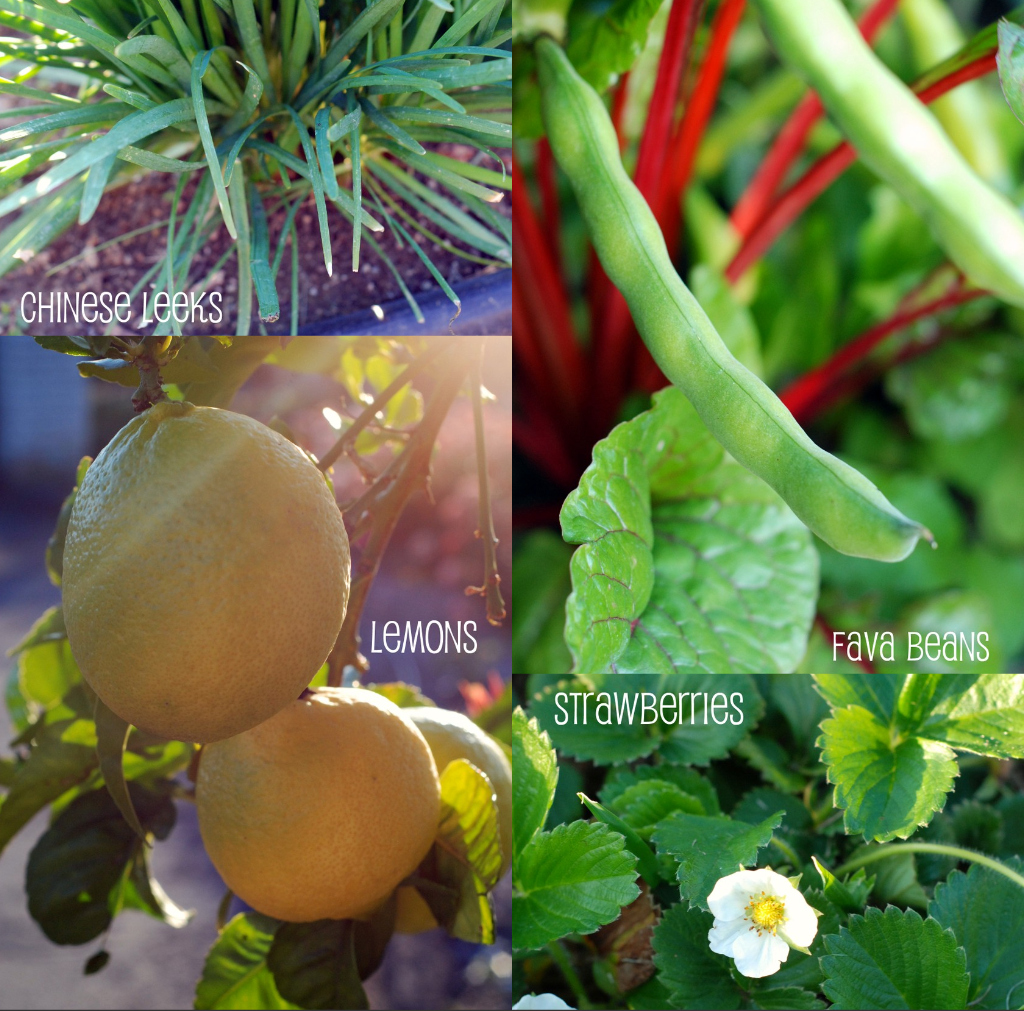
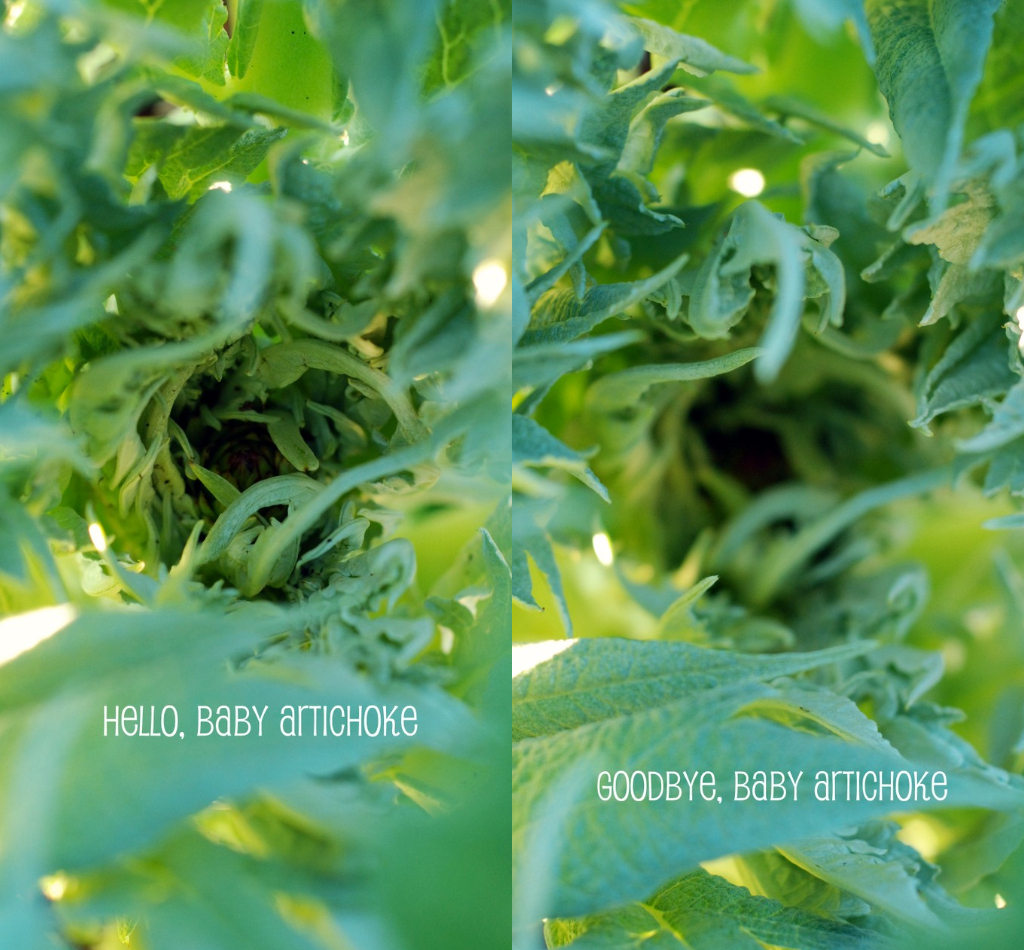
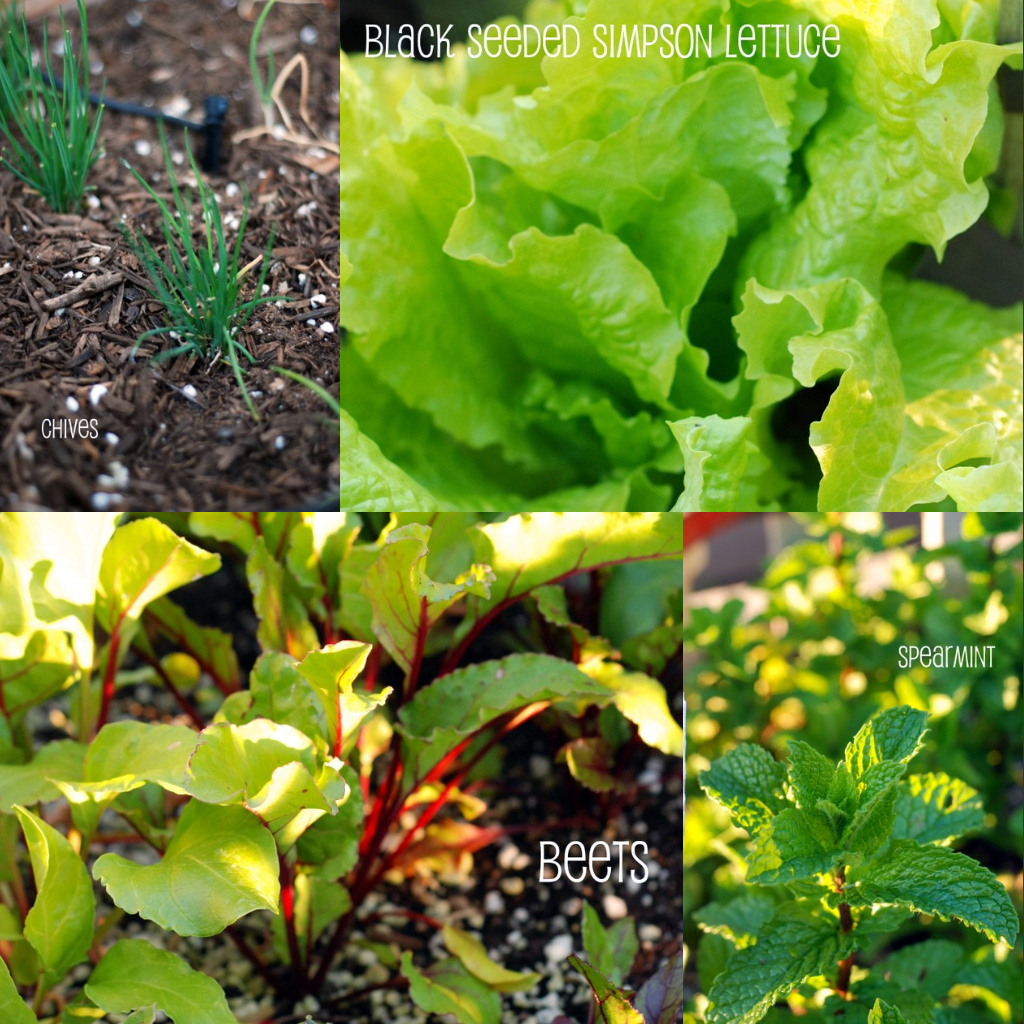
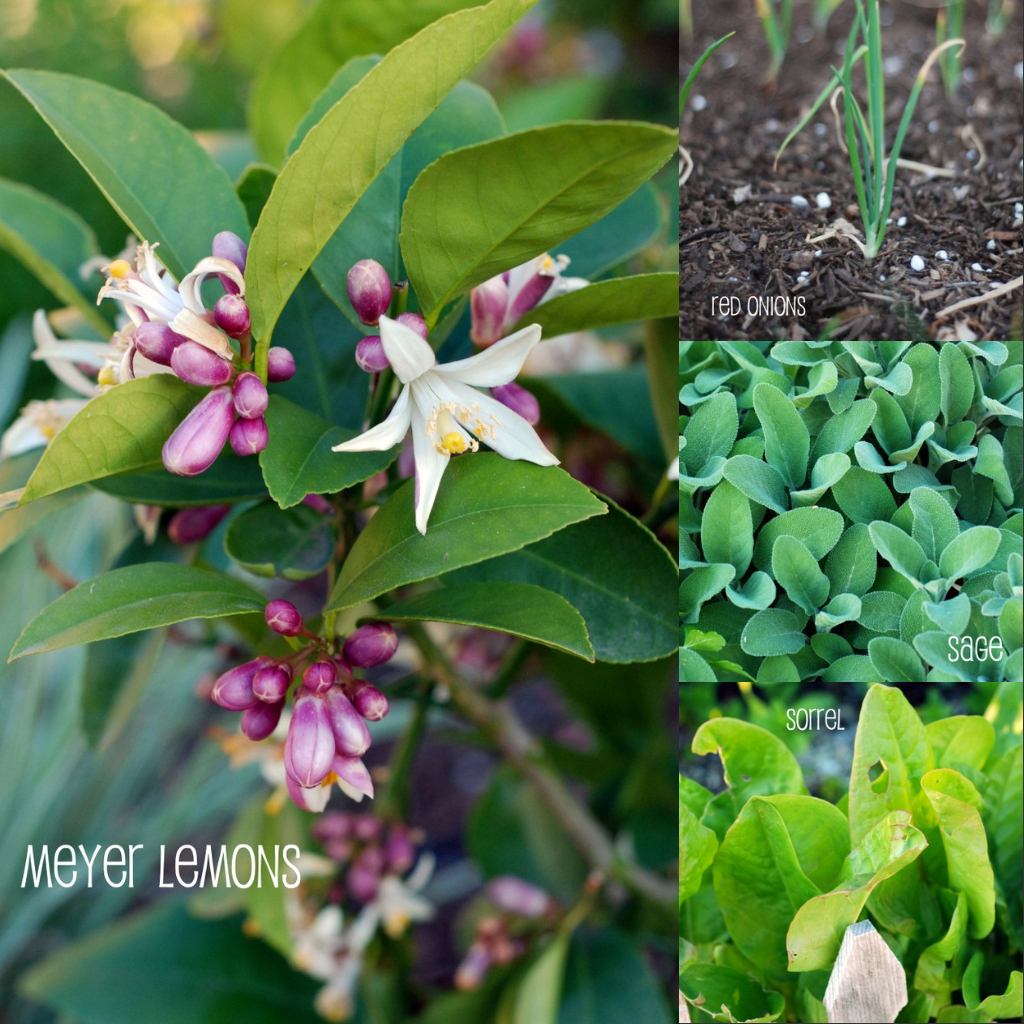
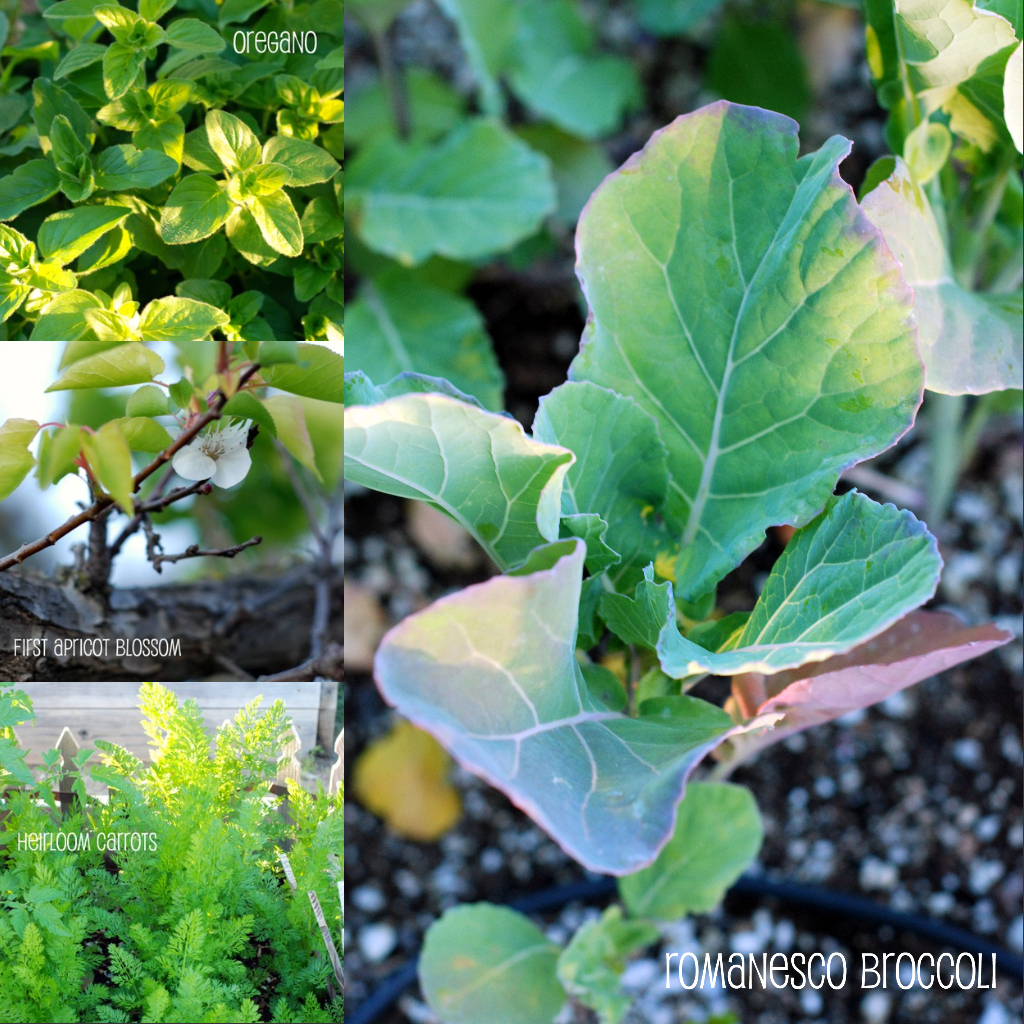
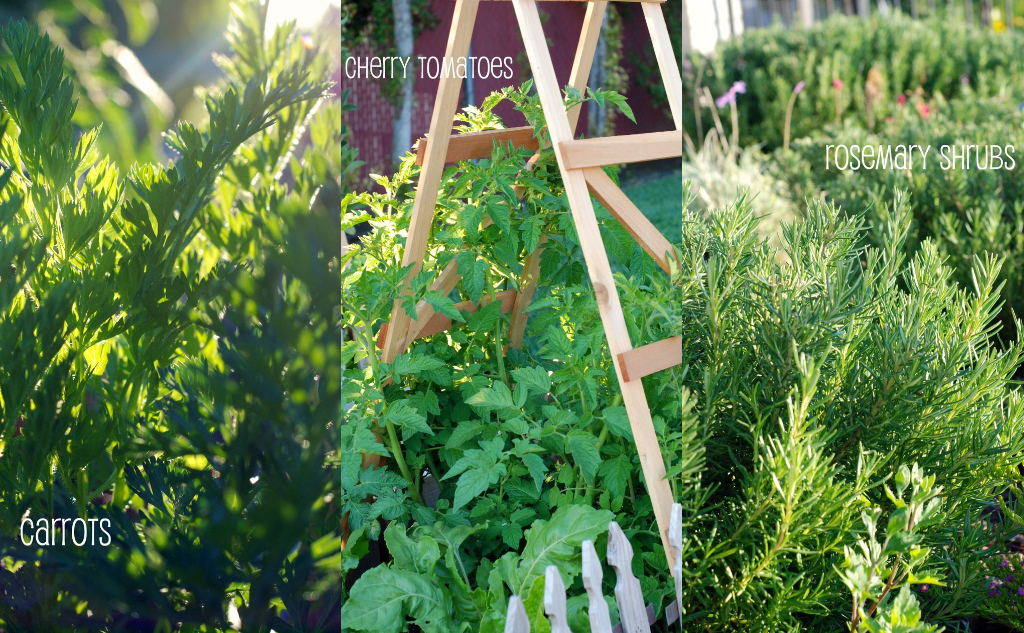
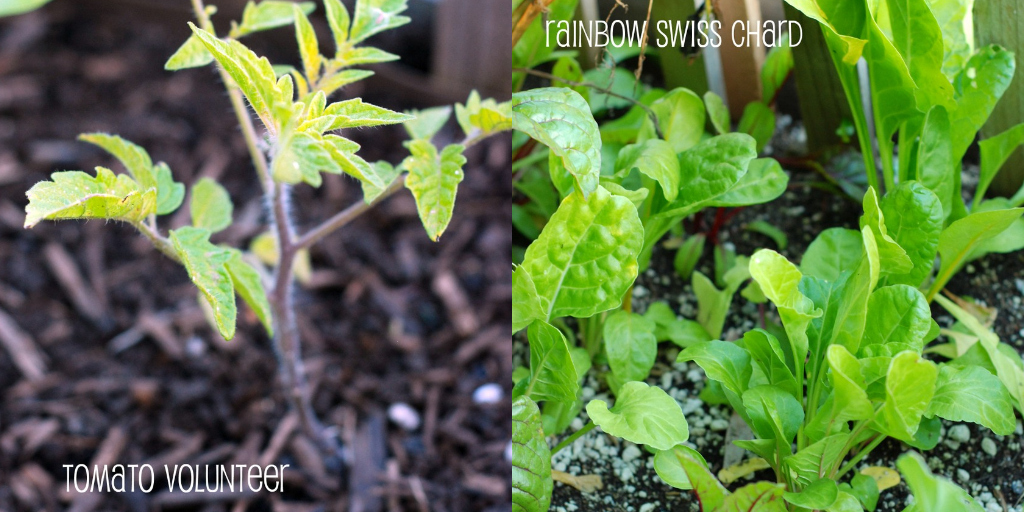
My Garden in March

“I used to visit and revisit it a dozen times a day,
and stand in deep contemplation over my vegetable progeny
with a love that nobody could share or conceive of
who had never taken part in the process of creation.
It was one of the most bewitching sights in the world
to observe a hill of beans thrusting aside the soil,
or a rose of early peas just peeping forth
sufficiently to trace a line of delicate green.”

Nathaniel Hawthorne
“Mosses from and Old Manse”


My little soldier

This is what our meals look like these days.  I love it.

Garlic Confit

The secret to awesome mashed potatoes lies in this post…

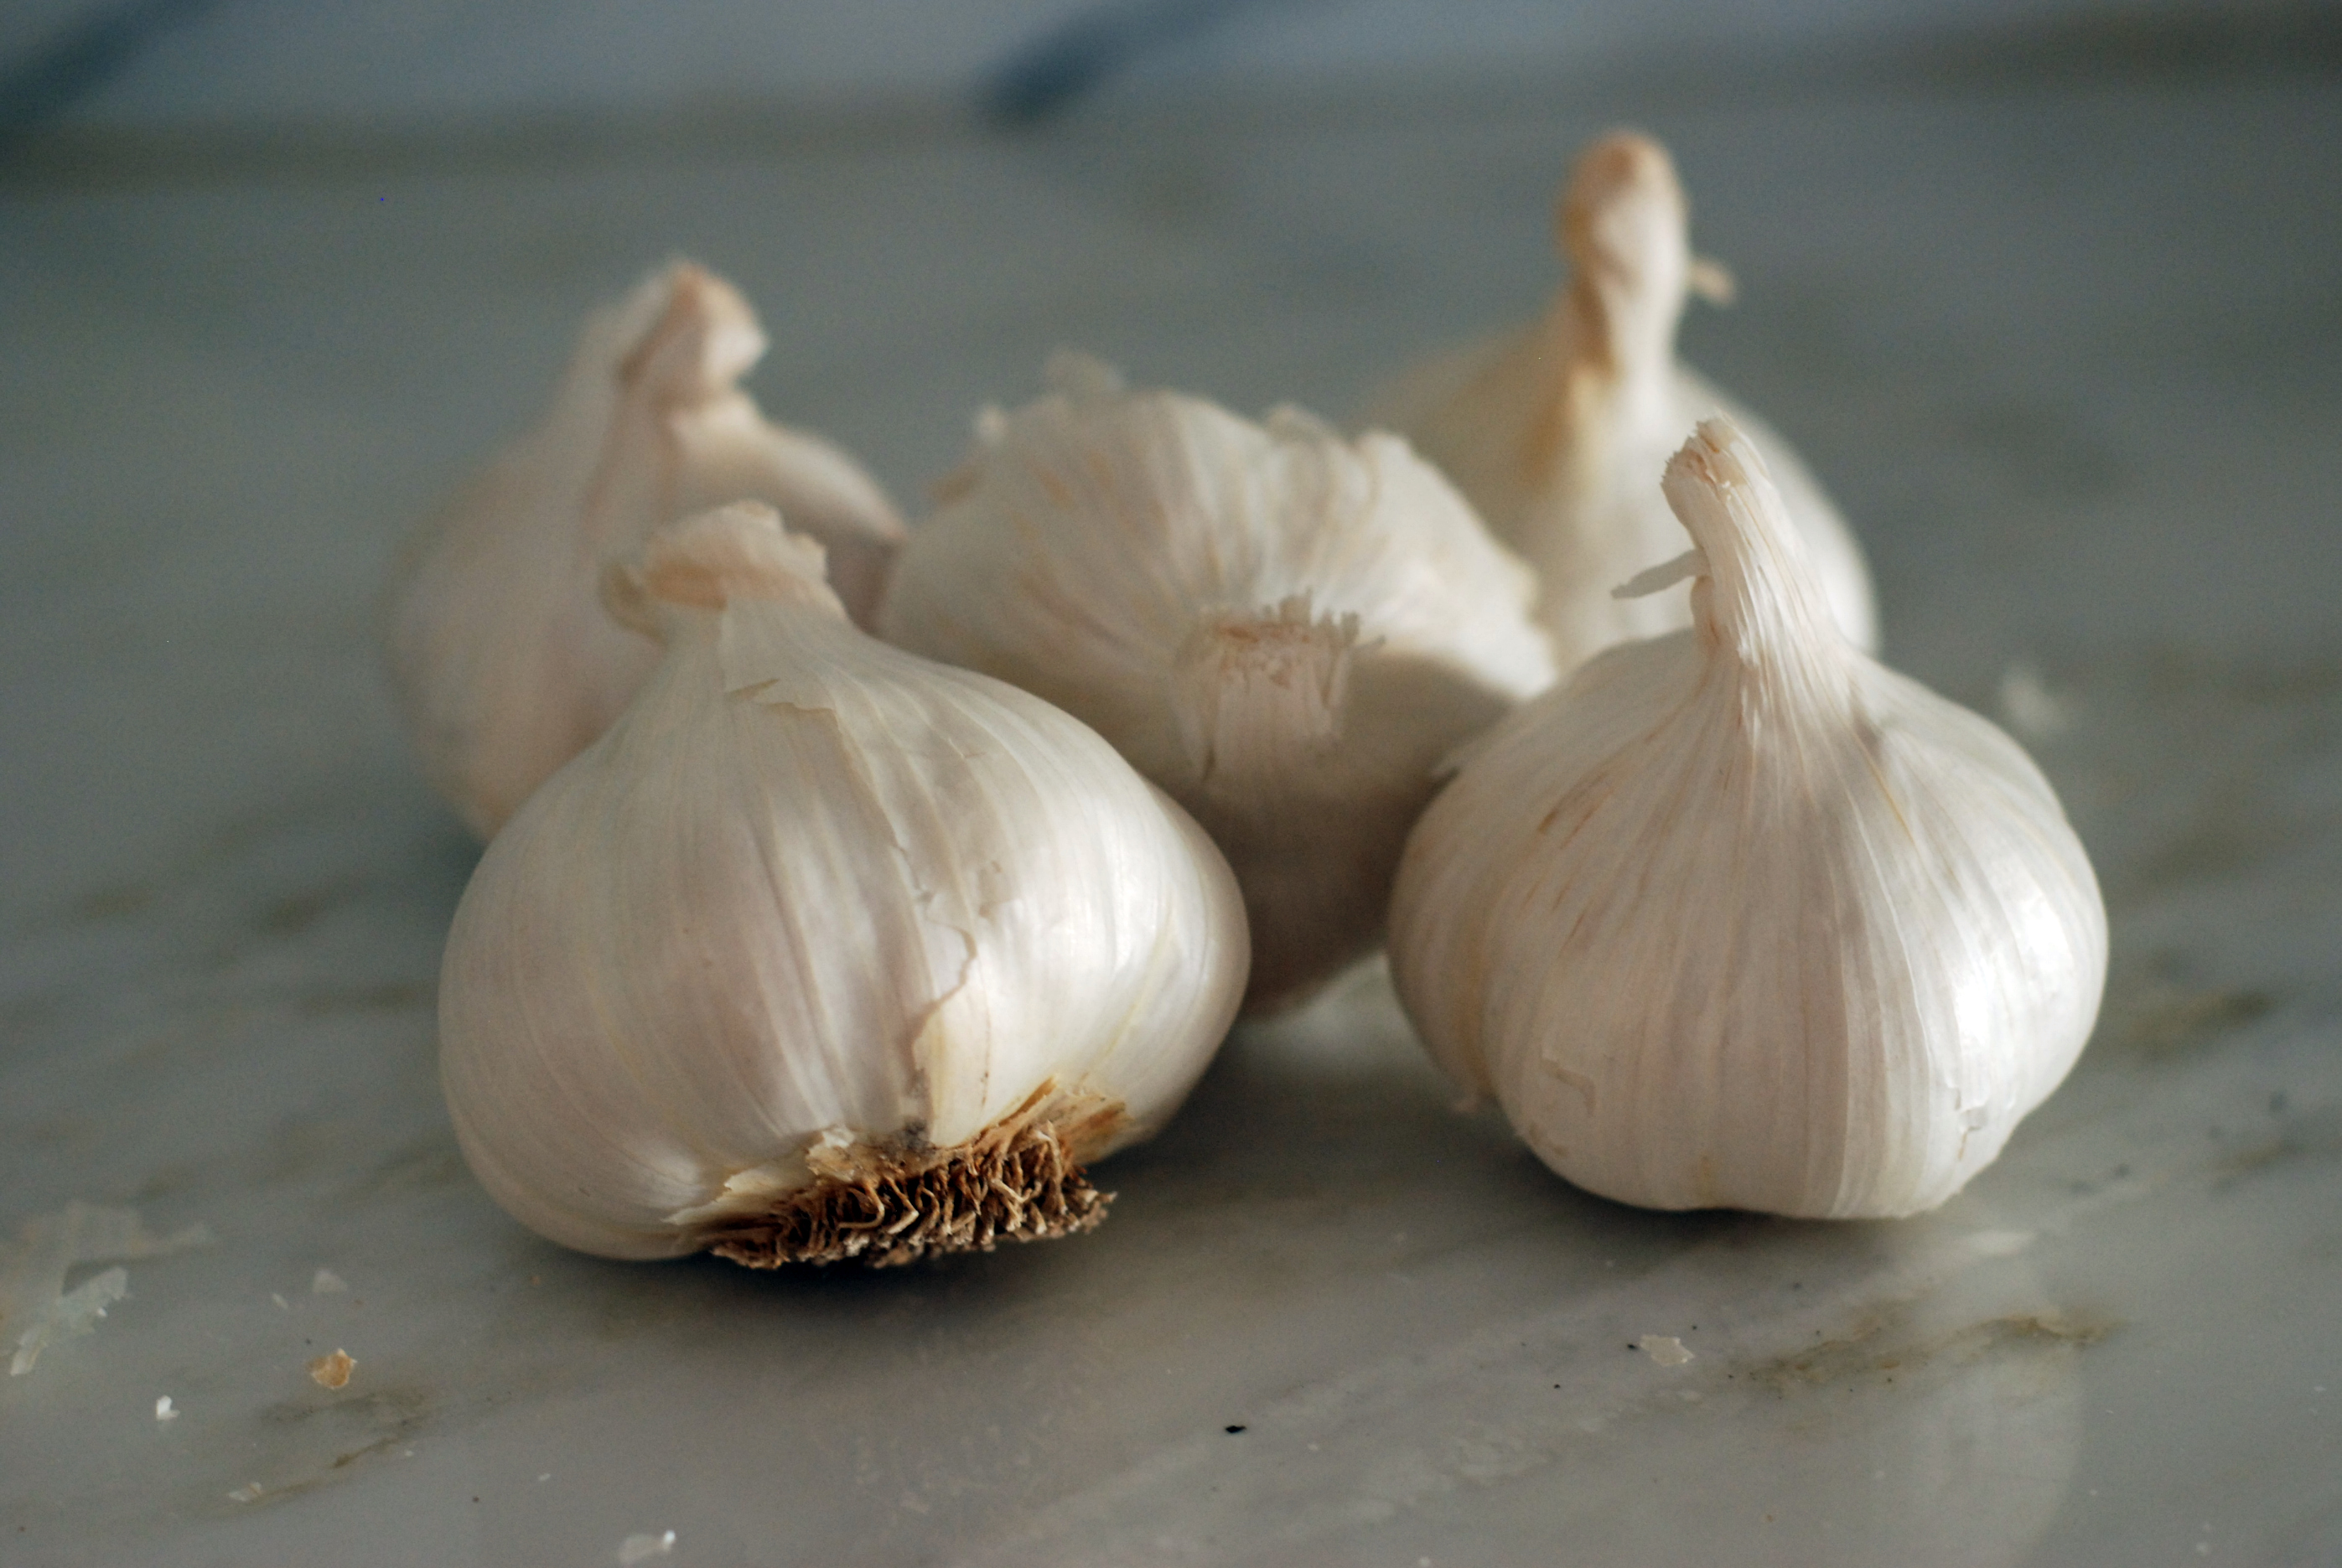
I love garlic.  I really do.

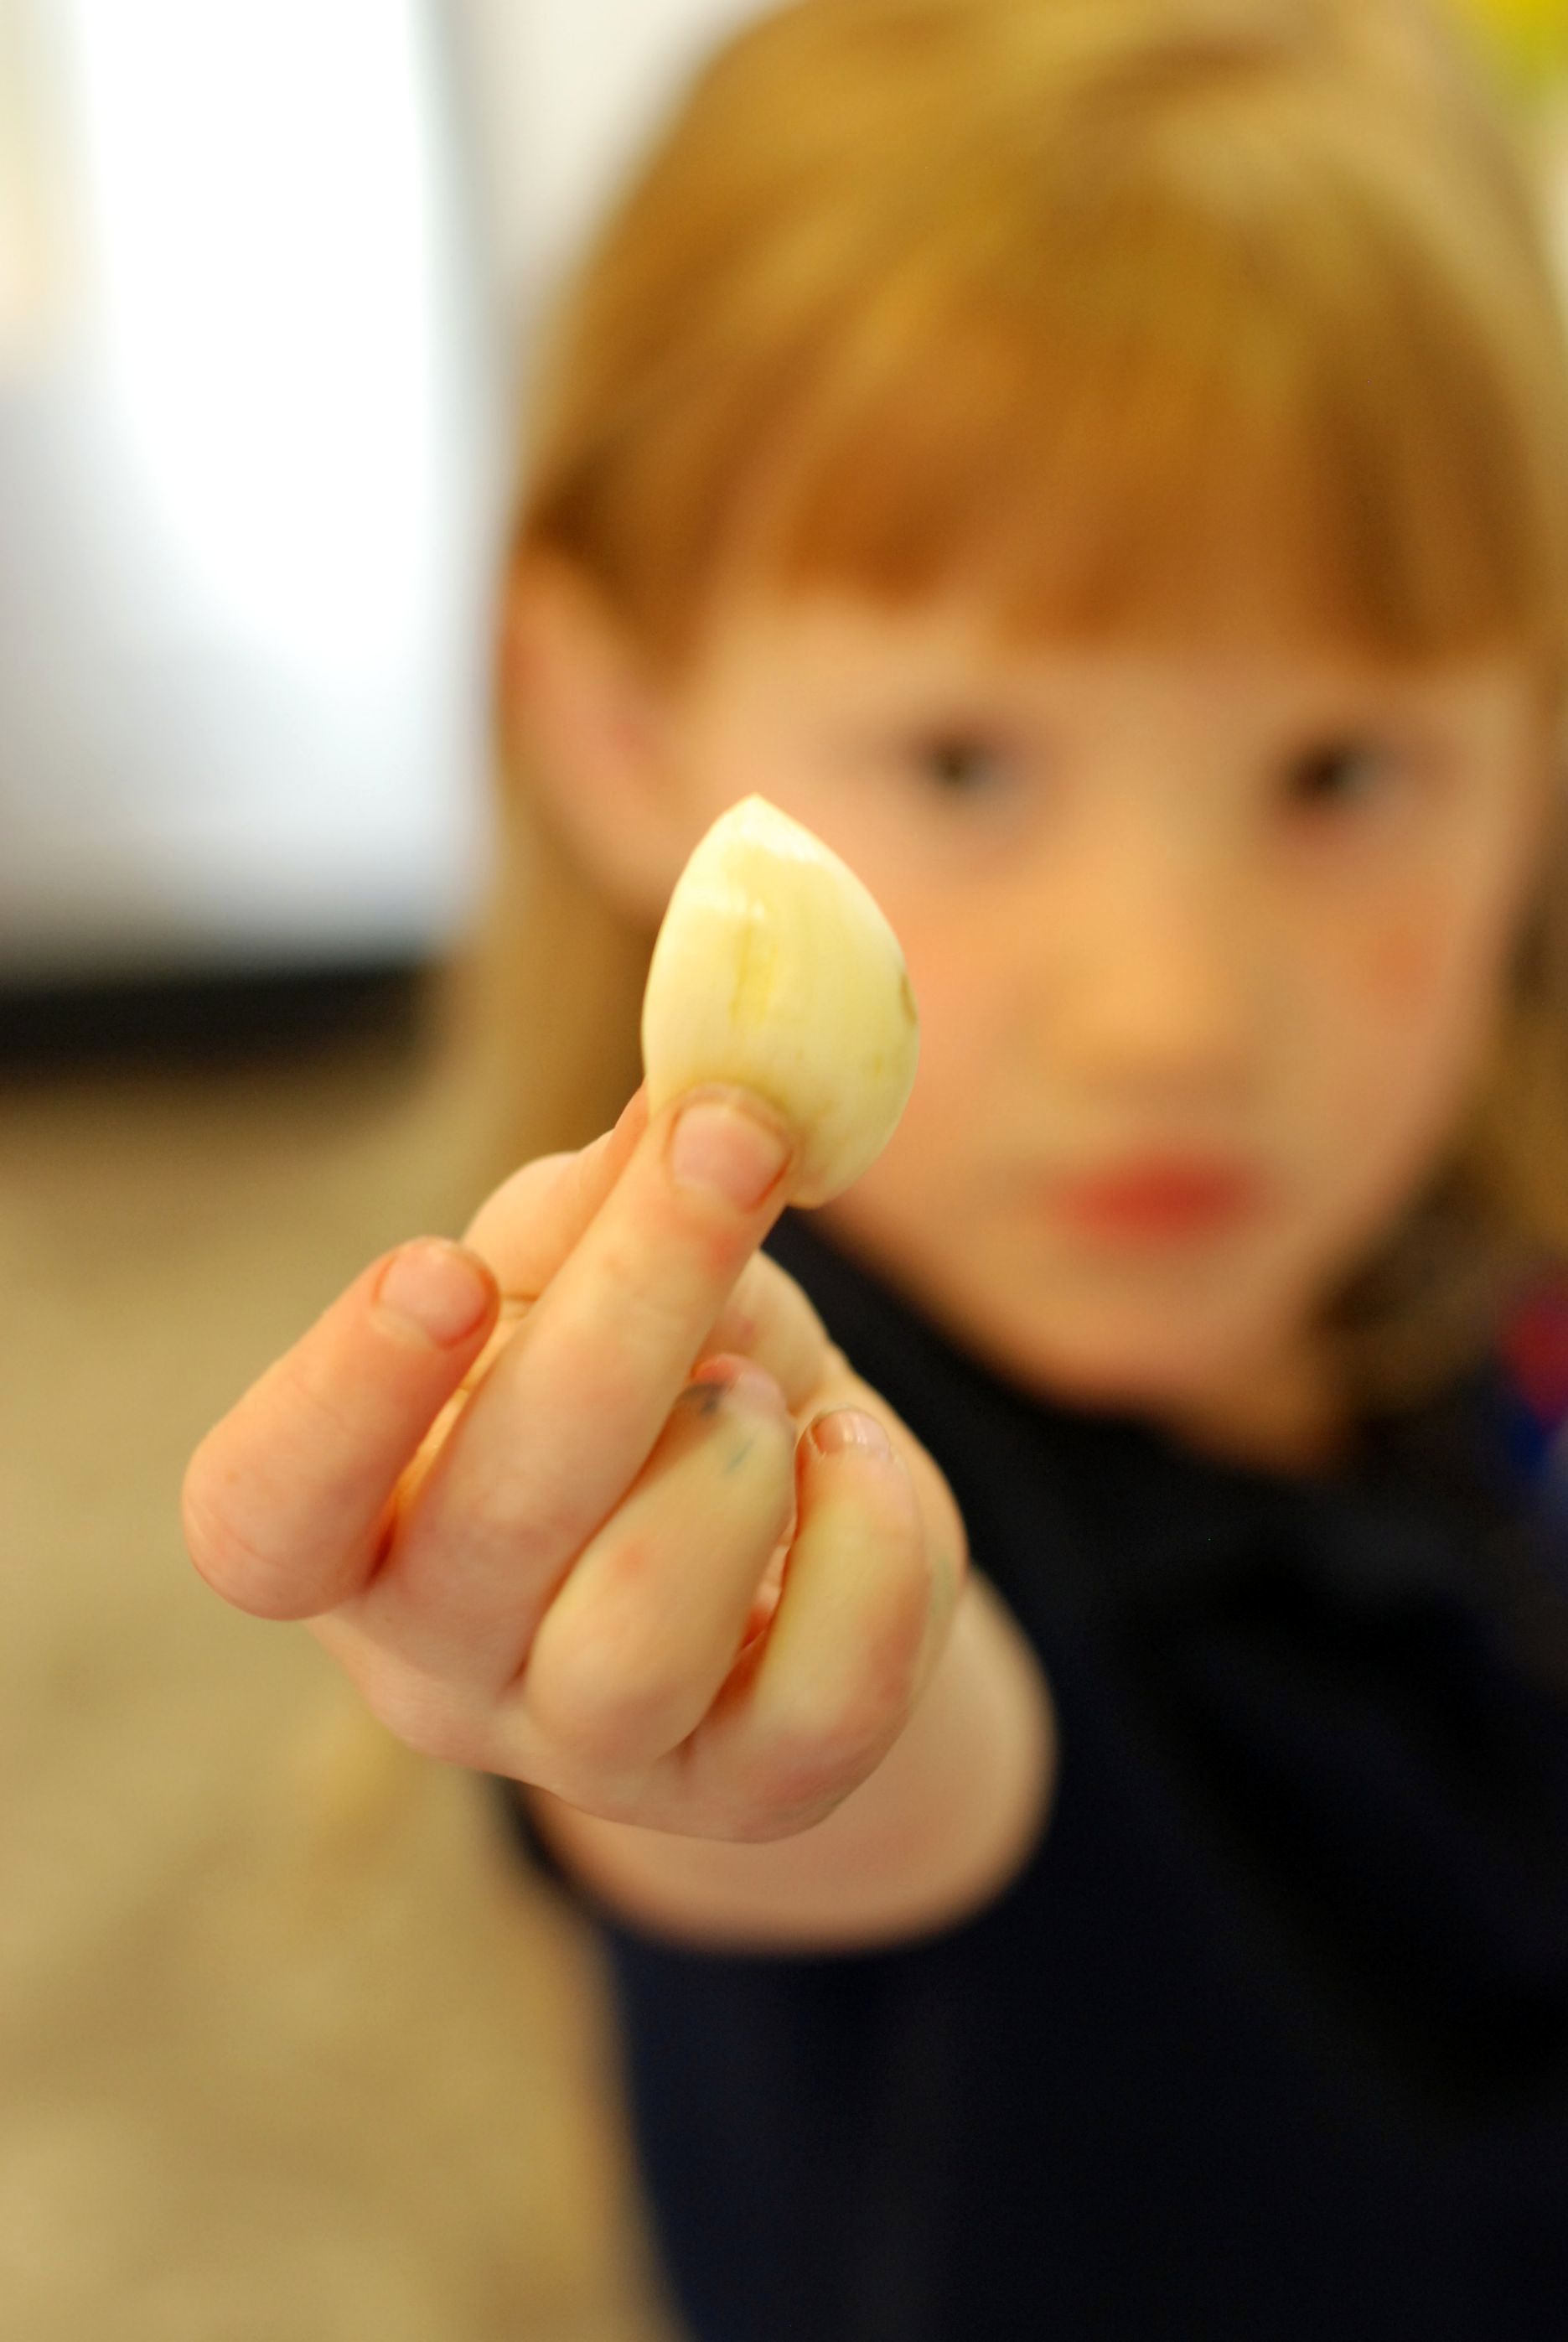
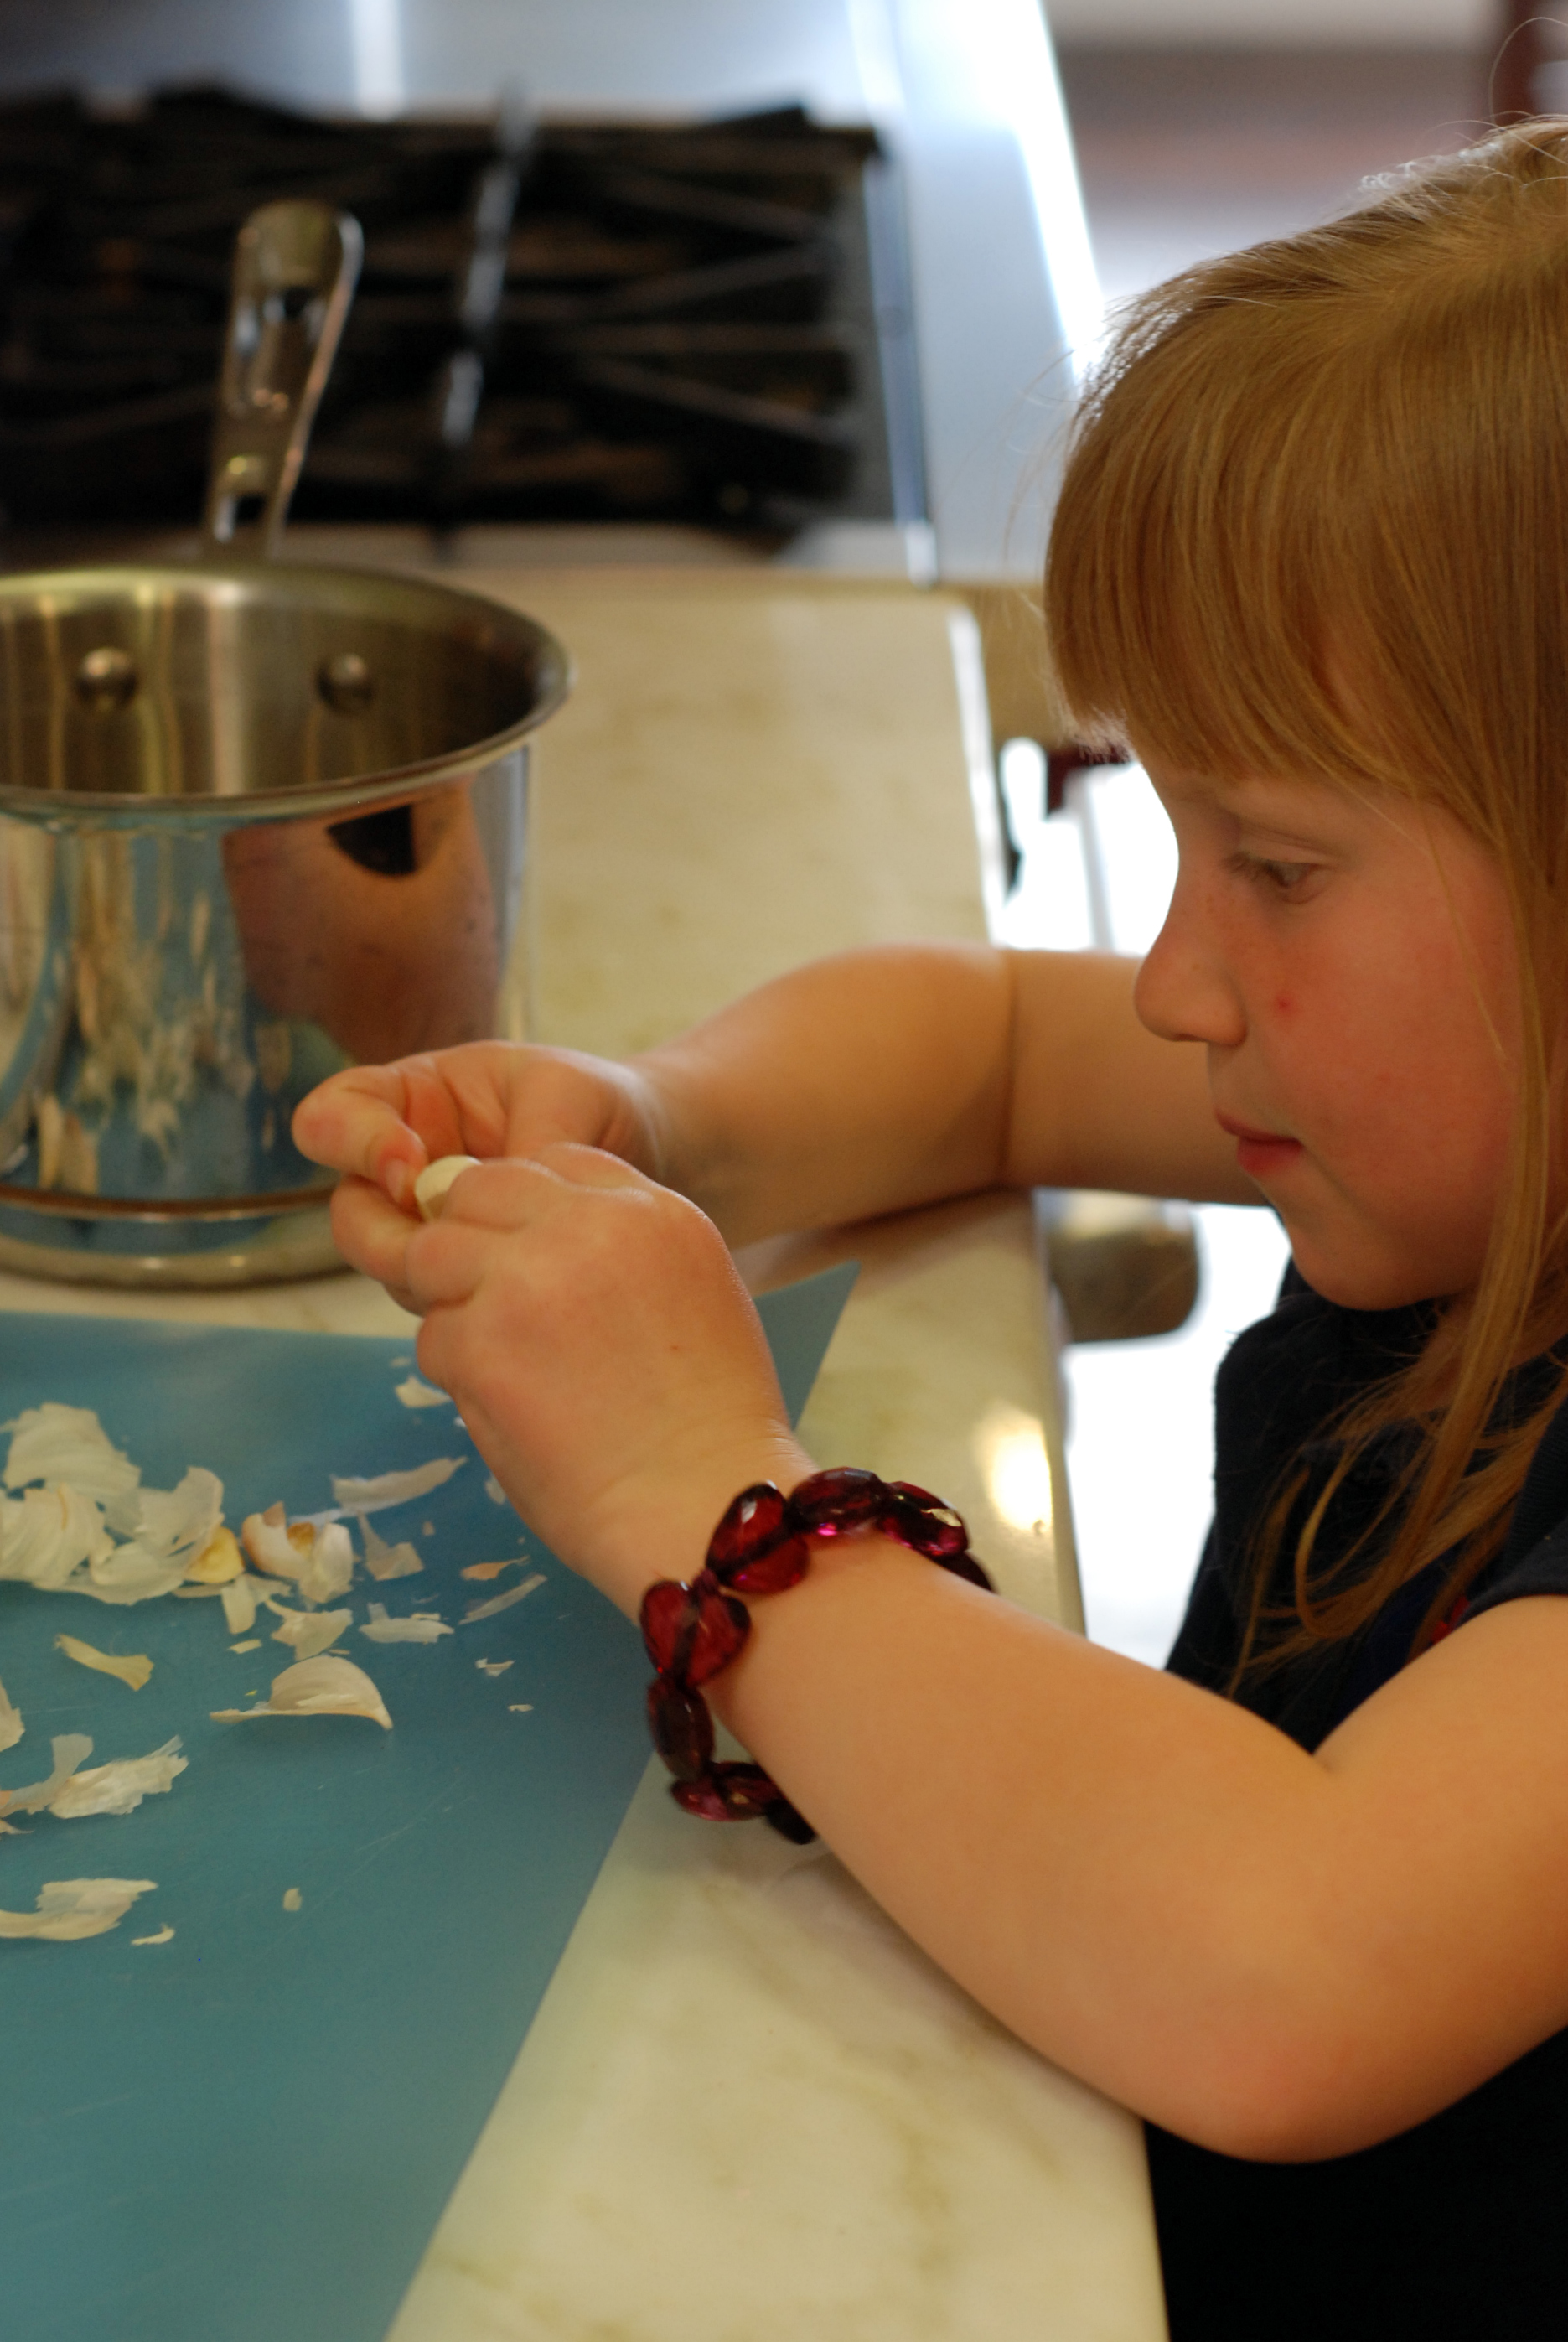
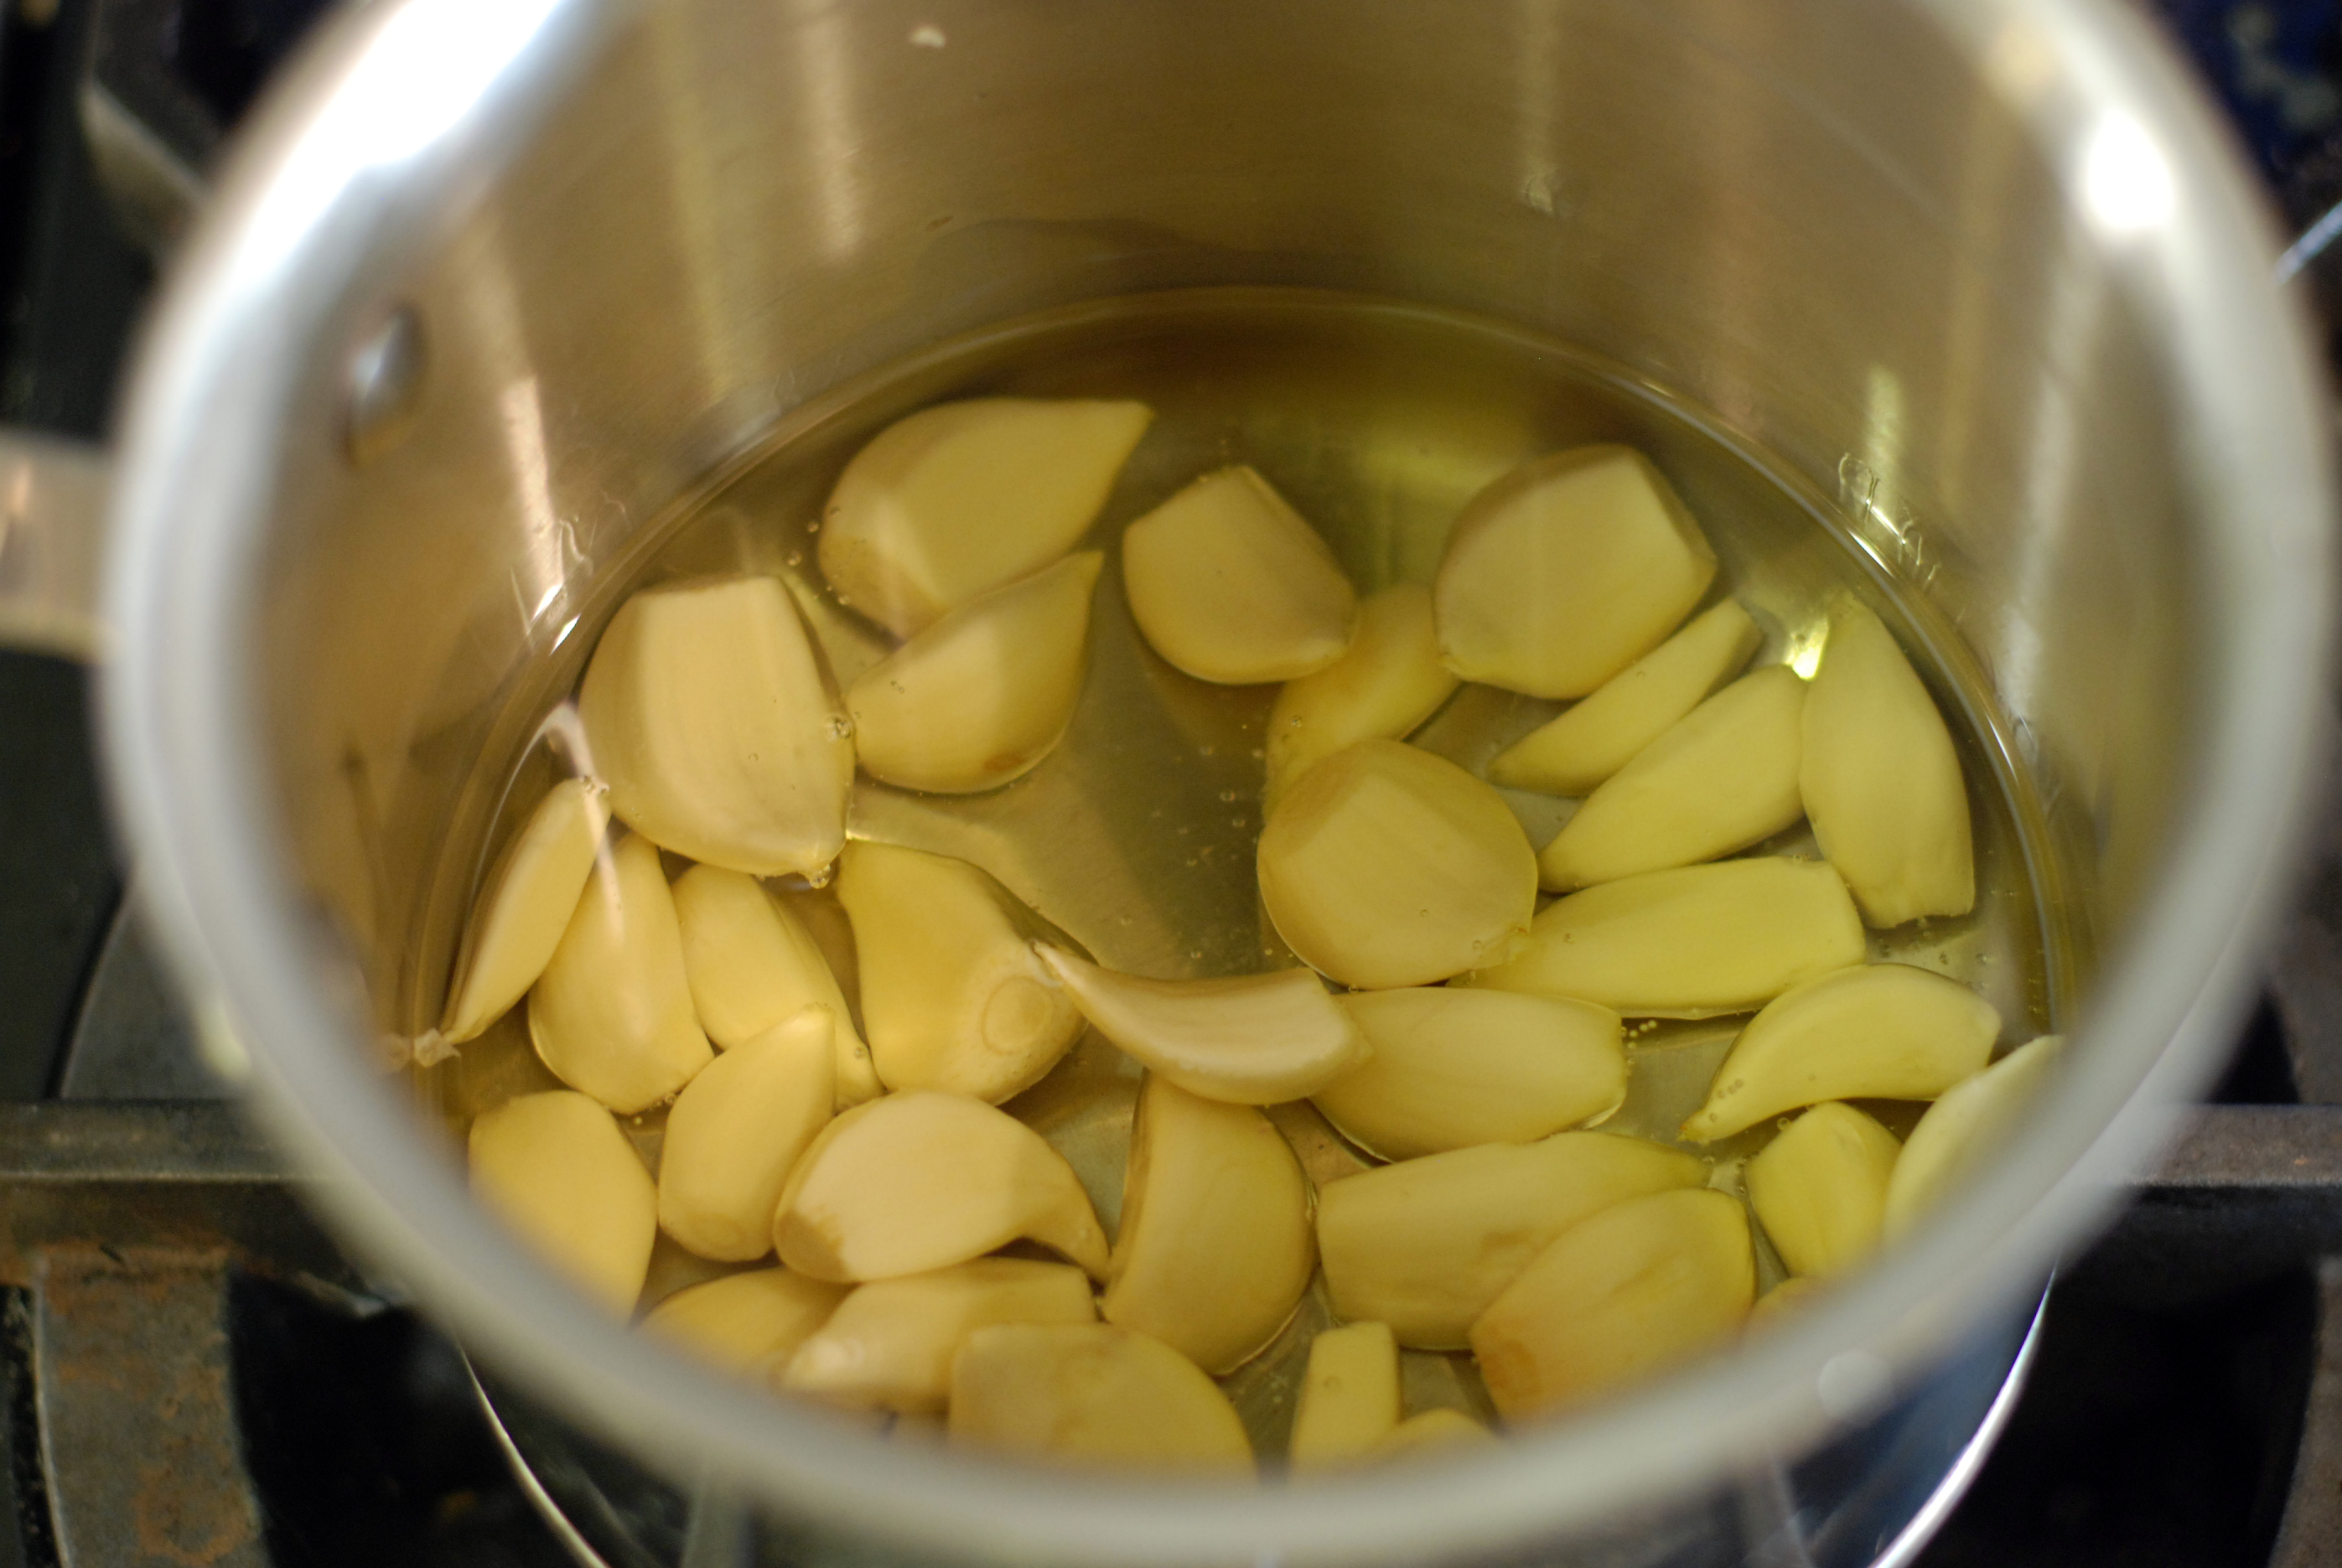
First: Find a willing helper for the tedious ask of unwrapping garlic.  Yes, I have various devices that can help me do this, but none work as well as the gentle smash of chef’s knife and the small fingers of a child. I cut the root ends off first.  You could also blanch them for a quick minute but I needed to get going right away.

Enter: First-born child who would cook anything I asked her to even if she doesn’t really know how.

Secondly, add garlic (I used about 40) to the pan and cover with a neutral oil (think canola or grapeseed).

Gently simmer for about 45 minutes stirring every now and then. There should only be tiny bubbles.

Store in the fridge for about a week.

Adding this garlic confit and a little of the oil to mashed potatoes is exceptionally wonderful.  It allows for an awesome garlic flavor without it attacking your mouth.

I’ve since used it as a spread on sandwiches, in a fritatta, and in a sauce.

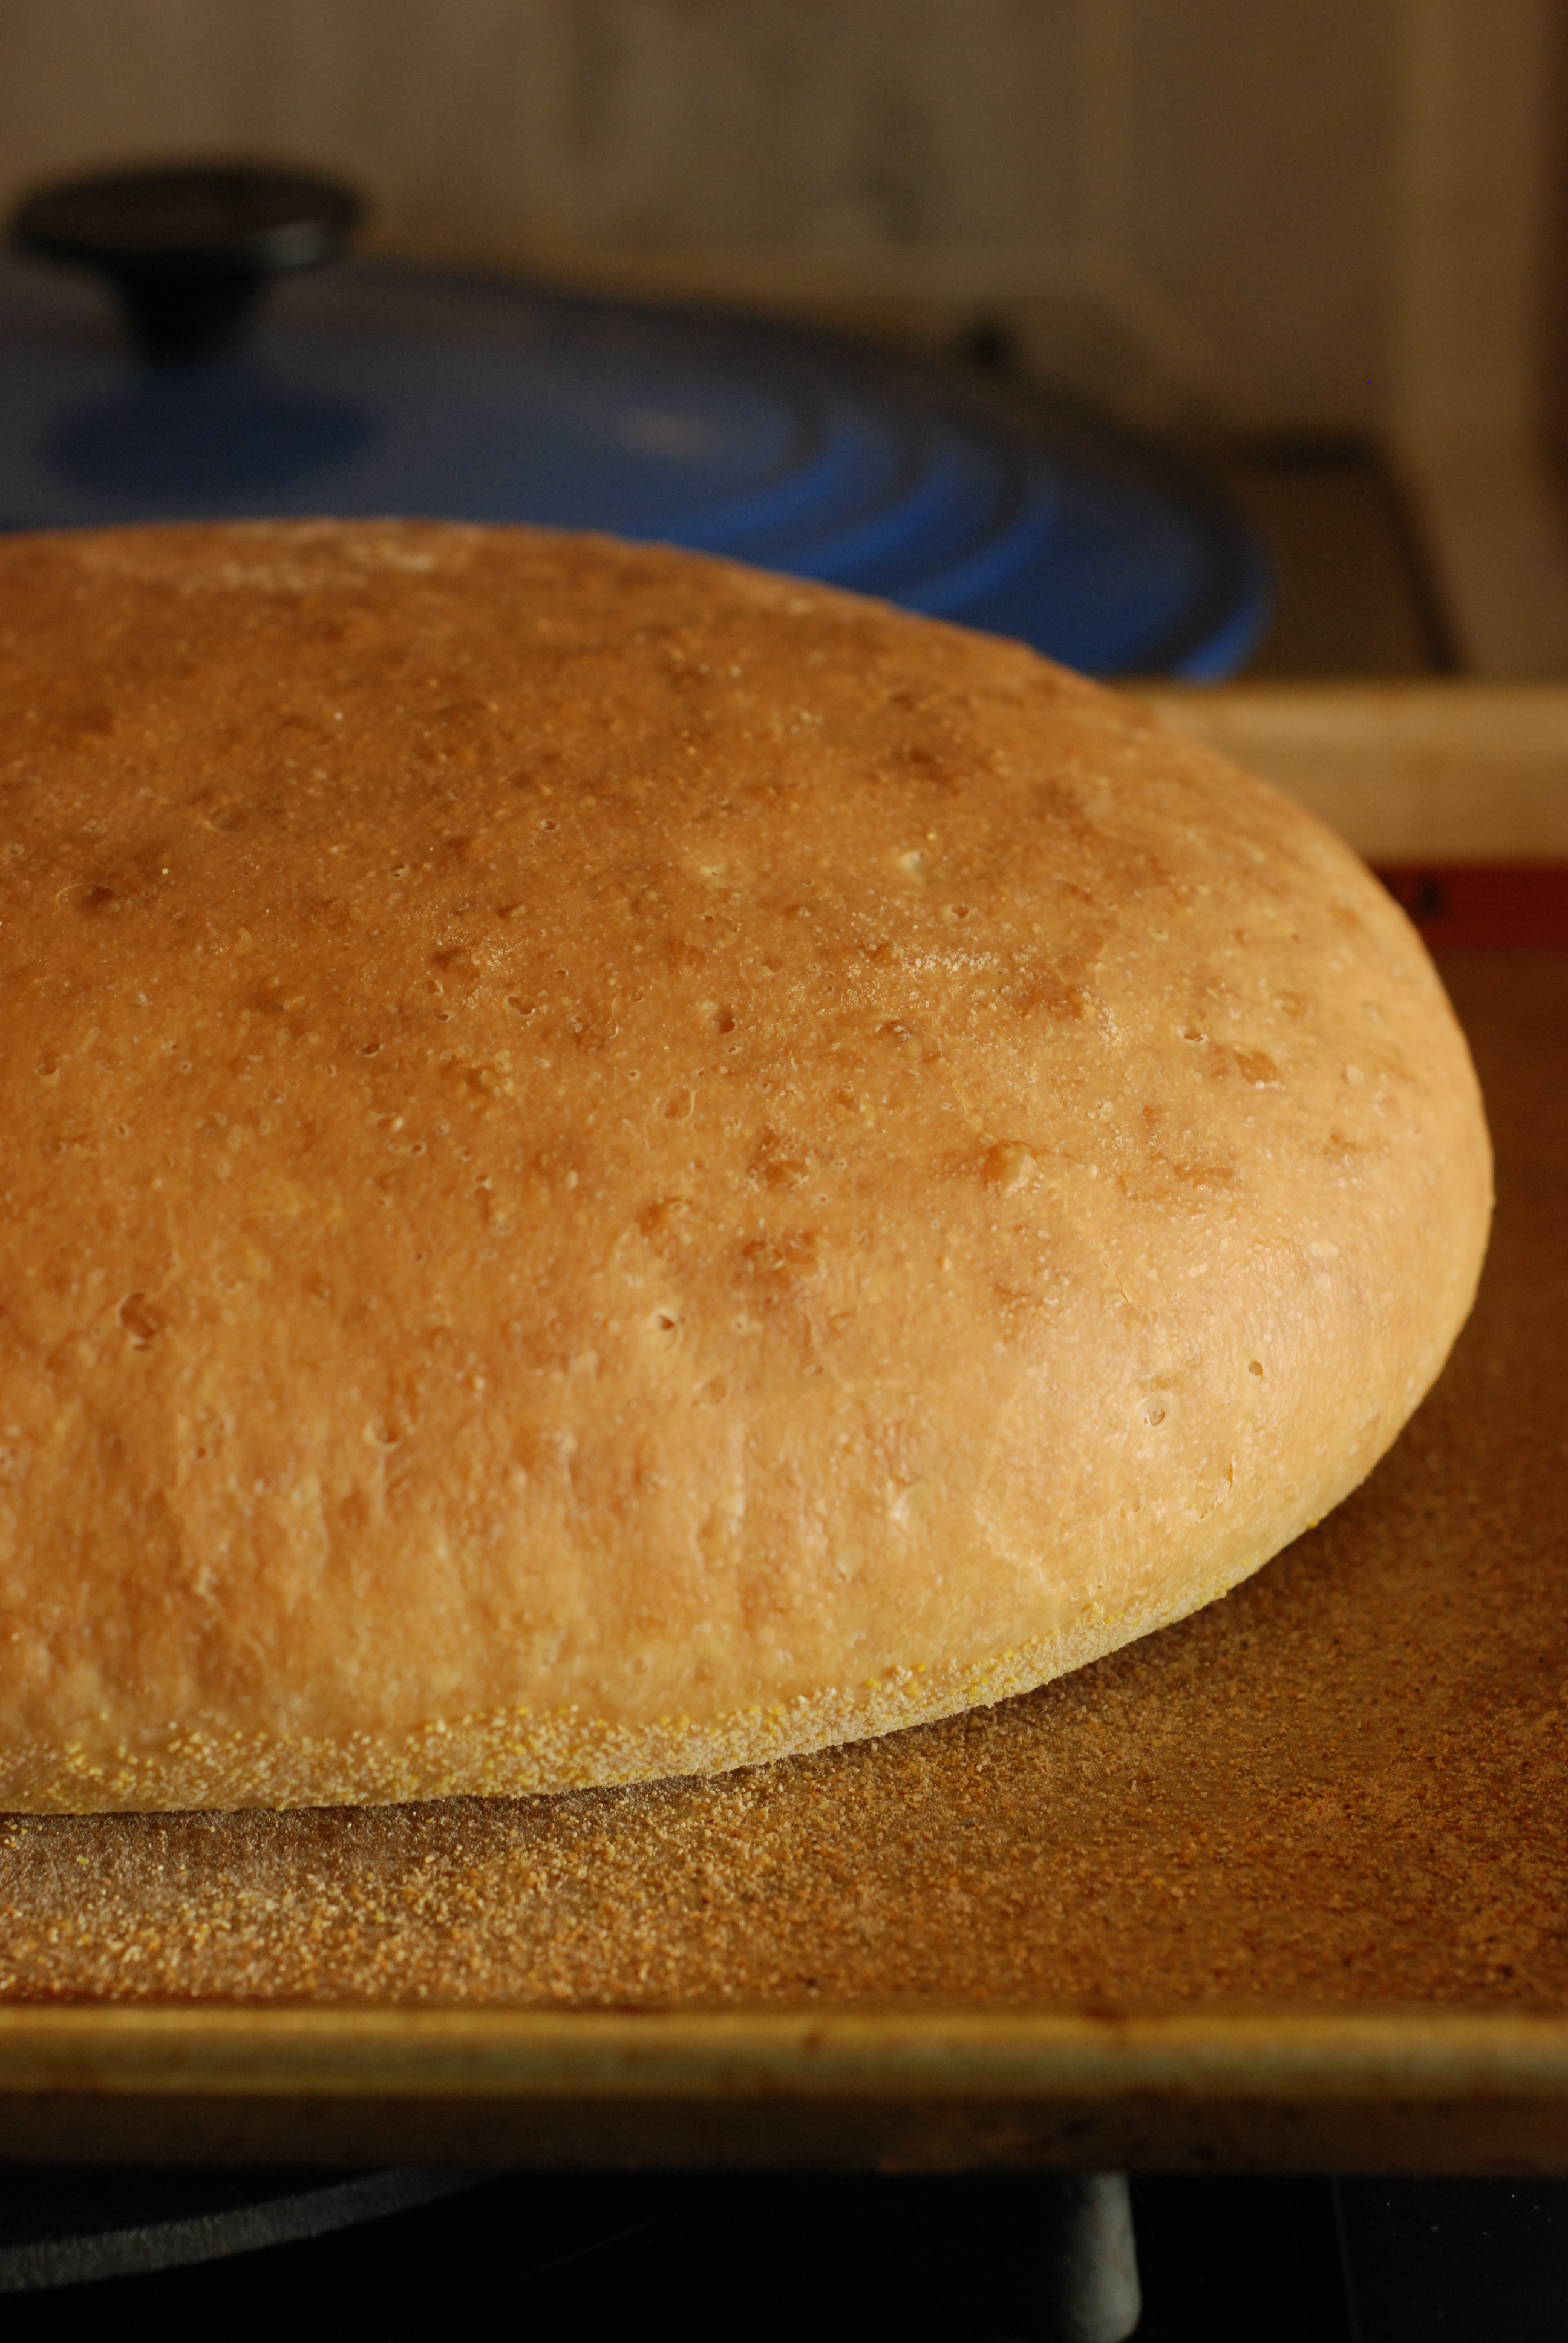
You could also spread it on this beauty, fresh out of the oven…

I’ve been making Martha Stewart’s Olive Oil Bread at least once a week for the past 7 weeks and it has been lovely.

Garlic Confit recipe adapted from Thomas Keller’s recipe from the Bouchon cookbook.

The 5 minute hair bow

For those of you who have not yet discovered the ease of creating with felt:

Felt requires no hemming, tweaking, or edge finishing.  It hides a multitude of mistakes and doesn’t demand hours of attention for a successful project.

I had an hour to myself on a lovely (and quite golden)  Sunday afternoon.  My wonderful husband took the kids on a nature walk (I know…yes, he is quite awesome).  I love making things with the kids, but sometimes it’s nice to start and finish a project without glue spilling on an antique chair (yep…whole bottle of Mod Podge.  I couldn’t find the picture), putting paint on our dog’s tail, or just the constant questioning of my technique and whether I’m sure I am doing it the right way (Faith is very creative so she comes up with a LOT of alternatives).

What to make?

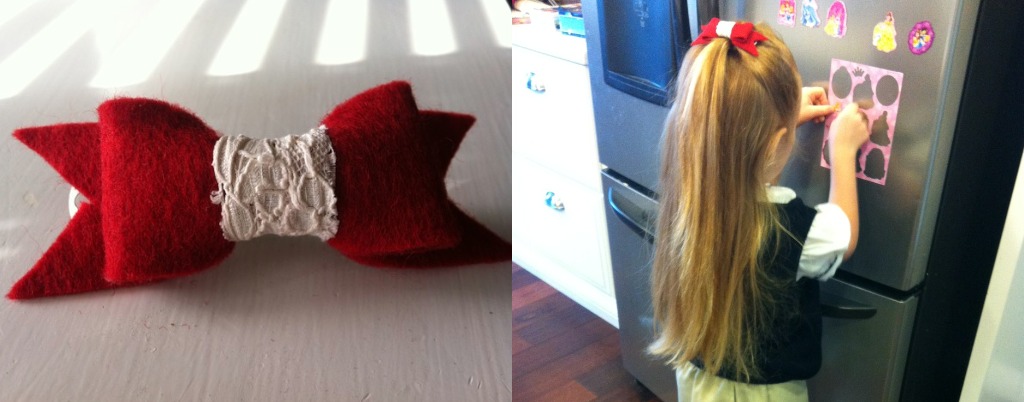
  • Faith asked for a red bow for school to make her uniform less boring.
  • I have a lot of extra red felt from a Christmas project I had good intentions for but never started.
  • I’ve been try to find a worthy use for some lace my Grandma gave me.
  • I want to actually finish this for an immediate sense of completion.
  • I just got new Martha Stewart glue I’ve been wanting to test for fabric usage.

The 5 minute red felt hair ribbon with lace was created!

  • Start with a 1 inch wide by 12 inch long piece of felt.
  • Cut a “V” on the ends for the ribbon shape.
  • Put the base of the cut “V” shape at the ends of the hair clip being used.  Secure with glue along both sides until they meet in the middle.
  • Take the remaining  piece of felt from the middle and push down until it forms 2 loops. Glue to felt below.
  • Tightly wrap a piece of lace (or even a piece of the felt) around the middle a few times and cut so the seam is underneath. Glue.

DONE!

Page 21 of 23« First...10...1920212223