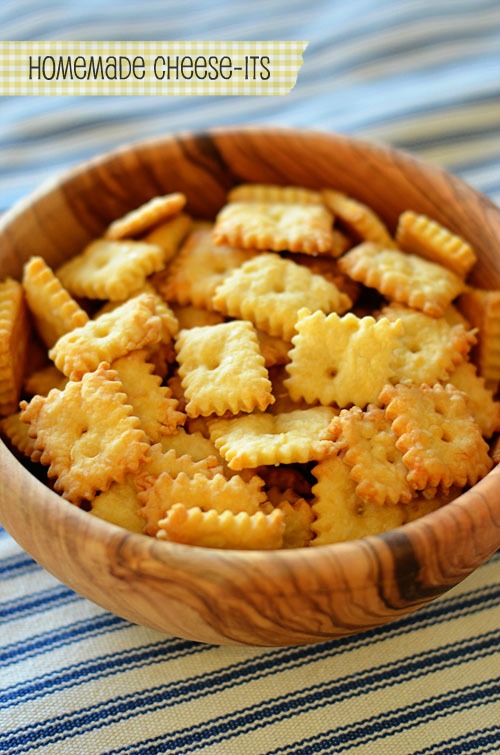
Junkfood Remade: Cheese-its

I’m so excited about this particular recipe because ANYONE can make this.  There are so few ingredients and so few skills involved that my kids basically made it all.  This means you can too.  I’ve been asked a lot lately for “easier meals” or “fast recipes” which is kind of discouraging to me because I feel like I have posted recipes that are both of those things.  But, in an attempt to meet half-way with people who want to start cooking, having never cooked much in the past, I offer you this recipe with love.

So, I had seen recipes before but saw a great look one on Pinterest here.  This recipe had the perfect cheese-it (or cheez-it) flavor if not better, some of my taste testers said.

Cheese-its

(adapted from “Ready Made” and a few other sources)

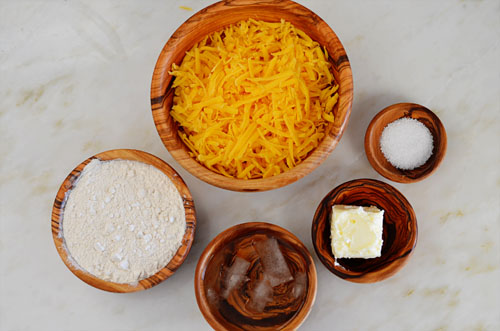
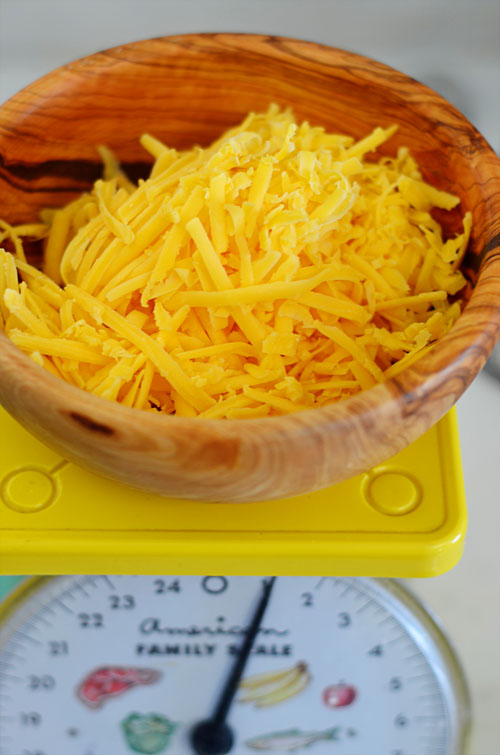
8 ounces extra-sharp cheddar cheese, coarsely shredded

½ stick or 4 ounces unsalted butter,  room temperature

1 teaspoons kosher salt

1 cup flour

2 Tablespoons water, iced

This recipe has so few ingredients I put them in bowls so my kids could mix them lickety-splickety.

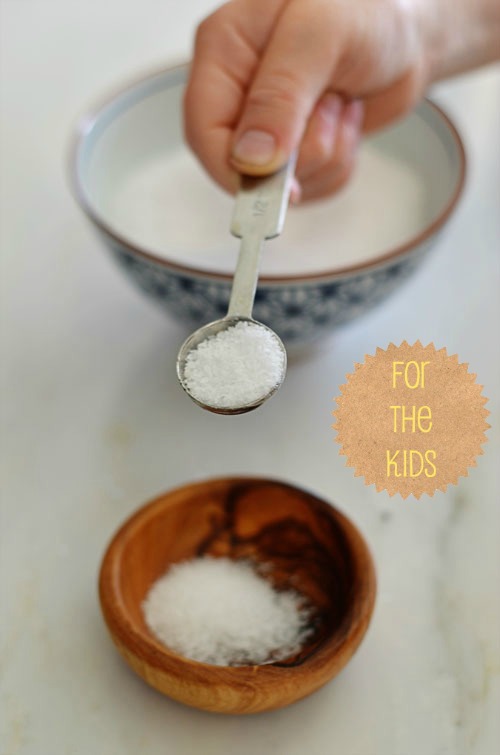
Kids are great at measuring.  Practice makes them understand fractions visibly instead of just in theory.  Makes sense, right?

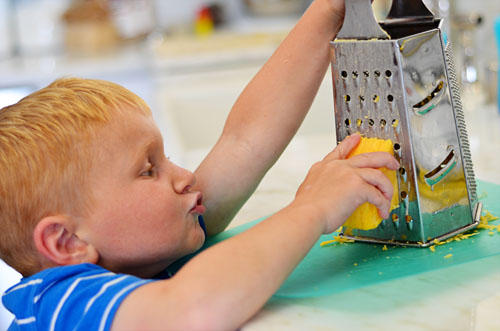
Yet another awesome kid skill…grating.  When they are little, I think they believe it’s a magic trick and constantly check underneath to see if the trick is working.

Measure the cheese to get 8 oz, if it wasn’t already measured as an 8 oz. block.

Pre-measuring the ingredients helps to maintain the kids attention during cooking.

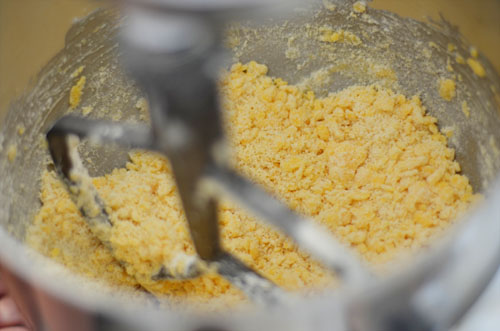
Cream the cheese, butter, and salt until combined.  Add the flour until it looks like the above.  Then, slowly add the water until the dough forms a ball.  It may take 15 seconds or so for the dough to make the ball after you add the water so be careful not to add much more (I added a T. more).

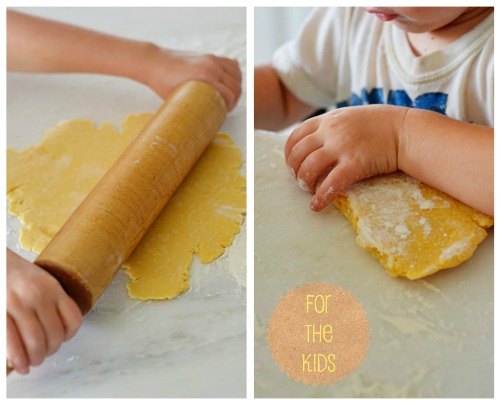
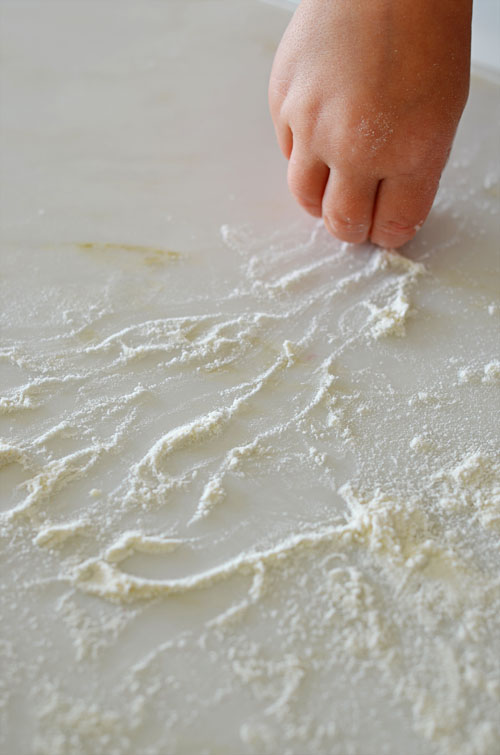
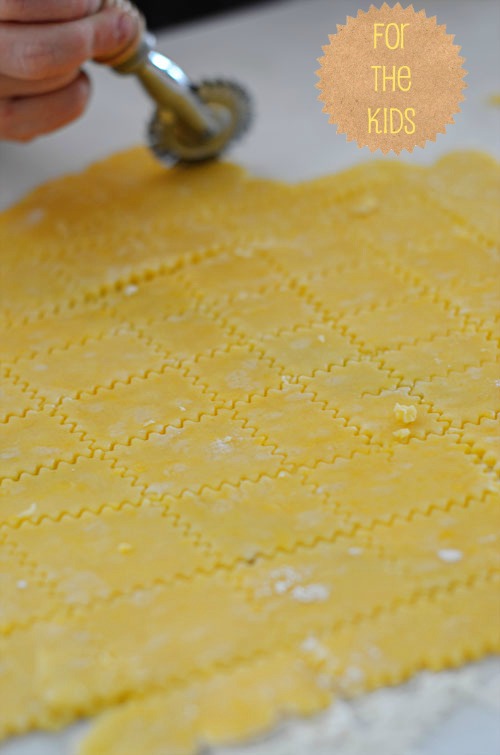
Pat the dough in a disk and put in the fridge for an hour. Then, roll out the dough until it’s 1/8 of an inch.

Preheat the oven to 375 degrees

Cut them in 1″ squares.  You can see by the lines that i let my kids help cut them out.  They LOVED the pastry wheel.

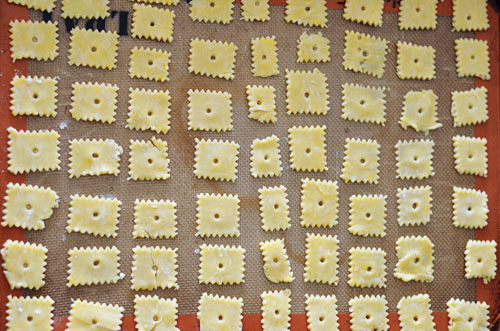
I put the better looking ones on this tray and saved the weird ones for the next tray.  Poke a hole in them with a chopstick and bake for

12 minutes.

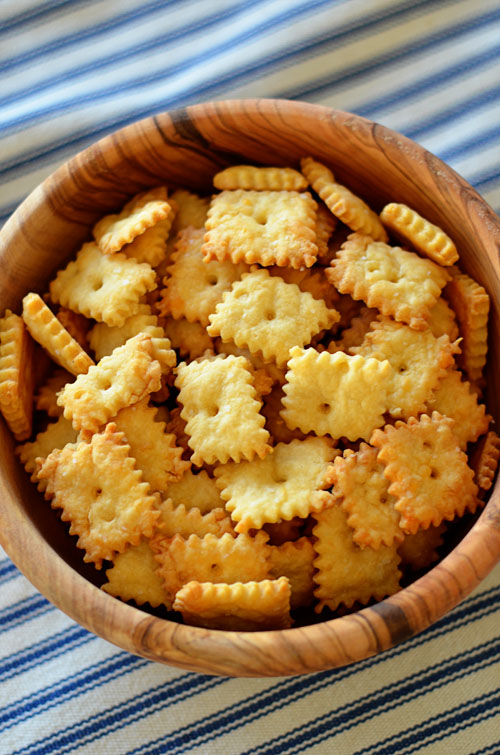
Immediately test your product to make sure they are safe to feed other people, but be sure to actually share them.

If you are new to this space and have enjoyed your time, stick around and find me on:

F a c e b o o k  //  T w i t t e r  //  P i n t e r e s t  //  I n s t a g r a m  //  E m a i l

A Proper Freezer Stash

So, I’ve been having migraines a lot lately and have been so thankful that I had a few things hanging around in my freezer to make things a little easier.  This week I made soup twice and cookies twice from that freezer.

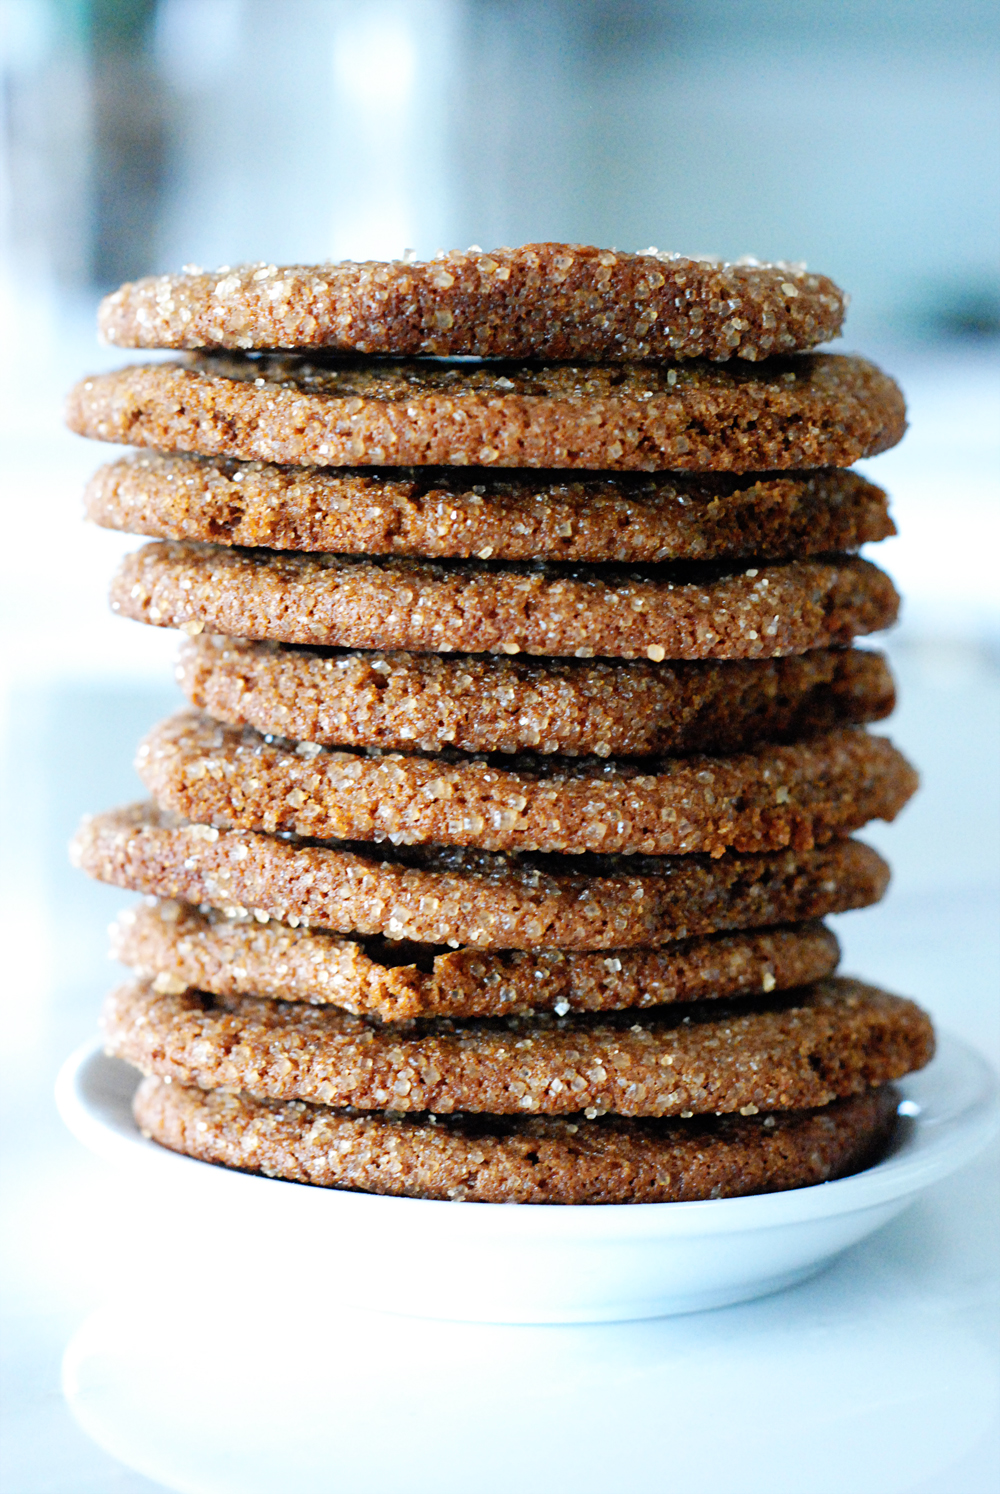
These scrumptious gingersnaps for some friends.

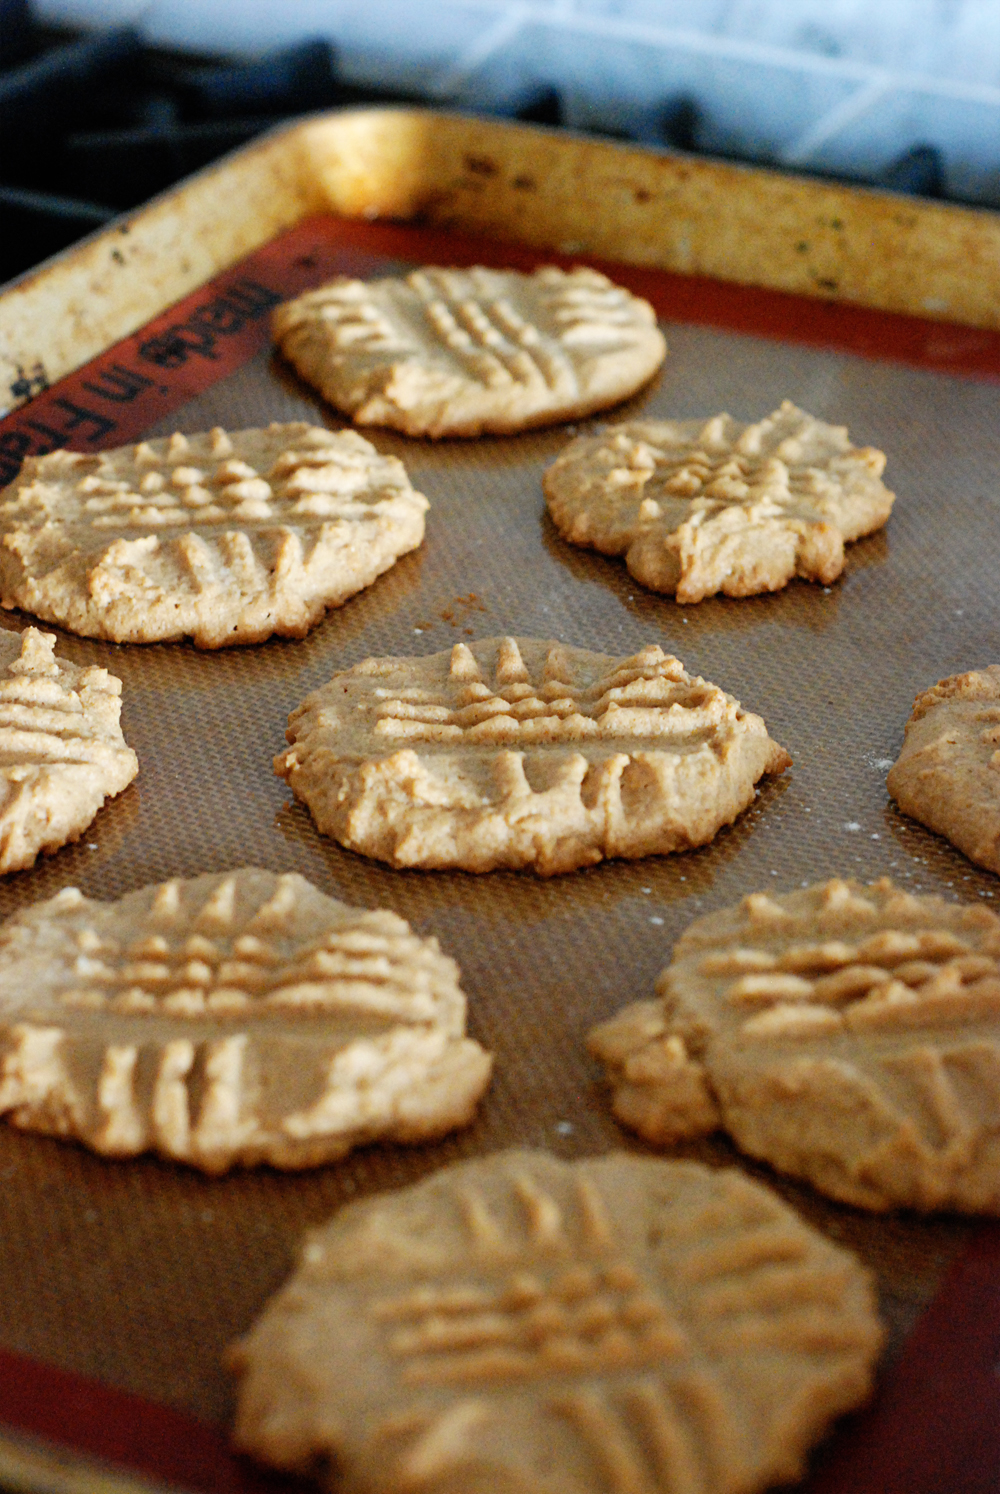
Rustic peanut butter cookies for houseguests.  They are rustic because of my laziness in not wanting to roll them.

Hey, it works.

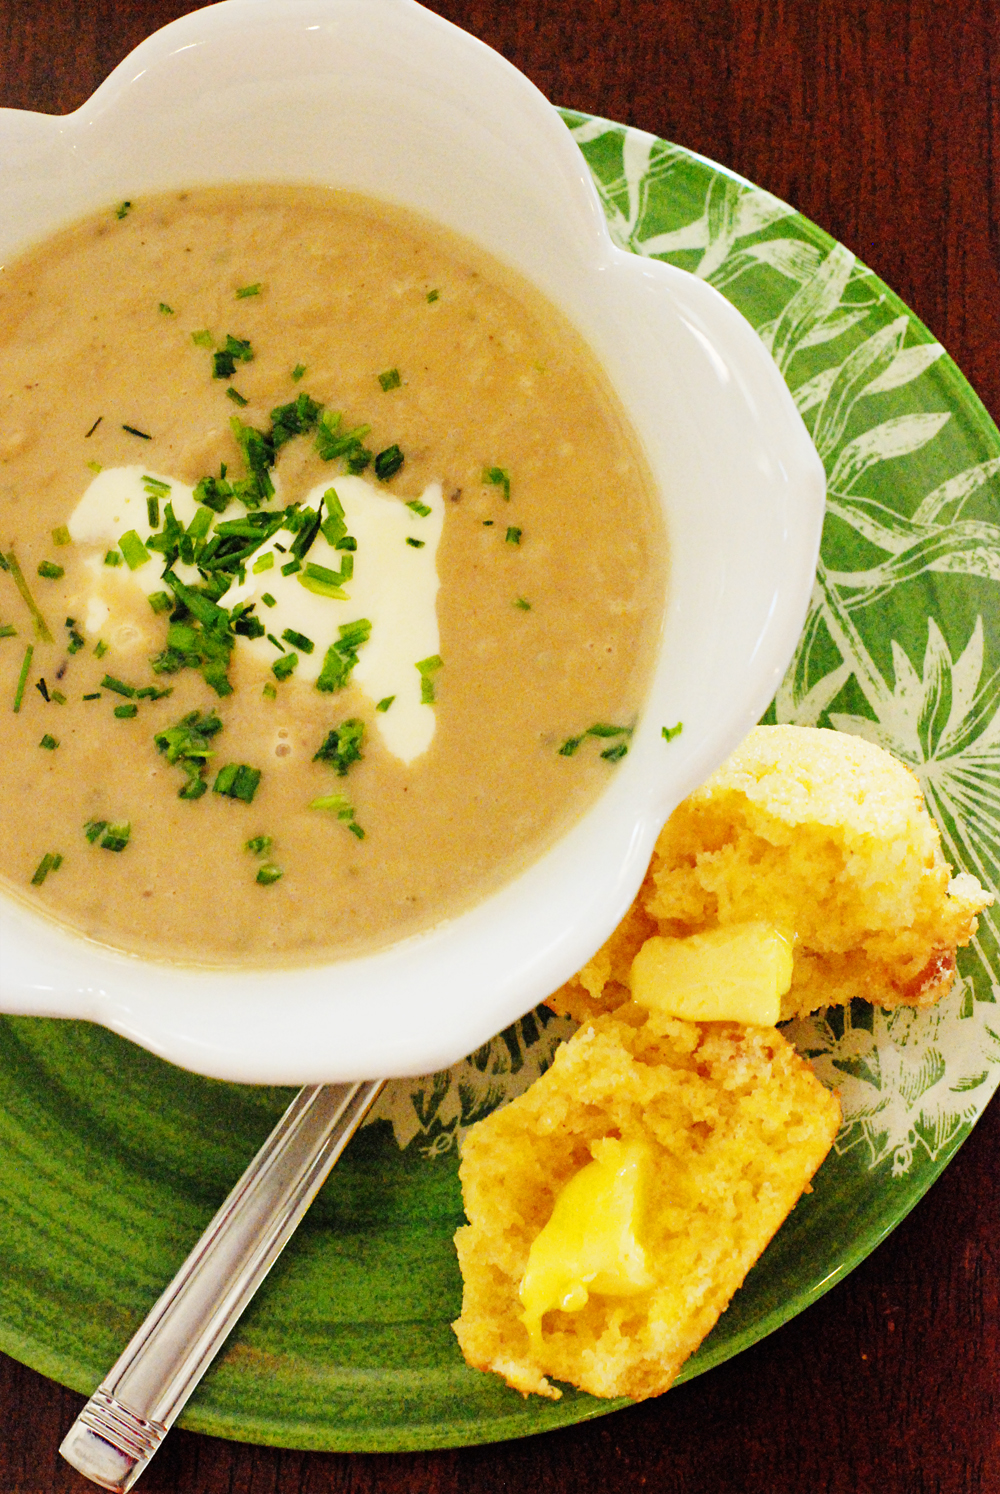
Tuscan white bean soup with pancetta and cornbread; once for lunch and once for dinner.


You’ll thank yourself later if you just make extra soup and cookie dough and put it in the freezer.  I like to flatten my freezer bags before putting them in and find a smooth and level spot for them to freeze.  Once frozen, you can “file” them upright or however you want.  Be sure to label and date them.  You could also just freeze them however you want and not adopt my crazy-weird techniques.  Whatever works.

He’s what’s in my freezer that I’ve stashed:

  • Coq A Vin
  • Chocolate Chip Oatmeal Cookies
  • Mushroom Veloute
  • Chocolate Espresso Crackle Cookies
  • Roasted Chicken pieces
  • Homemade Tomato Sauce
  • Chicken Stock
  • Carrots, onions, and potatoes cut for chicken pot pie

Hopefully I won’t need to use it all at once…

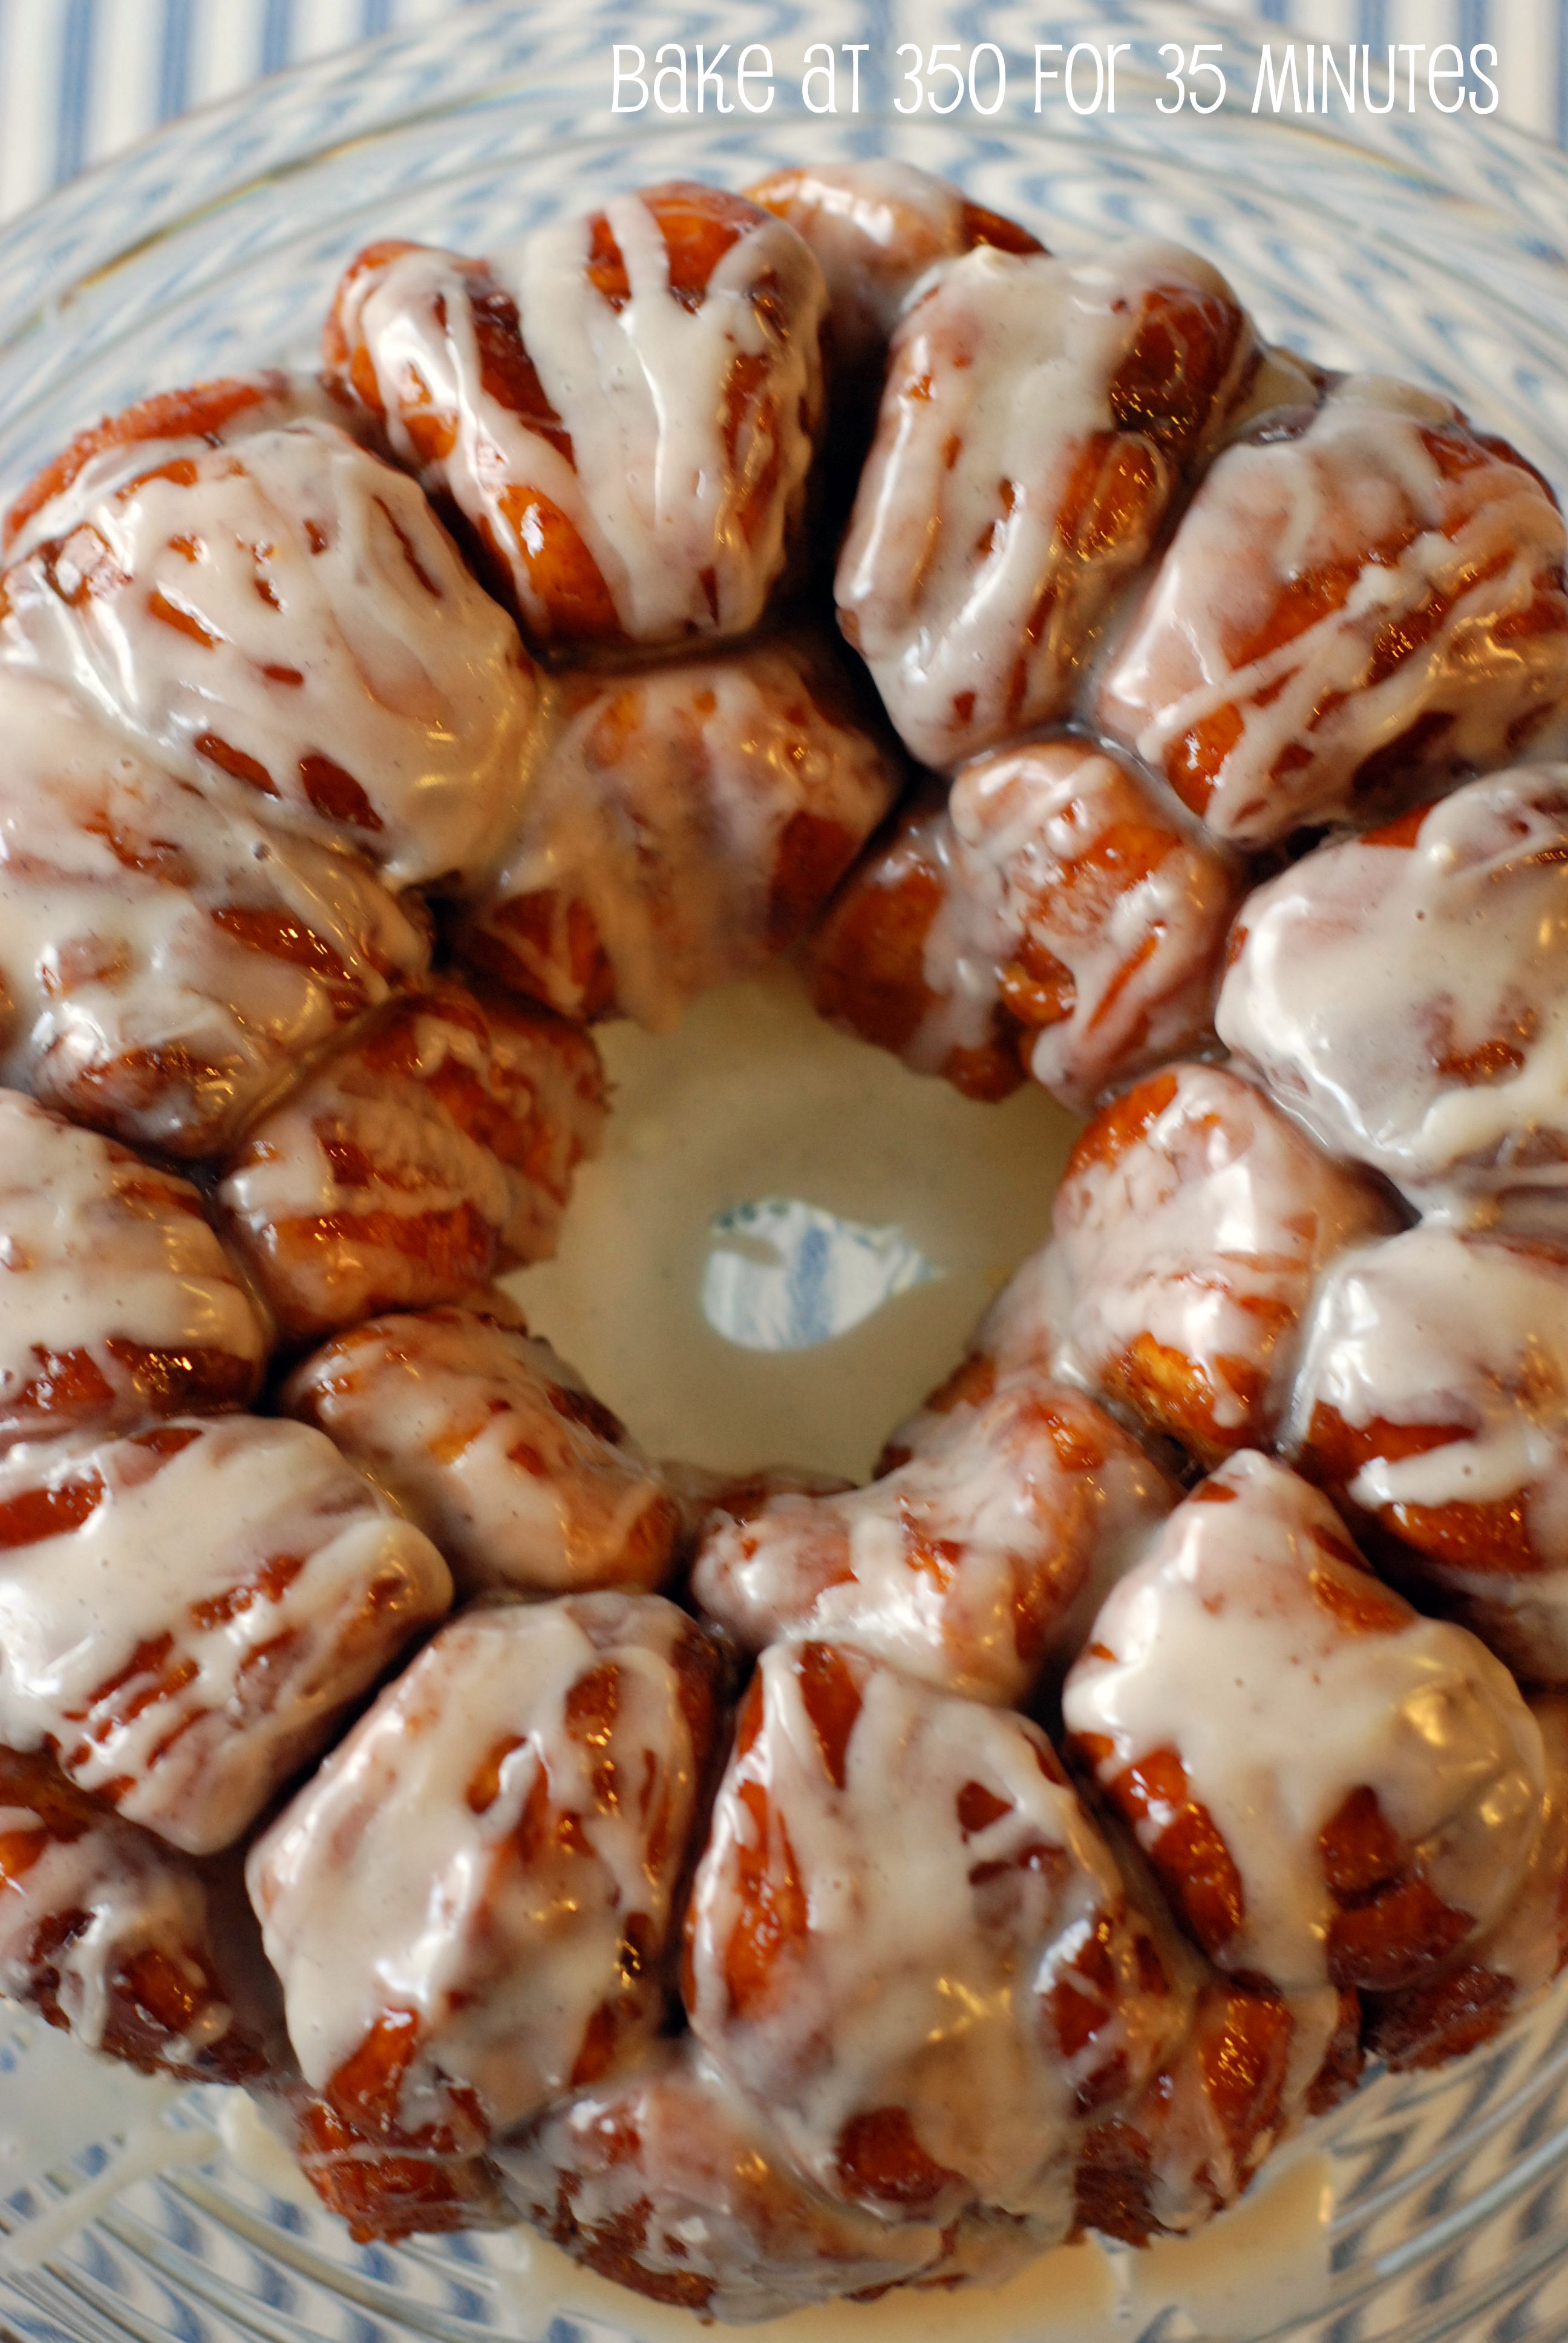
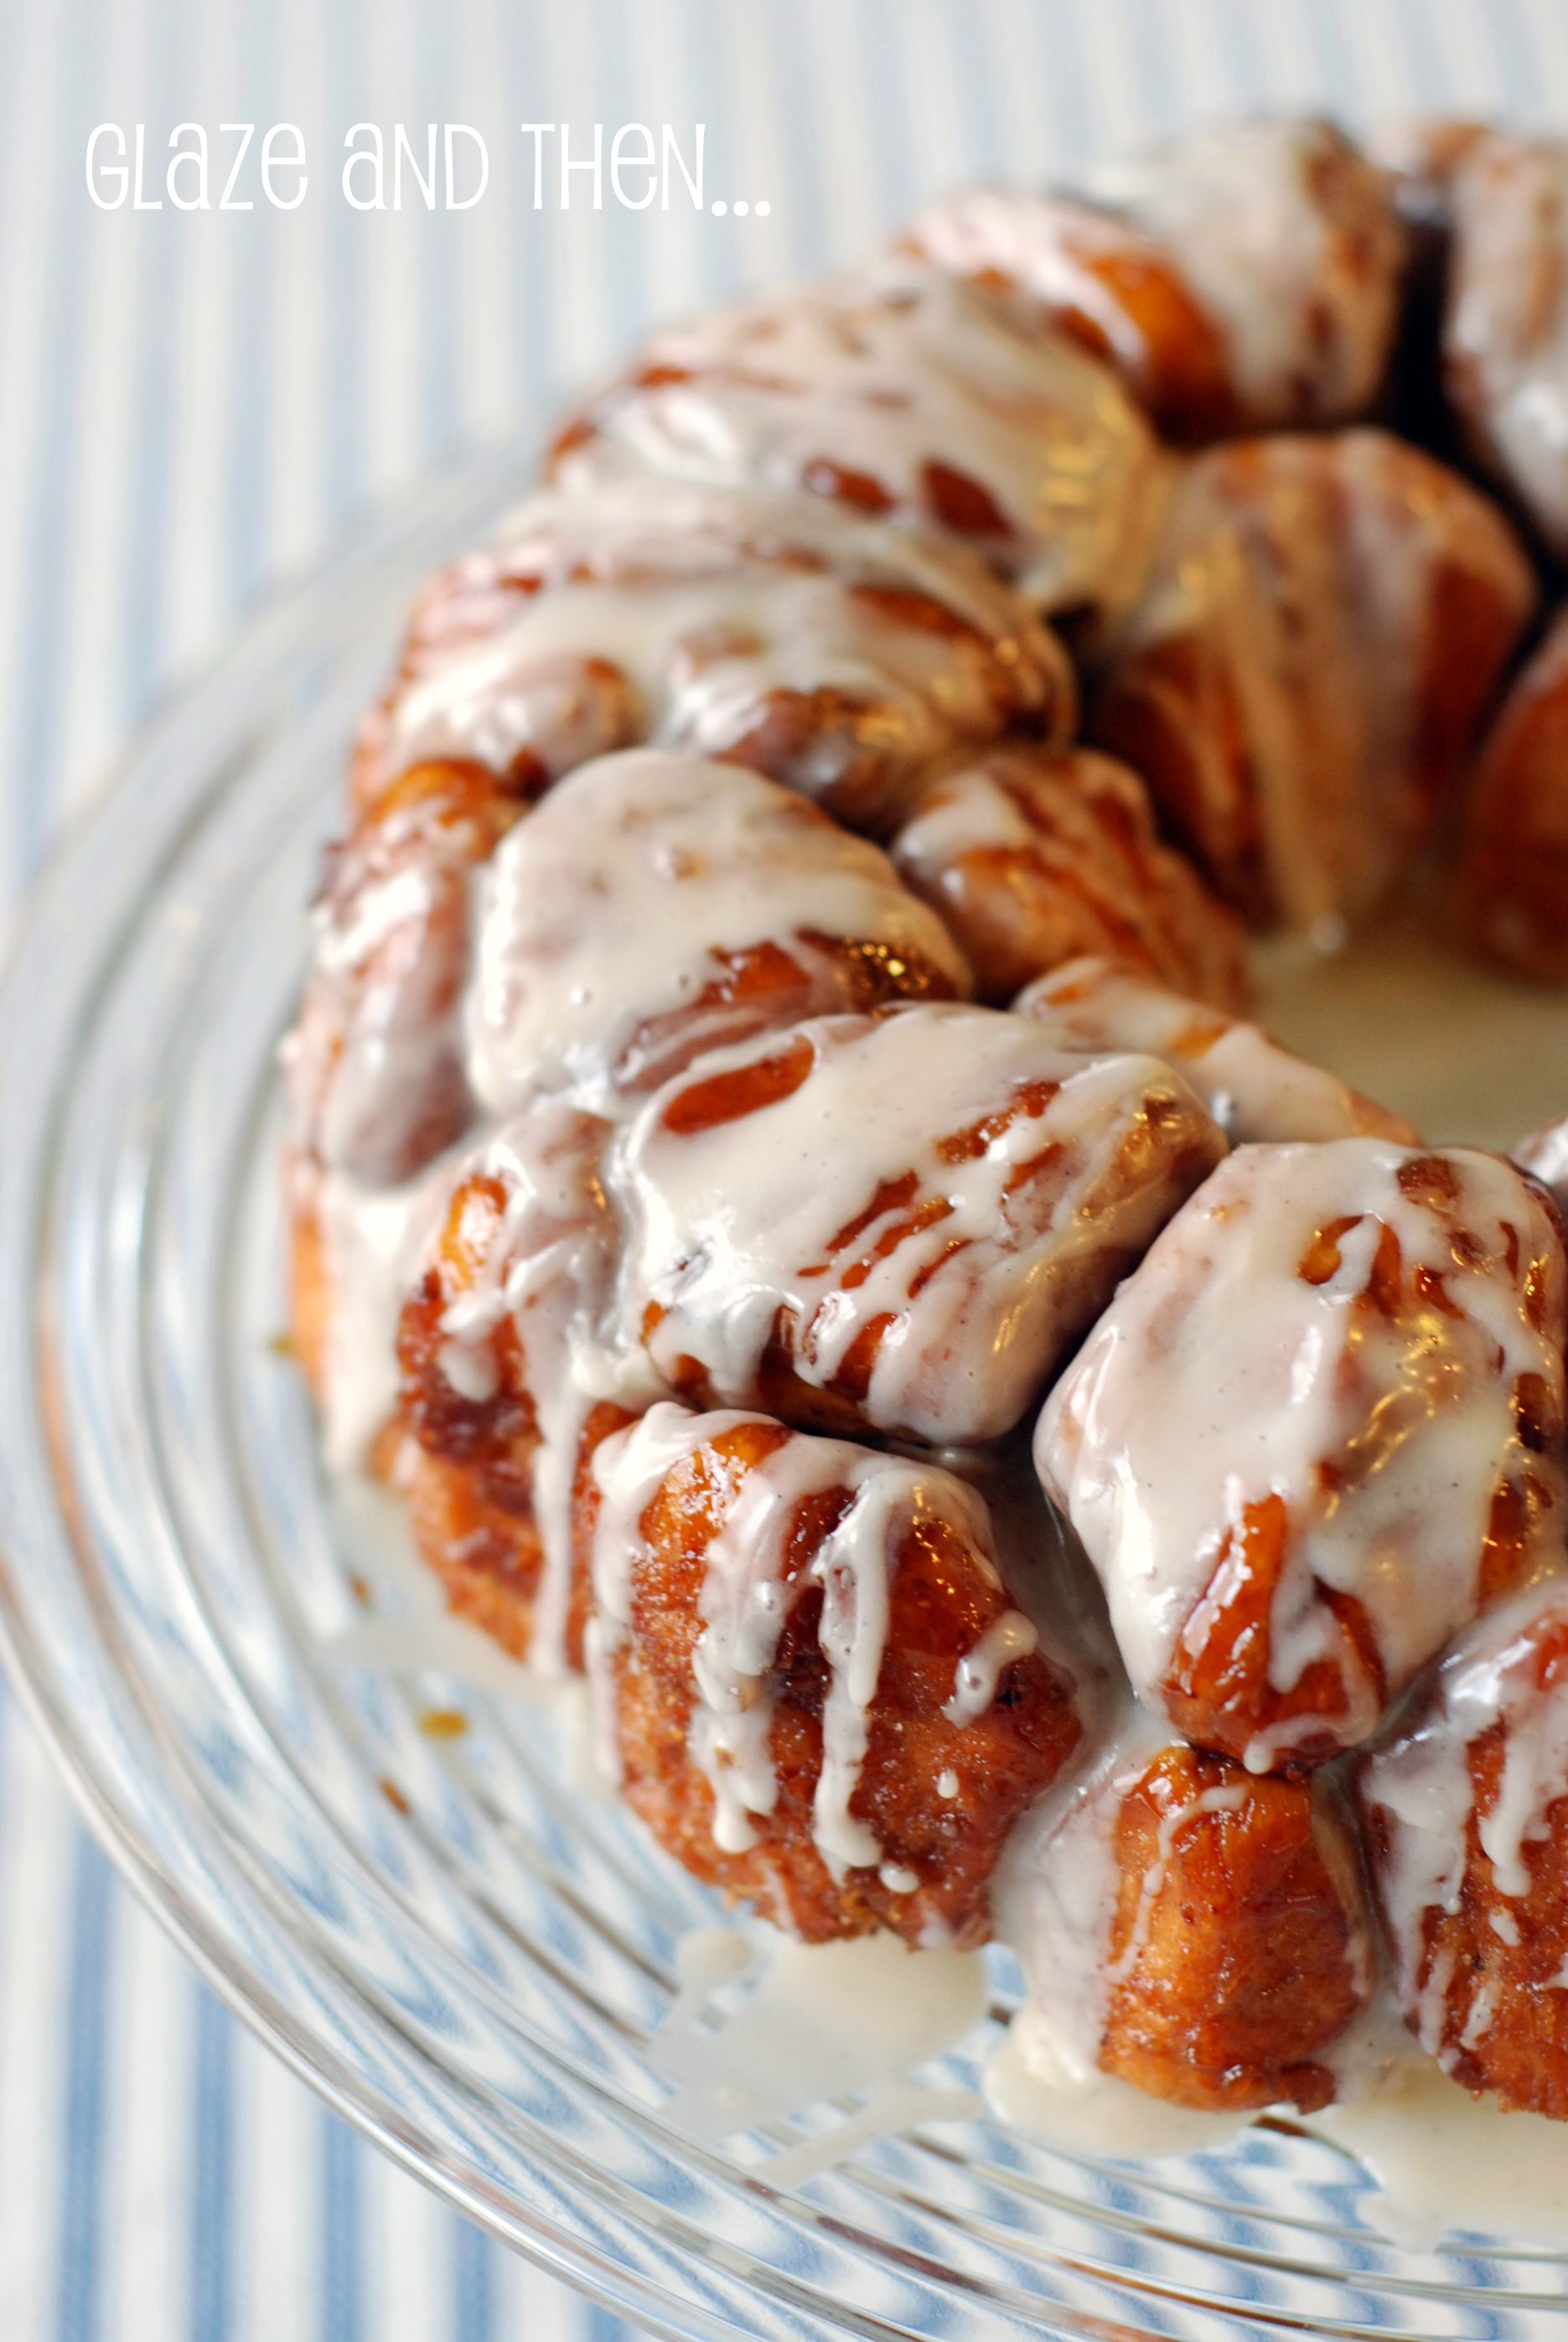
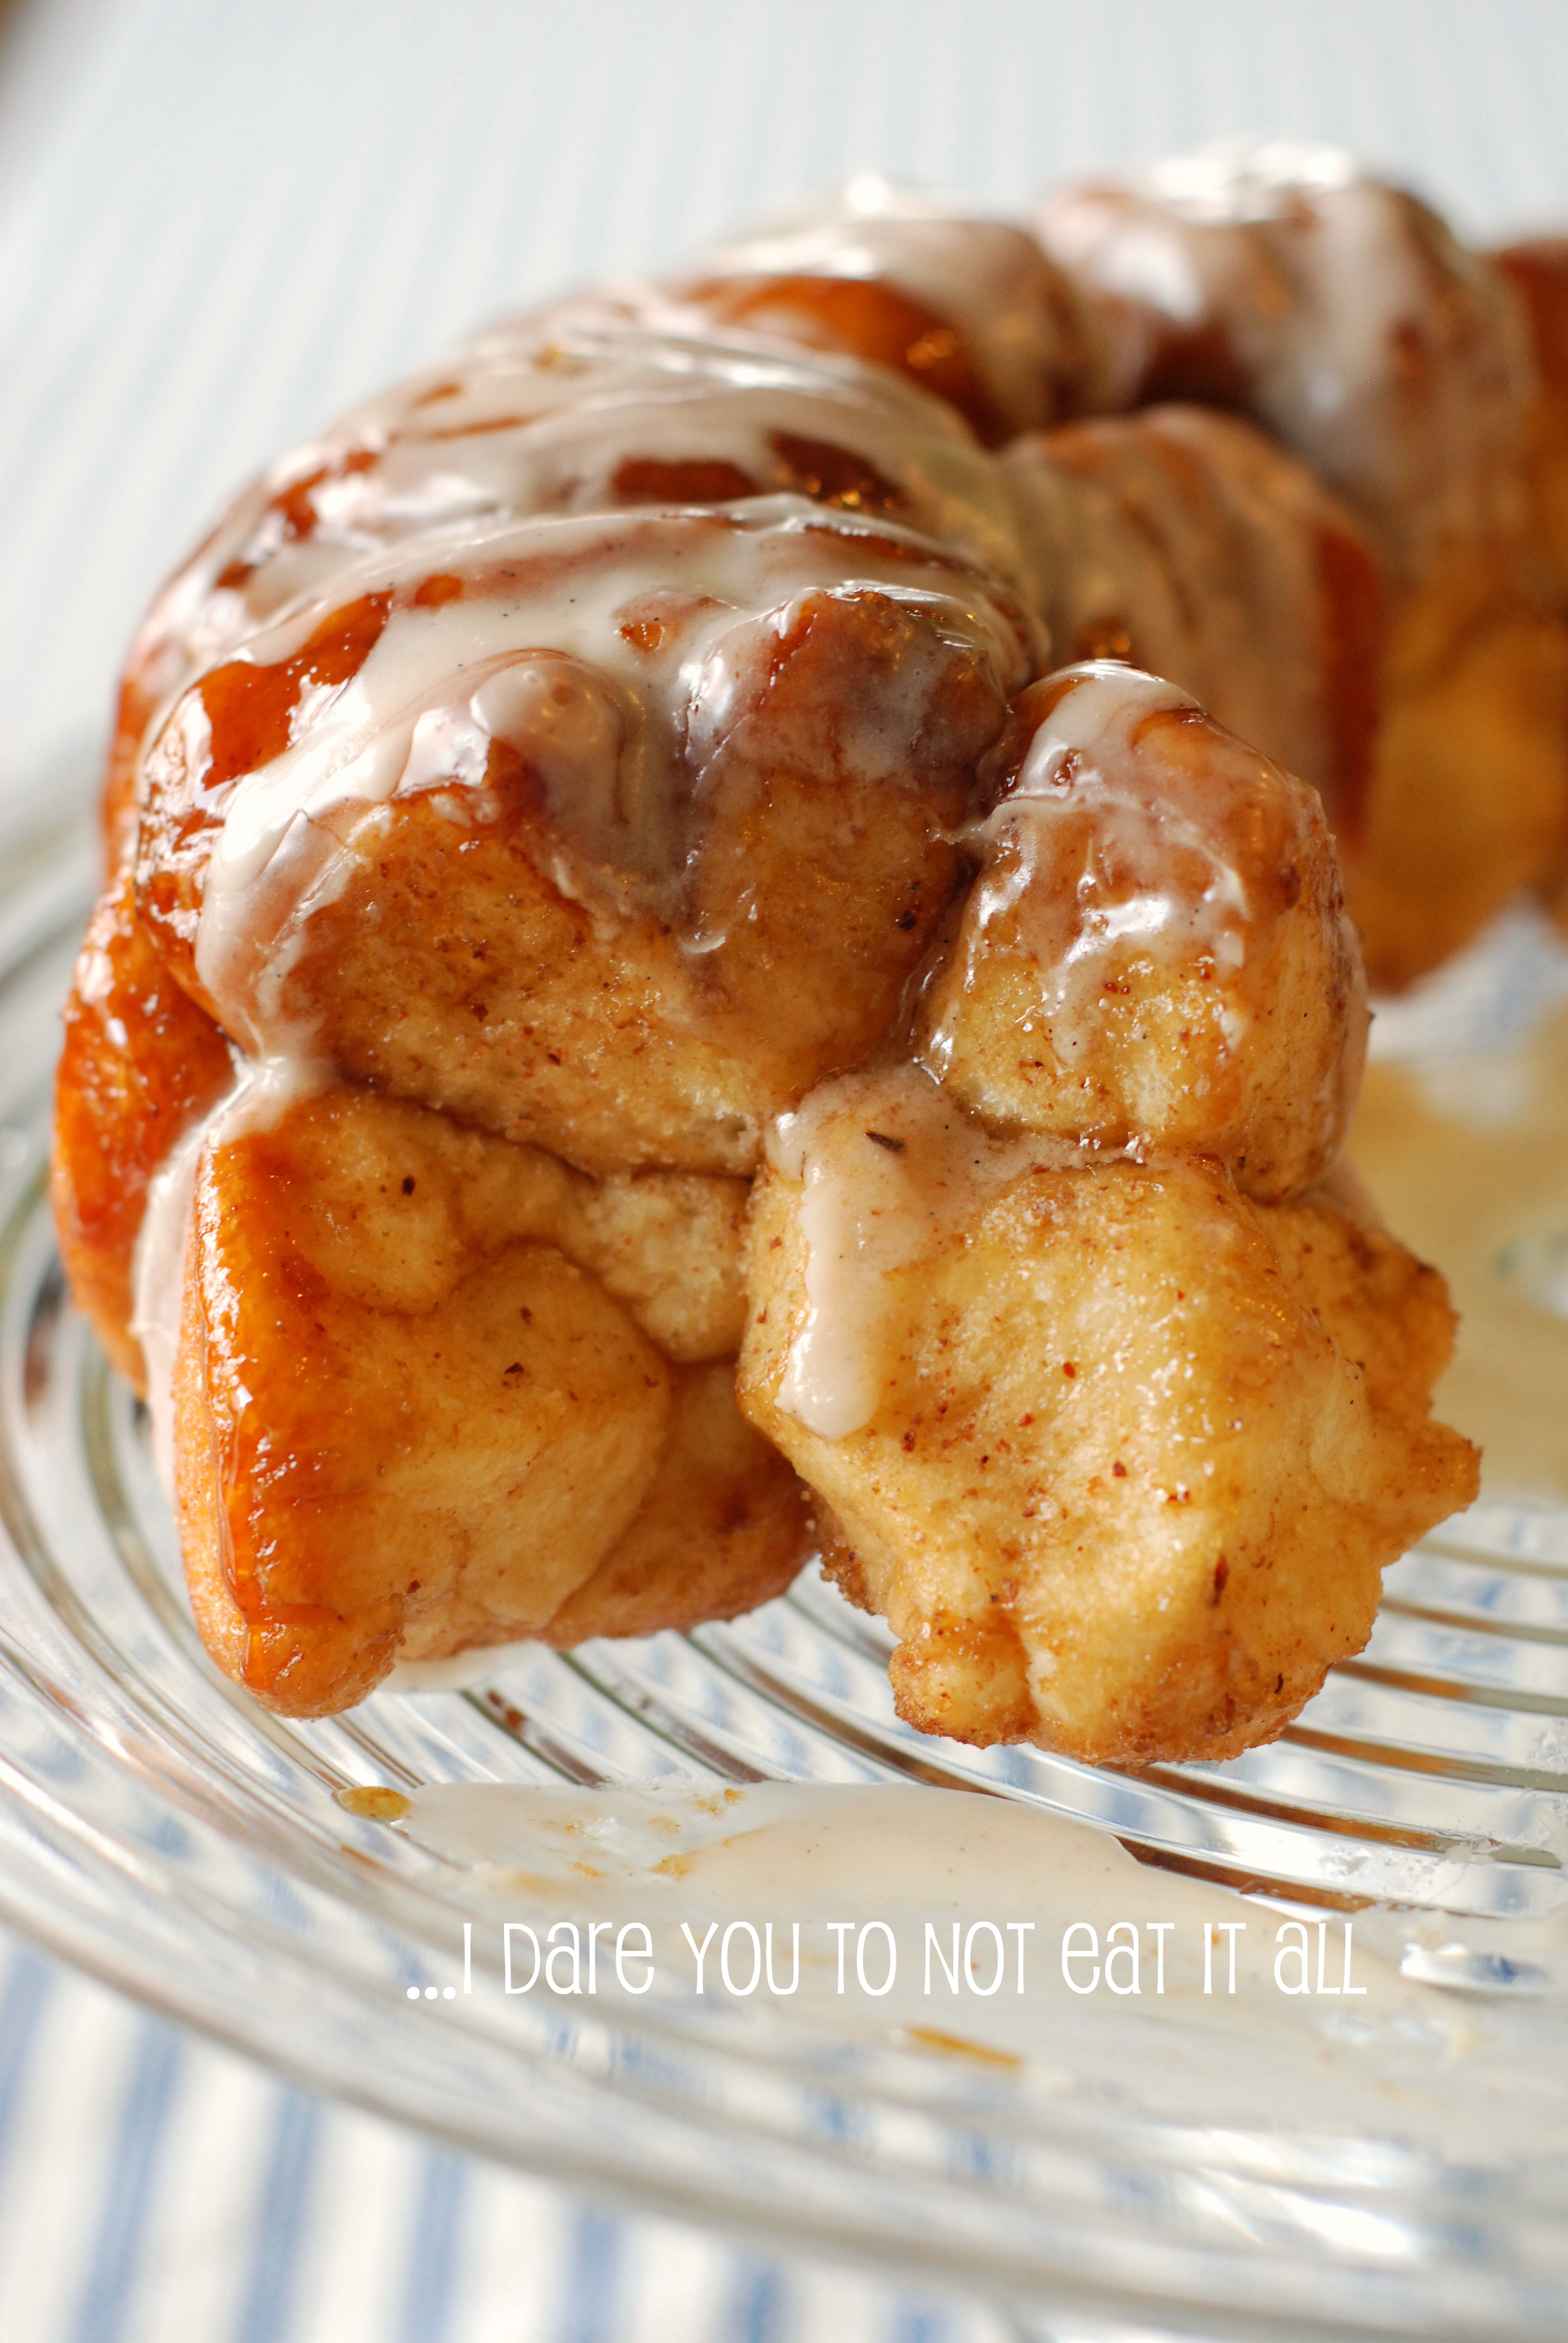
Monkey Bread

Monkey bread is a funny sort of food. When I am thinking about making it, I have an internal battle. I know if I make it, I will eat it all. Yeah, yeah. That’s been said before, but seriously… it’s true. This stuff is crazy good and is better than a cinnamon roll any day of the week. Actually, it’s like eating the only part of a cinnamon roll that is any good…the middle. The whole pan is that way! It just takes a little planning ahead but is a great thing to make on a Saturday morning while you are enjoying some coffee in your pjs and perhaps a few children running and making shooting noises snuggling and giggling.

Monkey Bread:

Dough
4 tablespoons unsalted butter (divided, 2 T melted for dough and 2 T softened for bundt pan)
1 cup milk, warm (about 110 degrees F)
1/3 cup water, warm (about 110 degrees F)
¼ cup sugar
1 package instant yeast
3¼ cups all-purpose flour, plus extra for work surface
2 teaspoons salt

Brown Sugar Coating
1 cup light brown sugar
2 teaspoons ground cinnamon (for fresh cinnamon look here)
8 tablespoons unsalted butter (1 stick), melted

Glaze
1 cup confectioners’ sugar
2 tablespoons milk

1 tsp of vanilla paste (optional but yummy)

Butter Bundt pan with 2 tablespoons softened butter. Set aside.

In a large measuring cup, mix together milk, water, melted butter, sugar and yeast. Mix flour and salt in standing mixer fitted with dough hook. Turn machine to low and slowly add milk mixture. After dough comes together, increase speed to medium and mix until dough is shiny and smooth, 6 to 7 minutes. Turn dough onto lightly floured counter and knead briefly to form smooth, round ball. Coat a large bowl with oil. Place dough in bowl and coat surface of dough with oil. Cover bowl with plastic wrap and place in a draft-free area until dough doubles in size, 50 to 60 minutes.

For the sugar coating: While the dough is rising, mix brown sugar and cinnamon together in a bowl. Place melted butter in second bowl. Set aside.

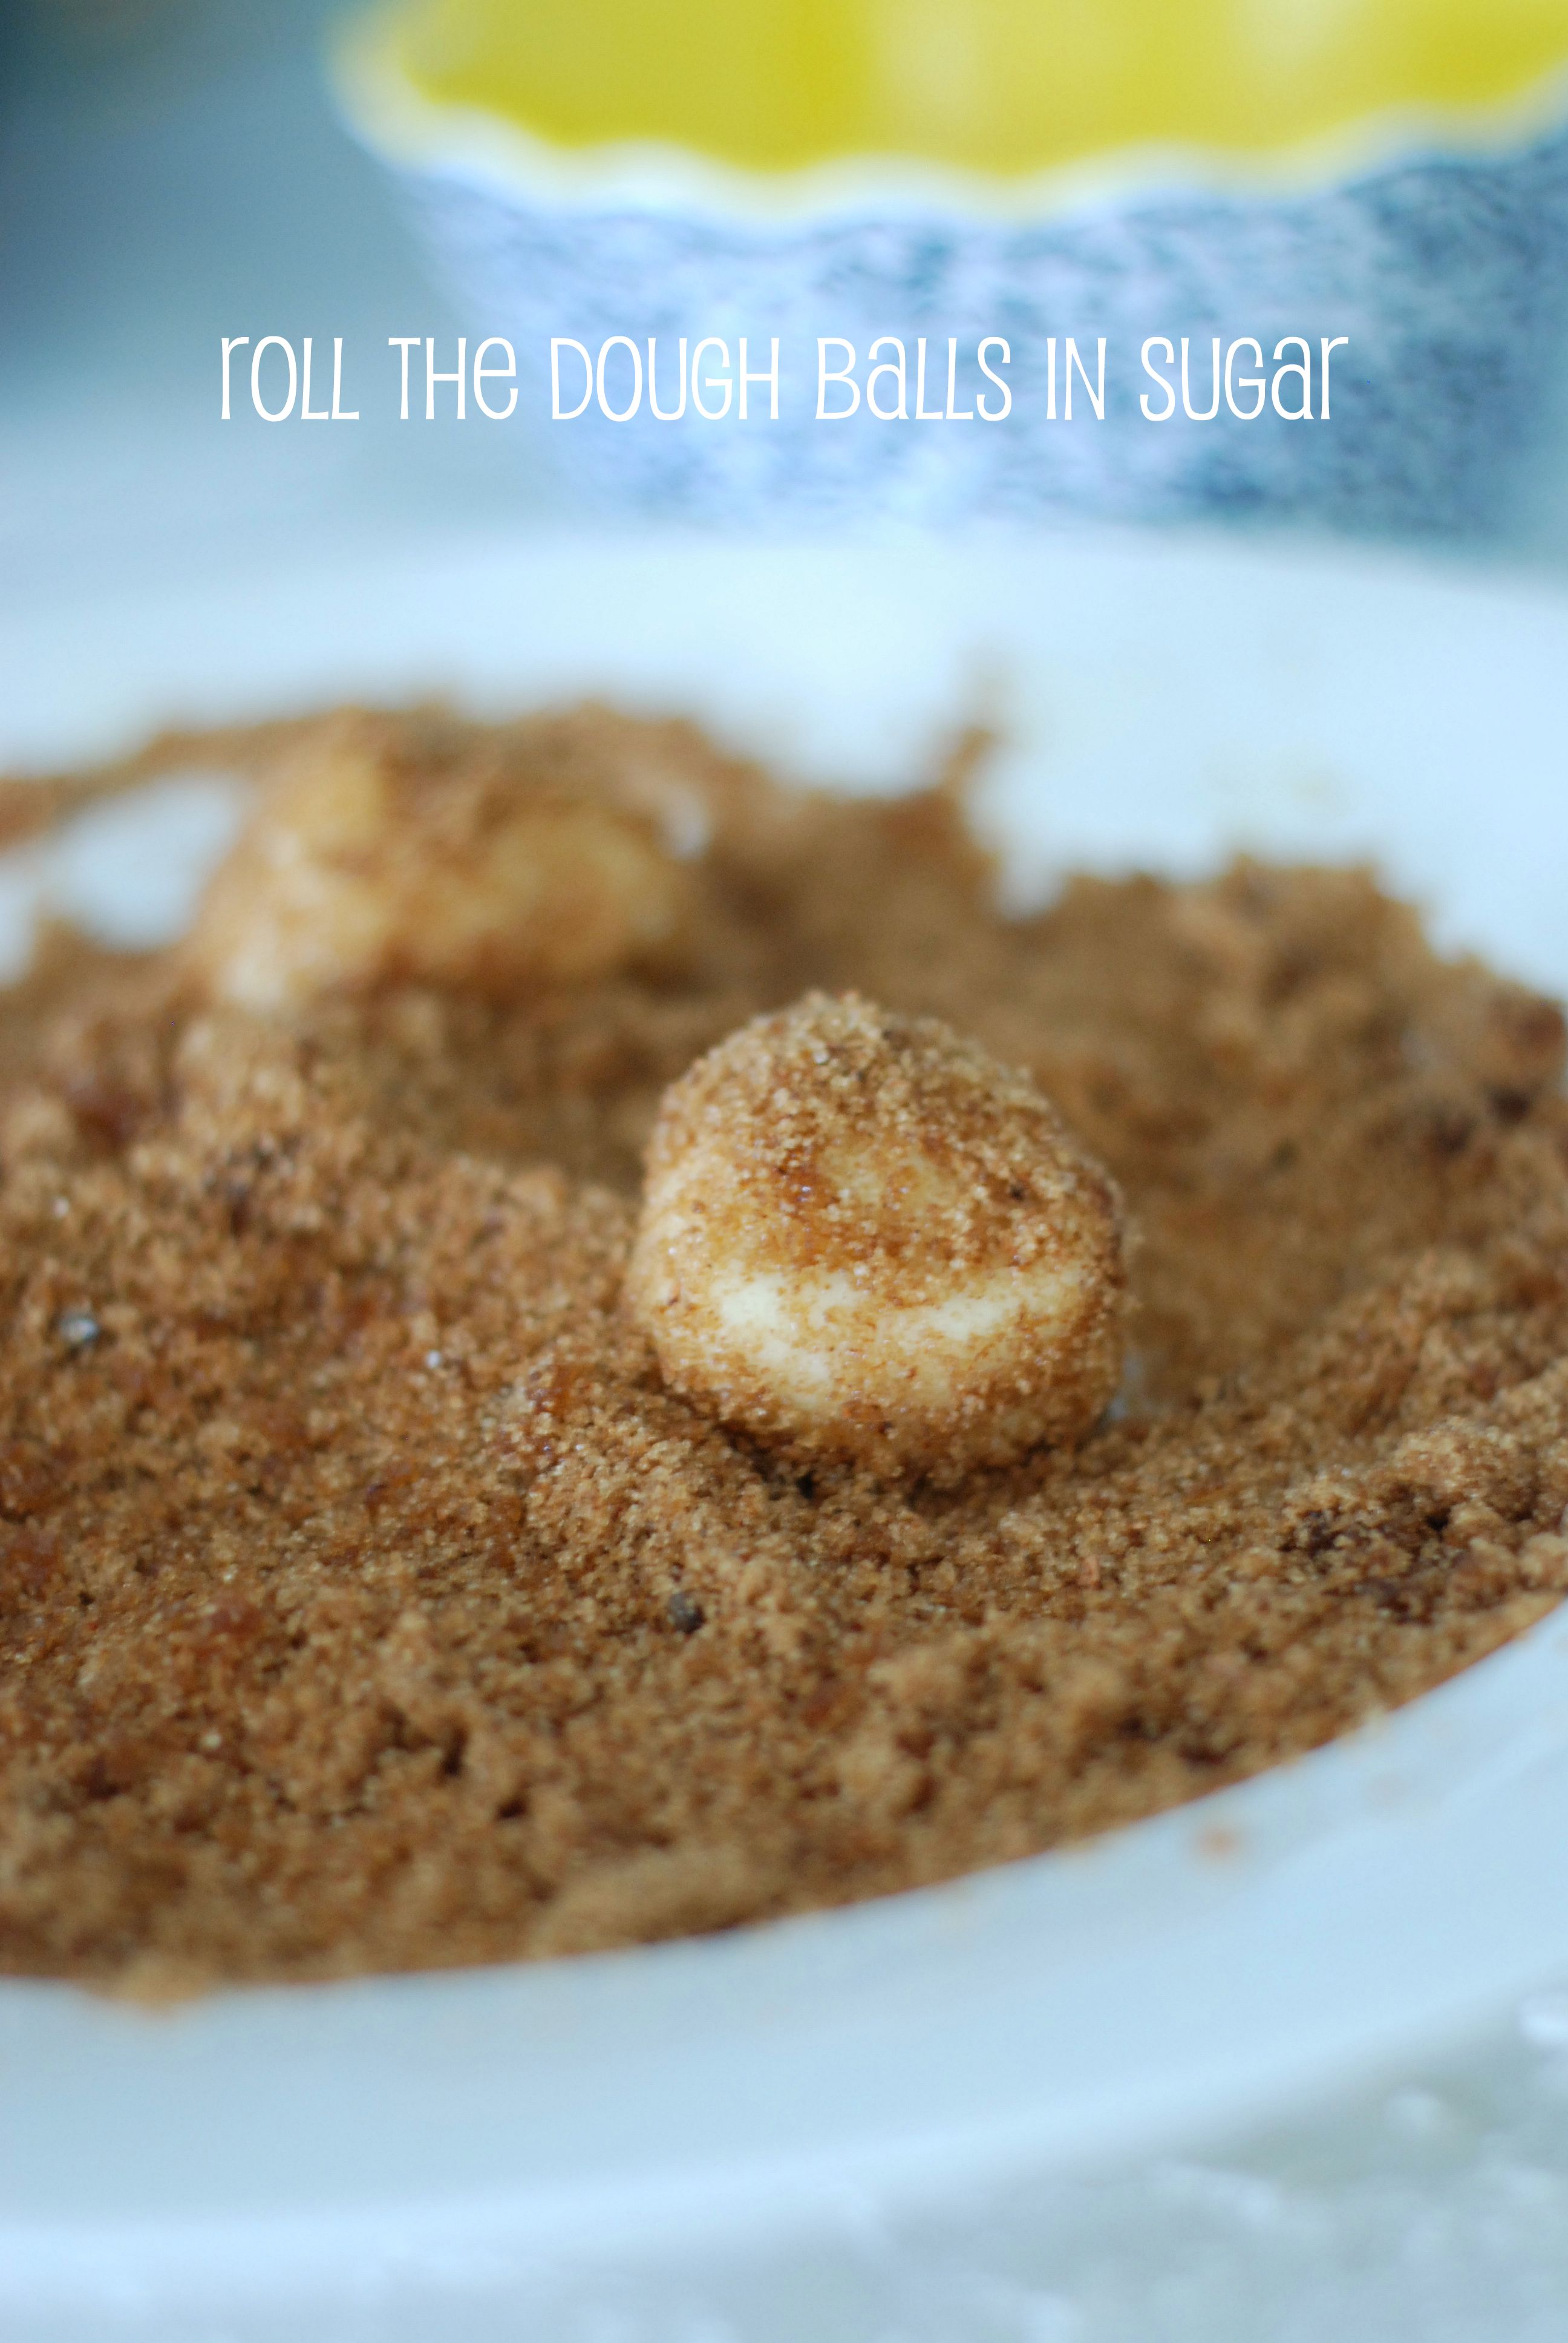
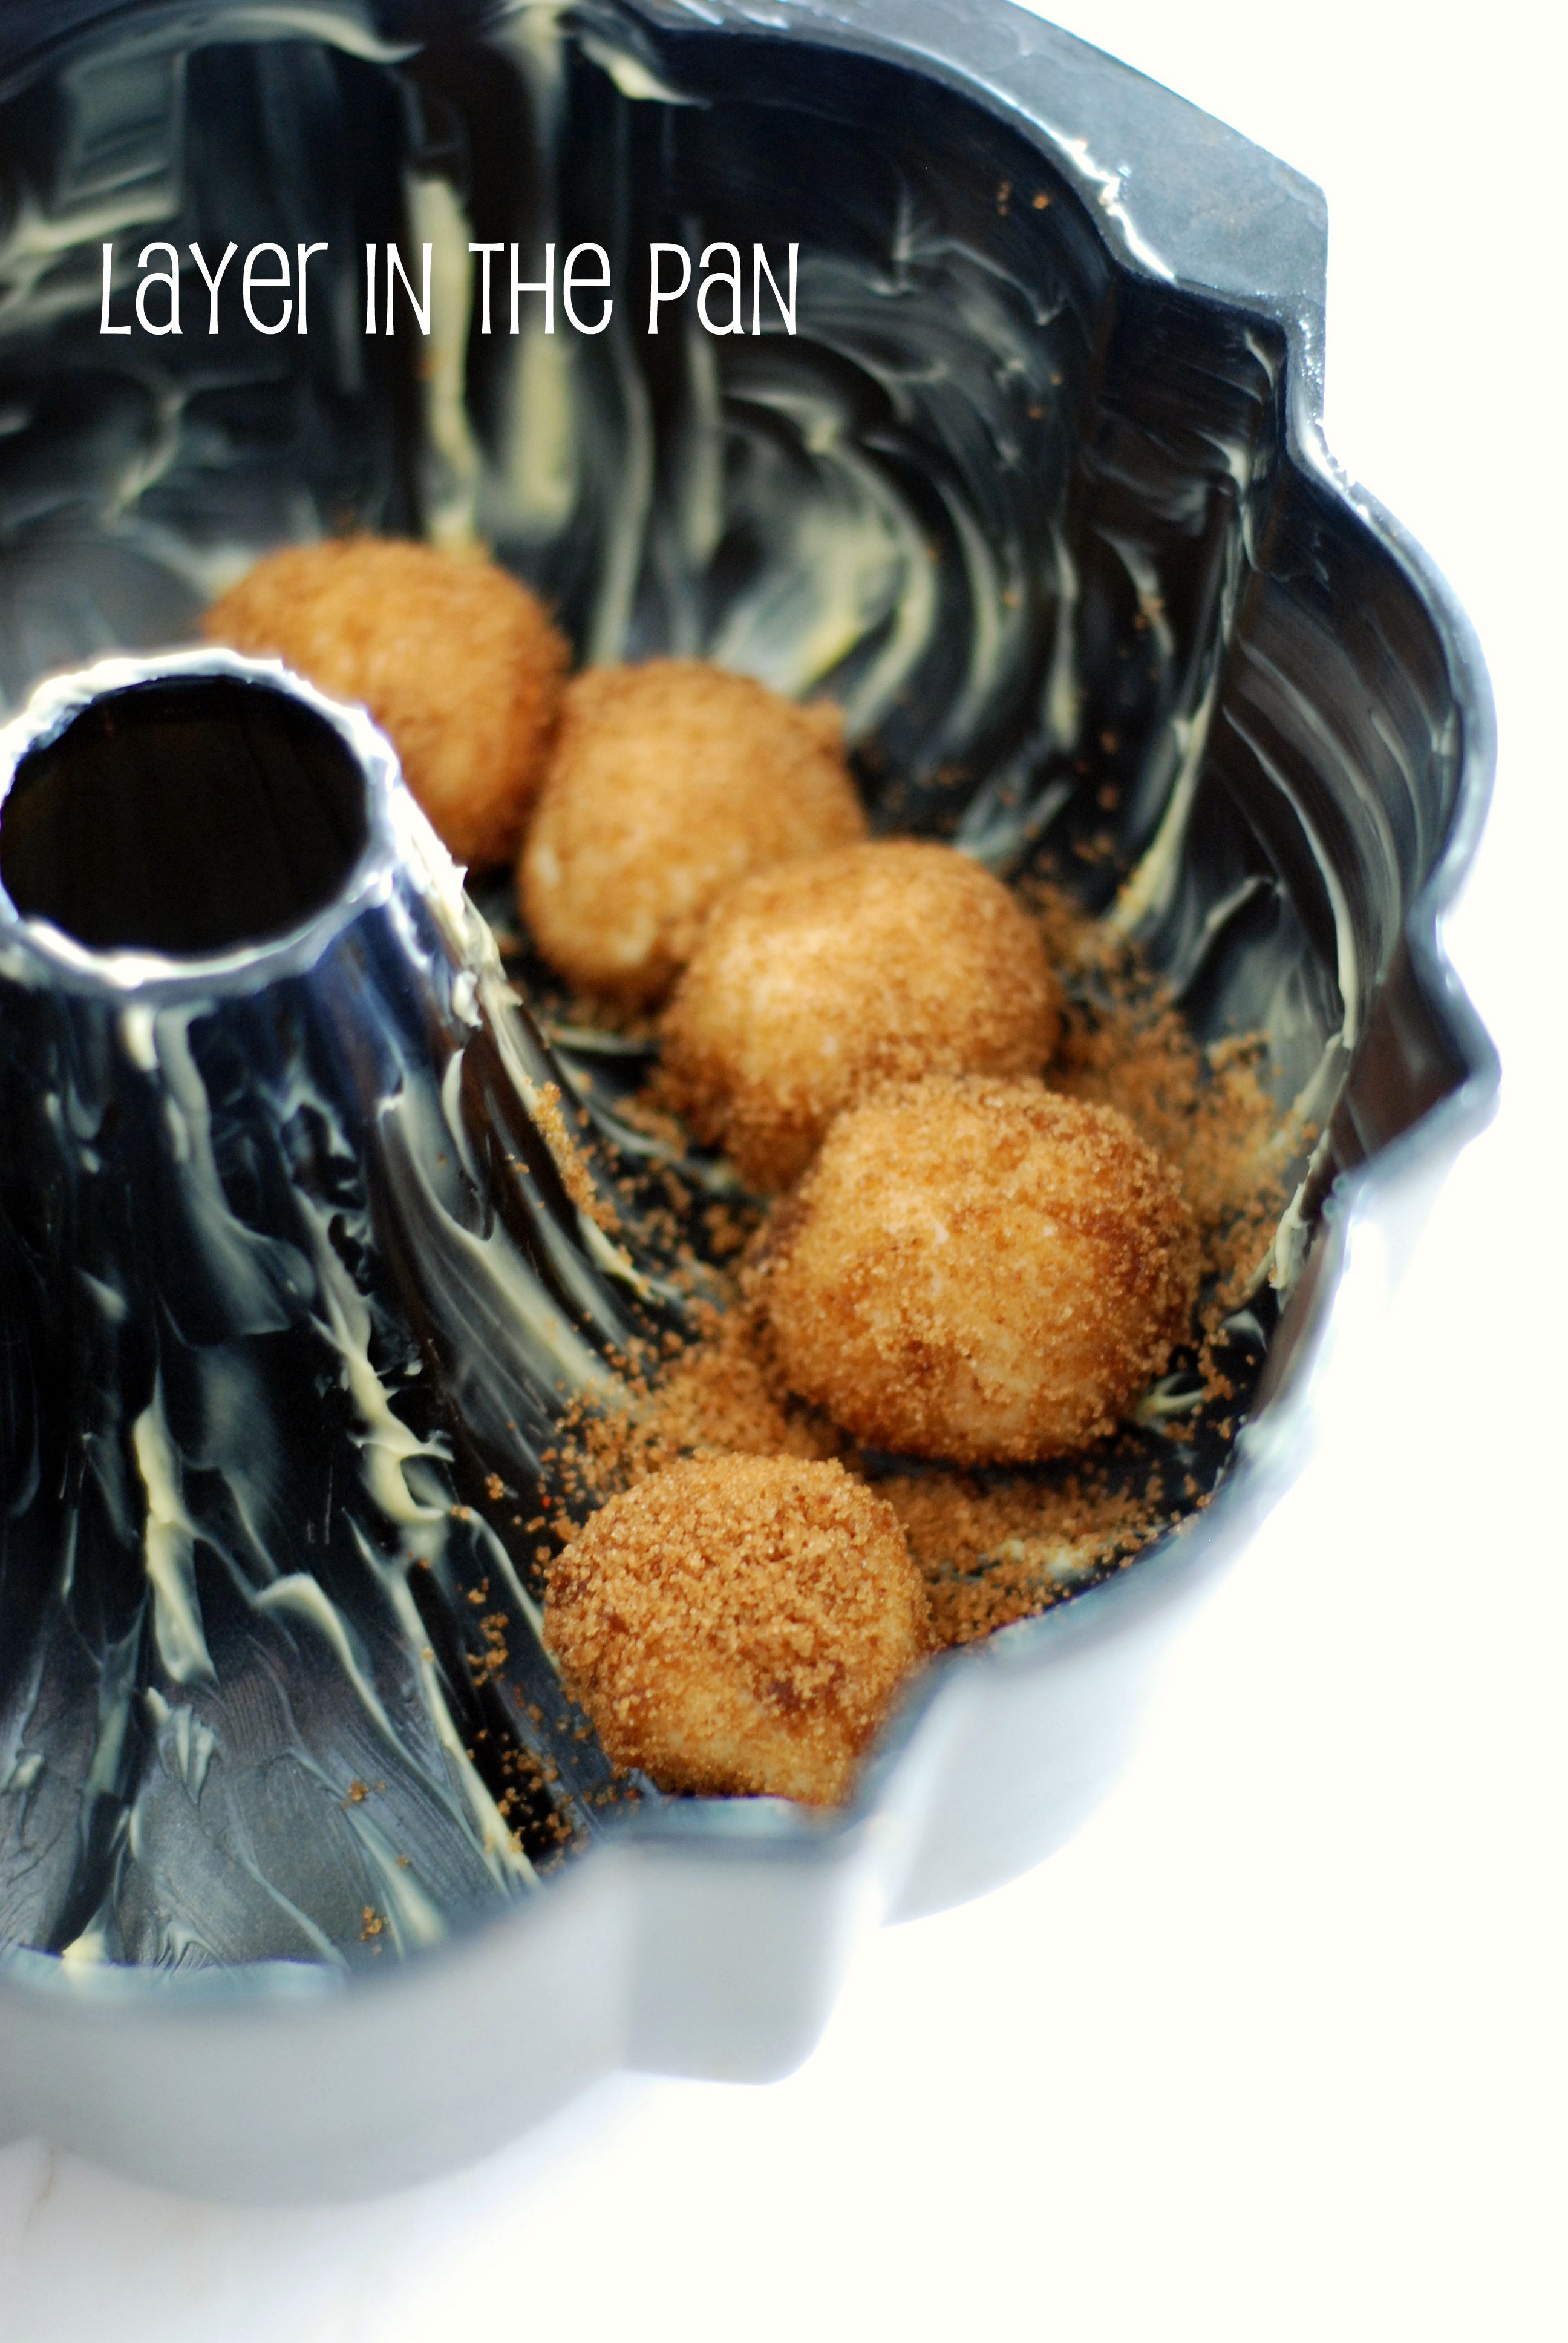
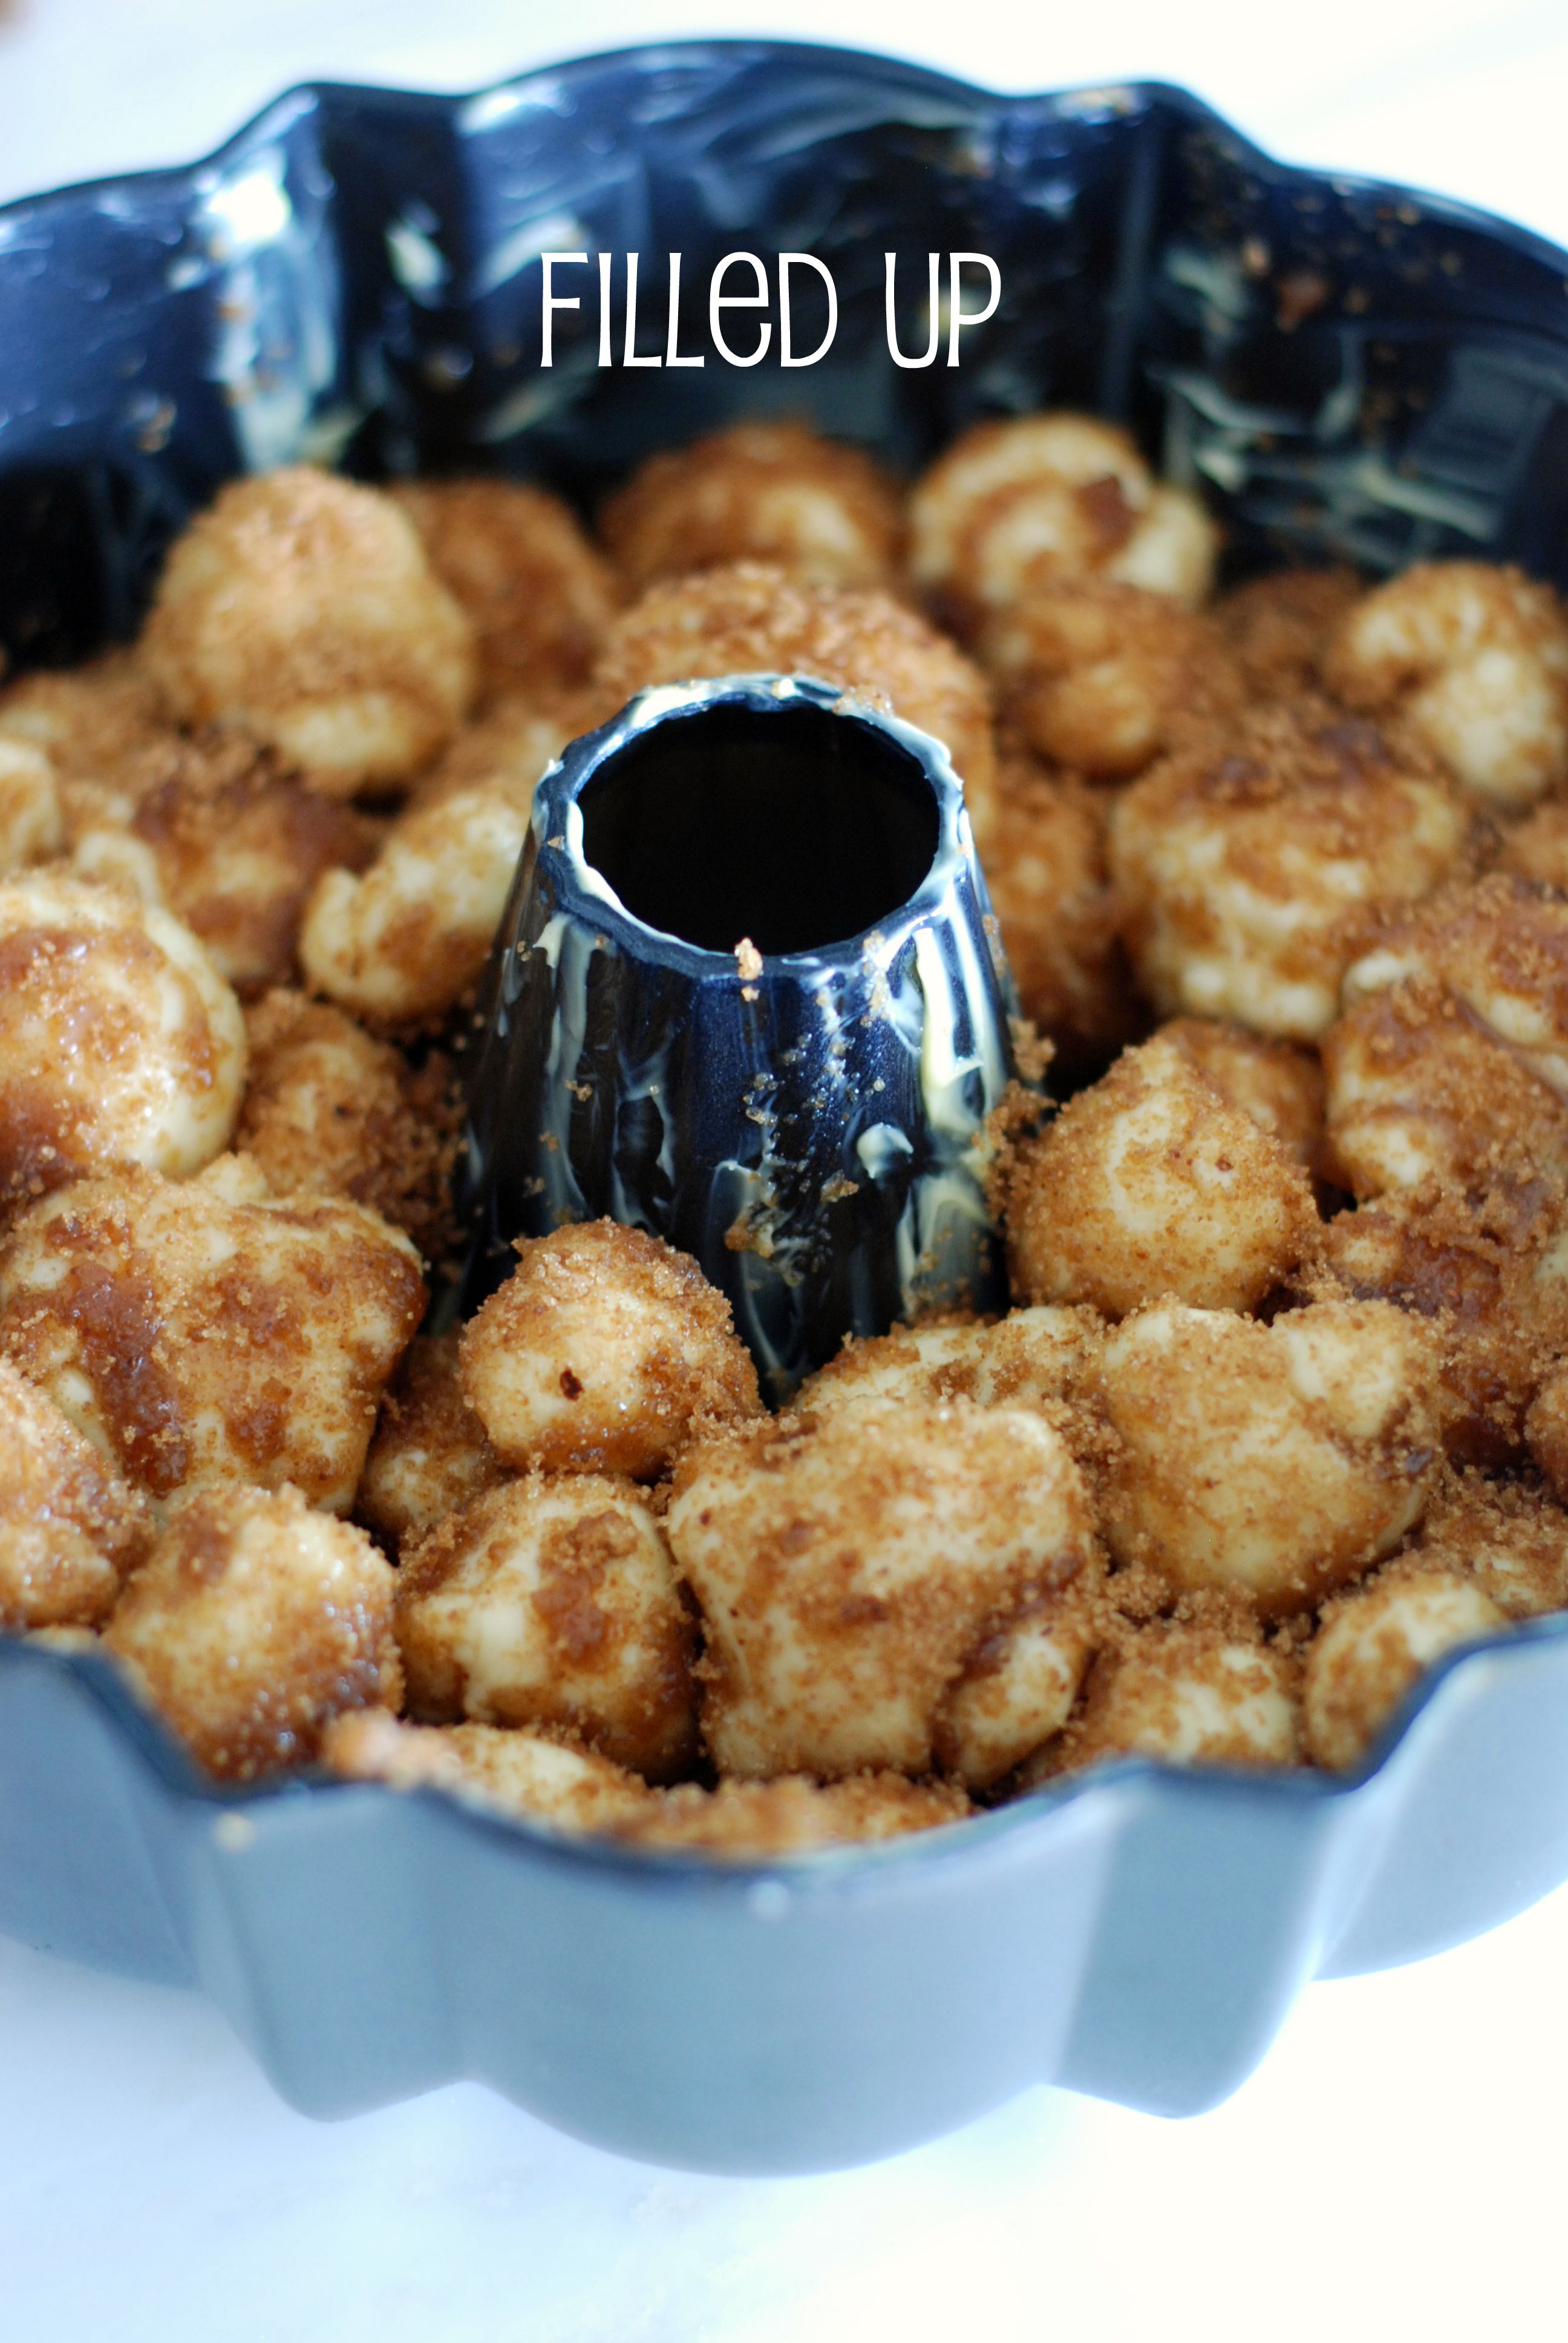
Roll each dough piece into a ball. Working one at a time, dip the balls into the melted butter, allowing excess butter to drip back into the bowl. Roll in the brown sugar mixture, then layer balls in the Bundt pan, staggering seams where dough balls meet as you build layers.

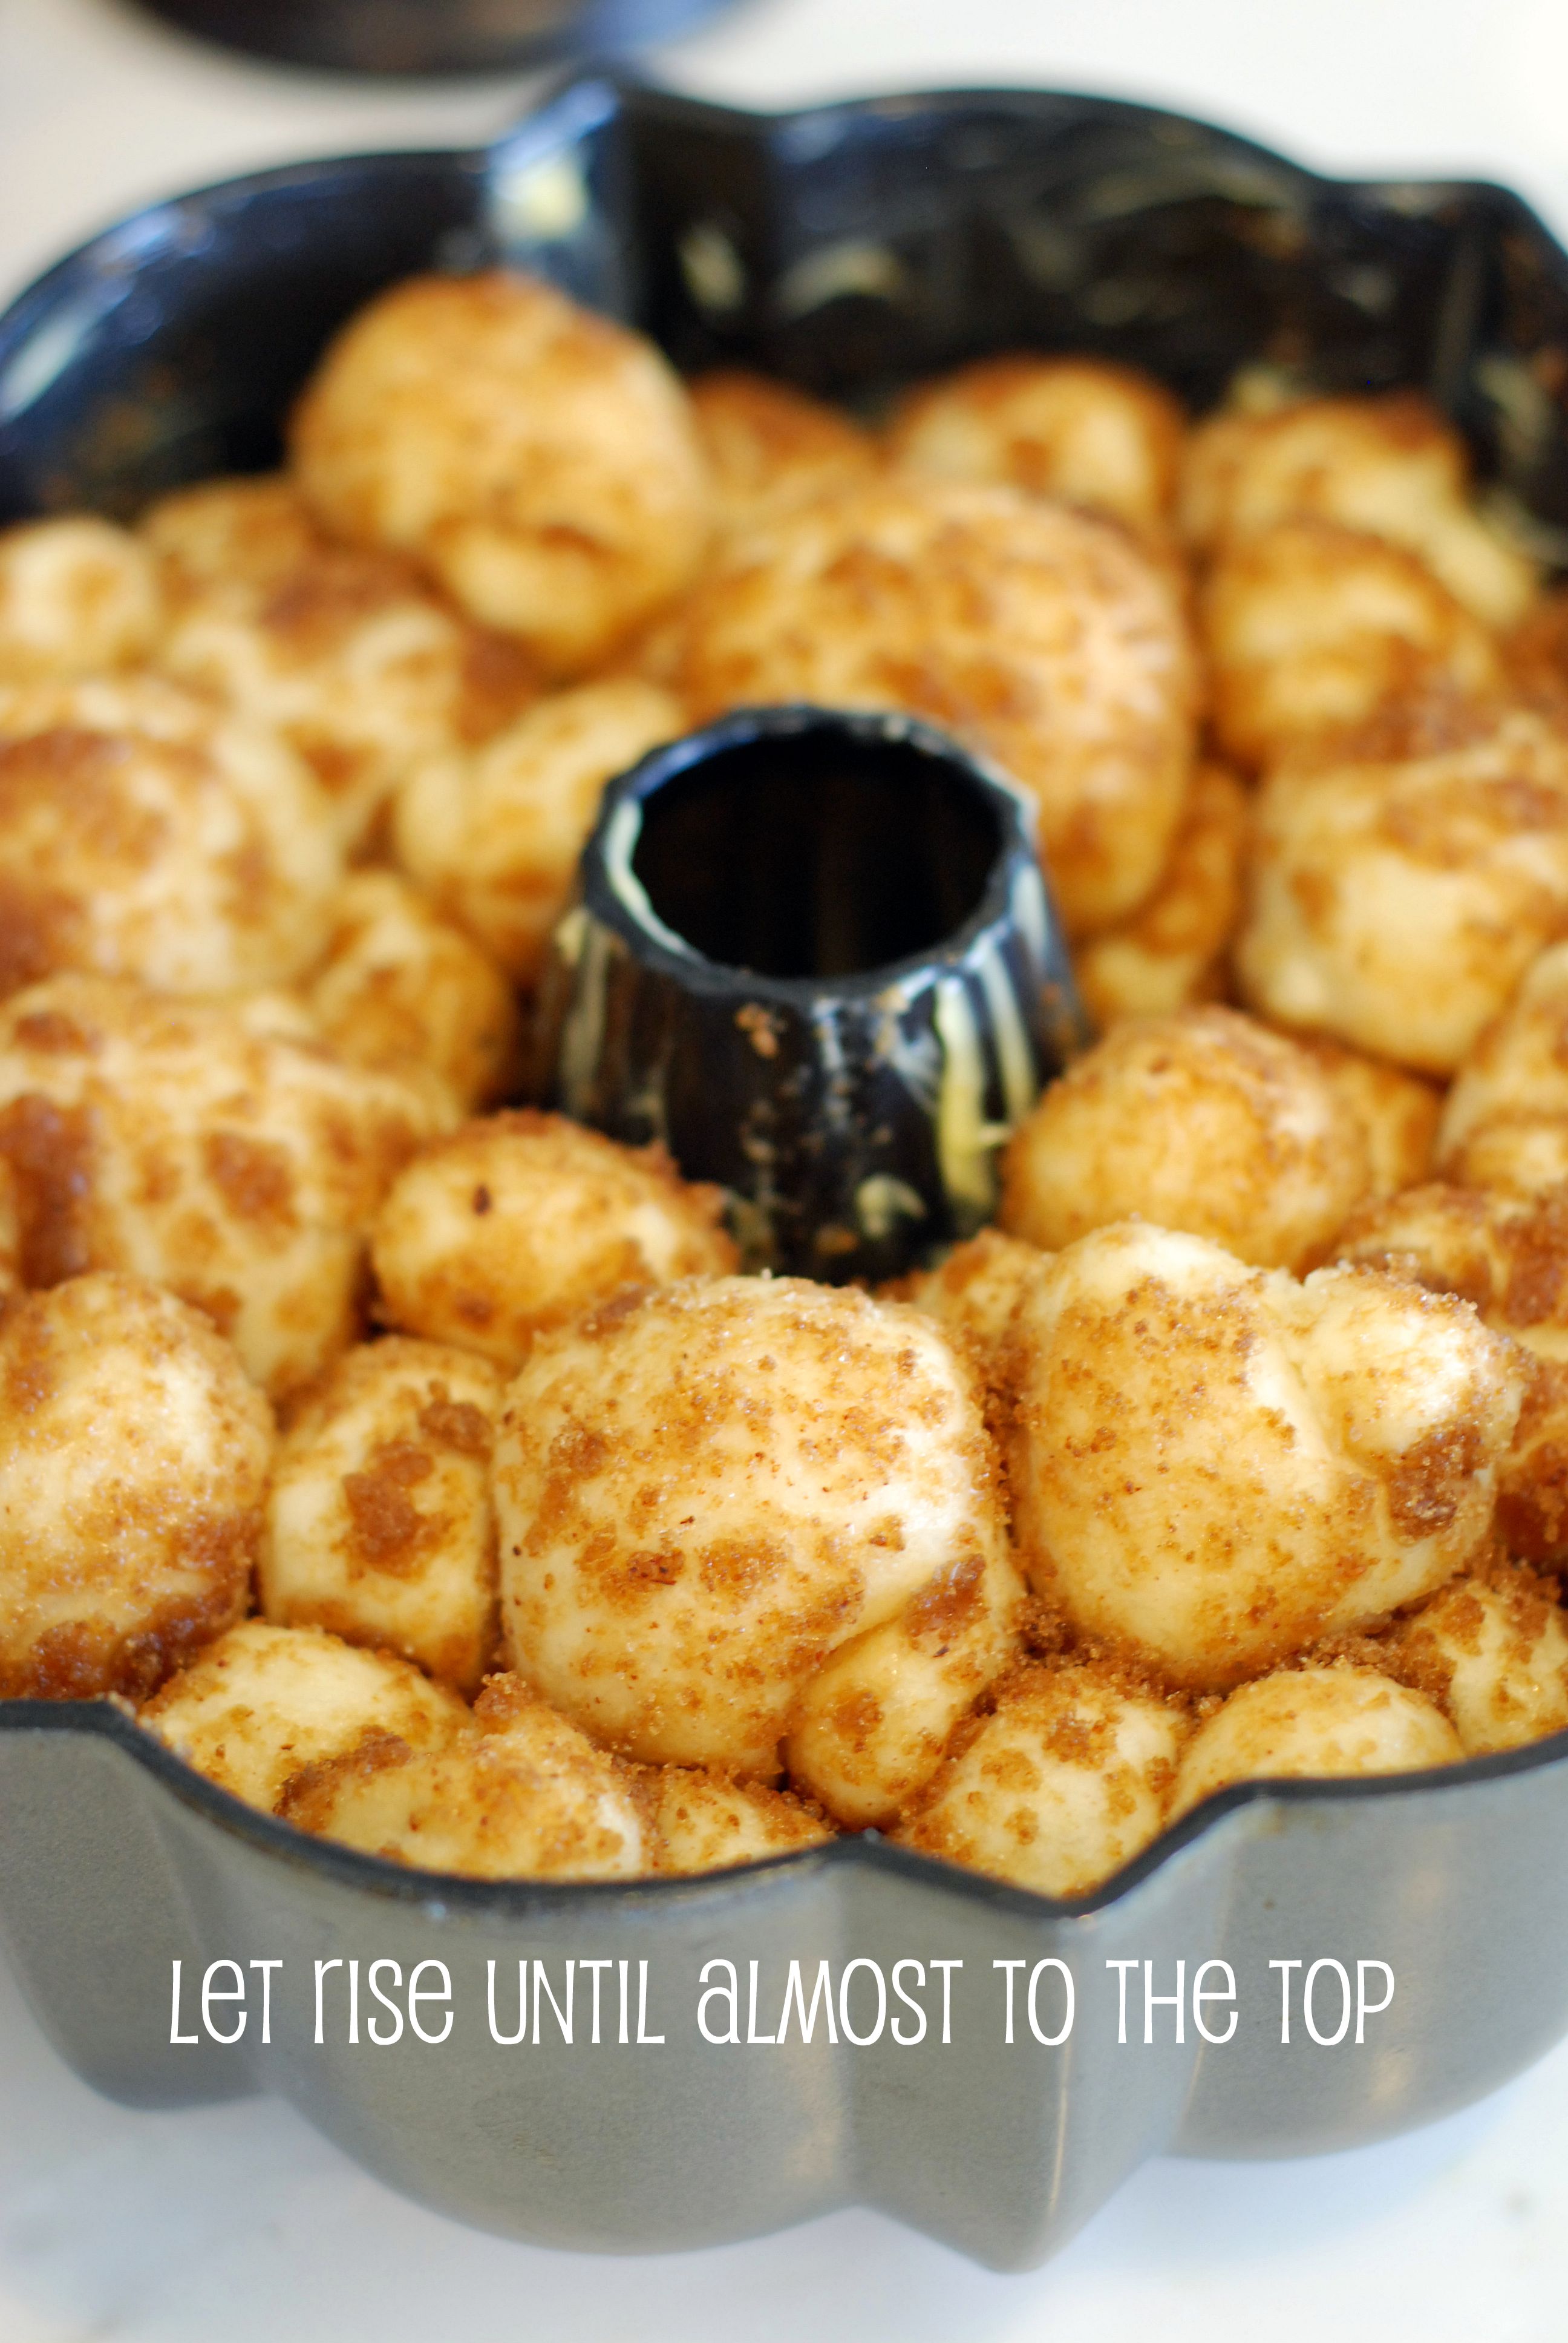
Cover the Bundt pan tightly with plastic wrap and place in draft-free area until dough balls are puffy and have risen 1 to 2 inches from top of pan, 50 to 70 minutes.


Uncover and it will look like this –^


Cool in the pan for 5 minutes, then turn out onto a platter and allow to cool slightly, about 10 minutes.

For the glaze: While the bread cools, whisk the confectioners’ sugar, milk, and vanilla paste in a small bowl until the lumps are gone.

Adapted from the Cook’s Illustrated Recipe

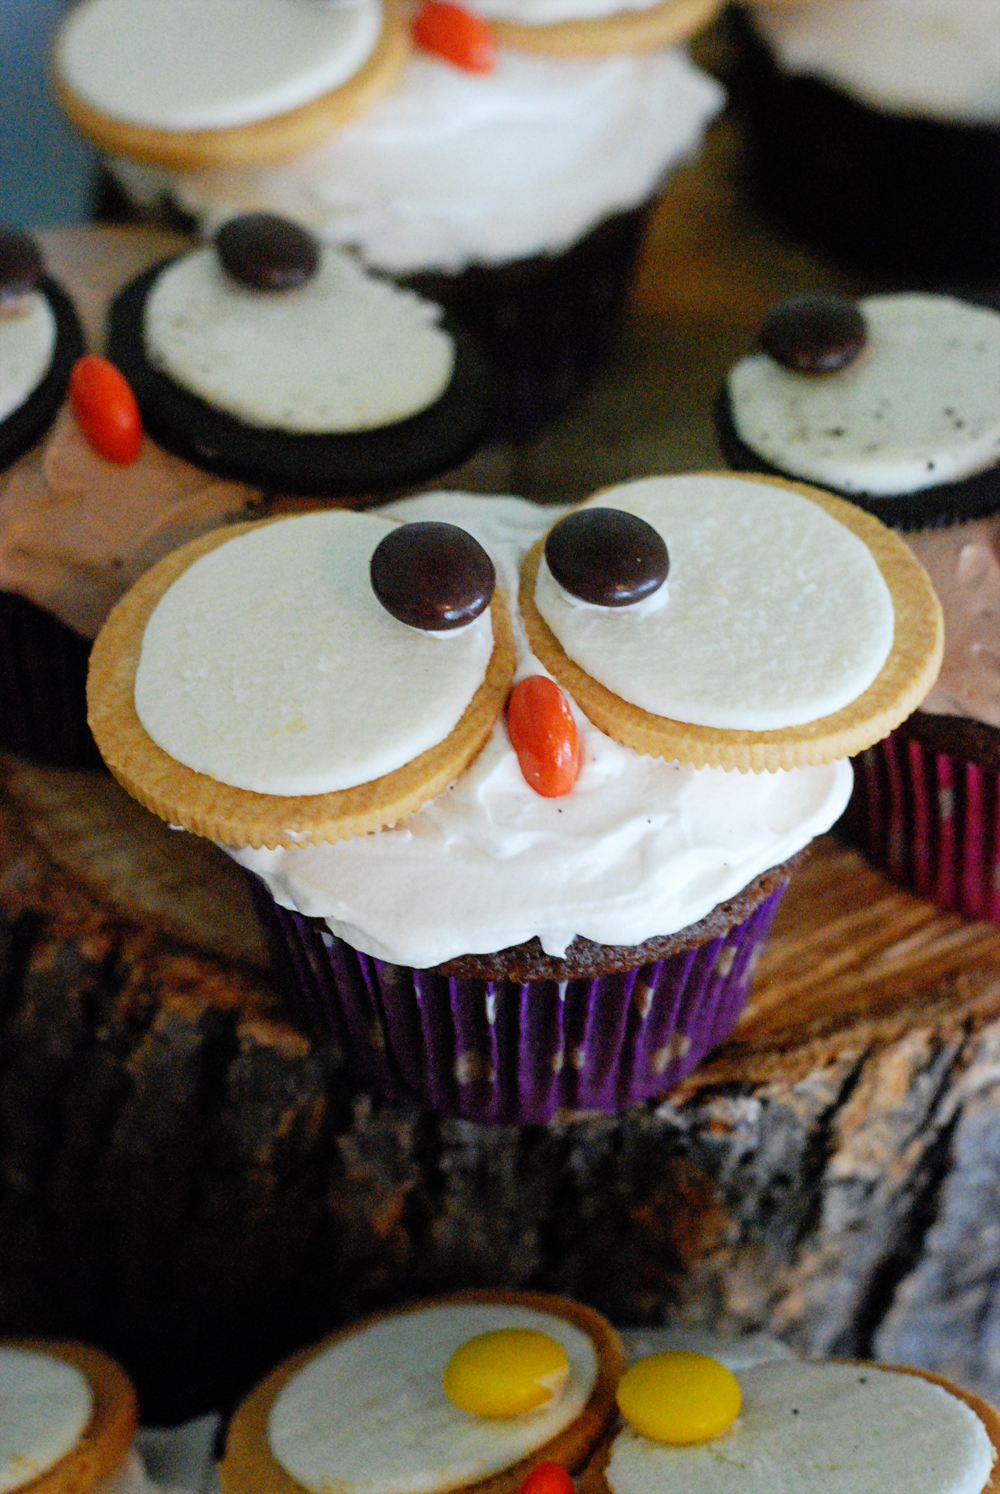
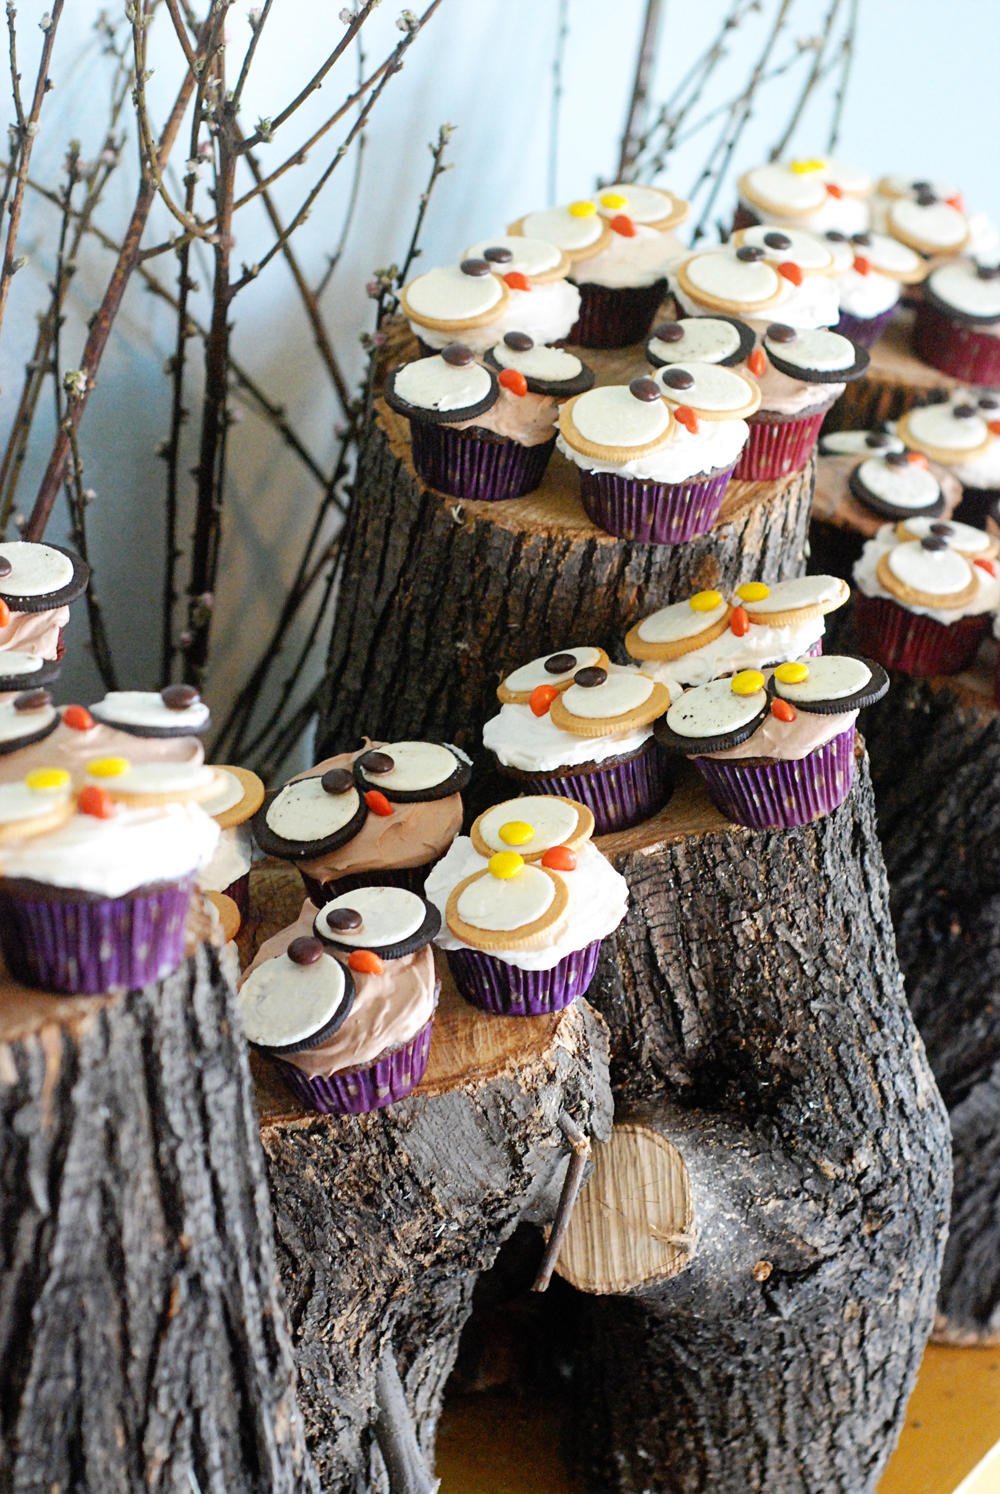
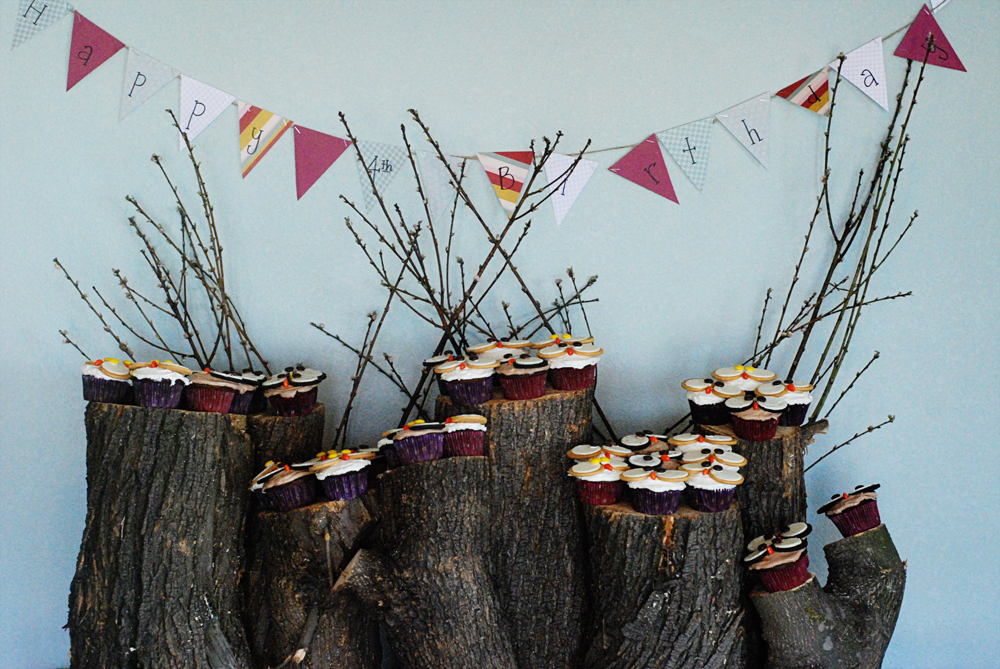
Owl cupcakes to celebrate 1 year!


Craziness!  It’s already been a year! 

The official time I started my blog was actually back in August of 2010, but I wanted to get things just right on the design end before posting.  It’s kind-of a joke when I think of it now because it was FAR from nice and my posts were pretty sad-looking.  I knew they were not awesome, but you have to start somewhere, right?  I did like my first real banner above, though.  I kind-of miss it.

It’s been a great year for this little space.  I started my first month of viewers with just a few of my closest buddies and some obliging family members.  Now, I am astonished at grateful at having over 15,000 people visiting in just a single month!!  Wow, people!  There must be something just a teeny tiny bit likeable goin’ on here.

*blush*

In honor of this special day, I am sharing a cupcake with you all.  Yeah, I kinda thought you would like it too.  My sister actually made these back in April for my Miss F’s birthday I just totally forgot to post them.  I guess it was meant to be.  I saw them on Pinterest and asked my sister to make them and since she’s awesome, she said yes.

Cuties.

I used my neighbor’s freshly cut olive wood firewood for their little perching area.

Thanks for your support and for hanging out with me in this little space.

The community here means a LOT to me.

Thank You, friends!

Page 2 of 212