This year, I got to participate in a handmade valentine swap. Super fun, right? It’s nice to know handmade is still alive and well in the world!
For my valentine, I really didn’t have very much time. I know that is said a lot, but things changed for us a few weeks ago. We took our very first older child placement in a few weeks ago. She is 4. It has been a pretty rough few weeks for all 5 of us. This valentine would not have been on my radar had I not already signed up to send them to people before we got placed with this little girl. I didn’t want to leave the ladies hanging who had signed up to swap with me. That’s all to say, most of us probably have things going on right now that keep us from following our hearts desire of making handmade valentines.
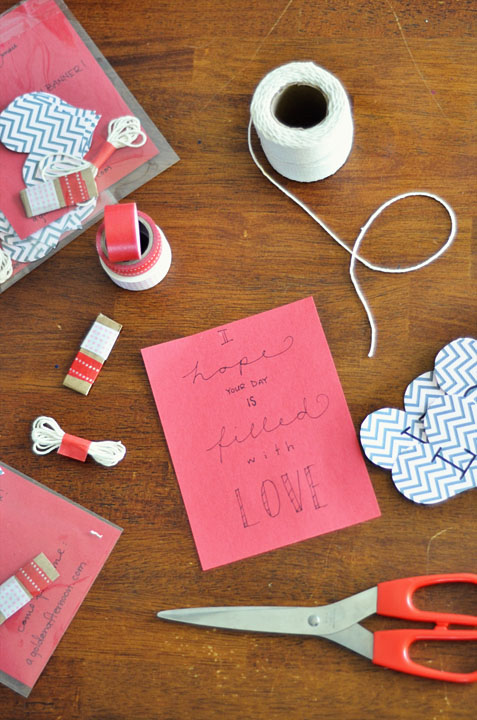
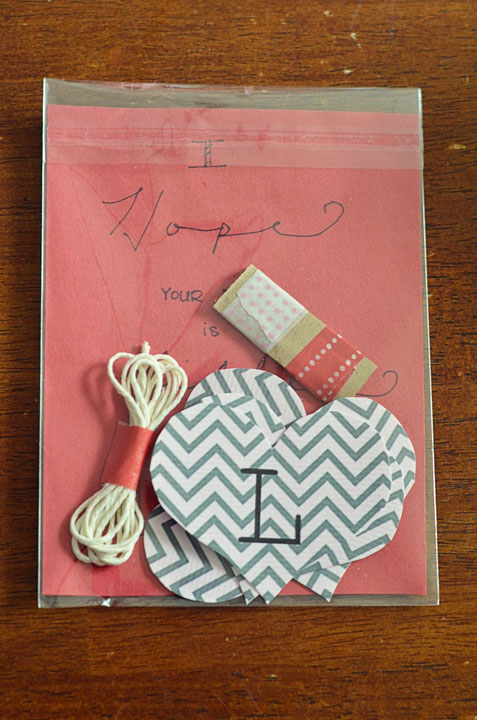
So….I created this DIY Valentine’s garland to fill that last-minute-need-to-create void!
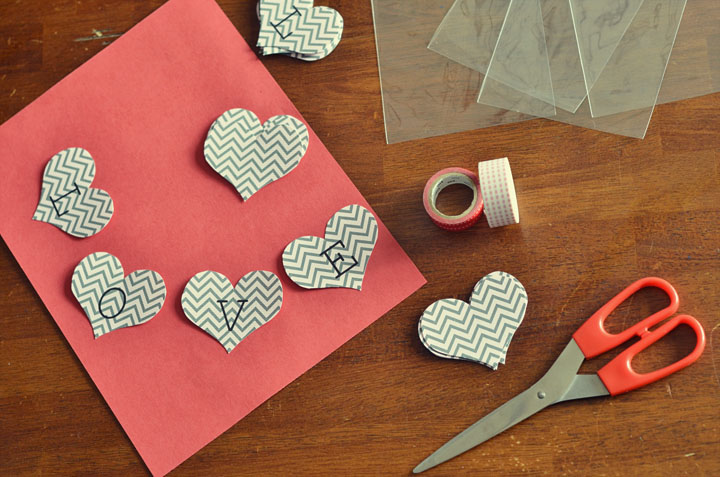
First, print the Valentine’s garland from last year right HERE. Cut out all of the hearts and even some white ones if you desire to make a longer one. I used 4 hearts, but you can include as many hearts as you want as long as you remember to increase the postage.
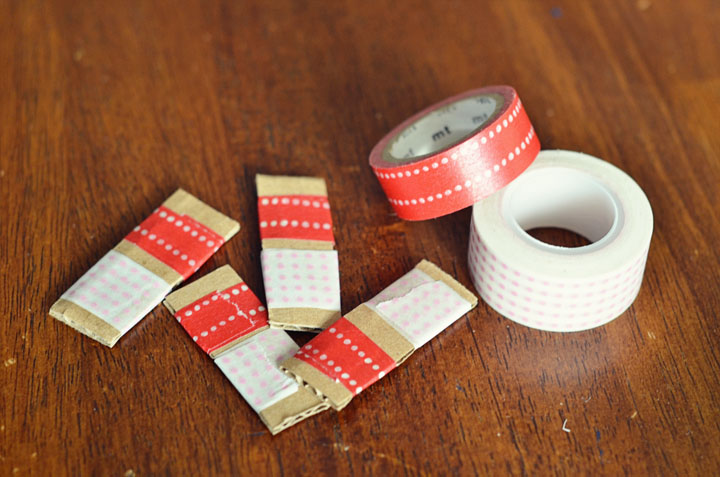
I cut out a few pieces of cardboard, in haste. However, small pieces of wood would be perfect. I wrapped some long pieces of tape around the cardboard so the person could take off whatever they need to hang up the garland and also to adhere the string to the back of the garland. Cut a 1 yard long piece of twine, fold it up, and hold it together with a piece of washi tape. Write a little handmade note and put it in an envelope! A cute little printed paper bag like you can find in my friend Ana’s shop would be perfect, along with some of her heart stickers and mini clothespins!
DONE!
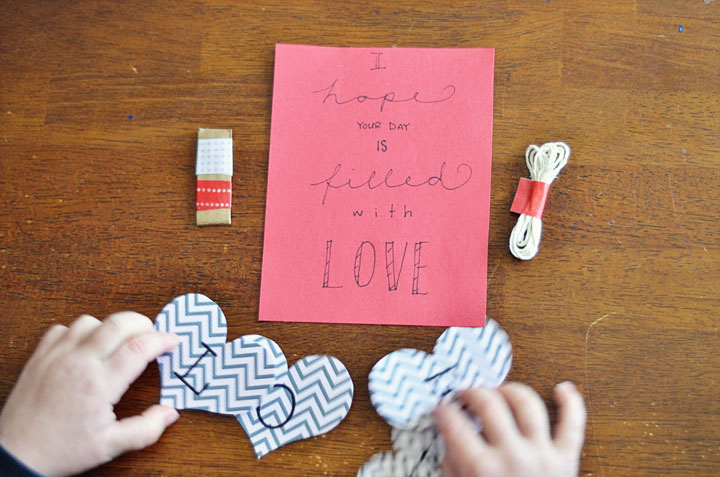
Print, Assemble, and Give!
If you liked what you see, stick around and find me on:
F a c e b o o k // T w i t t e r // P i n t e r e s t // I n s t a g r a m // E m a i l