This post should be titled “I Love Heirlooms and Heather Ross” but that would only make sense to me and that’s of no help to you guys. It is a true statement though and the beginning of the story to these shorts.
I have a box of lace that was collected by my Grandma and passed on to me. Sometimes with heirlooms, I tend to hold on to them without putting them to use because often making use of them involves altering them drastically. I always question whether the person would have wanted their items the same or if they even would even care at all. I also treat my Heather Ross fabric the same way. Her fabric is my favorite and some pieces I had to hunt and barter for so they are like gold to me. Having these items sit in my closet isn’t any good either so I knew I needed to stop hoarding and just MAKE! I’m such an over-analyzer which is why I had to quit scrap-booking…too many choices.
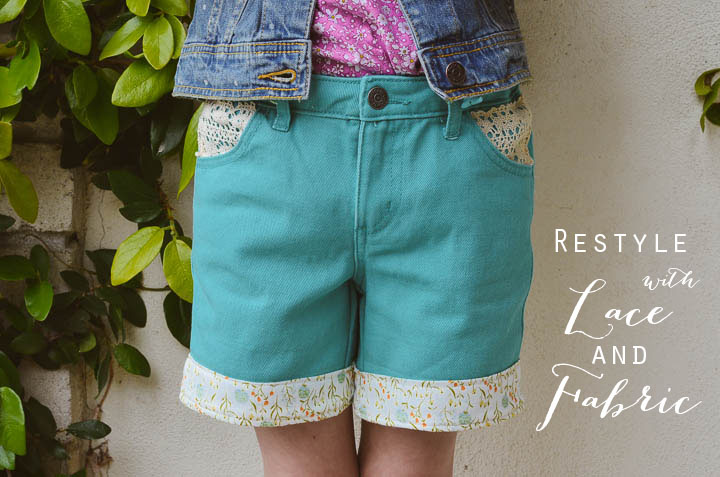
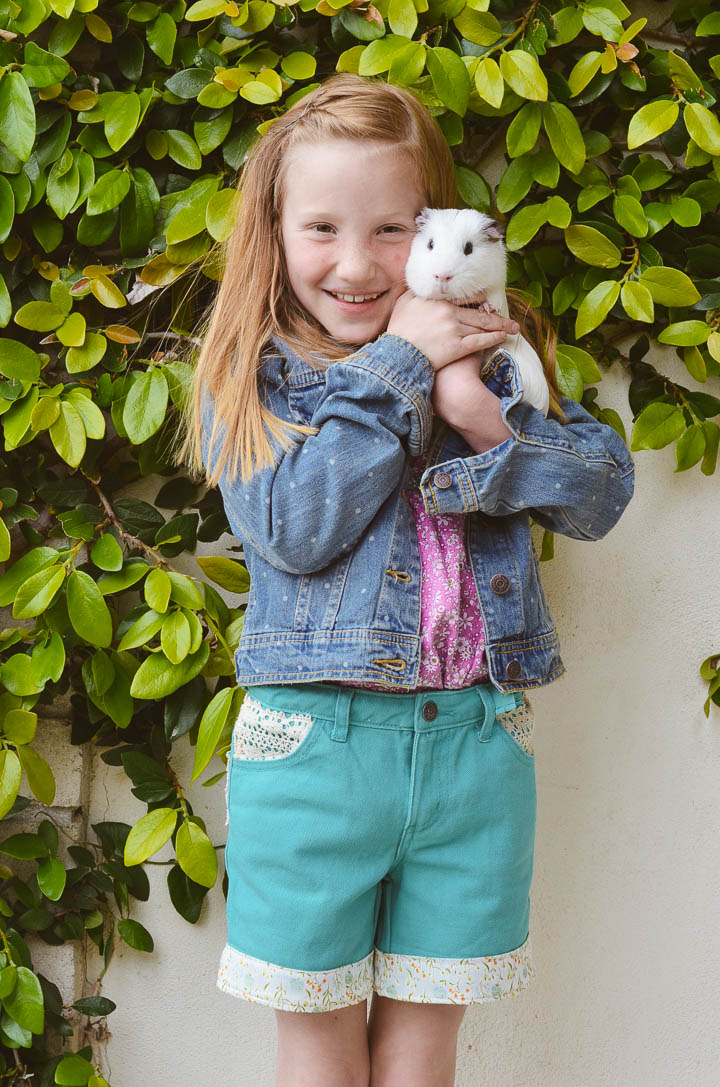
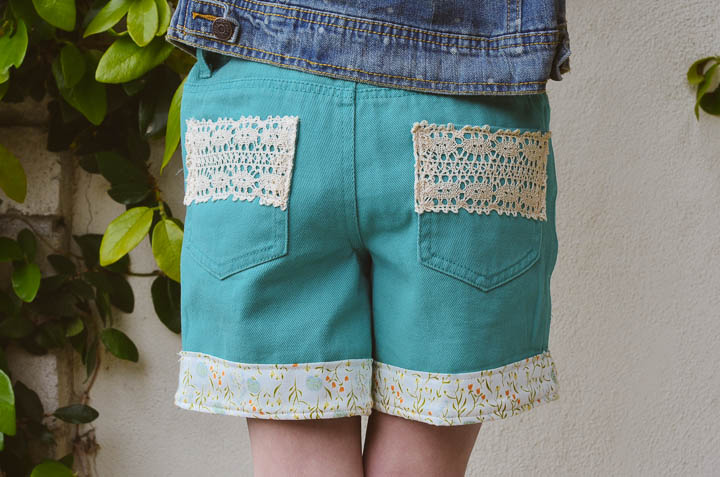
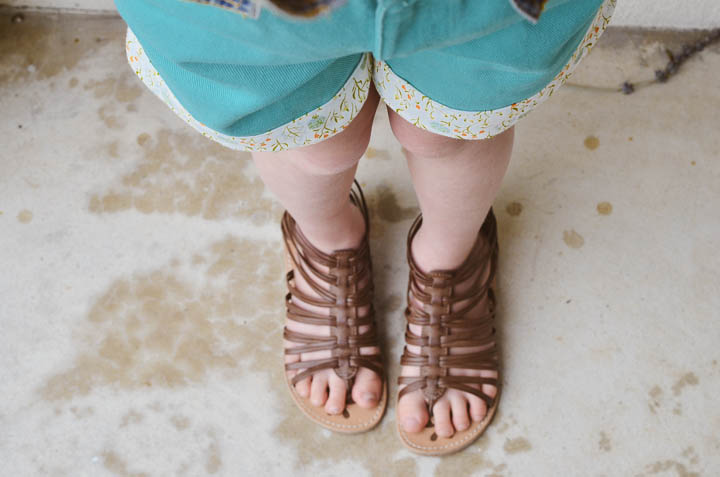
So, I saw these kids shorts at Target which were a lovely shade of turquoise-y/teal, but they were too short for my comfort on a little girl. Call me old-fashioned but I don’t dig the cheek hanging out of the shorts look. Ok, these weren’t that short but still…what’s up with those teenagers? I decided to add some fabric to the ends and lo and behold, the Heather Ross wildflower fabric from her first Far Far and Away line was PERFECTION. I’ve had this fabric since the day it came out and I’m so glad I cut into it. Next, I added lace to the front and back pockets, hoping that this will encourage my dress-wearing girl to adopt some shorts into her wardrobe!
For the fabric cuff:
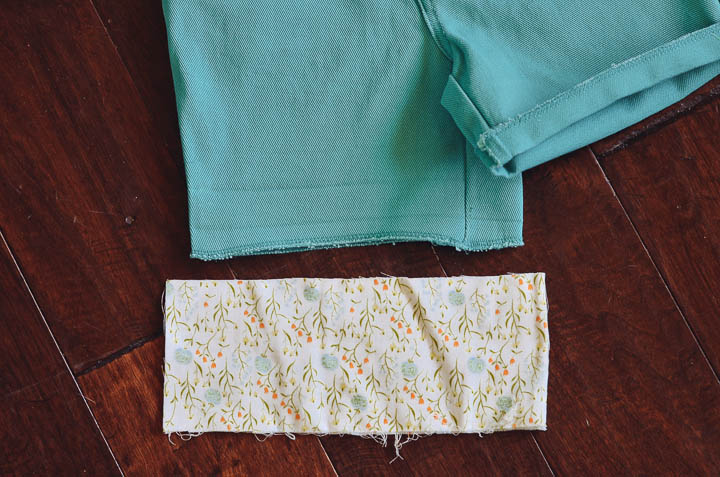
1. Undo the current cuff with your seam ripper and unroll the shorts completely. Turn the shorts inside-out.
2. Cut a piece of fabric that is 1/2 inch longer on each side than your un-cuffed short bottoms and 4 inches high. You will need 4 total, 2 for each front and 2 for each back cuff.
3. Iron the WRONG sides of each fabric piece together, matching the salvaged edges. Iron the un-cuffed short bottoms.
4. Match the edges of one front piece to the top and one back piece to the bottom of the shorts. Pin.
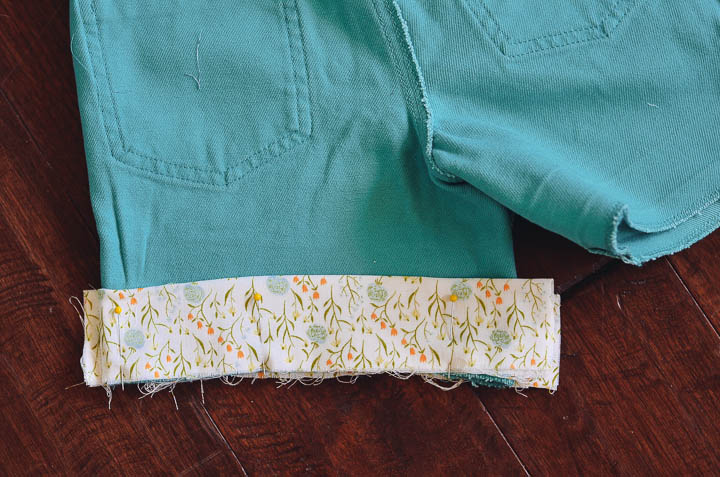
5. Sew along the sides of each fabric panel, just outside where it meets the shorts with a 3/8 in seam allowance.
6. Sew the fabric to the bottom of the shorts all the way around leaving a 3/8 in. seam allowance. Go over the thicker parts twice.
7. Repeat with the other cuff and turn the shorts right-side out again. Bring the newly sewn fabric cuff around to the front.
8. You can sew the inside and outside edges of the cuff to the main body of the shorts or simply sew the cuff to the shorts all the way around 1/4 in from the top, so it doesn’t flip up and down all the time. I prefer the latter because I do NOT want to iron kids shorts!!
You’re done with the cuffs and you can totally stop there if you want!
or you can add lace to the pockets…
For the lace pockets:
Simply cut a piece of lace 1/2 in. longer than each side of the back pockets. A lace piece that is long and finished along its edges works perfectly. Line the lace up with the top of the pocket and tuck each 1/2 in. under on each side. Pin and sew around each side of the lace, going over it a second time because lace has many holes.
For the front pockets, find a piece of lace that can tuck inside the pocket. Tuck under and pin any of the salvaged sides of lace that are sticking out. You might have to wrangle this pocket a bit, but you only need to get in there and get that sewing done. It doesn’t need to be fancy because the lace is very forgiving and doesn’t show mistakes like normal fabric.
Now, you’re REALLY done!! If you restyle some shorts be sure to link up below!!
Stick around and find us on:
F a c e b o o k // T w i t t e r // P i n t e r e s t // I n s t a g r a m // E m a i l