Cinnamon Whiskey Sour

DSC_5740

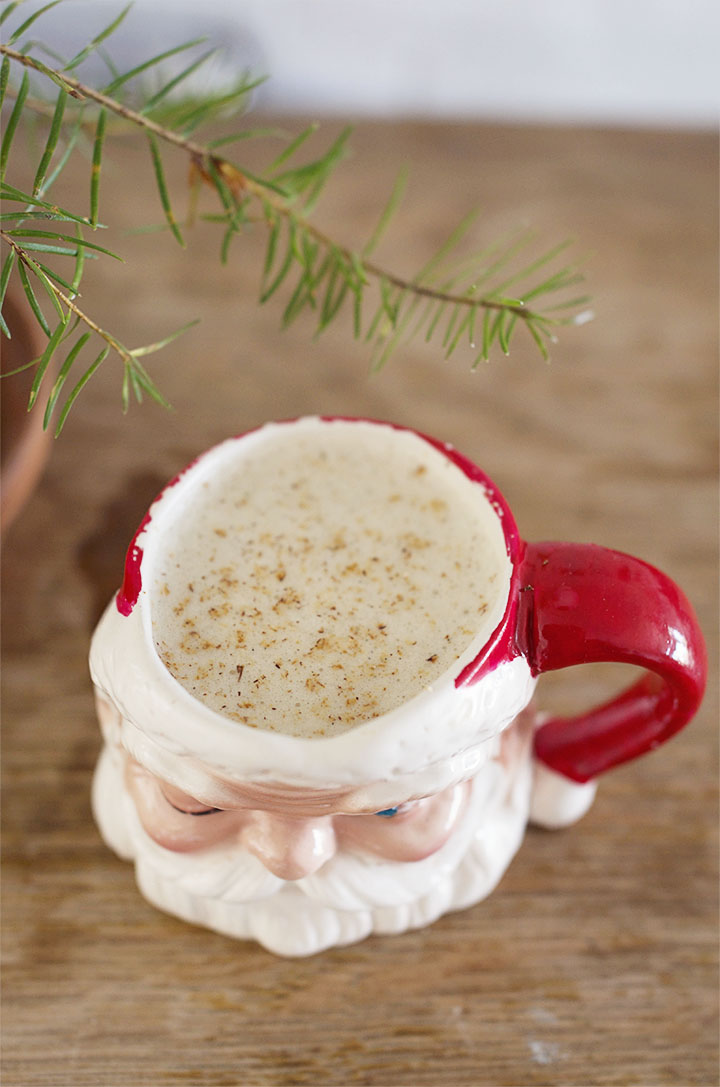
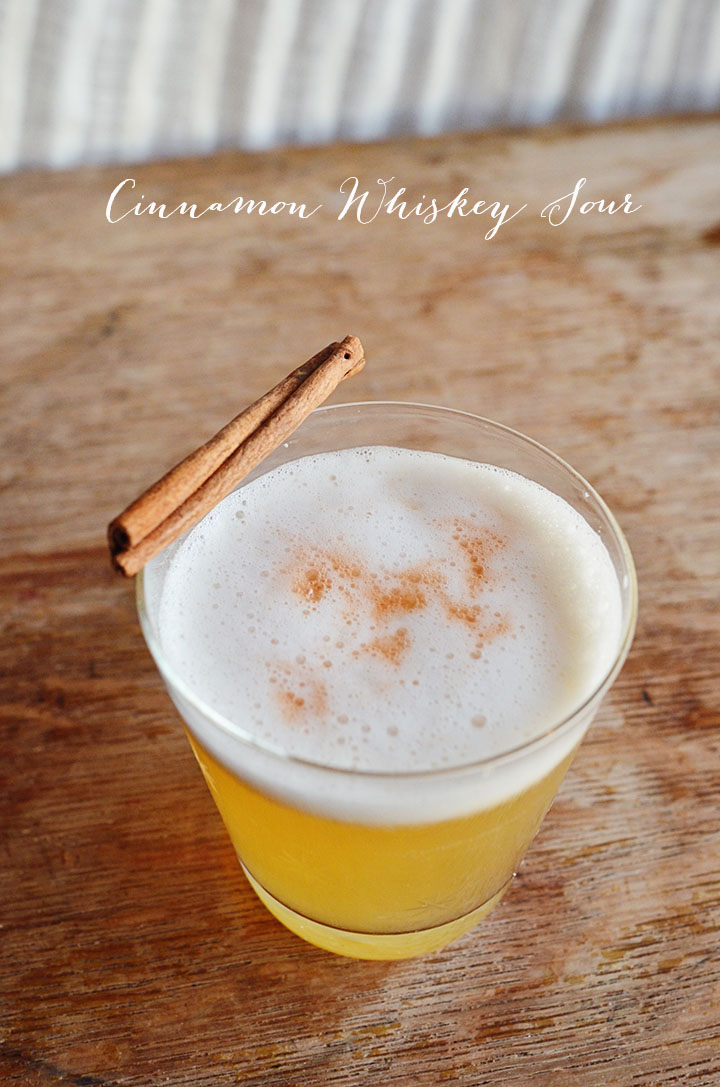
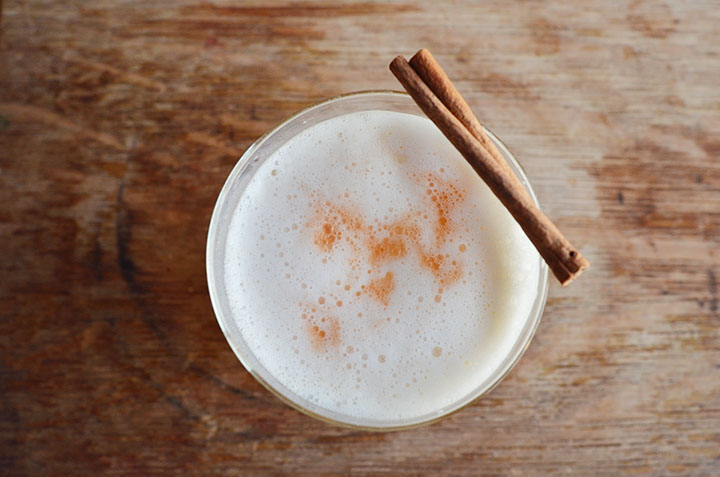
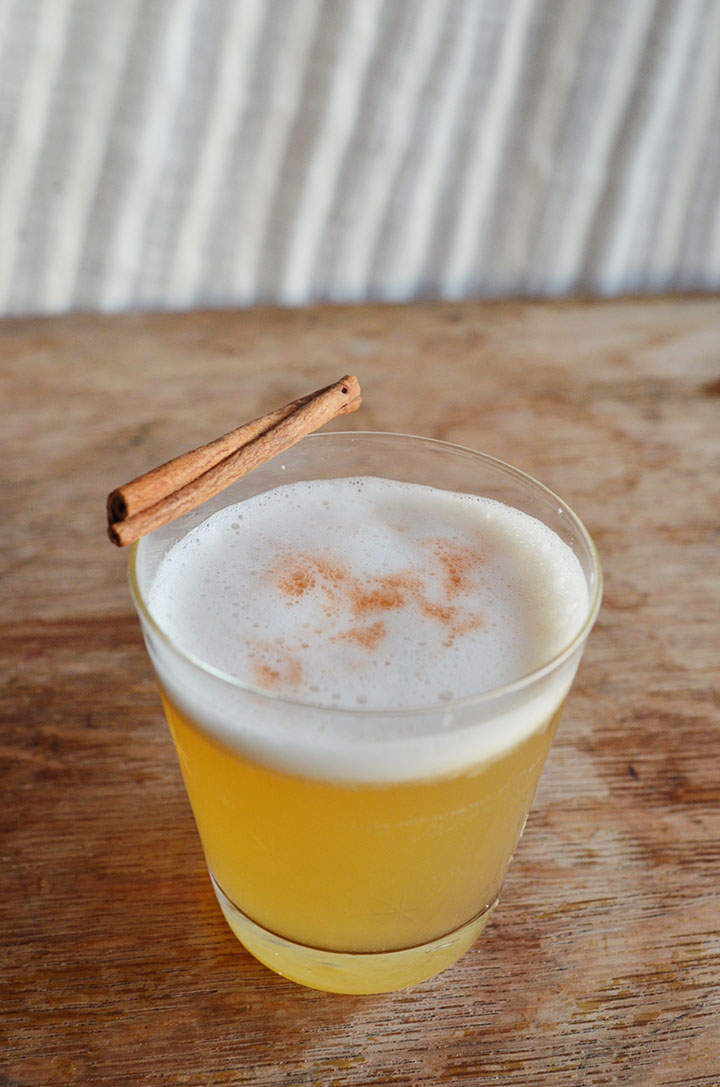
The whiskey sour is my favorite drink right now.  I love the way the egg whites bring a touch of stability to the always battling sweet and sour elements of a cocktail.  Whiskey sours are also very fun to play around with as you can try so many different flavors in the simple syrup.  For this drink I went with cinnamon.  I had this combo at Craft & Commerce (our best restaurant/bar for cocktails in San Diego) and I fell in love immediately.  It brings a little bit of holiday spirit but can totally be served any time of the year.  Plus, cinnamon is a wonderful health aid…so…bonus points!!!

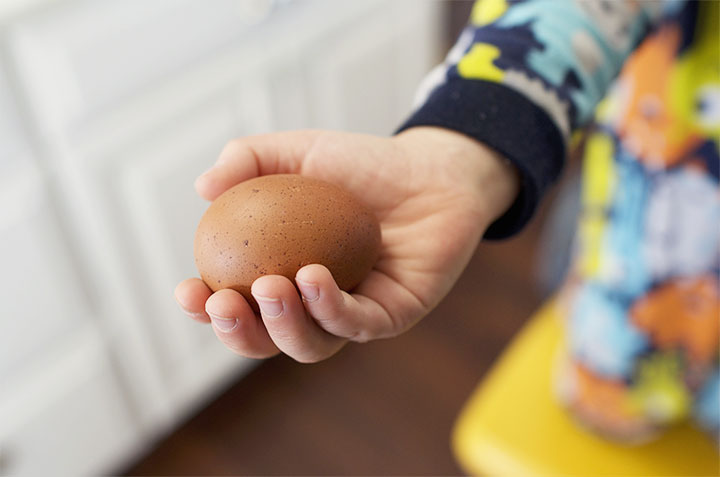
For those who are wondering about the raw egg white, don’t worry.  If you get your eggs from a local farm who is taking care of their chickens the way they should, raw egg whites are totally fine.  If you are super nervous about this idea and still want to try the drink, then you can buy pasteurized egg whites at whole foods if you have no other options and NEED to have whiskey sours in your life.  I would still recommend that you look into fresh eggs anyway, for the sake of your overall health.  Did you know that America is one of the few countries who refrigerate their eggs?  That’s kind of a scary thought when you beg the question why.  Something to ponder…

Local Hint: San Diego, you can find amazing pasture-raised chicken eggs from farms like Spur Valley Ranch.  Doesn’t get much better than them unless you are raising chickens yourself! ;)  Check here for market availability.

Cinnamon Whiskey Sour:

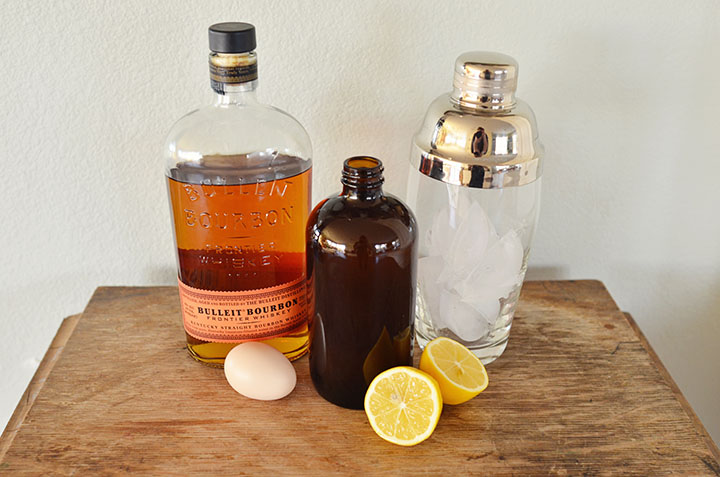
2 ounces rye whiskey (preferably Bulleit or your favorite small batch)

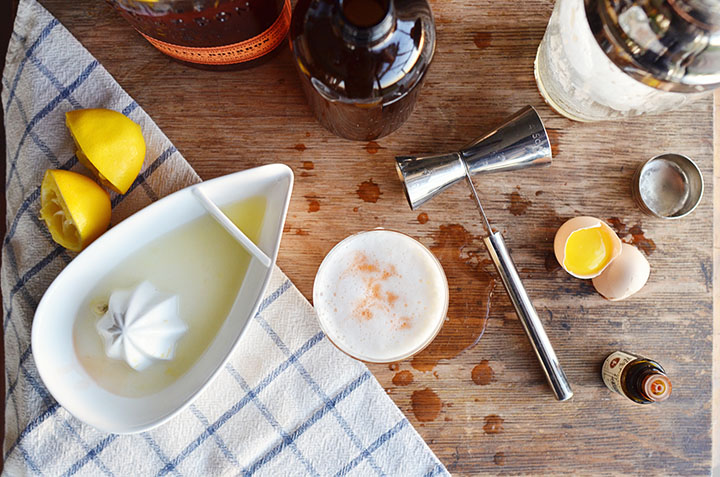
3/4 ounces freshly squeezed lemon juice

3/4 ounce cinnamon simple syrup (recipe below)
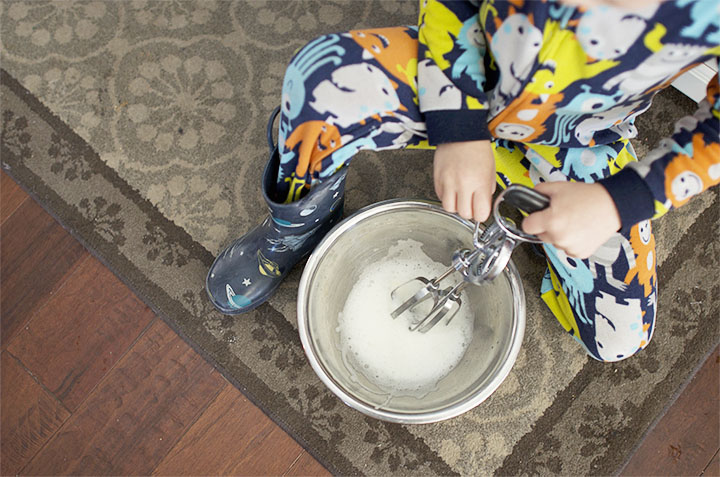
1 egg white

a few dashes of bitters

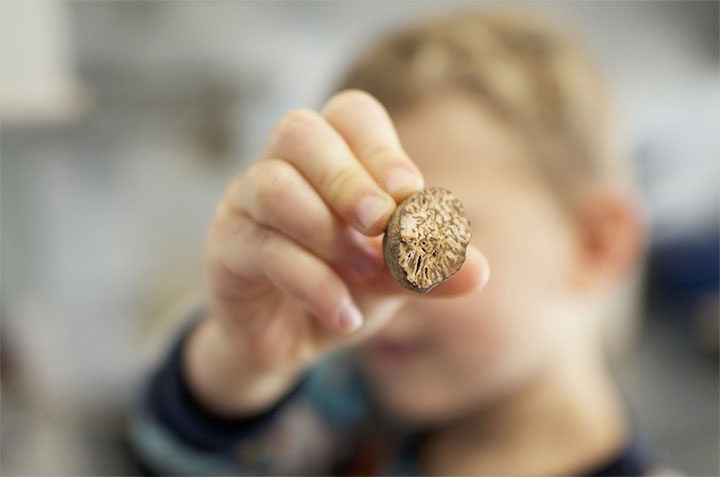
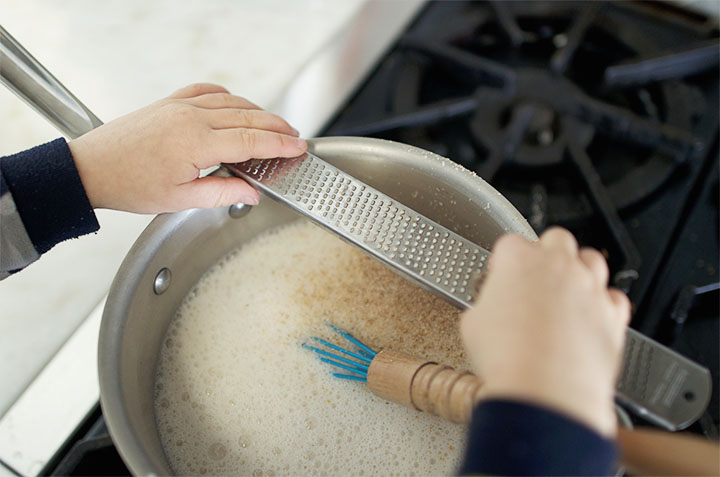
For the syrup: Combine 1 cup sugar, 1 cup water, and 1 Tablespoon cinnamon bark in a small pan. Cook over medium heat until boiling and the sugar is dissolved.  The cinnamon bark from Ceylon cinnamon, as opposed to Cassia, is what you’re looking for.  Ceylon is known as the “true” cinnamon that was bartered and traded so long ago in the days of Marco Polo and beyond.  Obviously, you can make a syrup with a cinnamon stick but I threw that little bit in there in case you are the type of person who wants to know such things and make the best cinnamon syrup possible. ;)

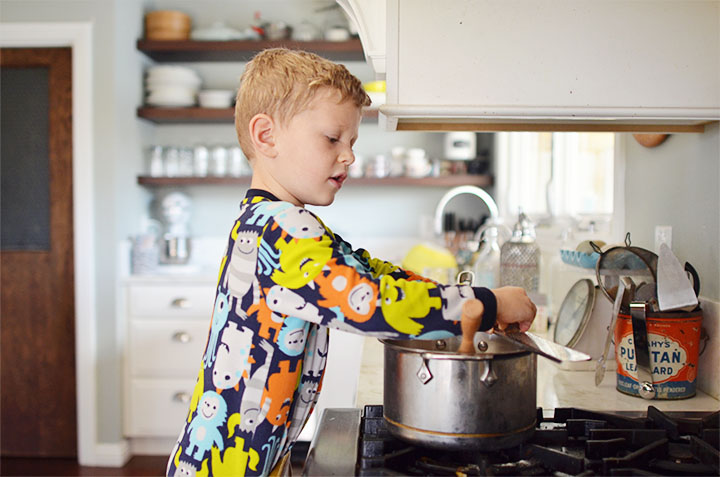
For the drink: Fill your cocktail shaker with ice and add all of the ingredients besides the bitters.  Shake for at least a minute so that the egg white can get a nice foam in the shaker.  Pour into a glass without ice and throw a few dashes of bitters on top.  If you find the drink to be too sweet, try substituting all or half of the lemon juice for lime juice.  Enjoy!

DSC_5622

DSC_5641

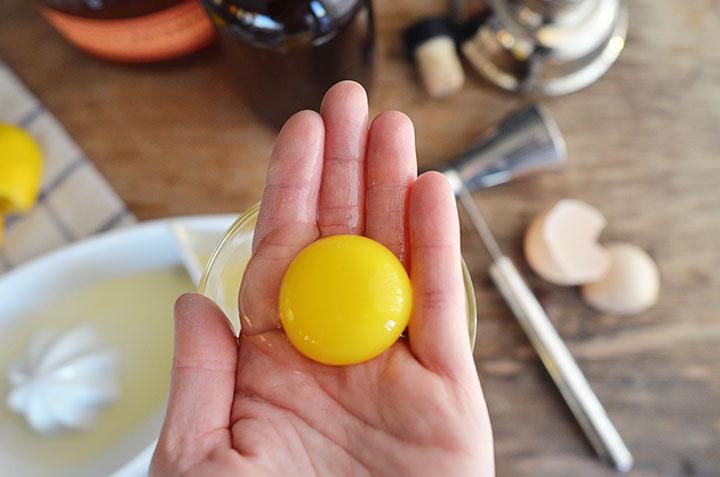
Best way to separate the white from the yolk is with your hands!

DSC_5657

DSC_5717

DSC_5727

Click below to follow us on:

F a c e b o o k  //  T w i t t e r  //  P i n t e r e s t  //  I n s t a g r a m  //  E m a i l

Fresh Eggnog with Almond Milk

DSC_5019_2 copy

Cooking with kids can be a lot of work, but the memories and experience are worth it!  I have 3 kiddos.  When I cook with one of my kids, I love to engage with them one-on-one…if I can.  This is the most relaxing for me, the kiddo feels successful and important, and our recipe gets completed without any arguing…assuming the others stay out of the kitchen, which doesn’t usually happen!

The recipe in this post was made with almond milk but you could totally substitute regular milk. ;)  I made the complete switch to almond milk a year or so ago.  Before that, I drank raw milk for a while before it got too expensive and difficult to acquire without waiting out long periods of time where California was deciding how it felt about raw milk.

My littlest loves eggnog so we decided to make some together, using the most authentic eggnog style (recipe below).  I love his little hands in these pictures!  I hope I always have little hands in my kitchen on some level!

DSC_4959 copy1

DSC_4972

DSC_4961 copy1

DSC_4991 copy

DSC_5001 copy

Eggnog is made several different ways.  The most traditional way blends the egg yolks in with the milk and sugar mixture, then is combined at the end with whipped egg whites.  The eggs need to be fresh because they are consumed raw in this and most homemade eggnog.  Don’t worry too much about the warnings for raw eggs if you are getting your eggs from a local organic, free-range farm that operates properly or even above that or use eggs from your backyard chickens like we did!  You also have the choice to make this raw, cooked and cooled, or just cooked and consumed warm.  For the health fans, eggnog is supposed to be a treat so don’t be put off by the amount of maple syrup.  At least it’s a more pure sweetener, right?!

Eggnog with Almond Milk

1/2 gallon almond milk or regular whole milk

1/2 cup Grade B maple syrup

2 teaspoons fresh nutmeg, grated plus more for garnish

1 Tablespoon vanilla paste (my favorite option!) or 1 Tablespoon regular vanilla

6 super fresh eggs, yolks and whites separated

1/4-1/2 cup Bourbon (note the times in each option for when to add bourbon)

For raw eggnog:  Combine all ingredients but the egg whites and bourbon with a whisk.  Bourbon can be added at any time.  It really is an important flavor component so if you don’t desire alcohol, I suggest using the cooked method below and adding it at the beginning so the alcohol can cook off but leave the flavor.  Now, whip the egg white until stiff peaks form.  We use a hand blender around here so that the kids can whip things more easily instead of just watching a mixer!  Slowly add the whipped egg whites to the milk mixture. Serve in a punch bowl or individual cups then garnish with freshly grated nutmeg.

For cooked eggnog:  Combine the milk, nutmeg, and vanilla paste in a saucepan.  Bourbon can be added at any time.  It really is an important flavor component so if you don’t desire alcohol, add it at the beginning so the alcohol can cook off but leave the flavor.  If you desire a spiked eggnog, add the bourbon after the end product is removed from the heat or just go for the raw option above.  Cook the mixture until it’s hot to the touch.  Almond milk doesn’t burn like regular milk and doesn’t need to be stirred as often.  So, stir the regular milk more often if you’re using it.  Meanwhile, in a separate bowl, beat the maple syrup and yolks until they are light in color. Combine the egg yolk mixture with 1 cup of the milk mixture to “temper” the eggs or neutralize the heat so the yolks don’t cook in the super hot mixture, then add the rest of the milk mixture.  If for some reason you find yolk, just strain before you serve it and try again next time.  Heat the milk/yolk mixture until it’s hot.  Remove from the heat.  While it’s cooling, whip the egg whites until stiff peaks are formed (we use a hand blender for easy whipping), then add them to the milk/yolk mixture.  Serve in a punch bowl or individual cups, then garnish with freshly grated nutmeg.

Does anyone else collect these vintage santa mugs?!  Love them!

DSC_5018 copy

DSC_5010 copy

Click below to follow us on:

F a c e b o o k  //  T w i t t e r  //  P i n t e r e s t  //  I n s t a g r a m  //  E m a i l

Herbed Fennel and Leek Chicken Stock


chickenstock copy

I posted a picture on Instagram this week about some stock I was making and apparently there was quite a bit of interest in what I put in it.  Like most of my food posts, there’s usually a story…

Homemade stock and I do NOT go way back.  Gasps here wouldn’t be inappropriate.  I had made plenty of stocks, yes, but when I was looking to make a soup at home, I had often purchased store-bought organic chicken or vegetable stock because it kept on the shelf and I could just grab and go.  No biggie, right?

WRONG!

It was my sister’s boyfriend, Erik, who first inspired me to never buy stock again.  Basically, Erik would ask to take home the carcasses from our turkey, chicken, or goose dinner (last years Christmas dinner!) so he could make stock.  It had never really occurred to me to make stock on a regular basis, but seeing his habit and process made my see the possibilities.  Now, time has past and he has made me wiser.  My freezer currently has 10 quarts of stock.  I make and use it pretty much every week with our leftover chicken bones, the ends of my onions I don’t need, herbs from the garden and anything else I have in my fridge that I can throw in the pot!  Stock has become my favorite things to make because it is so easy to throw together, it leaves an amazingly awesome scent in my kitchen, and I can drink it on it’s own.  Call me weird, but try drinking it yourself and we’ll see if you feel the same way.

If you like, remove the chicken bones for a straight up veggie stock.  The measurements below are only for those who need them.  The beauty of stock is that you can really use whatever you want.  As long as you have onion, garlic, salt & pepper, and some sort of herb, you can’t go wrong. The addition of leeks and fennel are just related to what the soup will become.  This stock could be the base of a soup or gravy and therefore need to be at the top of its game.  Try the stuff from the store and tell me if it doesn’t taste like the distant relative of water. Blech.  I learned my lesson.  Homemade stock is the only way for me. I’m just doing you a favor and converting you now so you don’t lose any time like I did!

Herbed Fennel and Leek Chicken Stock:

1 whole chicken carcass (sorry, there just isn’t really a better word!)

2 leeks, end and green tops removed and slice down the middle

1 large fennel bulb or 2 small

the ends and skins of several onions, maybe 5

1 head of garlic, broken into cloves

2 teaspoons whole black peppercorns

1/4 cup of salt

3 sprigs of rosemary

2 sprigs of dill

2 sprigs of thyme

7 quarts of water or enough to fill up a 8 quart stock pot after all the ingredients are added

Add all ingredients to a pot, bring to a boil, then turn down and simmer for at least 1 hour.  Although, I prefer at least an hour and a half so I can get the richest stock possible. Strain and you’re ready to go!

chickenstock7

Click the links below to get updates from us!

F a c e b o o k  //  T w i t t e r  //  P i n t e r e s t  //  I n s t a g r a m  //  E m a i l

Giant Meatballs and How to Make Zucchini “Pasta”

agoldenafternoon.comThe day my boys fell in love with giant meatballs was at one of our favorite restaurants here in San Diego, Cucina Urbana.  My middle guy, Jack, ordered it at a bargain price of $6.50 and it was served in a little cast iron skillet.  He was in love after the first bite.  He kept asking me to make a giant meatball at home so finally I said yes!  Please forgive my inability to make a meatball like like anything more than a ball of meat in this picture – kinda hard to avoid when the meatballs are gigantic.

We added zucchini “pasta” and haven’t looked back.  We haven’t been eating pasta very much for the last few years since we realized pasta tends to be a hunger-zapper, leaving less room for nutritious foods – like zucchini!  I let my kids have it every once in a while when my husband is out-of-town. Although, it’s usually rice or quinoa pasta. ;)

We all fell in love with this dish.

Giant Meatballs

(based on the Scottos’ Meatball Recipe)

2 slices of bread

1/2 cup milk

2 1/2 pounds of ground chicken or turkey

1 white onion, minced

3 tablespoons garlic, minced

3 tablespoons parsley, chopped

2 eggs

1/2 cup Parmesan cheese, grated (optional) plus more for garnish at the end.

salt and pepper, to taste

Preheat the oven to 400.  Soak the bread in the milk and blend with a fork.  Combine the remaining ingredients.  Shape the meatballs the size of a baseball.  Place them on a baking dish and cook for 35-45 minutes or until cooked through. Cooking time will depend on the oven.

(eliminate bread, milk, and cheese for Paleo…try not to cry while doing so!)

While the meatballs are cooking, prepare the…

Zucchini Pasta

4 large zucchini, julienned lengthwise with a mandolin

6 cloves of garlic, minced

salt and pepper, to taste

oil for pan

Parsley for color, optional

“Slice” the zucchini using a mandolin.  Holding the zucchini with the side on the mandolin, use the julienne blade to make the “pasta” shape.  If you are using organic zucchini, like me, the pieces of “pasta” will not be as long and flowing as you might see in other recipes for this dish.

After the zucchini is cut, saute it in a pan with the rest of the ingredients, just until cooked through (where you can easily break a piece with your fork but it’s not mushy ;)).  This will take 15ish minutes.

Fresh “almost raw” Tomato Sauce

5 large heirloom tomatoes

6 cloves of garlic, roasted (my fave) or store-bought paste is best for a mellow flavor or 1 teaspoon of garlic powder if you are short on time.

1 tablespoon fresh herbs (parsley, basil, oregano, and/or chives)

2 Tablespoons extra virgin olive oil, optional

salt and pepper, to taste

Blend all ingredients in a blender until smooth, leaving as much texture as you’d like.  Heat in a saucepan, just until warm and season again, if needed.  It will not taste exactly like jarred tomato sauce because the tomatoes are raw and not cooked for hours, but it’s sooo much better for you!

To make this whole dish, plate individually right before you sit down to eat.  place the “pasta” on the bottom with tongs, turning the tongs as you place it on the plate to create a perfect little nest for the meatball.  Add the giant meatball, then the sauce, and the Parmesan cheese if you prefer.

Enjoy this healthy meal because you won’t have the weight of all of that pasta dragging you down and your kids will still get to eat “pasta”.  Also, I apologize for the excessive use of quotation marks but I don’t want anybody disappointed when they come to this post for pasta and instead they find “pasta”! ;)

Stick around and find us on:

F a c e b o o k  //  T w i t t e r  //  P i n t e r e s t  //  I n s t a g r a m  //  E m a i l

Protein Bon Bons

agoldenafternoon-6

This recipe is definitely my most requested one.  I think the cute “bon bon” with coconut sprinkles draws people in, the deliciousness keeps the love going,  and the bonus health points keep people hooked.

As a parent, we are always trying to find healthy snack for our kids.  I posted on Instagram the other day (here) about the subject. I know we all get lazy sometimes and try not to think about what we are letting our kids munch on.  I mean, we have 3 meals to focus on, right?  Every few months, I reevaluate what I’m feeding the kids during snack-time.  All of those “little meals” can really add up.  But wait…the snack packages they eat from say “organic” and “whole grain”, That’s healthy right?  Even cute little organic cheddar bunnies can be disguised as healthy foods.  If we are really honest with ourselves, our kids need as many real and pronounceable foods in their bodies as possible.  Snack time will never look perfect, but I want to keep trying to improve what I put in their little tummies.  These bon bons are a great way to make protein-rich snacks for your kiddos that have completely recognizable ingredients.

Sidenote: I am not a “professional” on the subject of nutrition but I do have the ability to read information and reason.  It is a terrible rumor about town that the fat in nuts is unhealthy.  This is totally and completely not true.  If your family is consuming a healthy diet of lean meats, veggies, fruit, and grains, there should be no reason that nut fats are bad for you.  For the unhealthy eater, they are still not bad, they will merely add completely unnecessary calories to that particular person’s body. Learn to interpret information yourself so you can make good choices, ya know?

Enjoy making these…we try to throw some together every week!

agoldenafternoon-3

agoldenafternoon-7

Protein Bon Bons

2 16 oz. containers unsalted and unsweetened peanut butter (almond butter for Paleo/Whole 30 :))

4 cups raisins

1 1/2 cups unsweetened shredded coconut, plus more for garnish

1 1/2 cups raw honey

1 cup flaxseed meal

1/2 cup almond meal

*optional: cocoa nibs

Mix all of the ingredients together.  Form bon bons into any size.  I love putting mine in mini cupcake liners so that the kids can handle them more easily (read: make less mess).  Sprinkle the bon bons with coconut.  Refrigerate until you are ready to eat them.

Note: This recipe will vary based on the kind of peanut butter you use.  I use the Whole Foods Organic Everyday value smooth unsalted peanut butter.  Some peanut butter are more liquidy like the pre-stirred kind so you can always add more raisins and more coconut or either kind of meal.  If your peanut butter is the no-stir kind, just leave out a bit of the meals or coconut.  You’ll find your own balance and add less or more honey depending on how sweet you like it.  Substituting almond butter for peanut butter means a thicker batter so be sure to add a little less of the dry ingredients!

agoldenafternoon-3

Click below to follow us on:

F a c e b o o k  //  T w i t t e r  //  P i n t e r e s t  //  I n s t a g r a m  //  E m a i l


Page 3 of 1912345...10...Last »