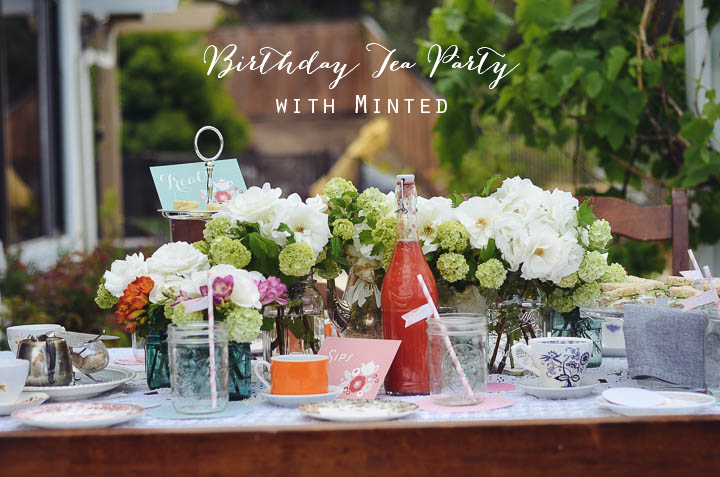
When I have a party, I want everything to be beautiful but simple. I was so excited to team up with Minted for Faith’s birthday this year because they totally fulfill both of those requirements in their party decorations. I love seeing new companies make party-planning easier, true, but making the decorating the way I would make it myself…AMAZING!
I started using Minted products back when I bought my business cards in December. I fell in love with their triple-ply cards and I’ve had nothing but an amazing response to them from the people I hand them to. SO, I was definitely excited to play with their party product line that came out recently.
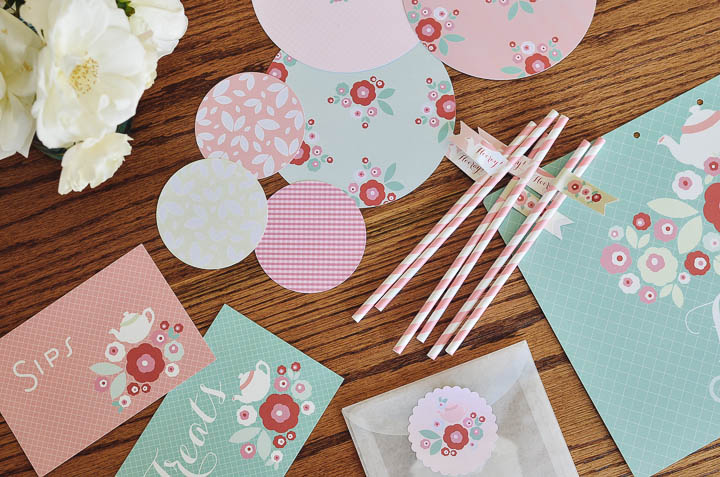
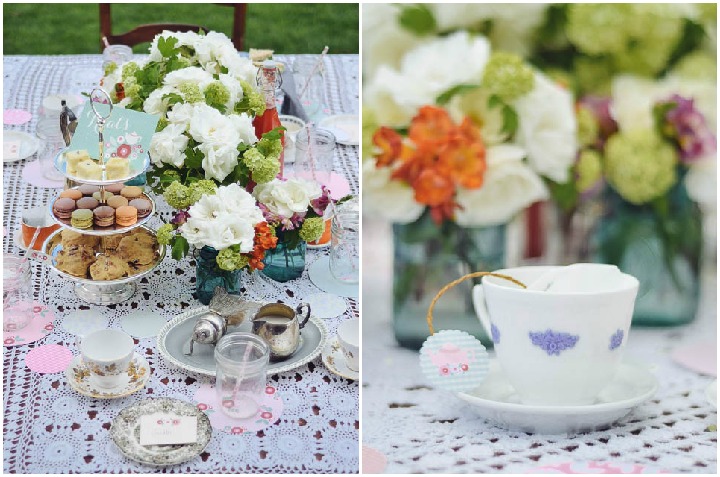
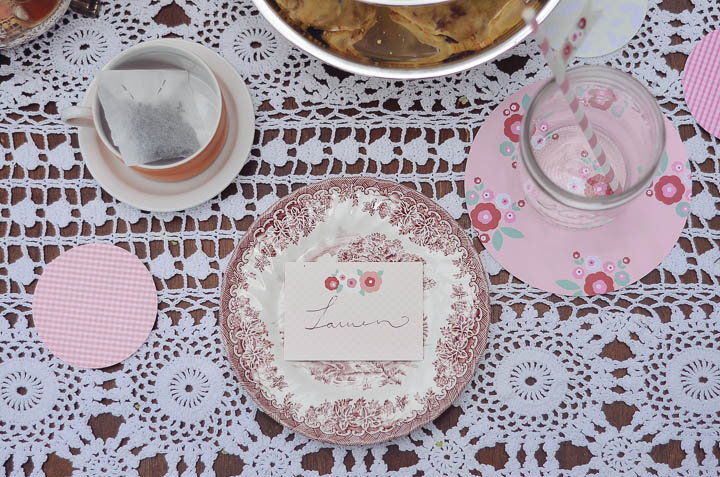
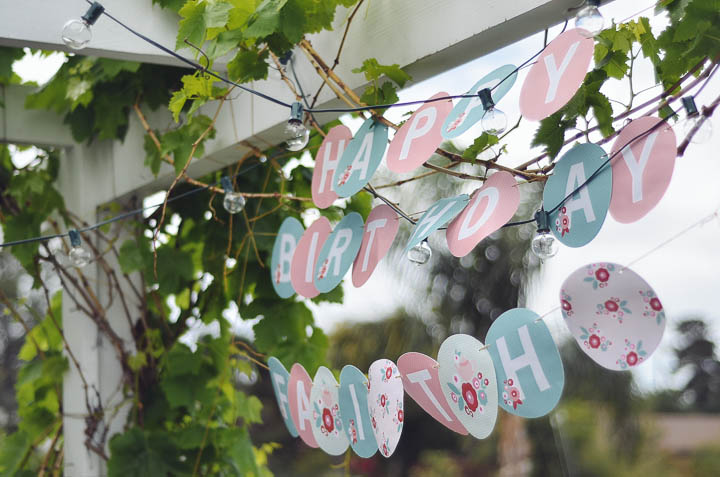
I ordered the Perfect Party Package, which provided everything you see in the photos. The name of the design I chose is “Retro Floral Garden Party”. So many wonderful things and I didn’t have to do anything more than arrange everything.
Now, the food…you know, the best part. I’d love to share some of my new favorite food finds with you. Sound good?
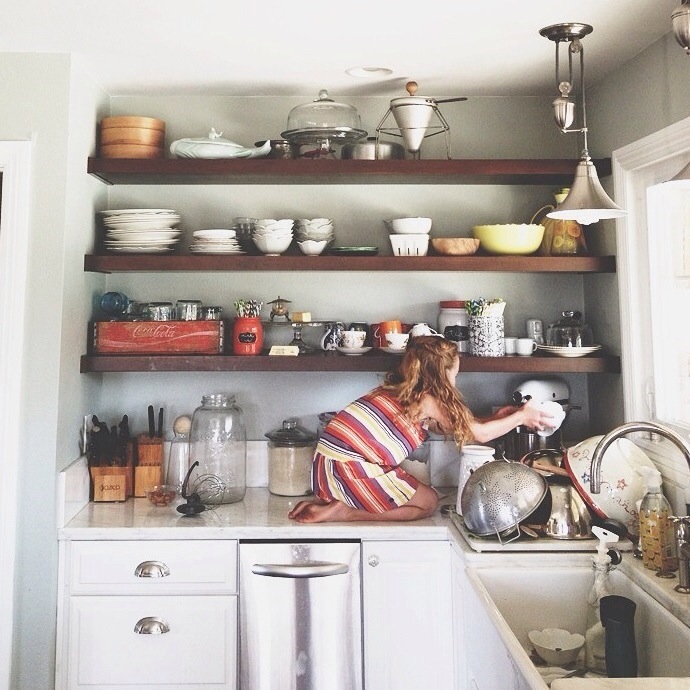
For most parties, I tend to do too much. No, I don’t go so far as to build the gardens of Babylon out of fruit, but I do tend to try to make, create, and cook so many things from scratch. I love making all of it and THAT is the problem.
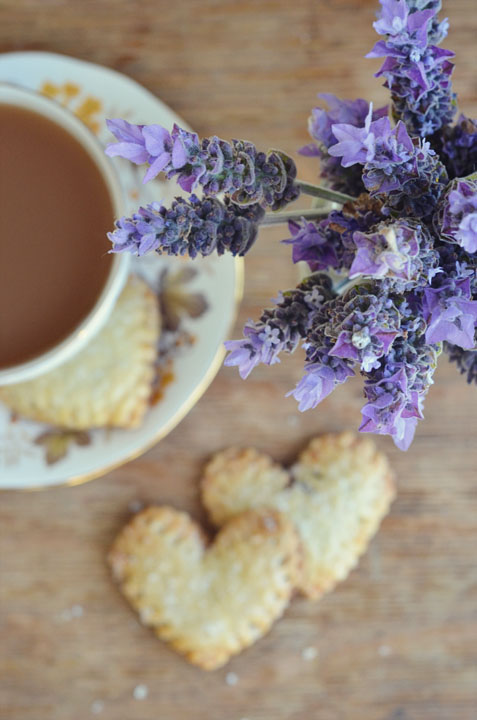
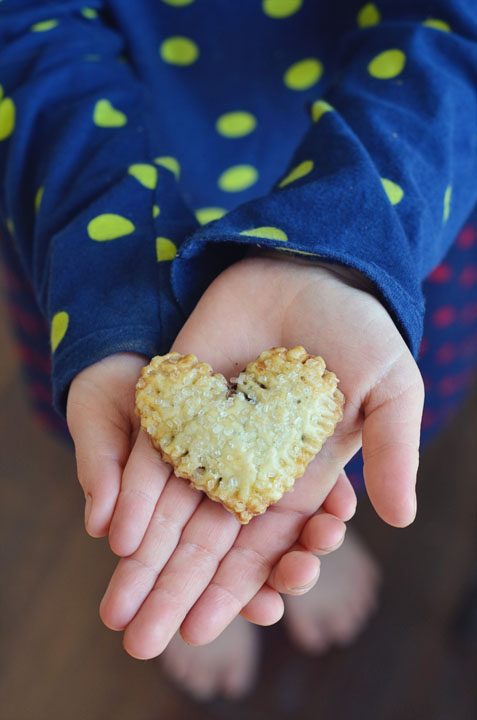
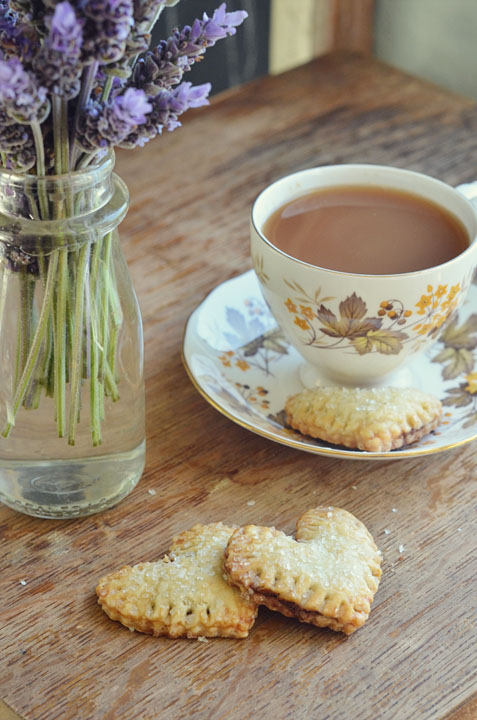
This time, I found a few great pastries which I would be happy to serve day or night to my guests. The first one is from Trader Joes. Have you guys had their macaroons from the freezer section for $5?! Amazing, let me tell you. I’ve eaten sooo many. They have the right flavors and colors for serving purposes, as well. You can see them a few pictures above. The second food item would be petit fours. Man, what a time I had locating a bakery that would make me a tray at all or for under $150. After a crazy amount of searching, I finally just decided to make them. I had told my family I was buying them and they were all so impressed that I was attempting changes in my life, I couldn’t let them down and “fully” make them. So, I pulled a semi-homemade. I used a Trader Joes pound cake, filled them with some of our homemade strawberry jam, and bathed them in a white chocolate ganache. They worked out pretty well, methinks! I’ll share more details soon.

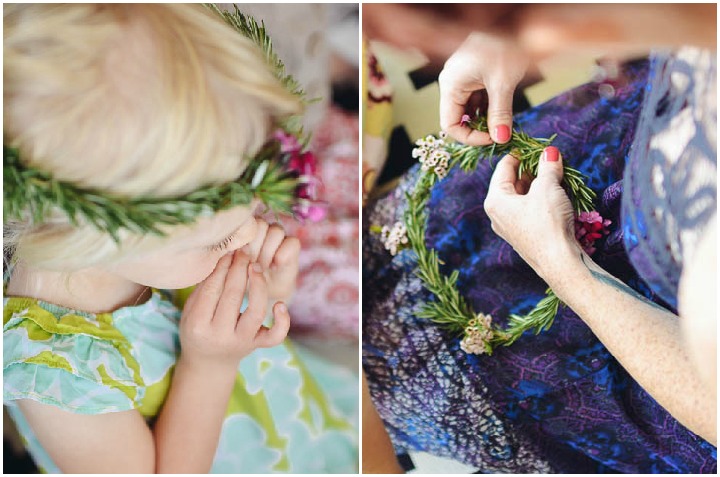
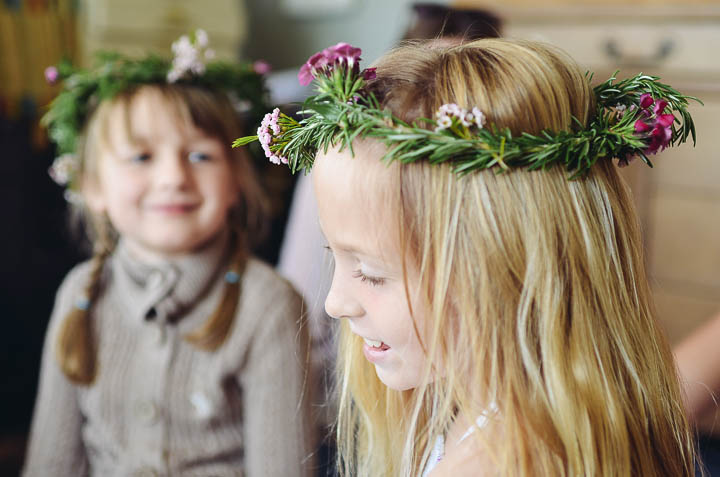
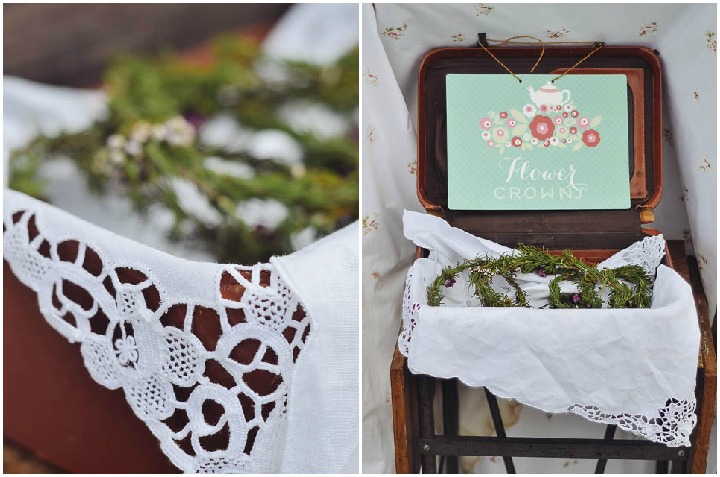
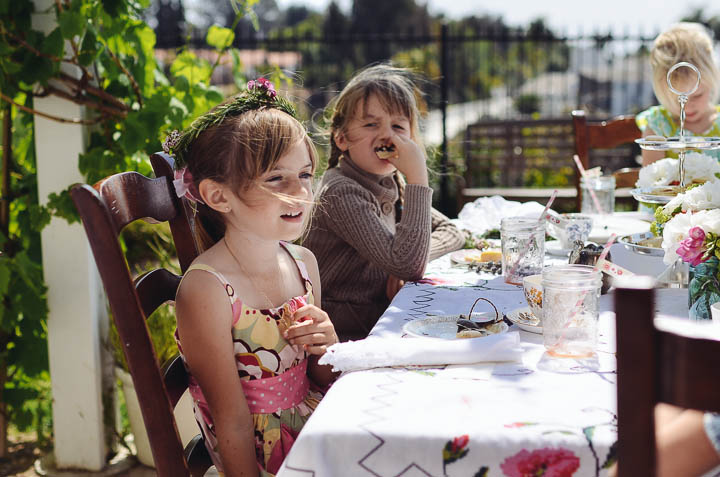
I don’t tend to love games at birthday parties, so Faith and I opted for having the girls piece together flower crowns from rosemary pieces and flowers around floral wire. I love the touch that the sign added to my display. Simple and beautiful.
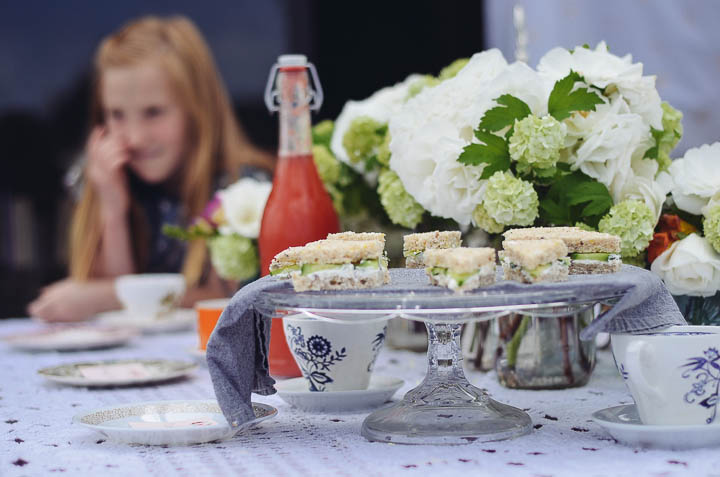
Here was our full menu:
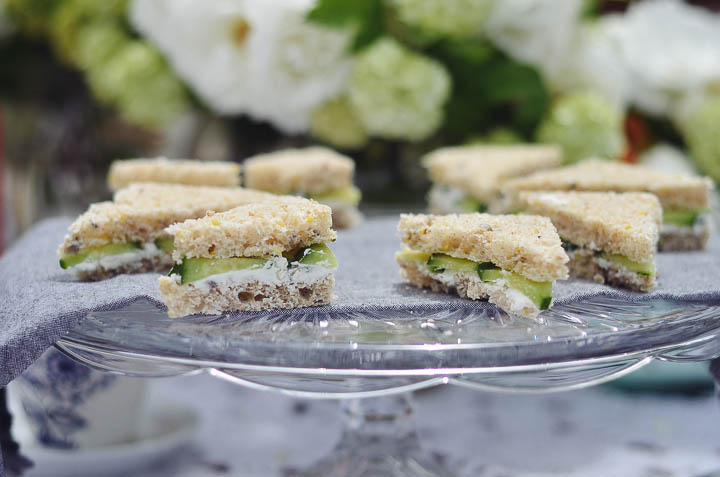
Goat Cheese and cucumber sandwiches
Petit Fours
Blueberry Scones
Macaroons
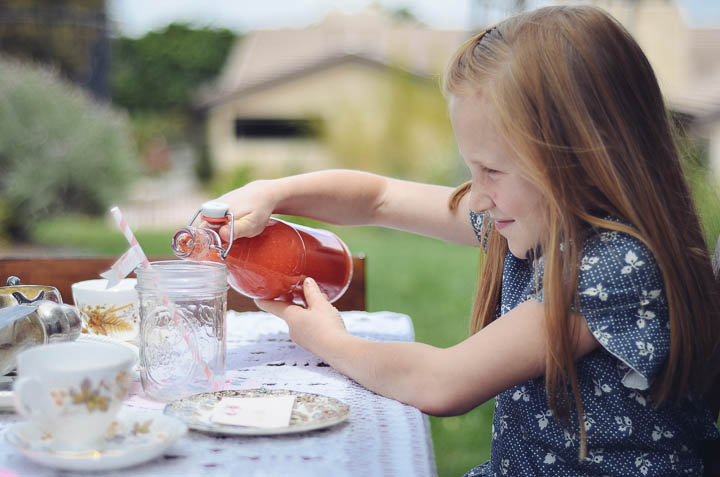
Strawberry Lemonade
Raspberry Tea (Cafe Moto)
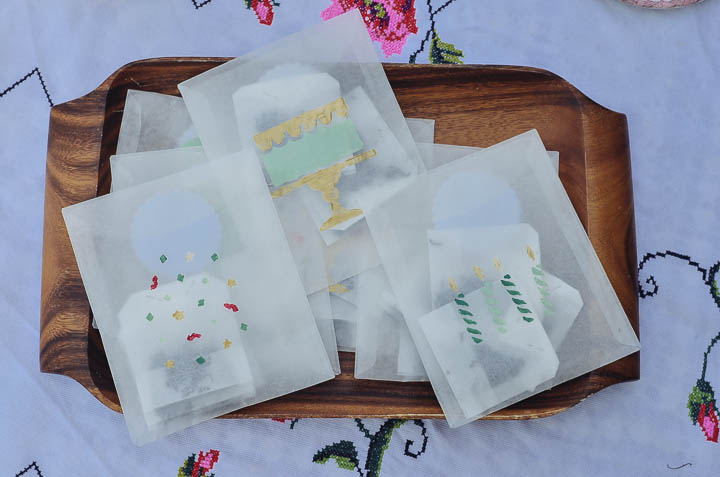
It was fun to play around with my friend Rachel’s new line of stencils. They worked out perfectly for our favor bags! Cute patterns, right? Check out more ideas and options for these adorable stencils on her blog, Handmade Charlotte. You can find the stencils at Jo-ann’s Stores or online at Plaid Crafts. I just bought some new ones to play with!
As a parting gift to her friends, Faith wanted to share her favorite raspberry tea from Cafe Moto. She filled the bags with loose leaf tea. You can find the empty tea bags on amazon here. We sealed the bags with the cutest scalloped stickers that are included in the Minted party package.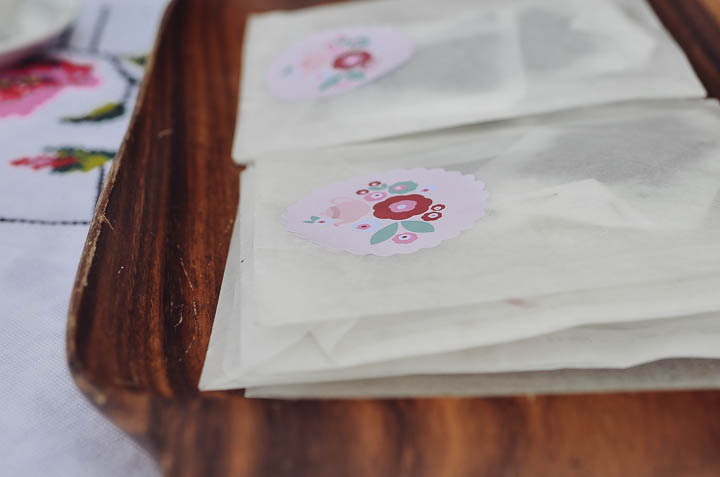
Tea Parties are the sweetest, aren’t they?
(I truly LOVE Minted products. The words above are my own opinion about Minted products. I did receive free products in exchange for my opinion and this post, but who are we kidding? Their products are amazing!!)
Stick around and find us on:
F a c e b o o k // T w i t t e r // P i n t e r e s t // I n s t a g r a m // E m a i l