
 After posting about our weaving project on Instagram, I’ve had a lot of questions about our setup and process.
Let me be clear, I AM NOT an expert weaver. I’m just sharing what I’ve learned in my experience. Like many others, I have been inspired by Maryanne Moodie. (She sells her own starter kits…I bought one ;)) Her weavings are so dreamy!
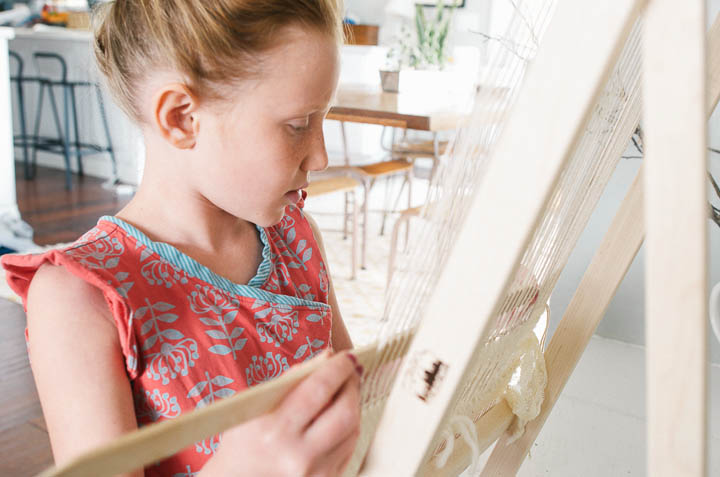
Like any kind of creative art, weaving will be a totally different process for every person. For our first larger weaving, I wanted to create a weave-as-you-go project for the whole family. Meaning, I wanted the 5 of us to add whatever we liked, to create this piece of art together. The only restriction was that the items had to be white or cream colored and a natural product. At least this way, there would be some uniformity. The sticks didn’t make the cut…nice try boys. ;)
Kind of looms and links for where to buy:
Potholder Looms: You can find vintage metal ones on ETSY or Ebay. This was our first kind of loom several years ago. (less than $15)
Lap looms: Best option for starting because of price and the size of the weaving space. Best for kids who have short attention spans and want immediate satisfaction. (less than $20)
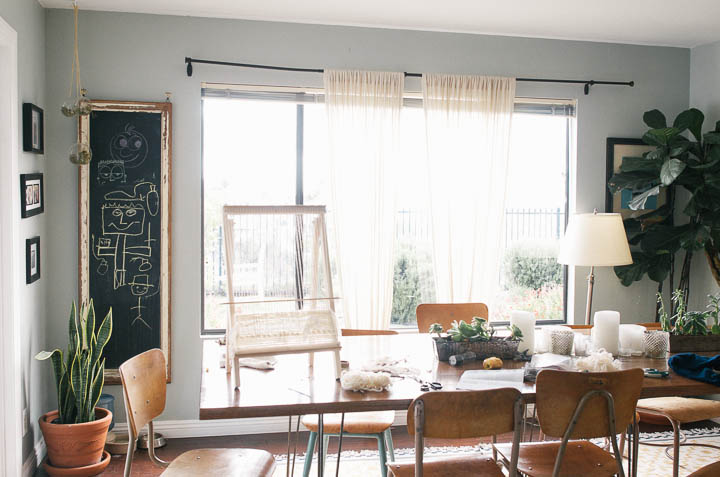
Standing/Tabletop Loom: My favorite choice for a more substantial weaving. More expensive. (less than $75)
Floor Loom: If you wanted one of these, this post is irrelevant to you. haha (more than $1500)
Below is a BASIC weaving tutorial…have fun!
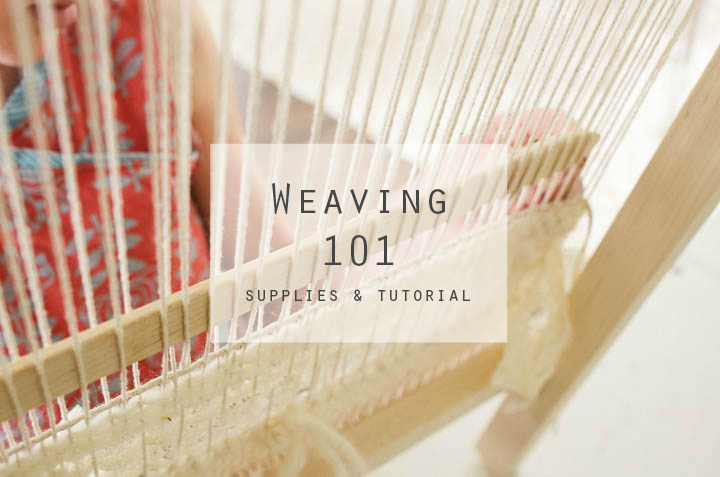
Weaving 101
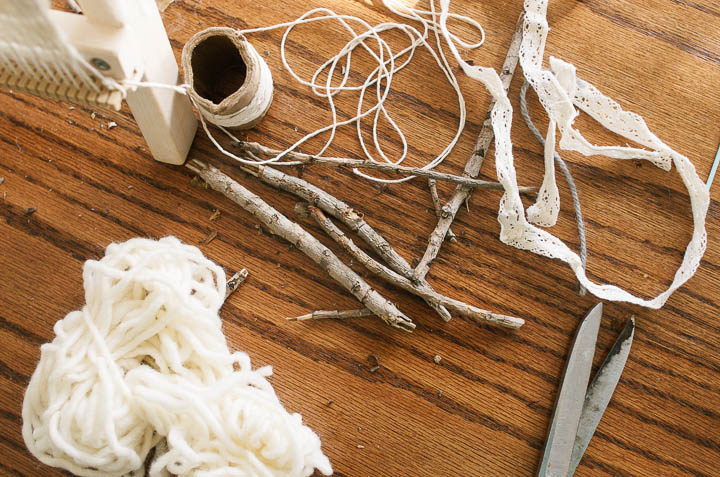
Supplies:
Loom
1 weaving needle
Shuttle (that holds your thread to be passed through)
warp thread (to use up and down. I use cotton twine.)
weft thread (to use side to side. Use any material for this!)
any additional weaving fibers:
lace, wool roving (my fave!), wool yarn, twine
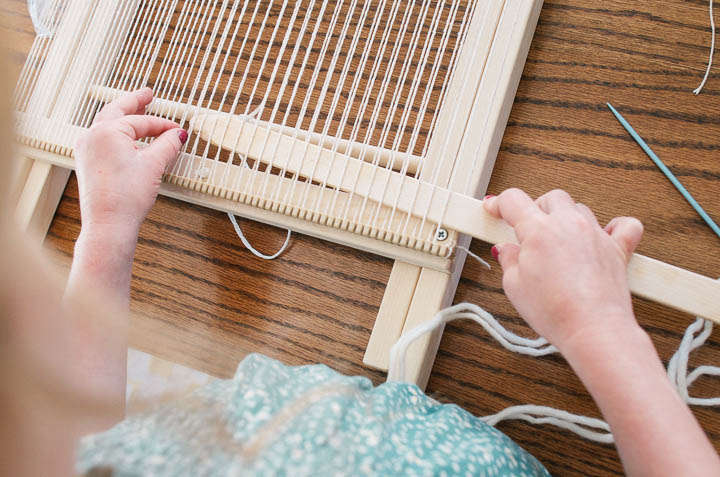
To start your weaving:
1. Starting at the bottom left, you’ll take your warp thread (the name of the threads which run top to bottom) and tie it to the furthest peg on the left.
2. Now, bring the warp thread up to the furthest peg on the top left.
3. Bring it back down to the bottom where you tied the warp thread initially, skip a peg, then loop around the next one.
4. Repeat, going back up to the top, always skipping a peg. when you’ve reached the end of the pegs, tie the thread to the last peg.
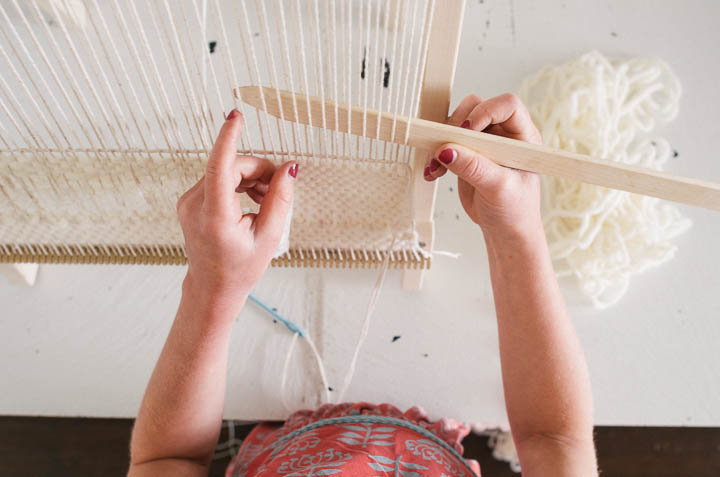
5. To start your initial weaving process, weave the pick-up stick over and under each warp thread, until you reach the end. I started on the right side because it felt right (I’m right-handed). You could totally start on the left, lefties. ;). Now, turn it on its side so it makes a space in between the threads (called a shed).
6. With a new piece of thread (called the weft) attached to a weaving needle, leave a tail for the thread, and pull this through the space or shed to the other end. Now, slide the stick to slightly tighten the row and then up to the top of the loom, where you will use it for every other weave. This step with save you from weaving a single thread back and forth each time.
7. After you slide the stick up, start weaving with your pick-up stick on the opposite side you started. Mae sure you are going under and over the OPPOSITE you did last time. You can test this by pushing the stick down. If it touches your previous row, you are on the wrong track. If you push down and meet with the resistance of your warp thread, you are on the right track! Weave to the end. Slide the stick down to tighten the row and remove it after. One stick stays on the loom at all times (either creating a shed or “resting”), while the other is used alternately. As you’re weaving each row, don’t pull too hard or the whole weaving piece will start to pull towards the center, losing your desired square shape. This might be hard to teach the kids but I don’t really sweat it. ;)
8. Now, slide the stick back down and turn it to make a shed again. You can now continue with steps 6-7 again until the weaving is your desired size.
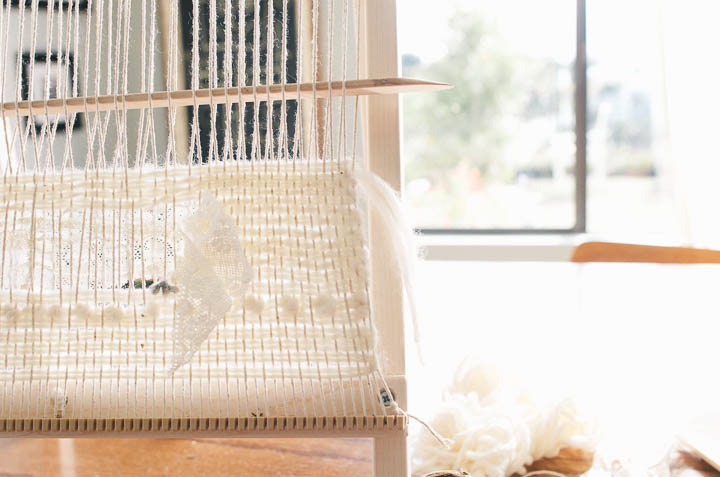
9. Remove the weaving from the loom. Gently pull each loop to make the weaving tight. Once all loops are tightened, secure each end thread with a knot, then cut the extra off. (You can also add tassels to the end loops at this point but i was keeping this basic. :)
Enjoy your creation! You were just WEAVING! Can you believe it?!
Click below to follow us on:
F a c e b o o k // T w i t t e r // P i n t e r e s t // I n s t a g r a m // E m a i l


Just found you, thanks for the tips! I started out learning to weave some years ago, but then life stepped in, now I am back to learning again. I’d love to get the entire household involved in weaving, but I fear that the cats will be the only one’s interested, lol. I am a bit curious… Why were you skipping pegs, while you warped the loom? Thanks again! :)
Hi and welcome! Skipping pegs is just faster and also easier for the kiddos to weave around. The weave gets too tight and then curved if I move it closer. I’ve always done it that way, for some reason. ;)
How do you transfer the weaving from the loom to the rod to hang it on? Does that make sense? I’m new to this. Thank you!
You can either lift the strings off the hooks and weave the dowel through or for a neater look, you can cut the ends and tie them off, then weave some of the warp string through the top pieces of the weaving and around the dowel, tying off at the start and finish ;)
I was wondering what type of wood you used for your kitchen table. I would love to attempt to make one similar to yours!!! love you blog!
Hi, Sammi! It’s just oak, nothing fancy or expensive. If I made it again, I would choose a wood that accepts a darker stain. The hue on ours is slightly orange, as opposed to brown, because it’s oak. Poplar is another cheaper option. Hope that helps!