
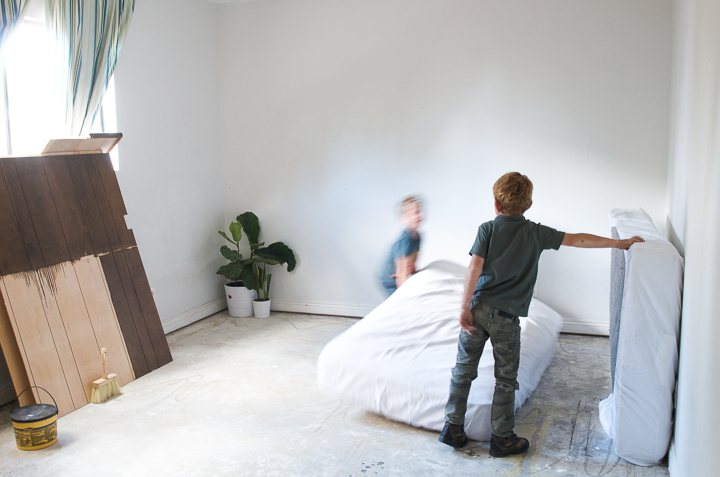
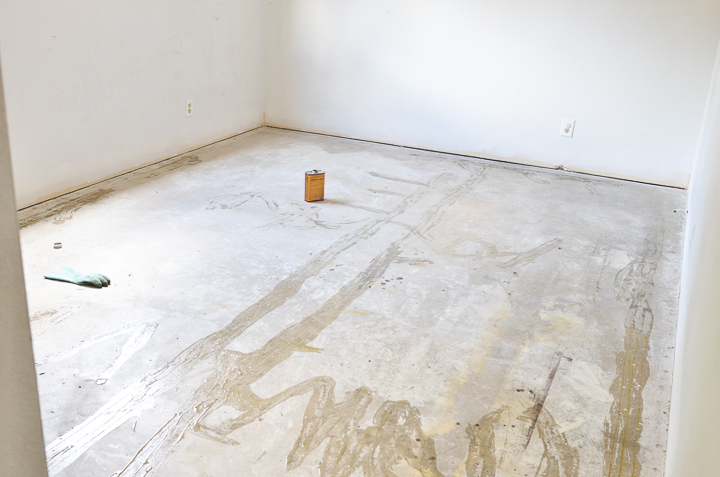
THE BEFORE PICTURE
My boy’s carpet had been through a lot.
Potty training x 2.
1 particularly lazy potty training boy.
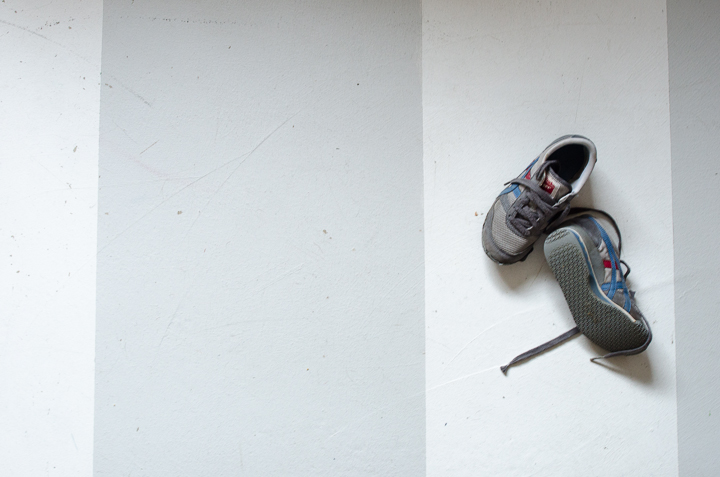
Accidentally muddy shoes.
Purposefully muddy shoes.
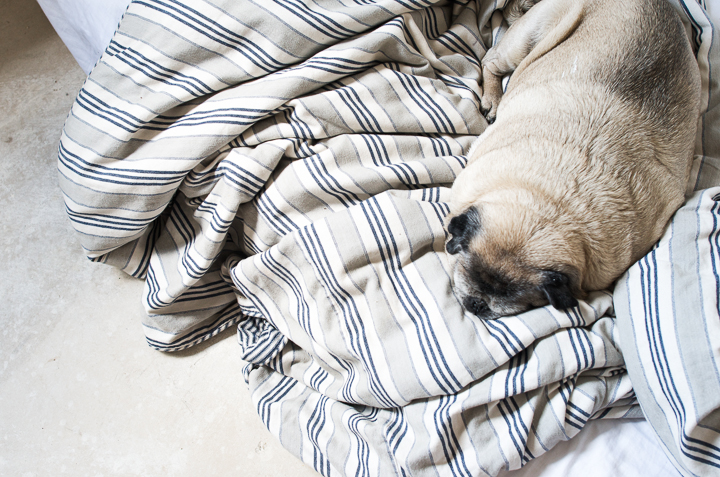
A dog who has forgotten where to go to the bathroom, in his old age.
Dirt coming in through the window.
Also, things I can’t even see and don’t want to see.
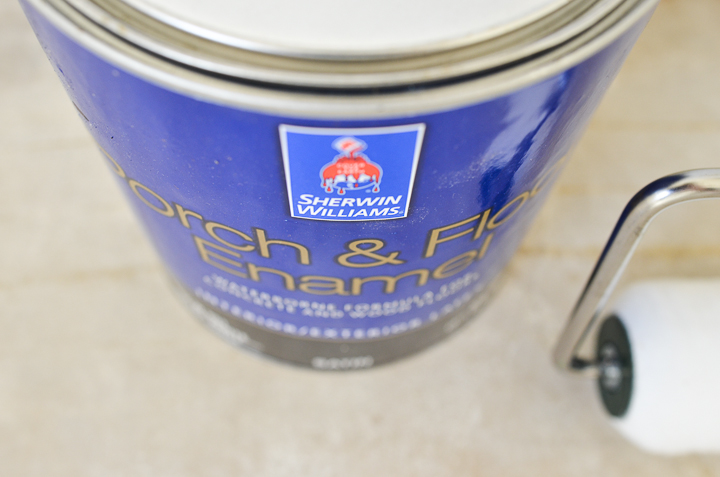
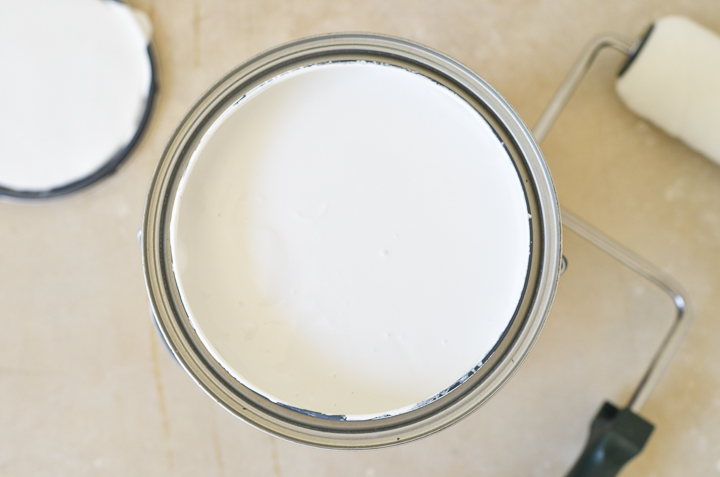
For these reasons, I’ve been wanting to make a flooring change for a LONG time. I knew that the project needed to be affordable and easy to figure out without needing to rent equipment. Painting my cement foundation was the perfect idea! When I was looking for tutorials and asking friends for advice on their painted floors, I found that most people repaint on a regular basis. I did NOT want to repaint every 6 months. While I was searching, I came across a blog that mentioned Sherwin Williams paint as the only paint that they had seen successfully adhere to cement. Plus, it’s self-priming, people! I immediately knew that was the paint for me.
In amazingly wonderful timing, I met someone from Sherwin Williams who offered to sponsor my paint for this project, which was lovely and wonderful of them. How amazing that I was going to buy it already!

***Exciting news! This project is featured on Porch’s website as one of the best DIY projects to tackle in the new year! Check out the feature here, along with several other amazing projects!***
Porch is a wonderful resource for finding home improvement specialists in your area to help you FINISH all of those projects you started. They provide tons of inspiration with many amazing project ideas, including mine! I’m sure you’ve been looking for a handyman, so download Porch’s app and get that sink fixed, already! They have a “pro dial” option to speak to a pro in under a minute as well as a super helpful concierge service for finding what you need. Sounds like a dream, right?
Here’s what you need to do to complete this project. I will share tricks and tools I learned with each step. Like a recipe, please read all of the steps so you know what you’re getting into. You’ll thank me later:
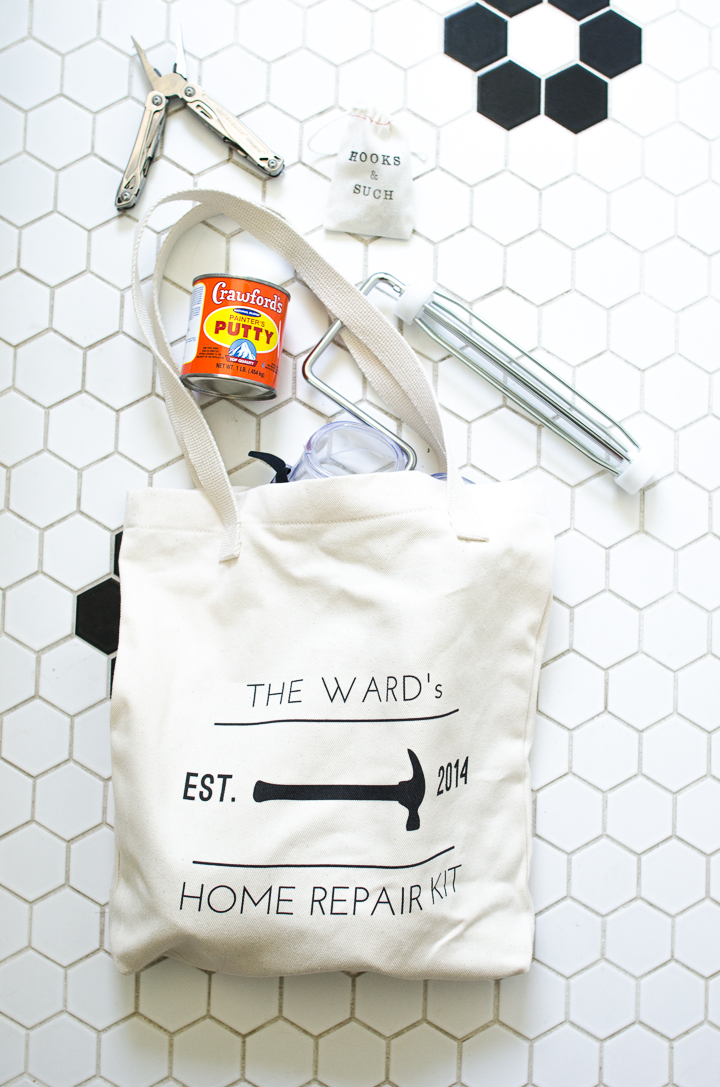
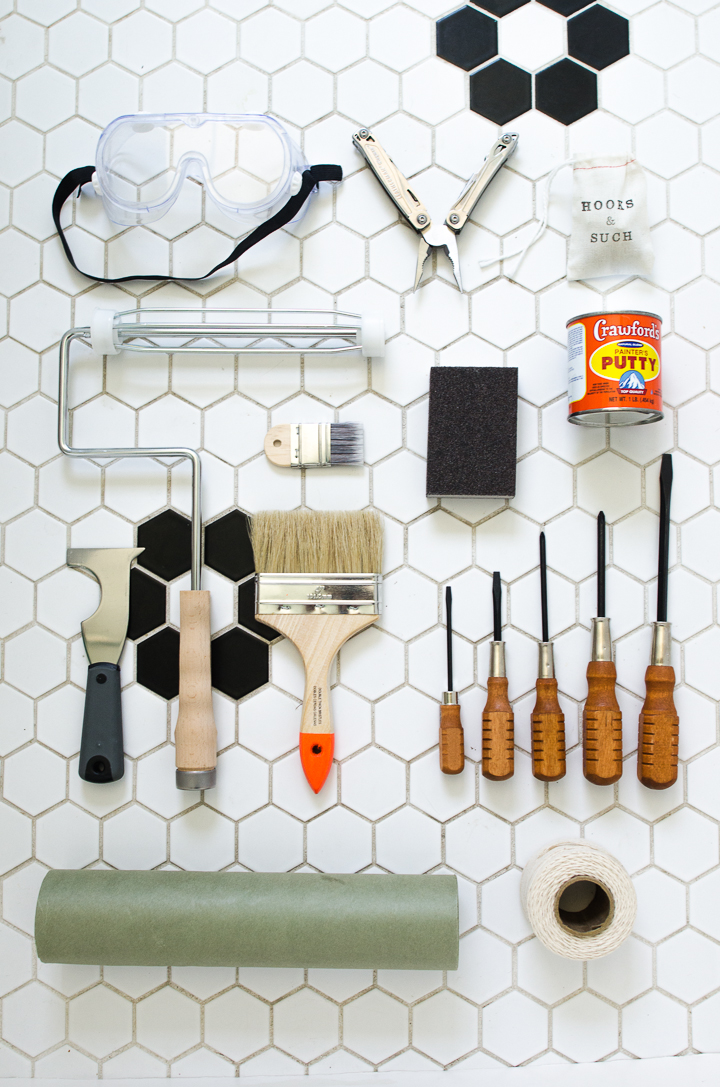
Supplies:
Gloves
Safety goggles
Mallet
Crowbar
Jasco paint & epoxy remover
Paint scraper or tile scraper
Mini-bucket
Quickrete quick-set patch
Putty knife
Rags for clean-up
Pole sander with pole
rough grit sandpaper
Sherwin Williams porch and floor enamel paint-available at any Sherwin Williams store. My colors were: “Snowbound” (white) and “Big Chill” (gray)
Paint roller with pole
Paint tray
Measuring tape
Painter’s tape
Chalk reel
1. Remove the carpet and carpet pad (I put mine on Craigslist for FREE and someone came that day to get it. Yay!). You might need a screwdriver and/or crowbar to get the first corner of the carpet loose. I also removed an old built-in.
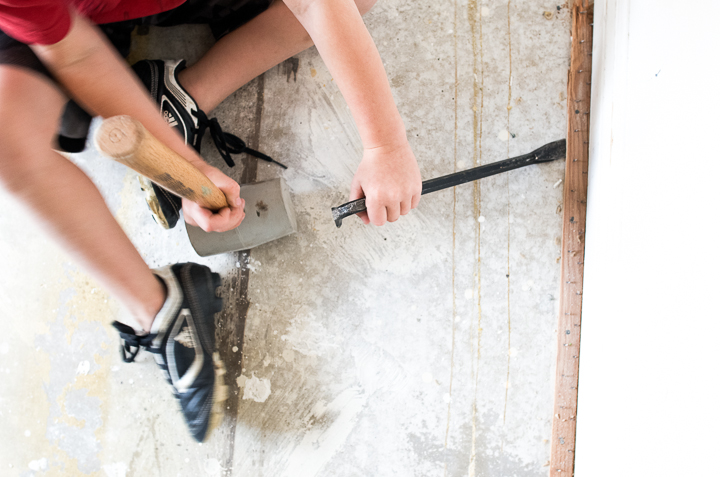
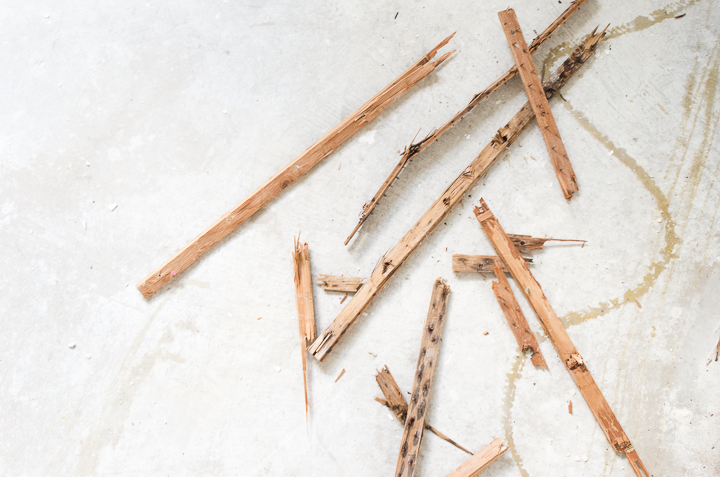
2. Remove the tack board and nails. Sweep up. I found the best method to be hammering a crowbar in between the floor and the tack board. You’ll have to use a mallet to hammer it. Once you get the crowbar mostly under the tack board, lift up and the board will come loose. Sometimes the pieces come off large and sometimes small. My boys loved helping with this part. Safety goggles and gloves are recommended. ;)
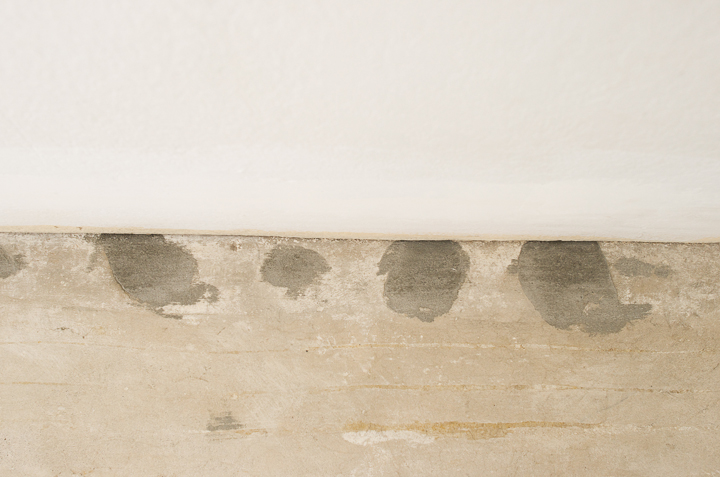
3. Remove the carpet glue. Our house was built in 1975 so, chances are, we will all encounter different kinds of glue and therefore varying difficulty removing it. For me, this was the part that took the most time and effort. I asked Sherwin Williams if I could paint over the glue and they said there is no guarantee the paint will stick to glue. I decided not to take the chance. However, I can share with you what I tried for removal and then what worked so hopefully you can skip past the trouble. Sound good?
What didn’t work:
Blood, sweat, and tears. For the first 1/8th of the floor, I tried the natural way with elbow grease and a lot of scraping (tried putty knife and wallpaper removing tool). I really wanted it to work. I spent an entire day on that 1/8th. I don’t know about you, but I don’t have that much extra time.
I moved on to explore other options: acetate and paint thinner. Don’t waste your time. I cracked these open and just the smell was unbearable. No need to fill your lungs with that junk. I tried them in a little spot so I could share the best option with you and they didn’t work anyway. Plus, some of these products actually get down into the cement and NEVER leave. You don’t want to breathe that forever, people.
What worked:
JASCO paint and epoxy remover (you can buy it on amazon here or at most hardware stores). For me, it’s the only thing that worked on the glue. It smells but doesn’t even compare to the unbearable chemical stench of others mentioned above. Don’t forget to wear gloves!
The tool:
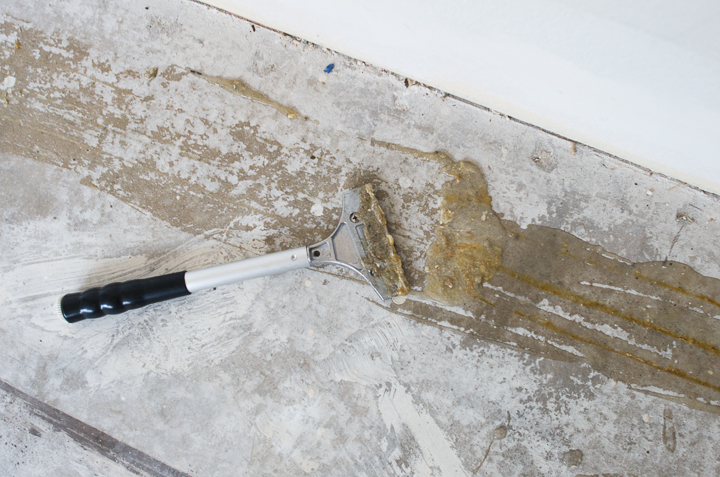
I went through a few tools before I discovered that the one pictured below works the best. It is technically called a tile scraper, but can also be labeled paint remover tool. You can get it at the hardware store. It has a heavy-duty blade, is only moderately sharp, and very sturdy. You will need something that can really get UNDER the glue after it’s softened from the adhesive remover. It was a good friend to me.
The method:
WEAR GLOVES! Apply a thin layer of adhesive remover over the glue. You will need to let it sit for 15 minutes. Once you wait the 15 minutes, apply the remover to the next area you will work on. Then, go back to the first area and start scraping. I used this method to work faster. This way, there is always an area “soaking” with adhesive while you are scraping another. Dump the glue and adhesive into a bucket (Sherwin Williams has the perfect size mini-bucket) or you can try to re-use the mixture on some other glue spots. It will just be less effective the second time and you should leave it on a bit longer. I totally tried it when I was running out of remover! It works. ;)
You will know the glue is fully removed when you can run your hand over the cement and feel no residue texture. If you have stubborn glue, you might have to go over some areas a second time.
4. Patch the nail holes in the ground with quick-set concrete patch. I got this tip from a contractor I met at the hardware store, who caught me staring at the cement. haha. He said he uses this little tub of Quickrete quick-set concrete all the time and it works great (you can buy here or it’s cheaper at the hardware store). You only have to mix up a little bit and the rest goes back neatly in the tub. Worked great!
You mix it until it’s just thick enough to spread. Then, patch the holes as you would a wall, scraping the excess with a putty knife.
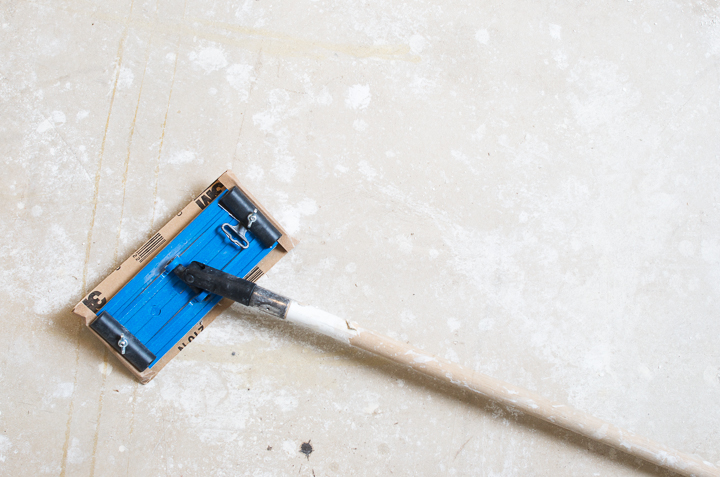
5. Lightly sand the cement/concrete and previous glue spots, to ensure the excess is removed. Rough grit sandpaper is what you want because once the glue is removed, want the paint to adhere to a rough surface, not smooth. You can get the pole sander pictured below at Sherwin Williams or any hardware store. This pole can also be attached to most paint rollers for when you need to paint the floor later in this project, ceilings, or high walls. I’ve used mine a lot over the years.
6. Sweep, then give the floor a quick mopping to make sure there isn’t any residue remaining on the floor.
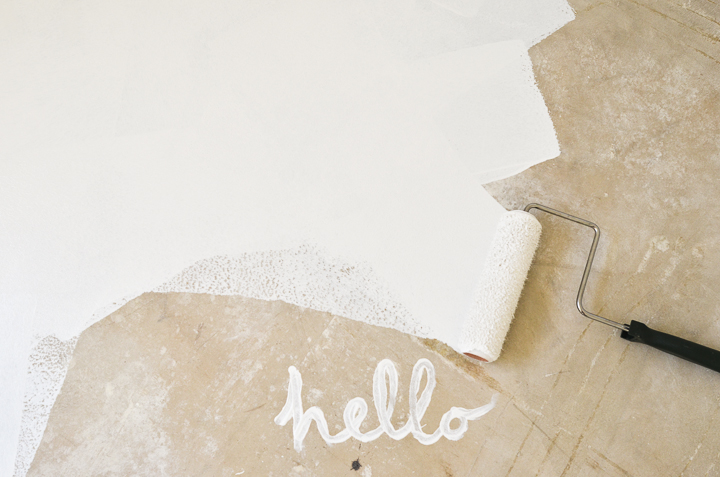
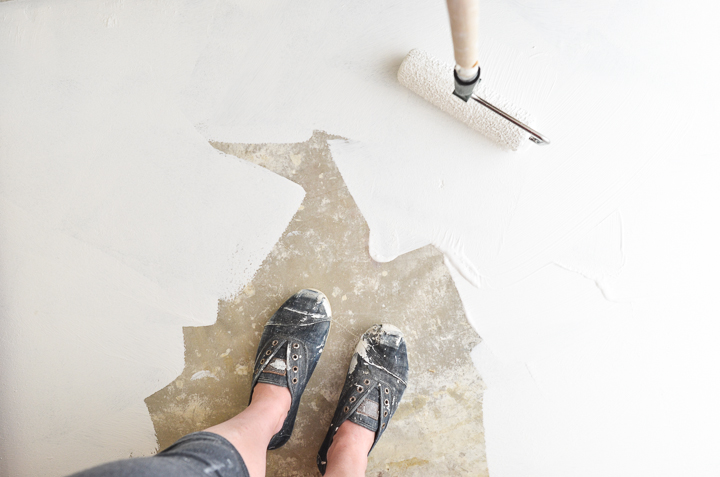
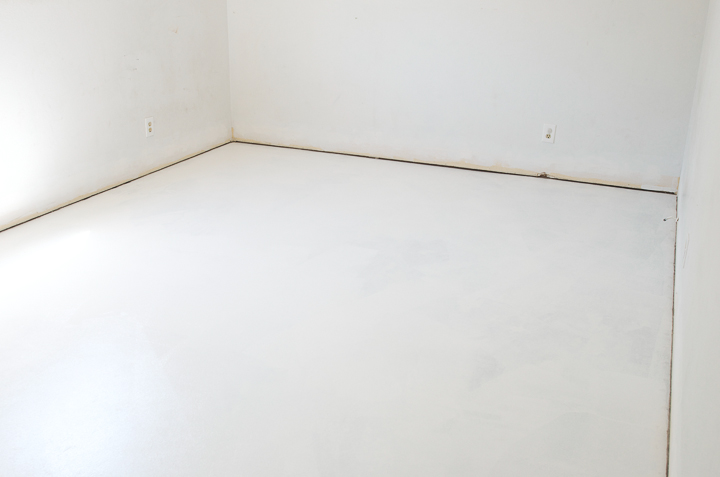
7. Paint the first color layer of the floor. My colors were Sherwin William’s “Snowbound” (white) and “Big Chill” (gray). I used an extender pole with my paint roller so I could paint standing up. This part was sooo fun! My favorite. ;)
8. Add a second coat and let it cure (means: leave it alone and with nothing on it!) for at LEAST 1 week. If you don’t, the paint will peel more easily.
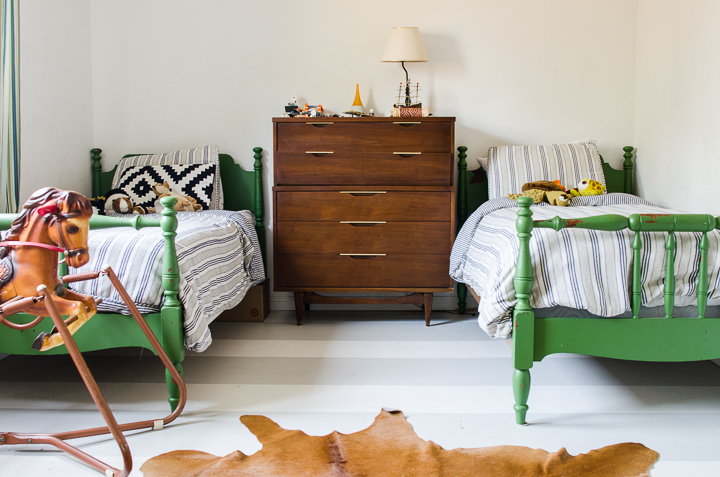
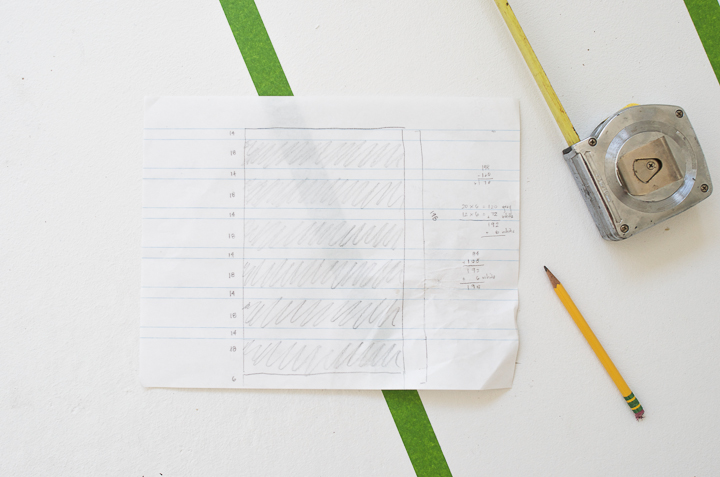
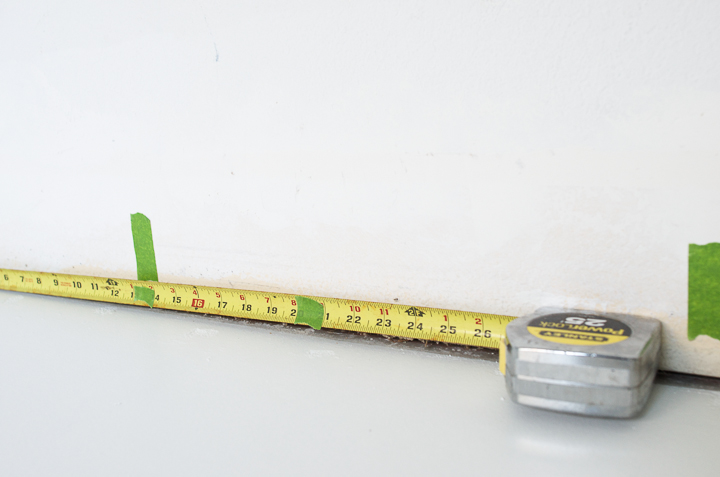
9. After you wait at LEAST a week, measure, mark, and tape for the 2nd color stripe. I decided how large to make each stripe based on the size of the room. I figured out that I wanted 6 gray stripes at 18″ wide, which left me with the white stripes at 14″. I like it! Do your math and tape out a quick example to make sure you like the width. I ended up changing mine from my originally planned 20″ white and 12″ gray.
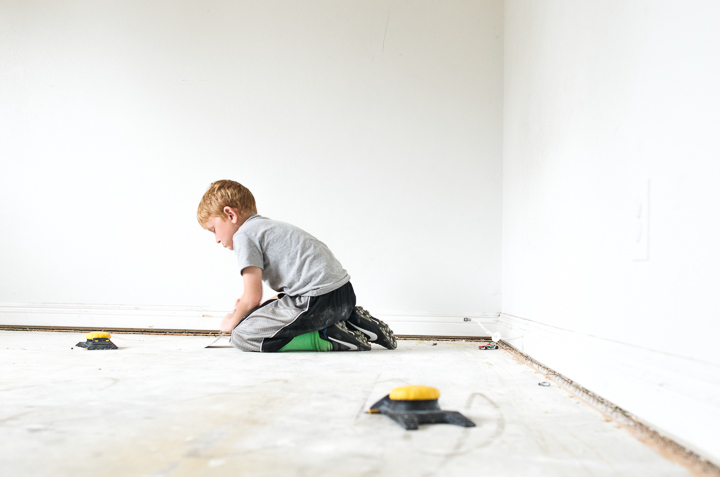
When taping the measurements, start by marking the tape measure (see below) with tape for a faster process. Make sure to tape on the correct side, depending on which side the paint is going. For example, below I was marking the 14″ line and my tape is marked on the left side of the 14 on the measuring tape. That way, way tape is on the inside of the white and not cutting into the gray 20″ space. Mark both sides of the room. This can feel a bit tedious, but you’ll be thankful you did it.
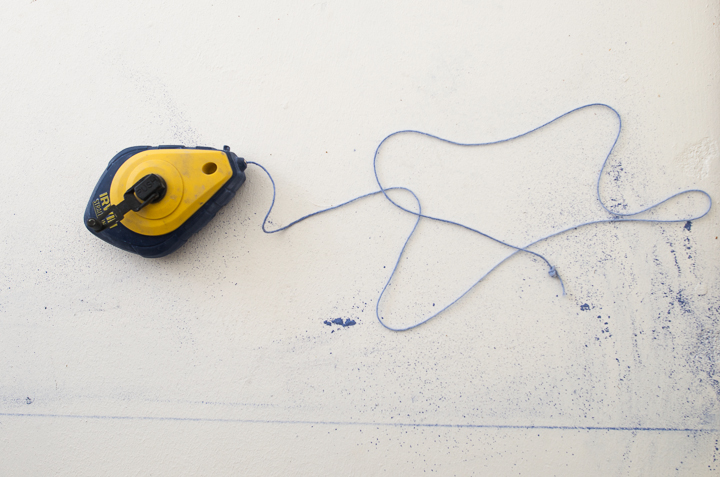
Now measure and put the tape on the bottom part of the wall instead of the floor. Next, use the chalk reel to make a line. With someone holding one end of the twine on one side of the room (or tape it), pull the twine to the opposite side and meet the same place on that tape marker. Then, pull up the string so it snaps the colored chalk on the ground. Sometimes you have to do it more than once to get a good line. Now, you simply tape where the line is. Cool, right? Kids can help with this fun part!
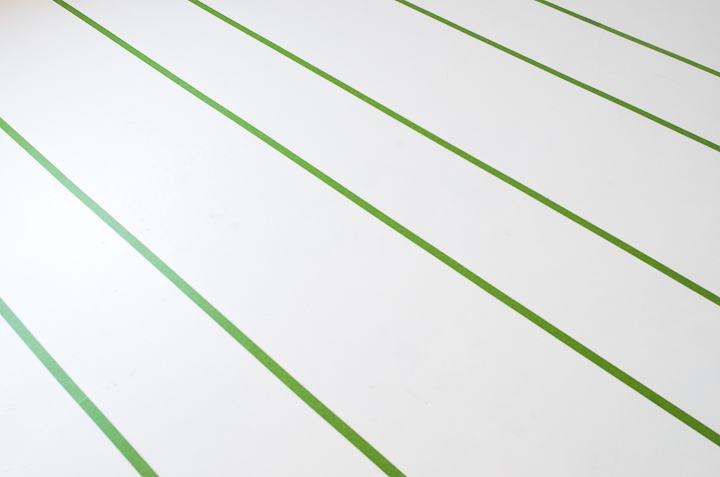
10. Paint the second color, leaving the tape on.
11. Let the floor cure for at least a few weeks (with tape on) for the best scratch-free results! It’s worth it! I left mine for 2 weeks, excluding the week I left it when I had the first white layer down.
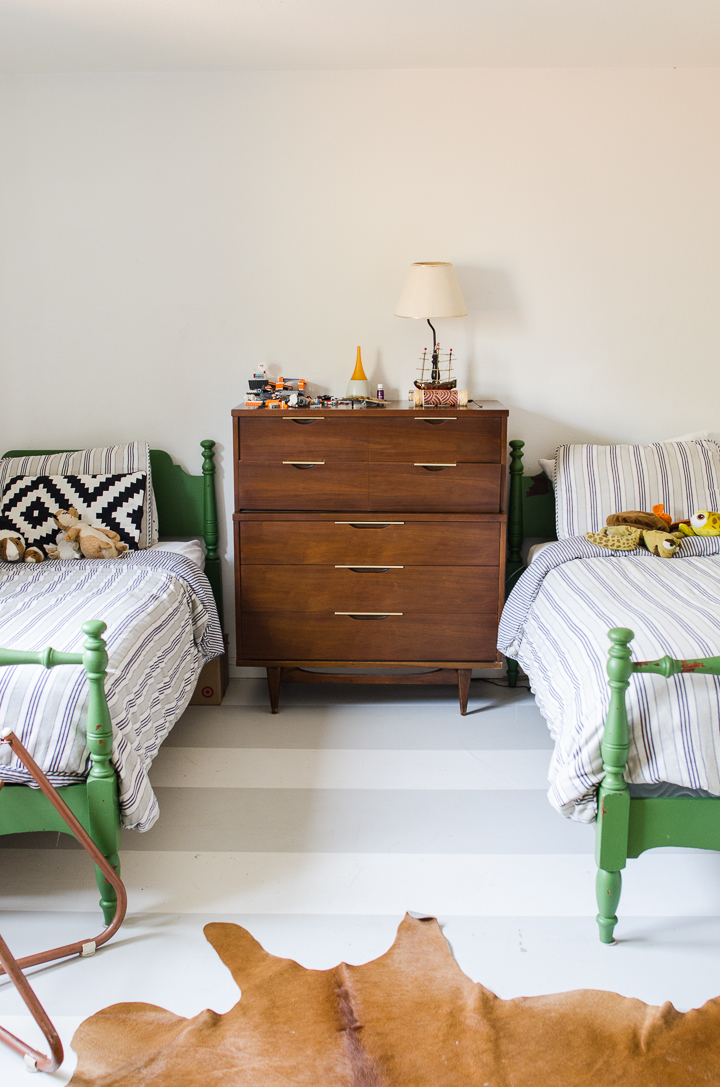
12. Move the furniture back in and enjoy your new space! Don’t forget to put felt pads on the bottom of your furniture!
Just to be TOTALLY fair, here are some pictures of the floor 6 months later. You will be able to see what the wear and tear looks like. Most happened within the first few weeks when “people” weren’t being careful about metal on the floor. Once we figured it out, the wear has been minimal. I’m sure if I had one of those magic erasers, the scuffs would come off. I have a few places to touch up that I never got around to. Overall, I’m really happy with the floor and understood from the beginning that it would get some nicks and scuffs.

***Don’t forget! This project is featured on Porch’s website as one of the best DIY projects to tackle in the new year! Check out the feature here, along with several other amazing projects!***
Click below to follow us on:
F a c e b o o k // T w i t t e r // P i n t e r e s t // I n s t a g r a m // E m a i l