I love to throw parties.
I love the planning, the shopping, the excitement on everyone’s faces, the DIY creating, and the cooking. My husband has become very patient with me throughout the process in which I plan a party and I might even say he gets a little excited…a little. Maybe he’s just become really good at pretending to be excited. In any case, I love the whole process.
Most parties I throw, I never end up having pictures from because I’m usually putting it all together. I’m trying to be better at catching little snapshots here and there to share like this DIY birthday banner.
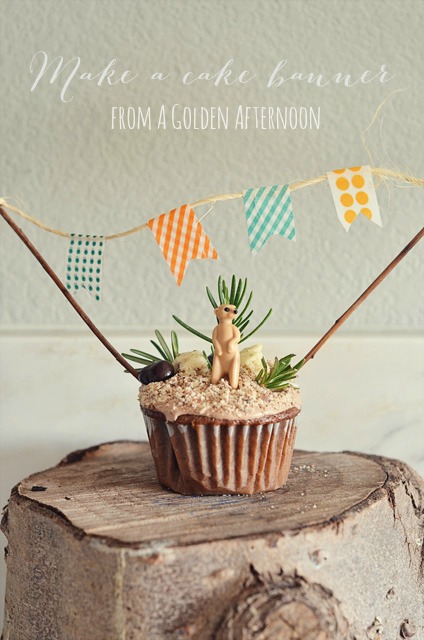
This banner is super-easy and very fast to make. My littlest, Dean, wanted a meerkat party (incredibly common) so I threw together these chocolate cupcakes with chocolate frosting, crumbled graham crackers for dirt, and a little meerkat on top with some rosemary shrubbery.
It was a hit!
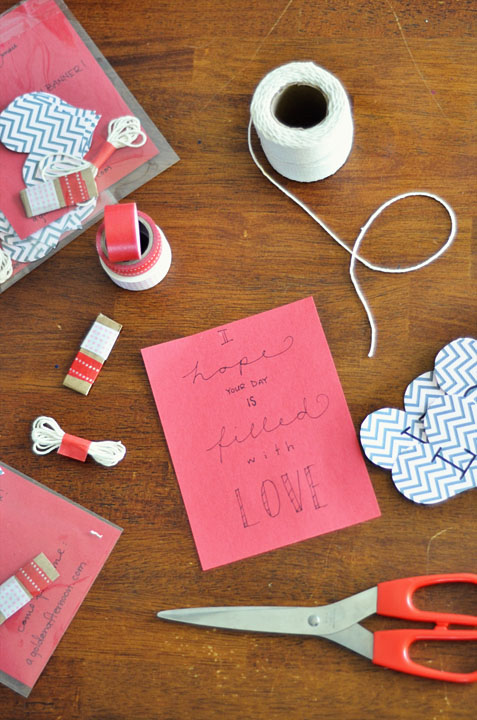
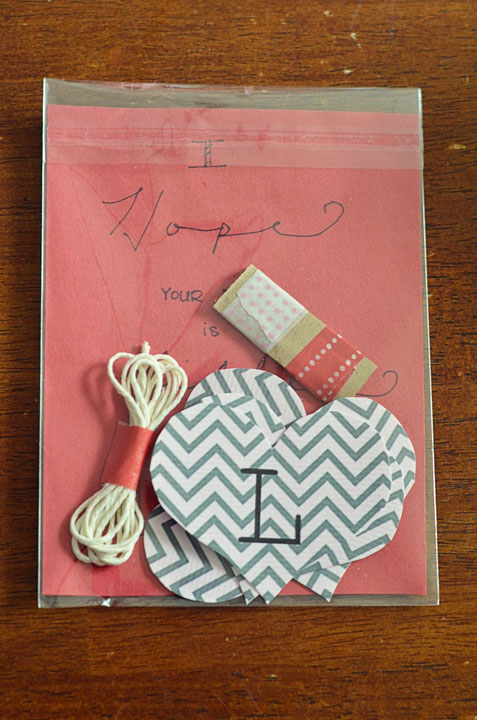
Banner materials:
twine or string
washi or paper tape
skewers or twigs
scissors

Start by measuring the amount of twine you want to hang across your cake or cupcake. I like mine to hang out to the side for a more whimsical look.

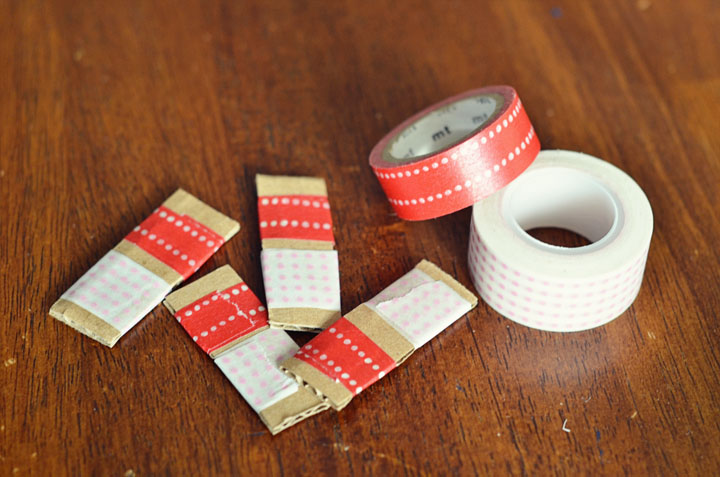
Next, pick the repeating color order you want the tape to appear in and start tearing 1 1/2 inch pieces off. Put the twine in the middle of the sticky side and fold over, meeting the ends of the tape.
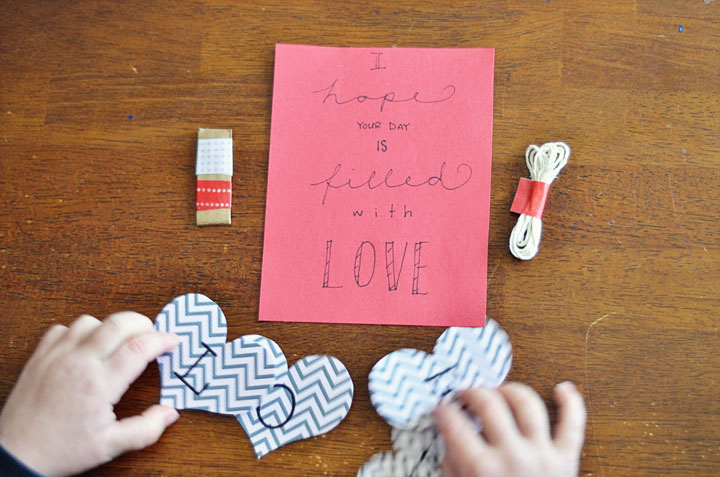
(Also, those are totally my 29 year-old hands and not my Grandma’s…I blame the gardening.)

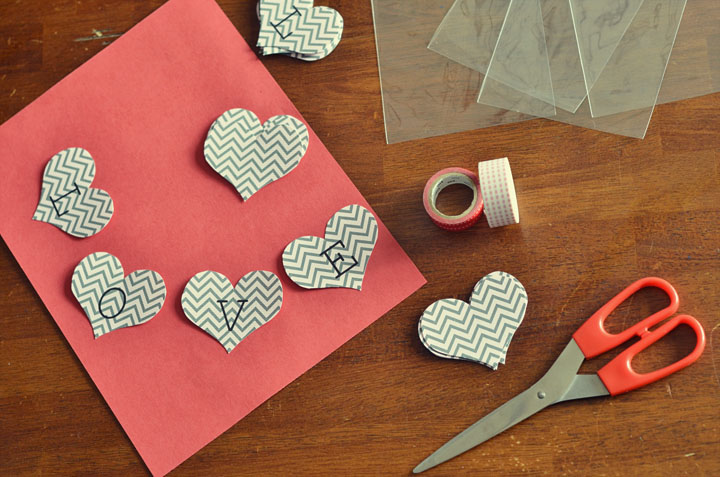
Next, snip a triangle on the end, making a cute little flag. You could also keep them square or make them into triangles.

Now, get your cake. My sister turned me on to Thomas Keller’s chocolate cake and frosting recipe a few years ago like I used in these owl cupcakes. You can find it in his Ad Hoc cookbook. So good and the only recipe I’ve ever tried that is moist like boxed cakes!

Lastly, tie the ends of the twine onto the sticks/skewers and place at an angle in the cake for a cute DIY birthday banner! Twigs are my favorite trick for making easy and FREE touches to any cake. You can also use paper and just glue the pieces over the twine for the banner. These are fun because you can add words or names!
Now, if you ever have to throw a meerkat party, you will have at least one things to make! haha.
Anyone planning a party? :)
If you liked what you see, stick around and find me on:
F a c e b o o k // T w i t t e r // P i n t e r e s t // I n s t a g r a m // E m a i l