How many of you like pumpkins? Yeah, me too.
Carving them? Some of you? Not my thing.
Do you like messes? Yeah, I don’t either.
Do you like to do fall decorating projects with your kids? Totally!
That’s why you’re reading this, right?
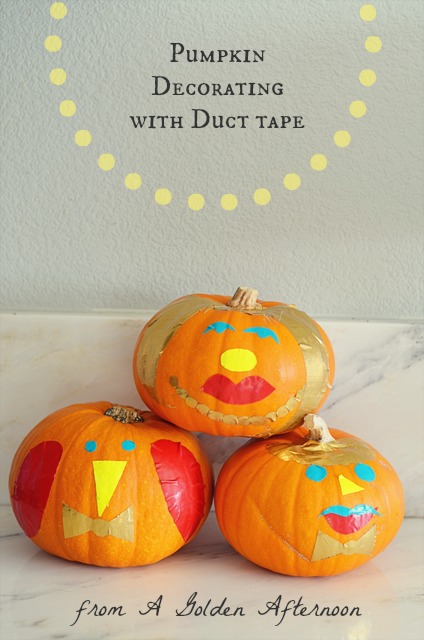
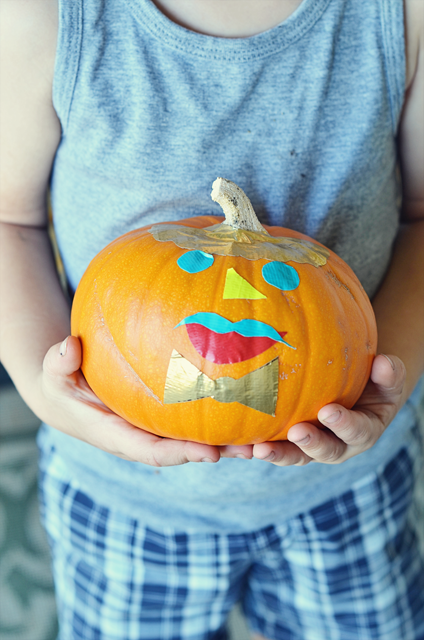
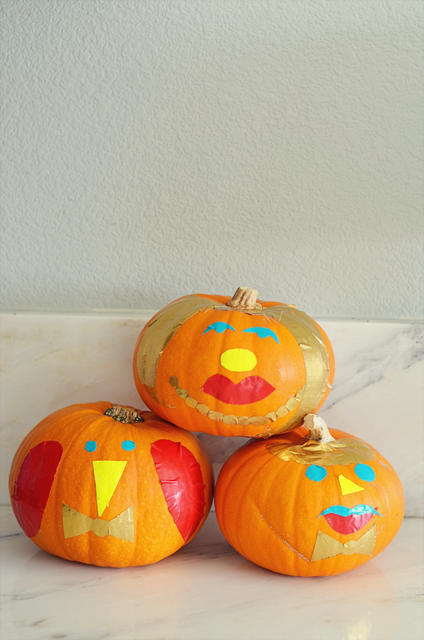
So, basically I created this project to be a fall activity, to do with your kids, which is not messy, still involving a pumpkin (although it is not being carved), and can still be used as a decoration.
***SPECIAL BONUS: YOU CAN STILL EAT THE PUMPKINS AFTER! YAY!***
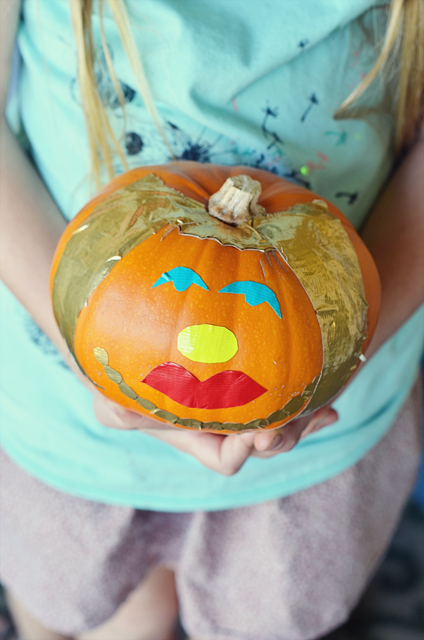
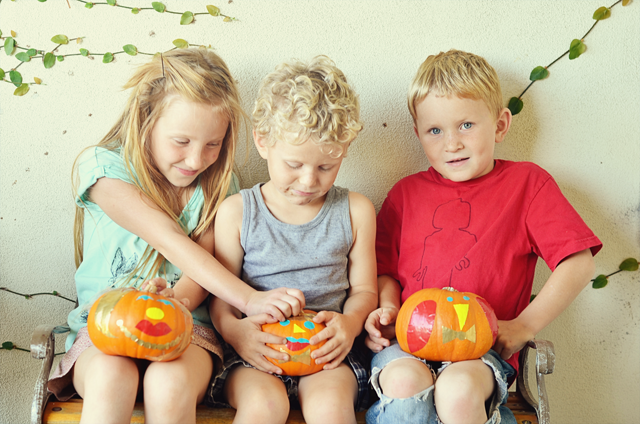
To start, become familiar with what will be your new friend….DUCT TAPE. We all love it and use it regularly. I recently repaired my central vac hose with it, “fixed” the bottom of my computer so it wouldn’t fall off, and put board game boxes back together with it. It is an amazing invention and I am so very grateful to Johnson & Johnson for creating cloth backed tape in WWII days (yes, I totally googled that).
The brand Duck has since turn this remarkable product into something beautiful as well. There are so many designs and colors to pick from so run out and grab some so you can start some projects, including these pumpkins. While you are on their site, check out the amazing contest they are having right now. You could design the next Duct Tape!
No-Carve pumpkin decorating with Duct tape:
I based my designs on a template I printed from Merrilee over at the always lovely Mer Mag blog (best wishes with the new bebe!). She has a post on creating felt pumpkins with interchangeable faces and pieces. You can find her template here, which can be used as a starting point for this project and you can also use to make her felt pumpkins.
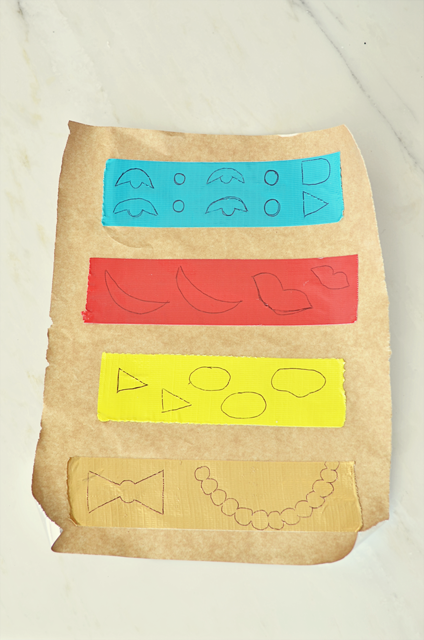
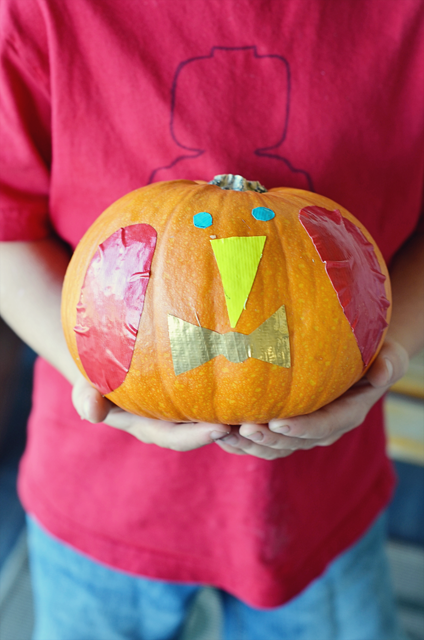
I placed strips of duct tape on parchment paper so they would be easier to cut. I just learned you can also buy duct tape sheets which would save this step. Then, I drew the shapes from the template plus my own. You could also cut out the template pieces and then place them on top of the tape so you can trace them if that’s easier. I added a few bird pieces (for Jack who requested it), a pearl necklace, some girl hair, a mustache, and some curly hair for Dean (also, by request). Cut the shapes out and remove the parchment paper backing.
The faces are very easy to take off and move around as you please!
If you are new to this space and have enjoyed your time, stick around and find me on:
F a c e b o o k // T w i t t e r // P i n t e r e s t // I n s t a g r a m // E m a i l

Over the course of the Summer, we can take so many pictures to remember the fun, hopefully relaxing, times we had as a family or with friends. We want to remember the beauty that we take in around us that reveals the complex nature of our God. He made these brilliant things around us to be admired and appreciated. Photographs hold on to that beauty and complexity.
I’m sure you all have heard of Postal Pix by now, but if you haven’t, allow me to share something extremely useful and wonderful. Postal Pix is an app you can download on your phone which allows you to easily order prints from your camera’s picture library or roll. They are about 30 cents for a high-quality 4″ x 4″ picture (the size pictured), but they have many other size/price options. They mail the your selected pictures to your house and you are all ready to go. Not bad for a phone, right?
I’ve had my Postal Pix photos (taken using my Instagram) laying around, waiting to be used, since May. It’s summer, so I look for a touch of simplicity to go with the relaxed mindset I enjoy having (or attempting?) during these few short weeks.
I wanted to create something fast and simple, using materials I already had.
I wanted to remember our Summer trip that already seems a distant memory. I’ve been bored with regular picture frames lately, so I decided to try something fun and different. My boys gave me this mossy branch after finding it on a hike with my husband in our local mountains.
I love everything about it.
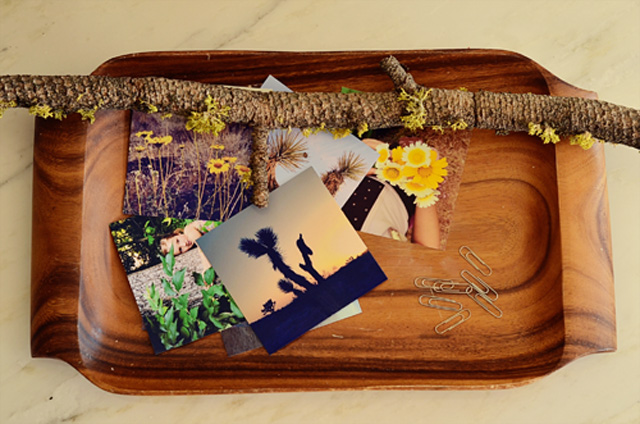
This project literally requires a branch, pictures and some paper clips.
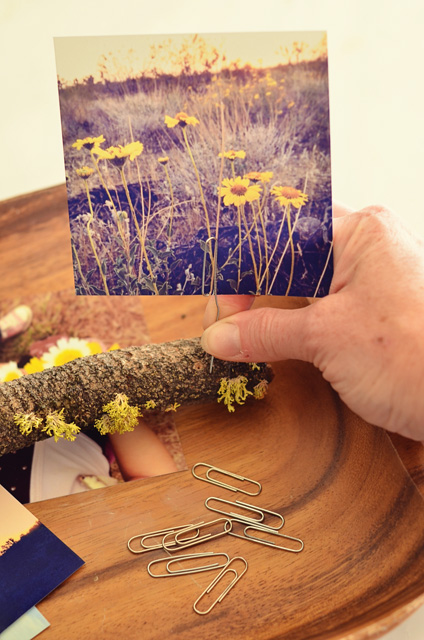
I just bent the outside “free” end of the paperclip down and attached the pictures. Then I poked the paperclip into the branch, adjusting them to differing heights.
I’m sure you could buy something fancy to display the pictures better, but the paper clips cost me $0 and only a few seconds of installation.
So simple.
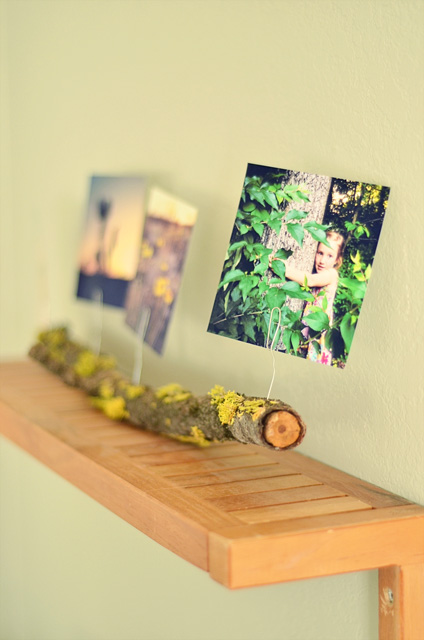
I love this picture of my sweet girl, especially since I learned what poison ivy looks like in Kentucky (minutes after this was taken). It was literally right next to her leg.
That was a close one.
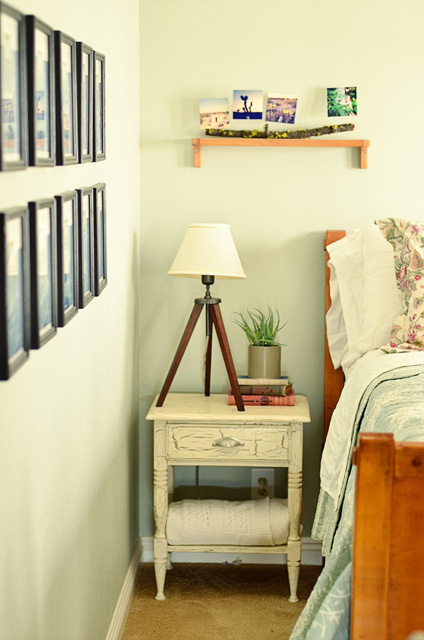
Now my lovely branch is ready to welcome our summer guests!
I’m so thankful to be able to enjoy those memories in this simple way, instead of longing for them to be off of my memory card.
Anyone have any fun plans this summer ?

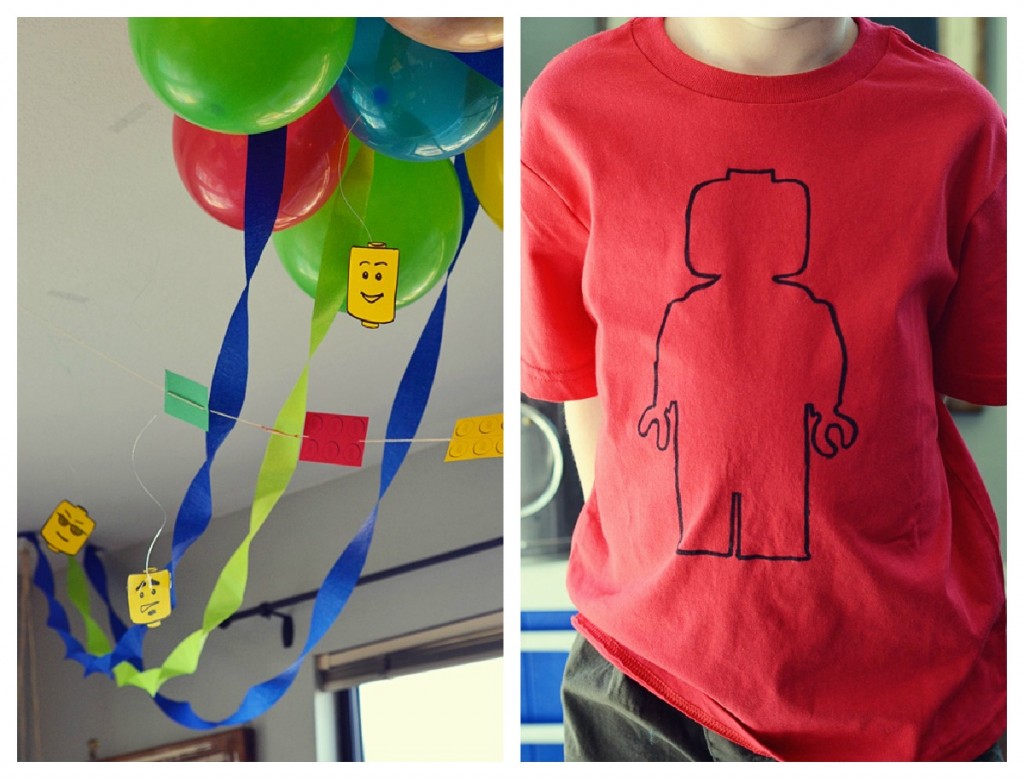
A few months ago, I decided to throw together a LEGO party for Mr. J. I always start out planning really simple parties, but no matter what I do, they end up bigger. There always seems to be life craziness that is going on around party season. When life gets intense for me, I take on more projects. It’s a fault of mine. I totally recognize this. I started prepping the things for this party the day before. That’s not a lot of time but when you’re crazy like me, you find a way to work it out! Sometimes working it out involves drawing and cutting out Lego heads until after midnight. Sometimes it also means finishing a Lego shirt, seconds before guests arrive. It’s true, I’m weird.
Anything for J.
Anything for Lego.
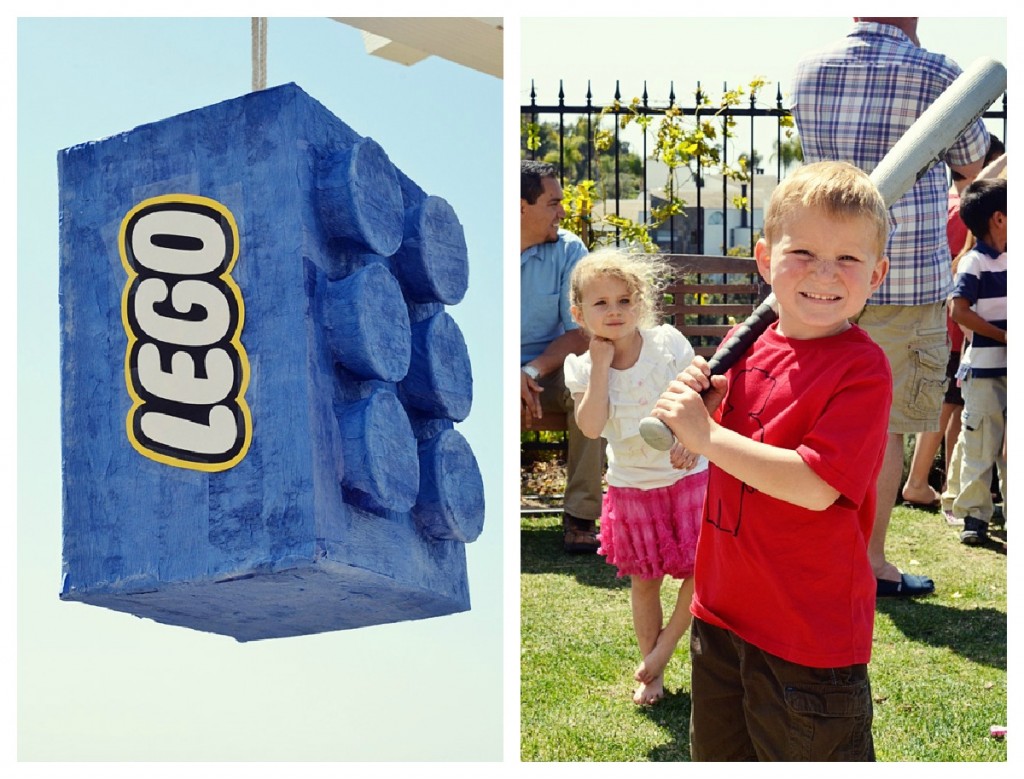
I wasn’t crazy on my own, though. My super awesome sister made this Lego pinata. We both saw this pin from the blog Delia Creates and knew it would be pretty perfect, especially since I haven’t noticed Target selling Lego pinatas lately.
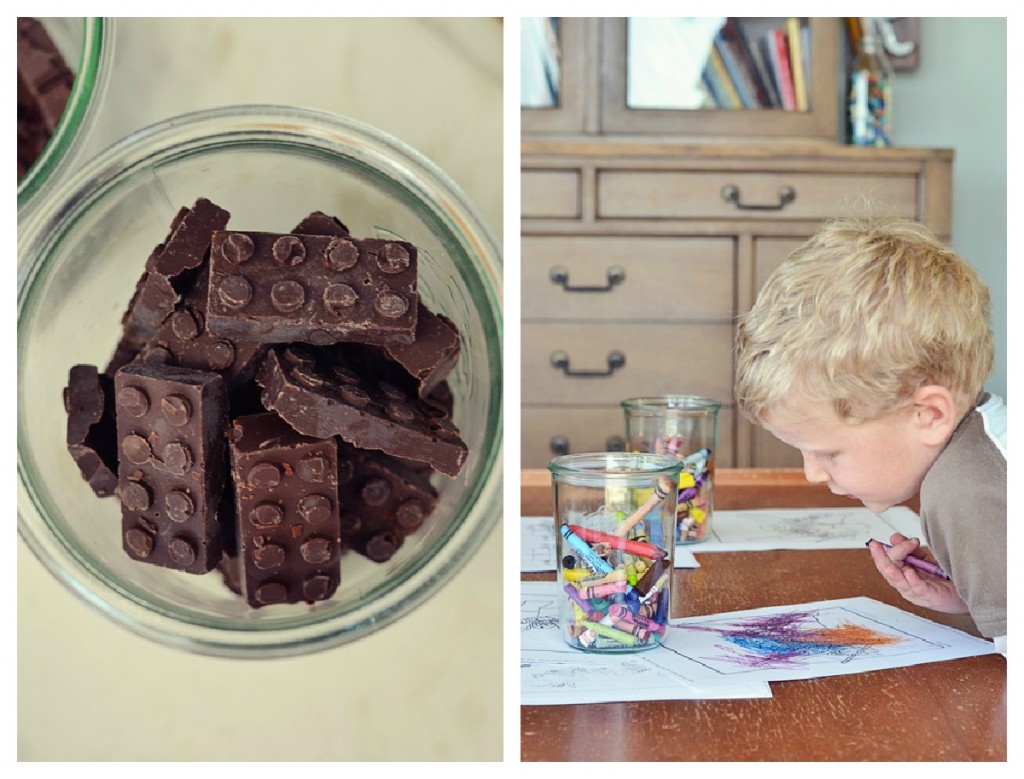
I had plenty of Lego coloring pages printed from the Lego website. I broke out the Lego brick and Lego man molds. I decided to make chocolates for the ice cream bar with both. Super cute.
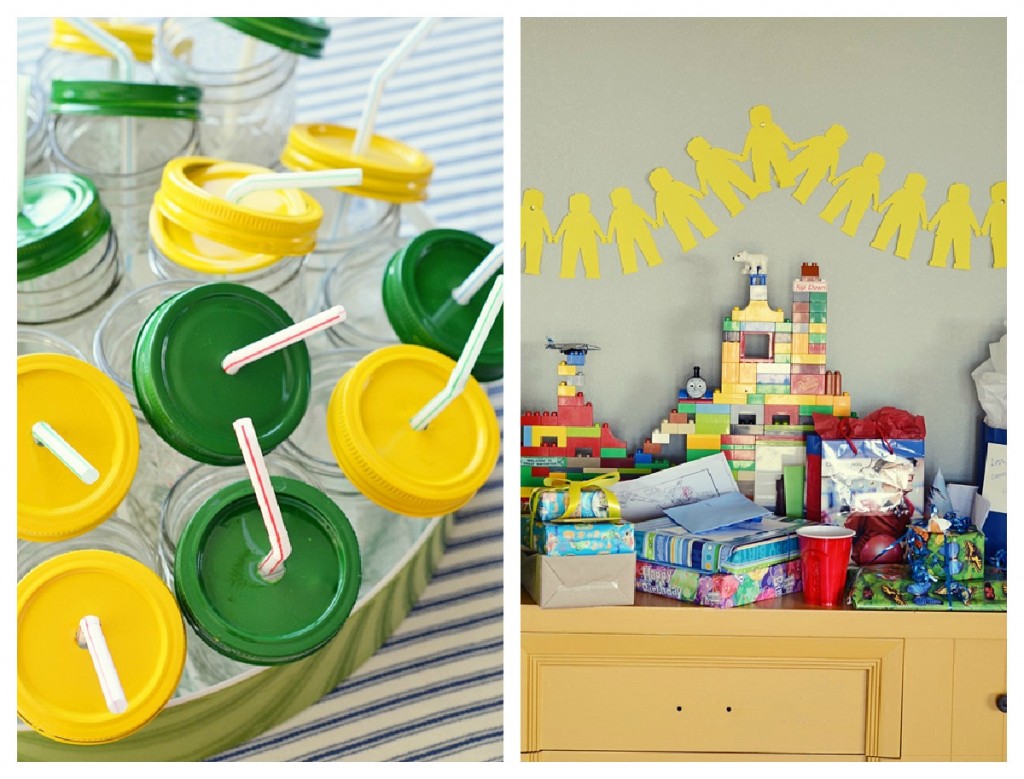
I’ve seen so many cute mason jar lids floating around, I decided to spray paint a few for the party but is colors I could use at any time really. We filled up soap bottles with Legos for the bathroom from this idea.
My amazing sister also made the Lego man banner (based in this pin from Zakka Life) which was AMAZING!
Everything worked out in the end because the birthday boy and all of his guests seemed to enjoy themselves.
What a great day celebrating an awesome 5 year-old!

Just thought I’d share some things I’ve been enjoying lately (some you probably saw on Instagram, if not find them here) and also some things I’d like to try…
I was pleased to hang out with some wonderful ladies at the Creative Connection Event here in San Diego, hosted by Jessica and Marissa at Isari Flower Studio. Connect here to get updates for these fab events in your area.
More recently, I was able to watch a summer entertaining demo by the fabulous duo, Valley & Co. (easy summer drink from them here) at West Elm. I picked up a fabulous juicer, which I already used to make strawberry lemonade this last weekend. Yum. I also got to see the ladies of Flamingo Toes and We Love Citrus. Nice to see you guys!
Need to get those little kiddos to work? Ashley’s chore charts are pretty perfect.
Just bumped a project up to the top of my list. This west elm DIY log stool is awesome!!
I can’t wait to get chickens and Julia Rothman’s book is making it harder to wait.
Loving these hoops for sale in Megan‘s shop here. Love them. Totally my style. Check out her whole fabulous shop while you’re there. If I had a shop (soon!), it would looks like hers. Lovely job, Megan :)
This post by Ruth really resonates with me and has been on my mind A LOT. I’ve lost friends to the black hole that social media is. Hint: relationships are meant to include ACTUAL people, as much as I really love my online friends. Don’t forget about your LIVE friends :).
For San Diegans’: Tried Banker’s Hill Restaurant and Bar this week. The deviled eggs were INCREDIBLE, as was the goat cheese and spiced strawberry bruschetta. Michelle, at the bar, can make a good cocktail. She made me a lovely drink with a blend of whiskey and vanilla flavors. So good.
Foot pain? Blister easily? I am thrilled to have a possible solution to my foot/nerve pain with this new Dr Scholl’s high heel product! I get to be a product tester with this one for BzzAgent (been with them for like 7 years!) :)
Have YOU seen anything good lately?


Oh. my.
I am melting.
He has his daddy’s curls and dimple. That’s the same dimpled smile that made my fall in love with his daddy.
This little guy, Dean, is the youngest of my 3. When you’re the youngest, you often get the hand-me-downs and the cats-offs. I wanted to make this guy something special that was brand spankin’ new. I’ve had Liesl Gibson‘s book, Oliver + S: Little Things to Sew, since it first came out last Spring. The week after I got it, I cut this explorer vest out and quickly got distracted by my kid’s birthday parties and then other crazy projects. A few weeks ago, I got the pattern back out again and was determined to get it done. Sometimes patterns can seem like they will take more time than you might have (true in a LOT of cases which is why I don’t use them a much), but this one took me only a few hours. I did a little bit over 2 nights. If you are a lazy iron-er (*raising my hand*), you will have to suck it up for this project. The iron makes or breaks this vest and if you leave it out you risk the sometimes feared “Did you make that?” question from strangers. Nobody wants that.
For my fabric, I chose a kind of linen blend for the exterior which i got from one of my favorite fabric resources, Hart’s Fabric. It is a heavier fabric and will hopefully wear well for a 3 year-old boy. For the lining and the exterior pockets, I chose one of my very favorite fabrics from Heather Ross. I spent way too much a wee bit of money for this camper fabric a few years ago, as it was out of print, and I’ve been hoarding it ever since. I’m learning that I’d much rather see my favorite fabrics floating around on things I’ll see every day that will be well-loved, than just stare at them in my fabric stash.


Putting it to good use already. That’s all a mother could ask for.
Page 6 of 13« First«...45678...»Last »
|
|


