Backyard chickens are all the rage right now and laundry detergent is totally next on he list, in my opinion. I see it being made left and right. I attempted to use some a few years ago and it was a failure in my mind then. It didn’t clean the clothes the way I wanted, so I couldn’t switch over. Then, over the years we’ve started to make huge changes in our family’s health. Each year, we changed a few things which have now added up to many, including eliminating all toxic chemicals from our house. So, I thought it was a good time to share this recipe with you.
Let me just say, I love Method cleaning products. Branding, packaging, partnerships with cool designers, and plant-based products. I still use them in other areas of my home. I just new in my heart that I could easily be making laundry detergent.
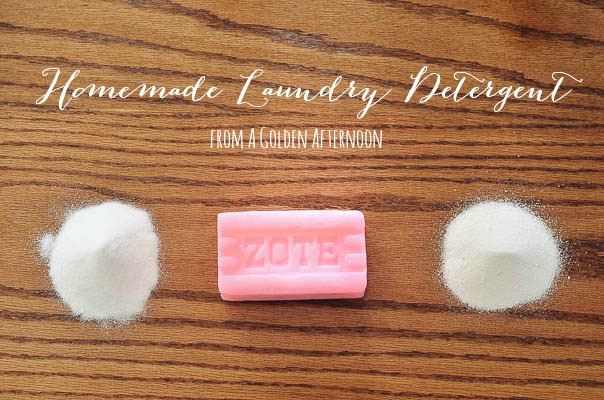
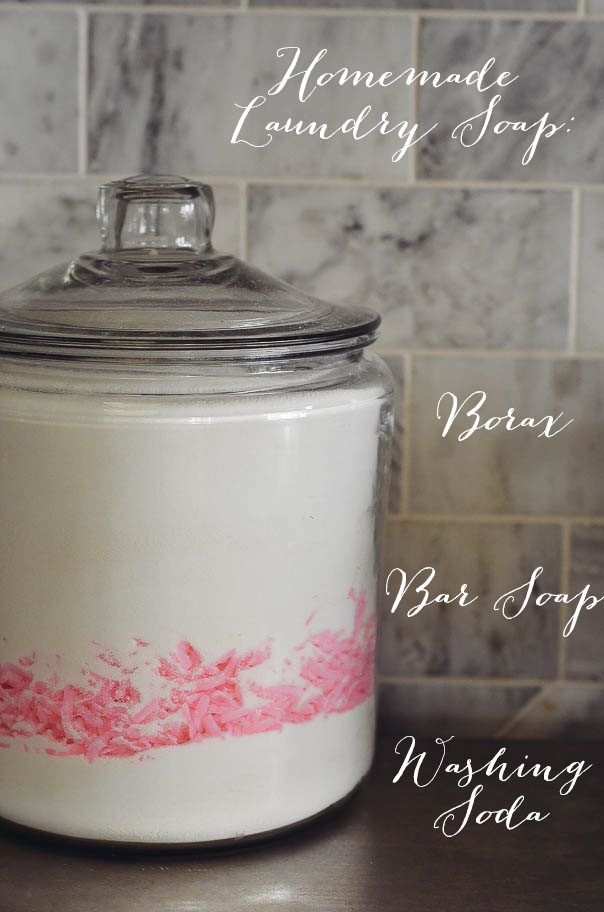
Homemade Laundry Detergent
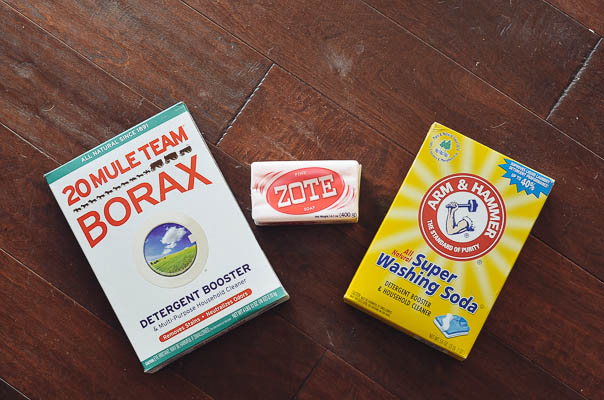
1 box Borax
(also named sodium borate, sodium tetraborate, or disodium tetraborate, whitener and deodorizer)
1 cup washing soda (sodium carbonate, dirt removal)
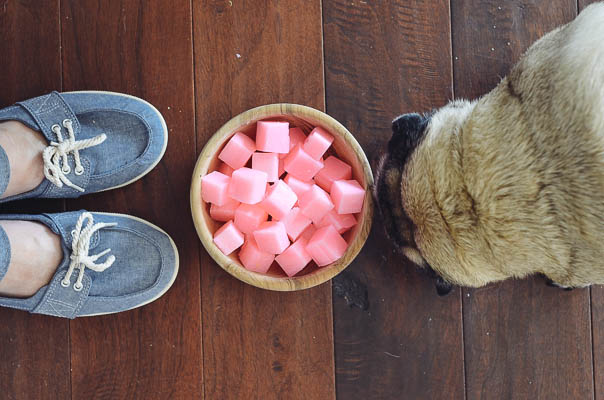
3 bars of grated soap, your choice
(see below for my research of which to use)
Use 1/2 cup of homemade detergent
Optional additions at the time of doing laundry:
1/2 cup vinegar (acetic acid and water, natural odor remover)
Mix all ingredients together in a large bowl and store in an air-tight container of your choice. You will need a large one! You can follow instructions for making liquid soap by dissolving the ingredients together with water but this powder has worked totally great and saves the step!! Mix and your done. So easy! All ingredients can be found on Amazon (I made a list here for easy shopping).
Why you should make laundry detergent:
Better Health:
When a person starts living a chemical-free life, you begin being ok with clothes that are not washed as well as the ones that have toxic chemicals. Yes, I have totally become one of those crazy people who is appalled by that junk. Eek! It’s like a conversion experience of sorts. I can’t believe what I used to be breathing every day. My whites are not as bright as a person who uses bleach, but I can live with that if it means cleaner air for my family to breath in. I believe this change a few years ago was one of many reasons my daughter has been relieved of asthma. She had just been diagnosed after a few years of wheezing and some really bad attacks. We used that inhaler so many times. Now, she hasn’t had so much as a wheezing moment for over a year. I’m so thankful to God for His healing and the wisdom He gave me to know these changes can make a difference. I’m not saying a chemical-free life will cure asthma. I just know what we experienced and the way our eyes have been opened to the way chemicals can trick you into thinking they can reside in your lungs without doing definite damage. Don’t believe me? Watch the reaction of one of my kids when they go near bleach. You’d think it was a skunk or a rotten egg! They are so sensitive to it, having not been around it for their whole lives that breathing it is unbearable. For a lot of people, they have been desensitized to it over years of exposure. Craziness!
Chemical-free life:
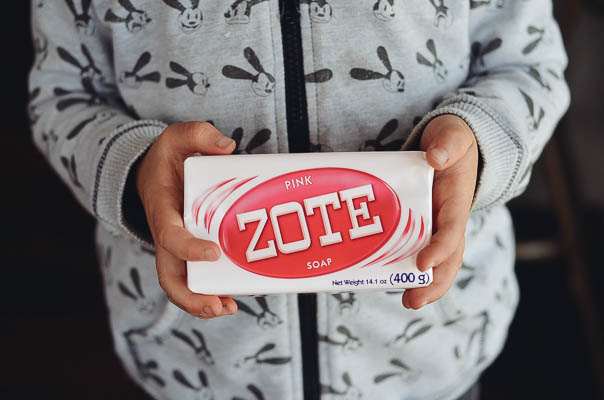
I chose this soap because of much research on which would be the least toxic whilst also not ruining my clothes. It has a pink dye in it but I weighed that against its homemade laundry soap competitor, Fels-Naphtha, which also has dye. The dye in Zote soap is used as a brightener and I was ok with that in this context. HOWEVER, since making the batch in these pictures, I discovered something better and the reason for the switch might only matter to me so I didn’t bother to re-photograph everything. More below on that. Changes like this are always a process.
Plant-based and Animal-free products:
New info for me:
Most soap these days is made from tallow or animal fat. I eat meat and don’t have issues with using/eating tallow. However, I only eat meat that has been raised locally and cared for in the way I believe God intended them to be cared for. The point made by this wonderful lady, made SO much sense to me. If I am purchasing a soap, be it Fels-Naptha, Zote, or whomever, the beef tallow being used in the soap would be needed in mass quantities and is most likely coming from large farms where the animals are tortured and left for dead, but not before their parts are taken. It’s a rough thought, I know, but it has to be said. If this isn’t important to you then any bar soaps will be fine for this detergent. Tallow is the ingredient that adds lather.
You choose the ingredients:
Just so you know, Zote smells like citronella but only before the clothes are washed and not after. I wonder if this detergent repels mosquitos? That would be pretty awesome.
If you’ve read a million recipes for laundry soap and they all look the same, they basically are. They all seem to included Borax, washing soda, and some kind of bar soap. You get the choice in that bar soap. That’s pretty cool. If you are choosing bar soaps, be sure to check the ingredients yourself. They might be advertising themselves as “natural”, but still include mostly toxic or icky ingredients. Fels-naptha and Zote were the most common ones I saw.
Fels-Naptha Ingredients:
Soap (sodium tallowate*, sodium cocoate* (or) sodium palmate kernelate*, and sodium palmate*), water, talc, cocnut acid*, palm acid*, tallow acid*, PEG-6 methyl ether, glycerin, sorbitol, sodium chloride, pentasodium pentetate and/or tetrasodium etidronate, titatium dioxide, fragrance, Acid Orange (CI 20170), Acid yellow 73 (ci43350) *contains one or more of these ingredients
Zote Ingredients:
Sodium tallowate, sodium cocoate, fragrance (citronella oil), optical brightener, and violet 10.
Ivory soap Ingredients:
sodium tallowate and/or sodium palmate, water, sodium cocoate or sodium palm kernelate, glycerin, sodium chloride, fragrance, one or more of the following: coconut acid, palm kernel acid, tallow acid or palm acid, and tetrasodium EDTA.
Kirk’s Castile Soap Ingredients:
Coconut Soap, Water, Vegetable Glycerin, Coconut Oil, Natural Fragrance
Dr. Bronner’s Pure Castile Soap (citrus scent):
Organic Coconut Oil*, Organic Palm Oil*, Sodium Hydroxide**, Water, Organic Orange Oil, Organic Olive Oil*, Organic Hemp Oil, Organic Jojoba Oil, Organic Lemon Oil, Organic Lime Oil, Salt, Citric Acid, Tocopherol
* CERTIFIED FAIR TRADE INGREDIENTS
** None remains after saponifying oils into soap and glycerin
I think we’ve found some winners!! Do you see them?!
I feel so silly for not having found the Dr. Bronner’s or Kirk’s Castile bar in the first place. I use the liquid Dr. Bronners Castile soap but because I’ve never seen the bars before, I didn’t know they existed until I searched on amazon for a different Dr. Bronner’s product. Castile soap simply means they are made from pure vegetable oils, as made originally in Spain. Being able to understand your ingredients is important!
Bonus: Sweet citrus smells and the choice of a few other scents from organic oils!!
Saving you money:
Personally, I believe this claim has been exaggerated. Making your own detergent is only cheaper when you compare it to what you are already buying. I had been purchasing Method products, so making it DEFINITELY saved me money. However, if you are using a store brand or just a cheap detergent, this will NOT save you money. For me, the health benefits are amazing and the price is less, so it’s a win-win! A whole container of this cost me about $15. If you find the ingredients cheaper or buy in bulk, it will naturally cost less. I made an amazon ingredient list here, in case you feel the need to make this immediately! :)
Cleaning clothes, naturally:
What most people want to know is, “Will it clean my clothes?” My answer is yes! It will definitely clean your clothes and make them smell fresh. It won’t, however, get all of those stains out. I am willing to accept a few stains for the price of health and no toxic chemicals. I just have to do a better job of soaking my boy’s clothes and also our rags we use in the kitchen that build up musty smells. No biggie. I can share more on that method another day!
Making good choices for your family:
If you are reading this far down the page, you are probably the one who makes decisions about the household. We are the ones responsible for great changes, like this for our family. Go make some! I’m so excited to have finally given this homemade laundry detergent a shot again!
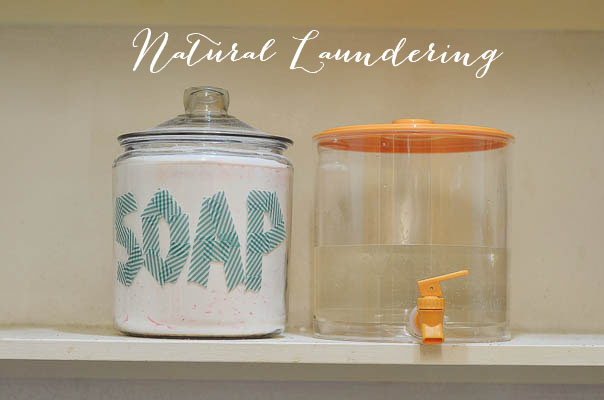
Below is my laundry setup with a dispenser for vinegar (get it now at Target in the seasonal section!!) and one for the detergent (find this lidded glass container at the Crate & Barrel outlet):
If you liked what you see, stick around and find me on:
F a c e b o o k // T w i t t e r // P i n t e r e s t // I n s t a g r a m // E m a i l