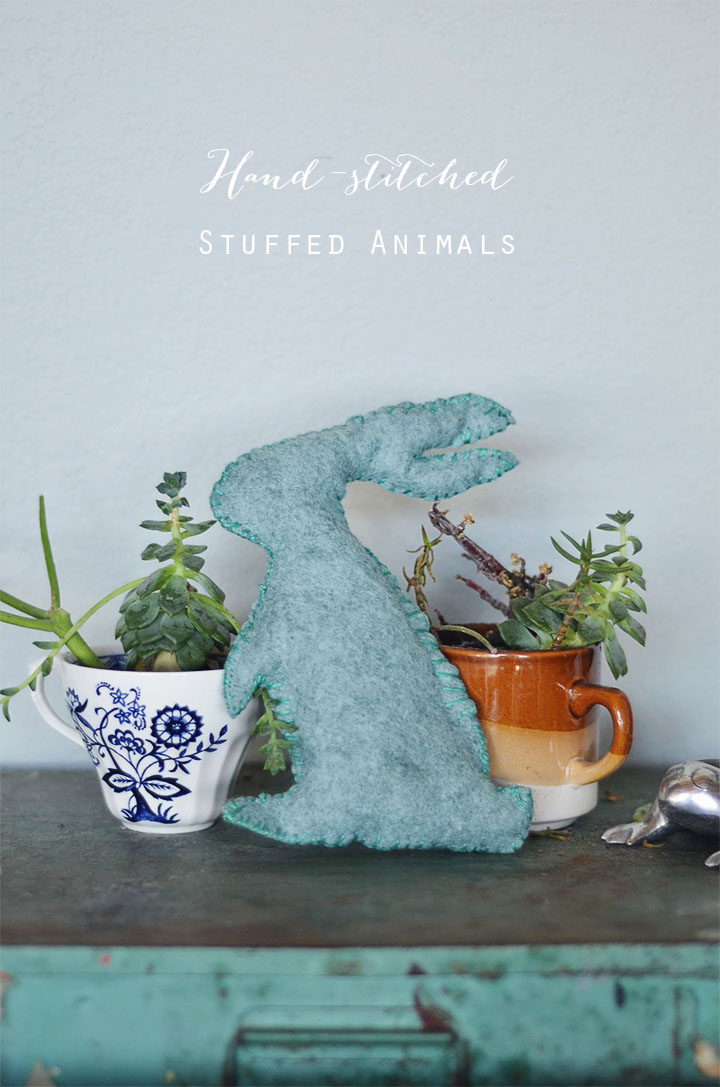
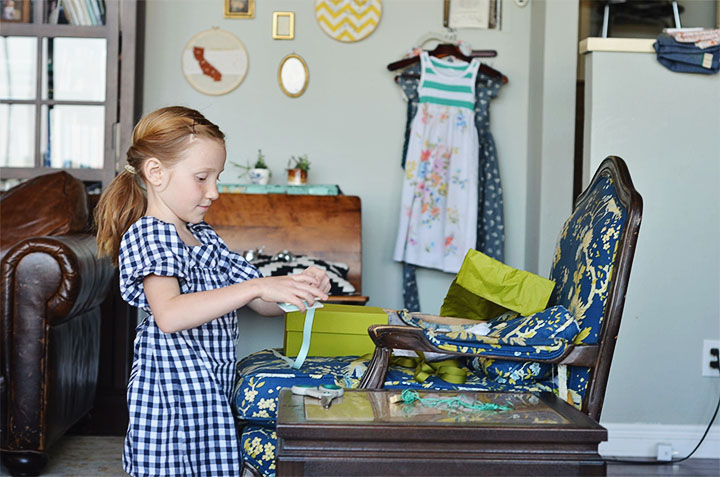
 Last year, Faith wanted to make something special for my Mom. Faith picked the shape, color, and whole project itself. There’s no stopping her creative mind sometimes! Last year, Faith wanted to make something special for my Mom. Faith picked the shape, color, and whole project itself. There’s no stopping her creative mind sometimes!
What you’ll need:
2 sheets of felt, any size. Mine were 8×10 (this project can be as large as you like)
paper for printing an online silhouette
stuffing materials (can be cotton balls, filler, extra fabric, or anything really!)
embroidery floss for enclosing
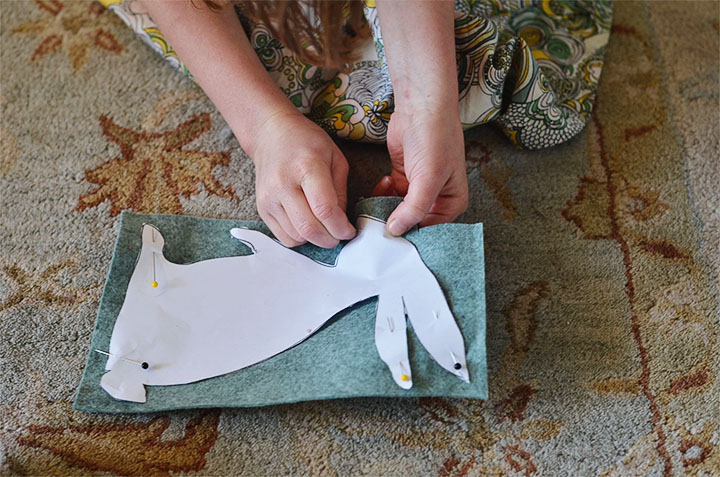
1. We hopped online together and she chose a rabbit shape. For projects like these, I simply google “public domain” followed by whatever object I’m looking for and the word “silhouette”. So, in this case I typed “public domain rabbit silhouette”. Easy and legal is the way to go, people!
2. After the image is chosen and printed, you cut it out and pin it to your two pieces of felt. You can cut each piece individually if that’s easier for you. I tend to go for the fastest way. ;)
3. Next, you place the two pieces of felt together, lining up the edges. Prepare your embroidery thread by separating 2 threads from the rest. Once you thread the needle, pull the threads through, and knot the ends. You will have a combined 4 threads to sew with.
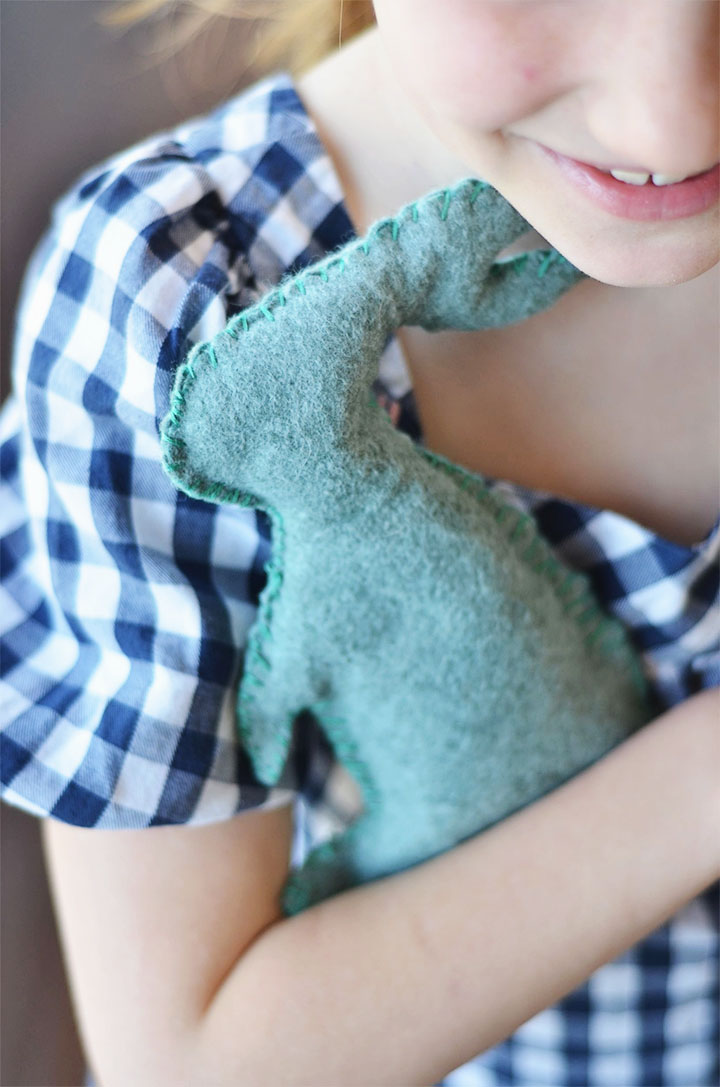
4. Holding the felt pieces, start the thread on the inside of the ear pieces and pull the thread through to the outside. Continue stitching around using a blanket stitch., leaving a hole for stuffing near where you started stitching. If you’d like to learn more stitches like this one, my favorite book for this is Sublime Stitching.
5. Once you are near the end where your hole is, stuff the piece with your chosen filler. You will need to squish the filler around and push it down with a long, pointy object so it will reach the bottom and spread to all areas. You can also squish the filler around with your fingers.
6. Finish stitching the pieces, ending your stitch inside the pieces so they doesn’t show. Tie off with a double knot.
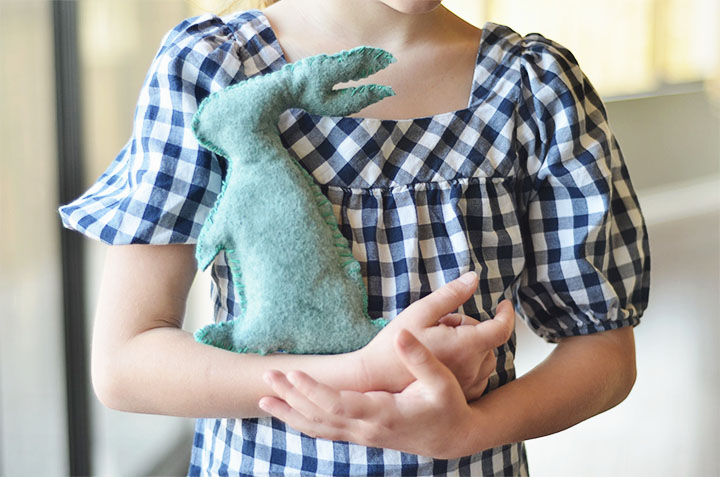
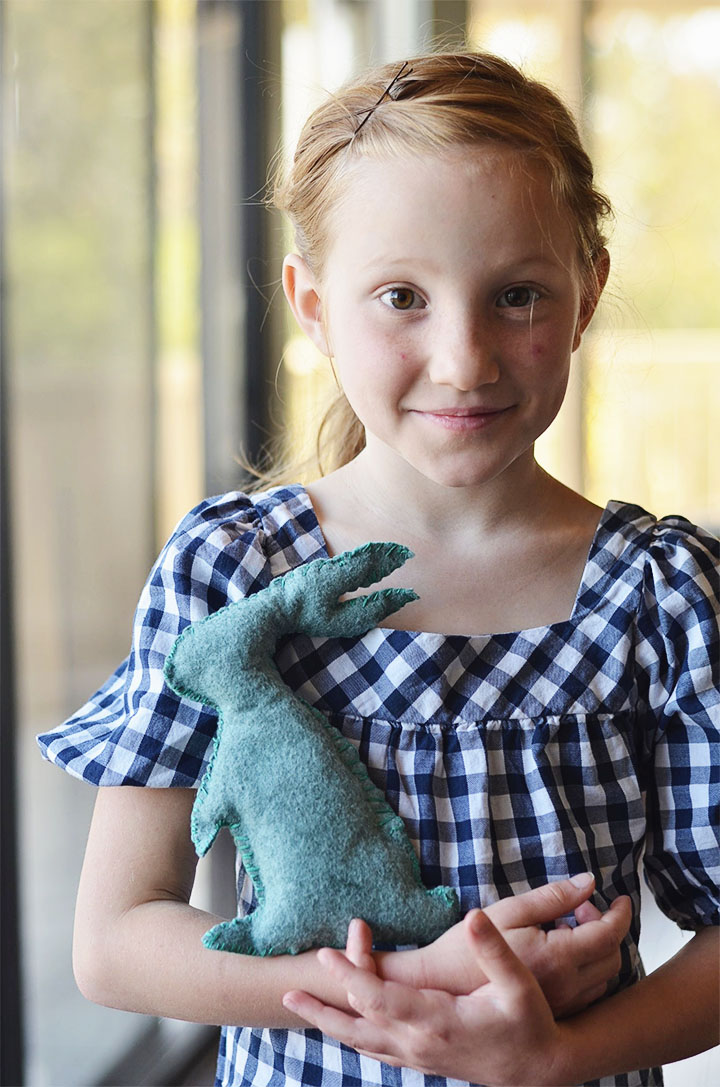
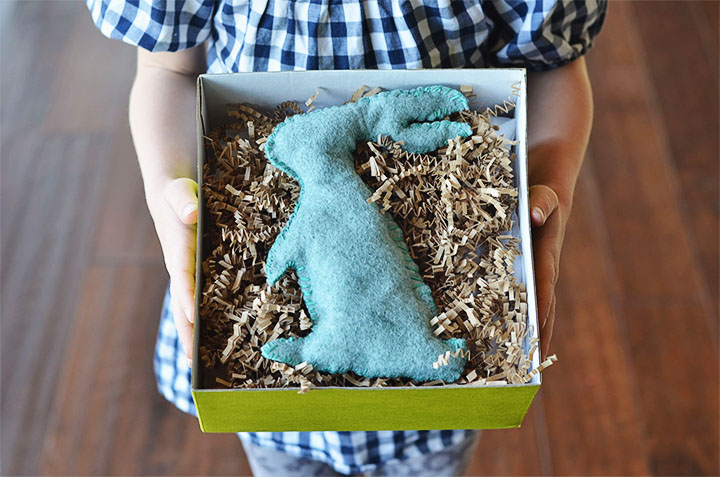
7. Squish the filling around a bit more to evenly distribute it and you’re DONE!
You just made a stuffed animal! Is your head spinning with ideas now? This would be a cute idea for a new baby or any of your kids to make for a friend!
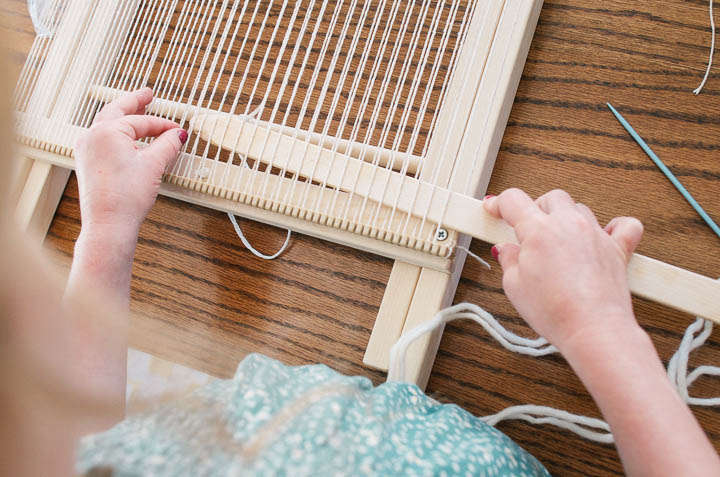
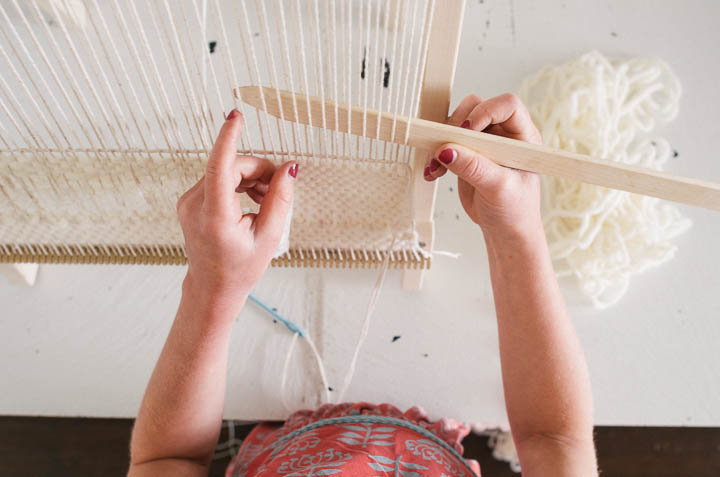
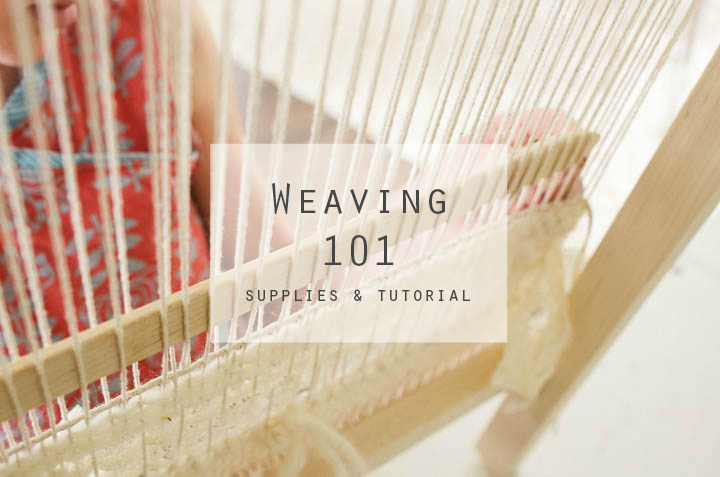 After posting about our weaving project on Instagram, I’ve had a lot of questions about our setup and process. After posting about our weaving project on Instagram, I’ve had a lot of questions about our setup and process.
Let me be clear, I AM NOT an expert weaver. I’m just sharing what I’ve learned in my experience. Like many others, I have been inspired by Maryanne Moodie. (She sells her own starter kits…I bought one ;)) Her weavings are so dreamy!
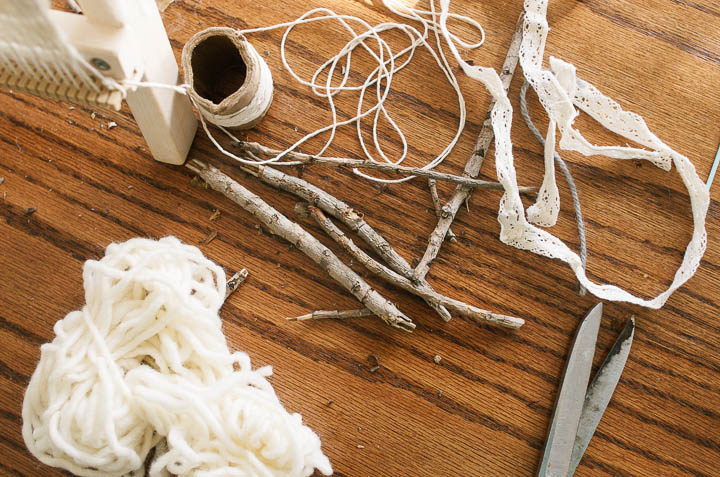
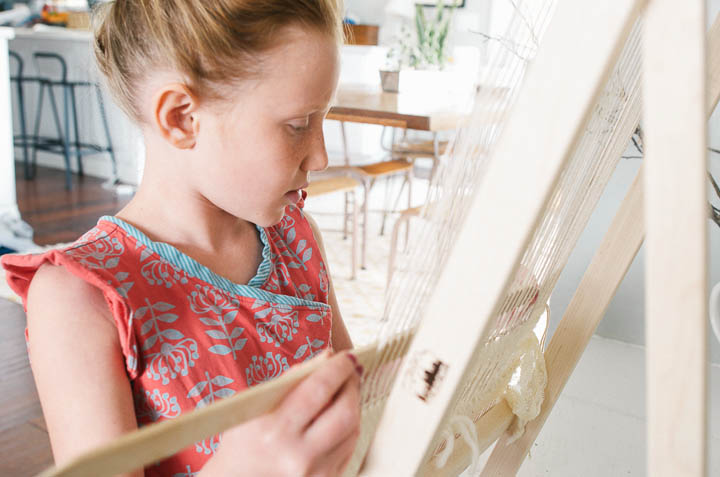
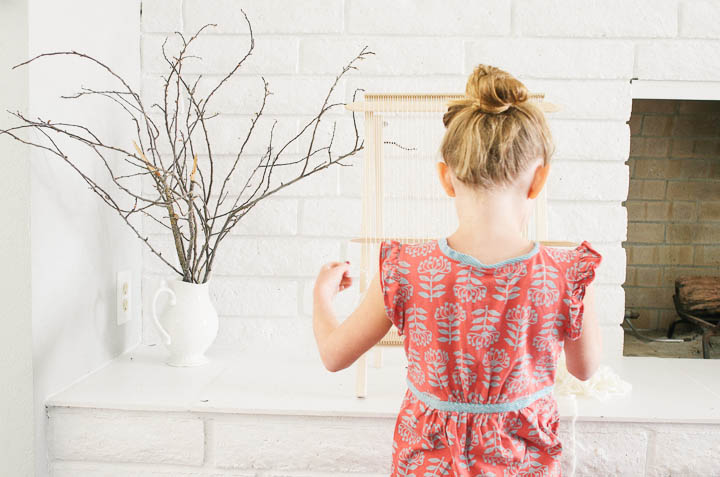
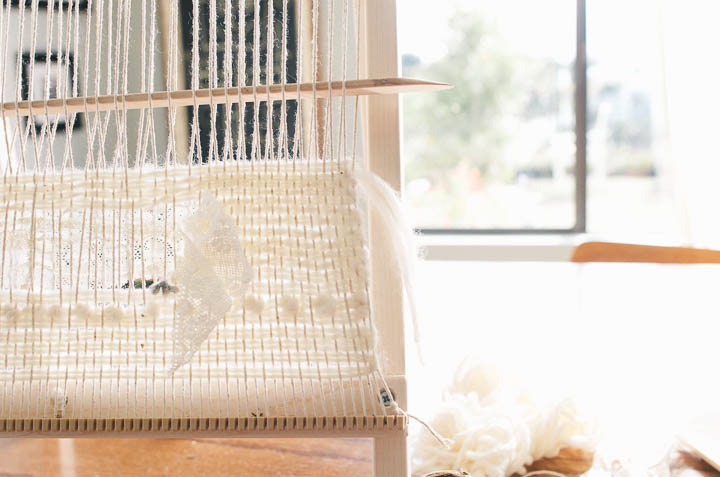
Like any kind of creative art, weaving will be a totally different process for every person. For our first larger weaving, I wanted to create a weave-as-you-go project for the whole family. Meaning, I wanted the 5 of us to add whatever we liked, to create this piece of art together. The only restriction was that the items had to be white or cream colored and a natural product. At least this way, there would be some uniformity. The sticks didn’t make the cut…nice try boys. ;)
Kind of looms and links for where to buy:
Potholder Looms: You can find vintage metal ones on ETSY or Ebay. This was our first kind of loom several years ago. (less than $15)
Lap looms: Best option for starting because of price and the size of the weaving space. Best for kids who have short attention spans and want immediate satisfaction. (less than $20)
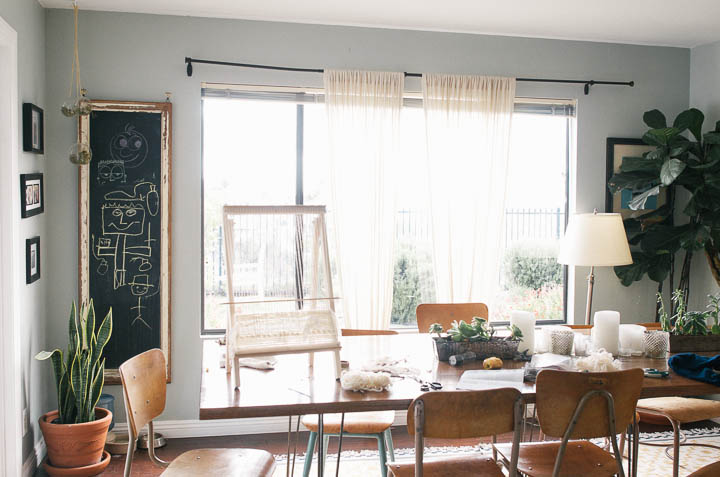
Standing/Tabletop Loom: My favorite choice for a more substantial weaving. More expensive. (less than $75)
Floor Loom: If you wanted one of these, this post is irrelevant to you. haha (more than $1500)
Below is a BASIC weaving tutorial…have fun!
Weaving 101
Supplies:
Loom
1 weaving needle
Shuttle (that holds your thread to be passed through)
2 pickup sticks
warp thread (to use up and down. I use cotton twine.)
weft thread (to use side to side. Use any material for this!)
any additional weaving fibers:
lace, wool roving (my fave!), wool yarn, twine
To start your weaving:
1. Starting at the bottom left, you’ll take your warp thread (the name of the threads which run top to bottom) and tie it to the furthest peg on the left.
2. Now, bring the warp thread up to the furthest peg on the top left.
3. Bring it back down to the bottom where you tied the warp thread initially, skip a peg, then loop around the next one.
4. Repeat, going back up to the top, always skipping a peg. when you’ve reached the end of the pegs, tie the thread to the last peg.
5. To start your initial weaving process, weave the pick-up stick over and under each warp thread, until you reach the end. I started on the right side because it felt right (I’m right-handed). You could totally start on the left, lefties. ;). Now, turn it on its side so it makes a space in between the threads (called a shed).
6. With a new piece of thread (called the weft) attached to a weaving needle, leave a tail for the thread, and pull this through the space or shed to the other end. Now, slide the stick to slightly tighten the row and then up to the top of the loom, where you will use it for every other weave. This step with save you from weaving a single thread back and forth each time.
7. After you slide the stick up, start weaving with your pick-up stick on the opposite side you started. Mae sure you are going under and over the OPPOSITE you did last time. You can test this by pushing the stick down. If it touches your previous row, you are on the wrong track. If you push down and meet with the resistance of your warp thread, you are on the right track! Weave to the end. Slide the stick down to tighten the row and remove it after. One stick stays on the loom at all times (either creating a shed or “resting”), while the other is used alternately. As you’re weaving each row, don’t pull too hard or the whole weaving piece will start to pull towards the center, losing your desired square shape. This might be hard to teach the kids but I don’t really sweat it. ;)
8. Now, slide the stick back down and turn it to make a shed again. You can now continue with steps 6-7 again until the weaving is your desired size.
9. Remove the weaving from the loom. Gently pull each loop to make the weaving tight. Once all loops are tightened, secure each end thread with a knot, then cut the extra off. (You can also add tassels to the end loops at this point but i was keeping this basic. :)
Enjoy your creation! You were just WEAVING! Can you believe it?!
Click below to follow us on:
F a c e b o o k // T w i t t e r // P i n t e r e s t // I n s t a g r a m // E m a i l
 My labeling dreams have come true. My labeling dreams have come true.
For this project, I am beyond thrilled to be partnering with Makr to make this DIY Champagne Cocktail Kit! I fell in deep deep love with this app. For all of you who label jars, bins, boxes, gifts, and the occasional kiddo item, this app will be your dream come true too. You can make so many things- invitations, postcards, and other fun paper products for your business which is really cool. You can be your own graphic designer and customize the ready-made templates. The style of their app and products is RIGHT ON and it is super easy to use. You can find it here, for iPad only.
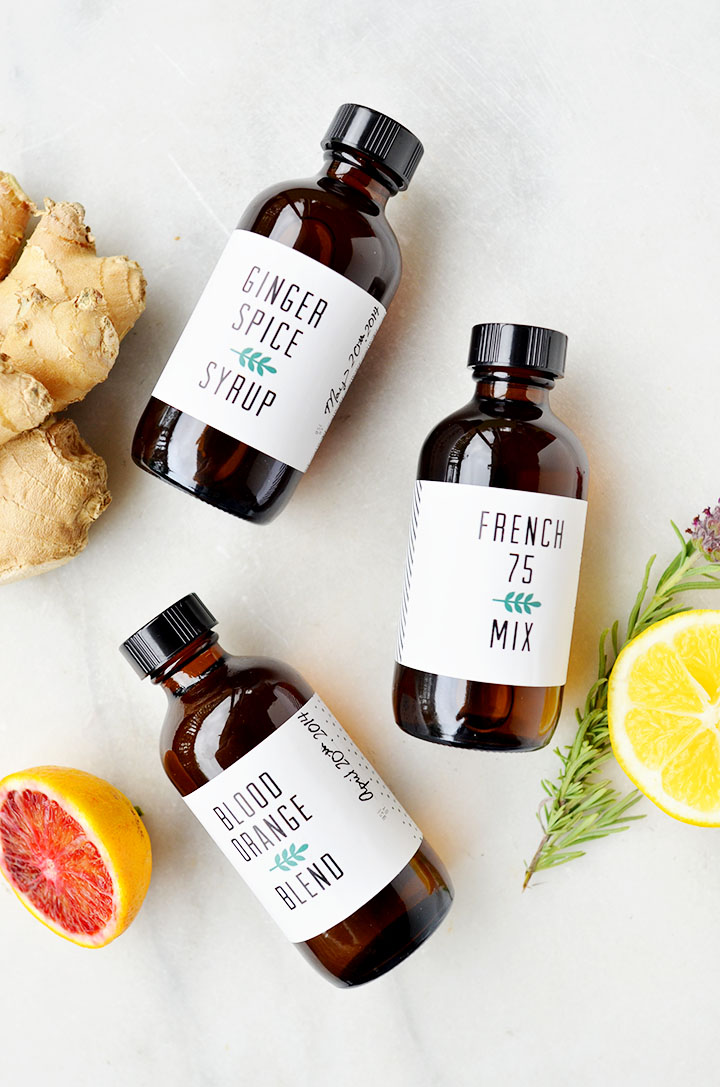
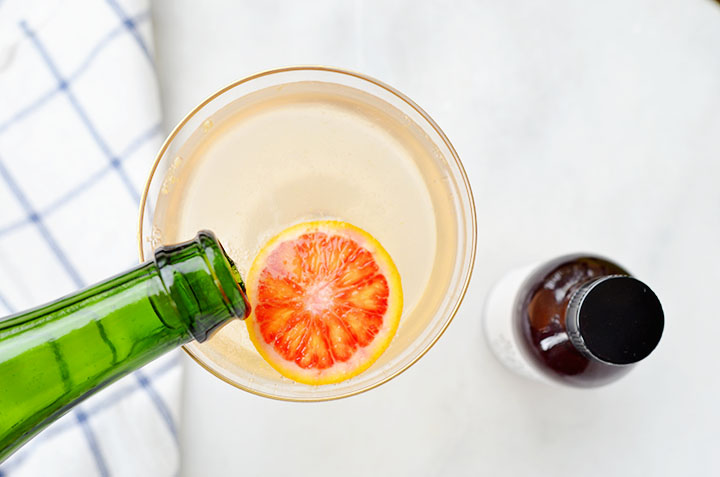
 I really enjoy making cocktails on the weekends, when we open up our home to friends and the laughter that comes with them. Syrups and mixes and really important for quick cocktail making, especially for groups. I’m excited to have these fun labels instead of my sharpie labels or no label at all, which is how I usually roll! I get confused all the time about which flavors are in my fridge. Organizing and labels make my heart happy. I really enjoy making cocktails on the weekends, when we open up our home to friends and the laughter that comes with them. Syrups and mixes and really important for quick cocktail making, especially for groups. I’m excited to have these fun labels instead of my sharpie labels or no label at all, which is how I usually roll! I get confused all the time about which flavors are in my fridge. Organizing and labels make my heart happy.
Won’t these kits also make the BEST gifts? You can have a stack of them ready and just grab and go to those wedding showers and parties! No stress involved and impressive packaging. I would be excited to receive this. Just sayin’.
 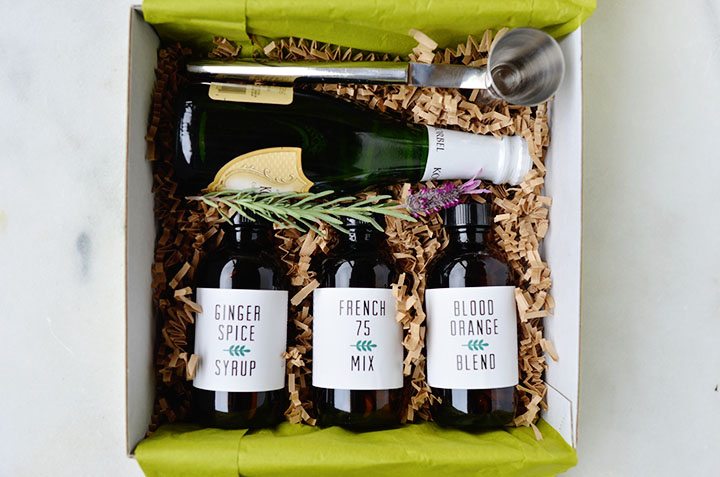 In my kit, I included 1 mini bottle of champagne, 3 bottles of varying syrups, and 1 jigger or cocktail measuring tool. In my kit, I included 1 mini bottle of champagne, 3 bottles of varying syrups, and 1 jigger or cocktail measuring tool.
Syrup recipes are coming soon!
Each champagne drink can be customized with a little pour of 1 syrup. So easy. No intense measuring while you’re trying to talk. These same labels in this project are available for YOU to use on the Makr app! Remember the app is FREE to download and you don’t have to pay anything to create! Check out my project and customize it for your style!
Download the Makr app here, These are the labels you will find there from this project (all are customizable):
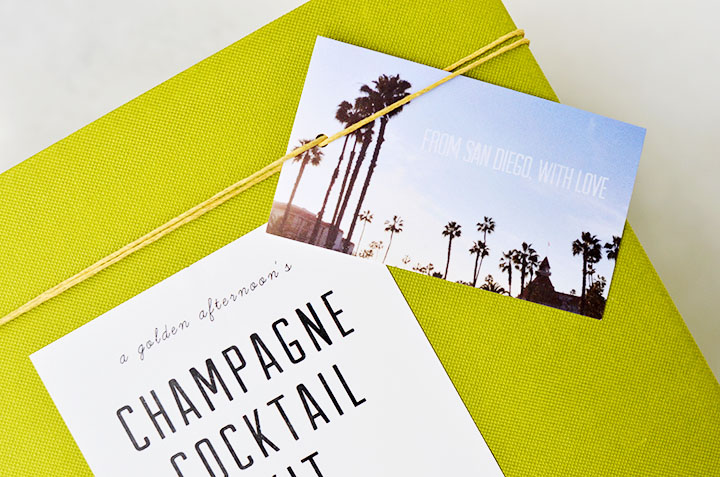
“DIY Champagne Cocktail Kit” label for your box
“Champagne Cocktail” recipe card for making each drink.
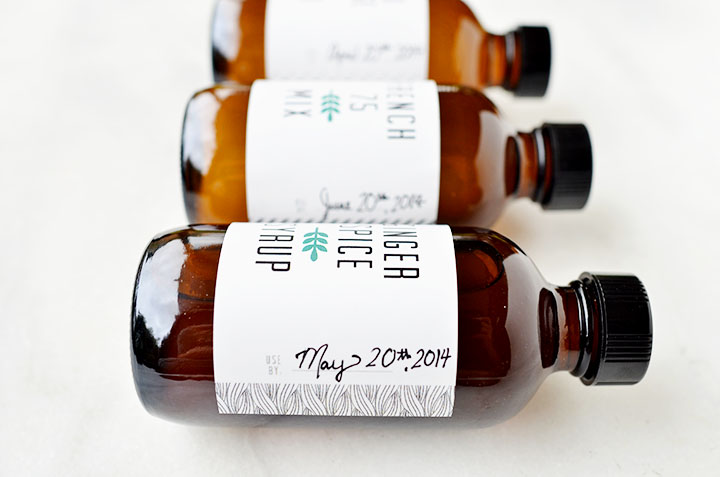
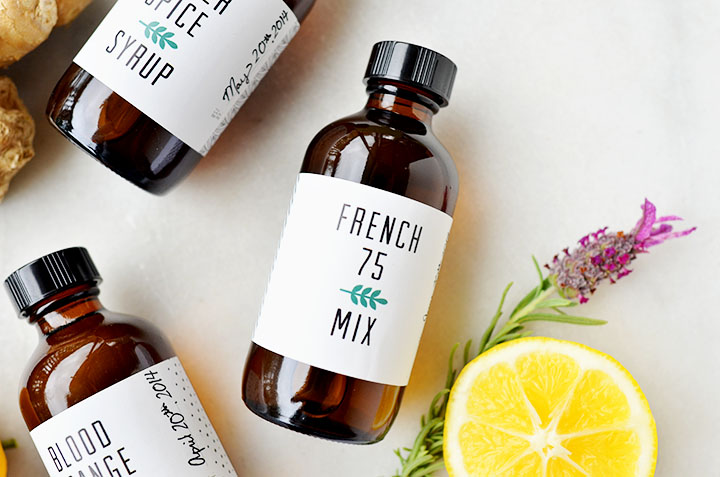
“Ginger Spice Syrup” bottle label
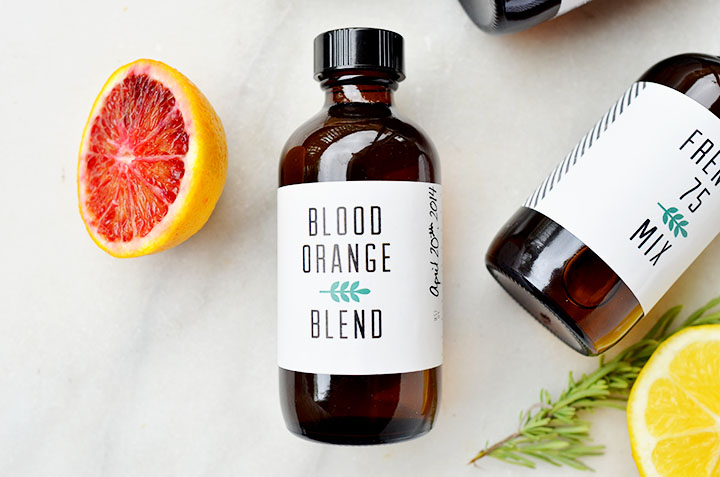
“French 75 Mix” bottle label
“Blood Orange Blend” bottle label
“From San Diego, With Love” to/from tag for gifting
Special note for those of you who use external iPad keyboards: unplug it while using for full app use.
***Special for A Golden Afternoon readers (that’s YOU)- enjoy a FREE Makr credit and 20% off a print order! Just register with the code GAFTERNOON and enter that same code at checkout.***
     ***Special for A Golden Afternoon readers (that’s YOU)- enjoy a FREE Makr credit and 20% off a print order! Just register with the code GAFTERNOON and enter that same code at checkout.*** ***Special for A Golden Afternoon readers (that’s YOU)- enjoy a FREE Makr credit and 20% off a print order! Just register with the code GAFTERNOON and enter that same code at checkout.***
This post was kindly sponsored by Makr, but all opinions about this app, the choice to support them, and the project itself are my own.
 You asked how my new recipe went last week so here are the results…LOVE IT! You asked how my new recipe went last week so here are the results…LOVE IT!
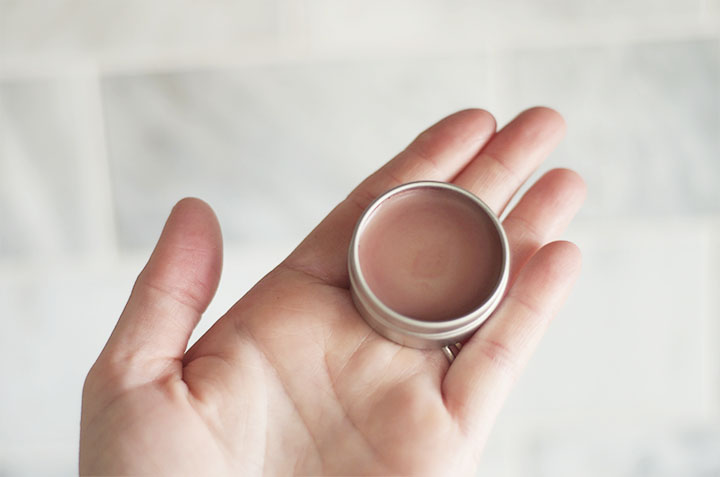
Burt’s Bees. Some of us have used it since high school or even before. It was a staple in our purses and pockets. Then those meanies went and changed the recipe and the formula just never felt that same smooth and super tingly way again. Did that happen to you too? Last year I tried a few copycat recipes with no success. One was too hard. One was too soft. They both had no peppermint zing to them AT ALL. Minty lip balm…maybe? Burt’s Bees wannabee? Nope.
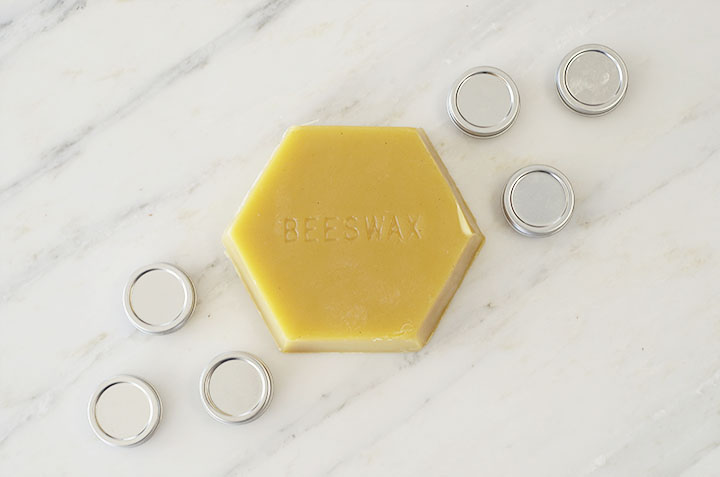
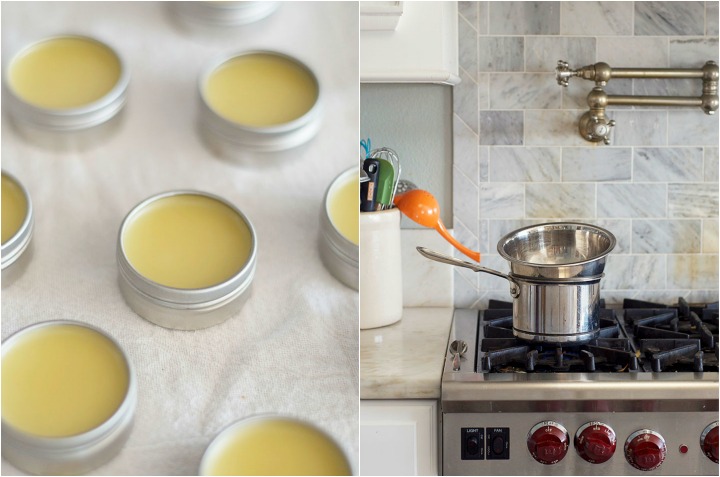
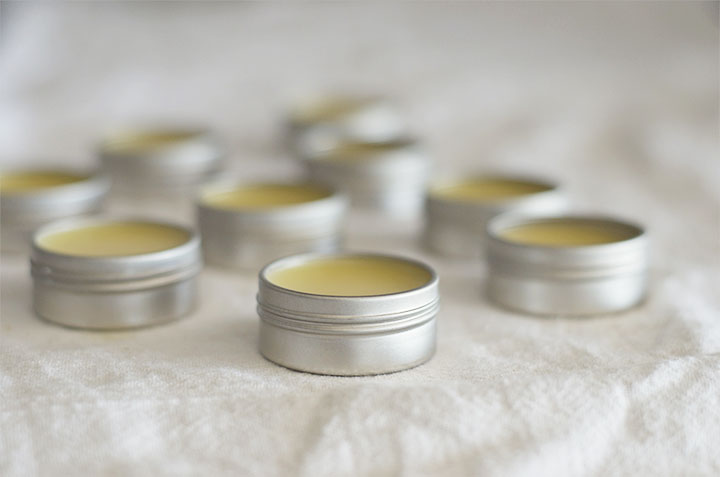
I know that it’s not possible to claim an exact replica because I’d have to have a lab and well, I just have a kitchen with a sleeping pug in it. This is the closest I’ve come to a matched recipe and I’m super happy with it. I’d love to hear your feedback to help us all get closer to a lip balm that has only a couple of pure, whole ingredients and is SUPER easy to make in bulk or as a gift! The ingredients on the Burt’s Bees chap-stick state that they use sunflower oil, but I opted for the more nourishing jojoba oil. I use round metal tins from Specialty Bottle or sliding ones from SKS Bottle instead of filling plastic tubes because we try to be a plastic-free household. The round tins were only 42 cents! Sticking your finger in a tin isn’t as easy, but you can actually apply this balm to most areas of your body, so the tin is actually quite handy!
One of the MANY reasons I love making my own body care products is getting to choose my own scents and healing options with essential oils. I have used essential oils for a long time but I am CONSTANTLY finding new ways to incorporate them. If you have been curious about how essential oils can improve your health or maybe just provide you with pure and natural scent options, PLEASE see my friend Lynsey’s wellness page on IG here to see practical ways they can help or go buy an essential oil starter kit from her here. That kit is a great option if you want to take the next step to improve your health. You will NOT regret it, friends. End soapbox. haha
If you’ve never made lip balm, it’s SO EASY! You just…
measure and melt!
Homemade Peppermint Lip Balm
(Burt’s Bees copycat)
3 Tablespoons beeswax, chopped off the whole block with a knife
3 Tablespoons organic coconut oil
2 tablespoons jojoba oil
1/2 teaspoon lanolin
several drops vitamin E oil, optional
60 drops organic peppermint essential oil
10 drops organic rosemary essential oil
raw honey, optional (add a touch at the end for some sweetness)
beet powder, optional
Metal tins (I got my round ones here and my sliding ones here)
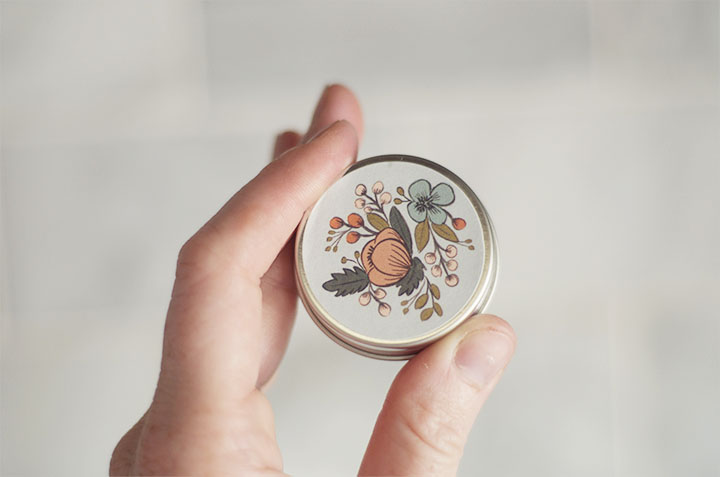
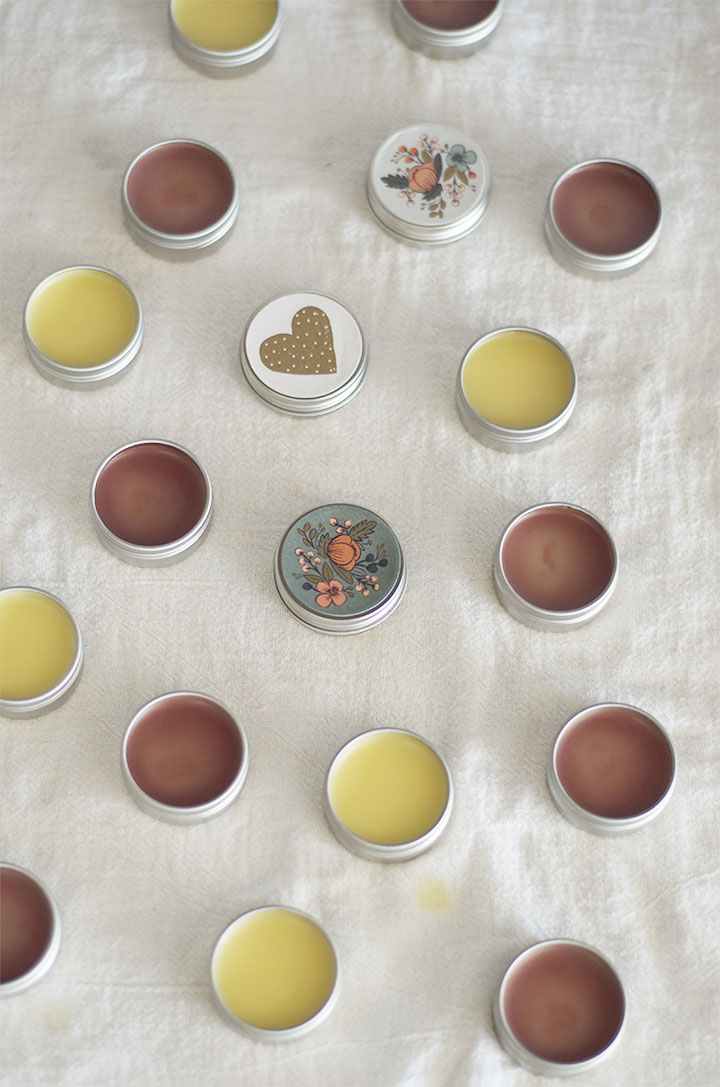
Labels (I used these Rifle Paper Company stickers…my sister’s idea ;))
Melt all of the ingredients (except the essential oils and beet powder) over medium heat in a double-boiler (or heat-safe bowl on top of a small saucepan with 1/2 inch of water in the pan). When all of the ingredients are melted, turn off the heat, then add the essential oils. 60 drops totally sounds like a lot, but if you want that Burt’s tingle, you need to use all 60 or even more if you dare! To test the strength of the mint or the feel of the balm, let a little dab dry on your counter (tastes 10 seconds!) and take it for a test drive. Pour the mixture into tins, using a measuring cup, until they are almost full. Let them set overnight, but they really only take about an hour to cool all the way.
For color: If you desire color, add about 3 Tablespoons of beet powder to your mixture. If you desire more color, add more beet powder. It will seem like you’re adding a lot of powder but let me assure you…it won’t taste like beets and the color doesn’t saturate as well as you’d think! ;) The powder doesn’t fully dissolve, so you are left with small grains of beet, but if you are truly desiring NATURAL color, this is the only way to go that I’m aware of.
Methods/Ingredients I see in a LOT of recipes that haven’t worked for me…so far:
Extra lanolin. Dude…this stuff tastes bad so too much is no.bueno. It might keep winter dryness away but you’ll lose your taste buds in the process. Ick.
Shea Butter. Tried it a few times and didn’t like that it makes the balm less smooth. Who wants a sticky lip balm? I thought so. I’ve tried using only a little, but at that point it just becomes an extra ingredient so why bother.
Beeswax that doesn’t smell like honey. I mean…that just doesn’t make sense.
Less ingredients. I’ve tried recipes with less ingredients but the consistency is not what I look for in a balm…too goop-y.
Large quantities at a time. Before you make 75 tins of lip balm, make half or even a quarter of the recipe so you can see if it works for you. Not all lips are created equal. Just sayin’.
Adding lipstick for tint. Natural lip balm becomes unnatural when you add lipstick. I don’t understand why people do that.
Have fun and enjoy!
Click below to follow us on:
F a c e b o o k // T w i t t e r // P i n t e r e s t // I n s t a g r a m // E m a i l
Christmas Lists…
They excite us and they stress us out. Gift giving has become expected instead of spontaneous. How do we simplify our gift giving at Christmas but still show our love and thoughtfulness to friends and family?
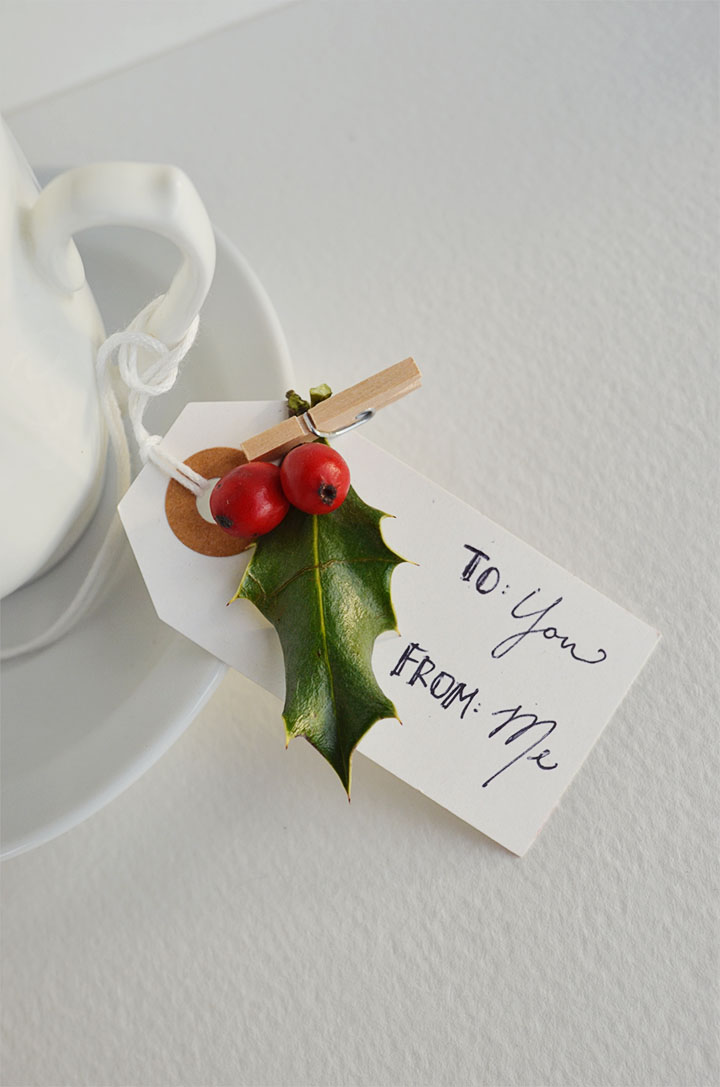
Whether you make your entire gift by hand or purchase it from the store, it’s always nice to have a thoughtful touch to your gift or gift card. Here are some of my favorite ways to bring a personal touch to gifts:
- Live greenery brings the feeling of freshness and relaxation that can be found for FREE from your yard, someone else’s, or purchased from a store.
- Create handmade tags using supplies from home. Old book pages, maps, old postcards, or vintage wrapping paper can be salvaged from your craft closet or even someone else’s!
- Include an item that is either your favorite, their favorite, or just something that recalls a memory or joke between the two of you.
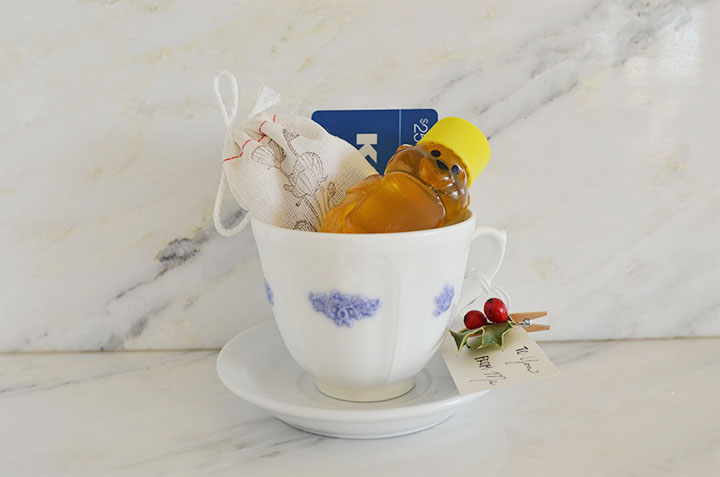
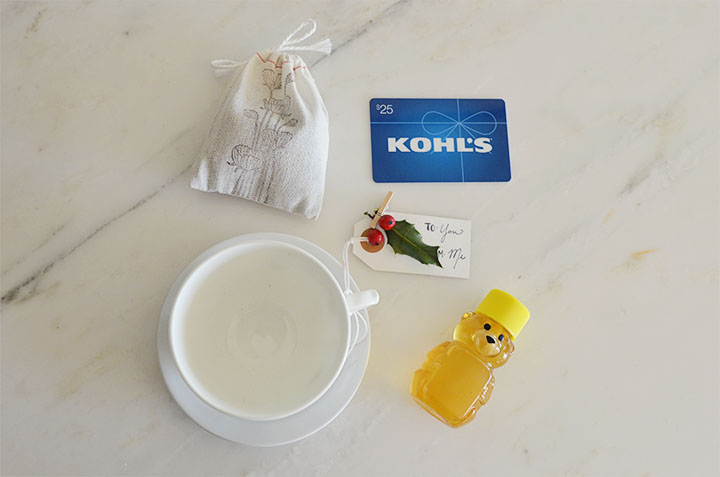
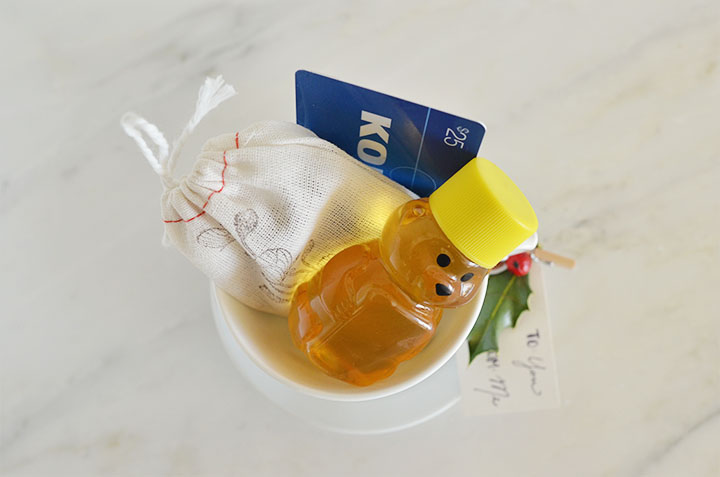
- Gather items that create an experience or tell a story. This tea-cup, tea, local honey, and gift card communicate a relaxing afternoon for a friend, loved one, or just a Mom you know who needs a BREAK! It shows care and attentiveness. Why not throw in some babysitting which will cost you only your time. Perfect for any budget, people! ;)

For the tags in this post, I used plain tags found here or use some more fun colored ones from We Love Citrus here. I attached greenery using mini-clothespins from We Love Citrus found here.
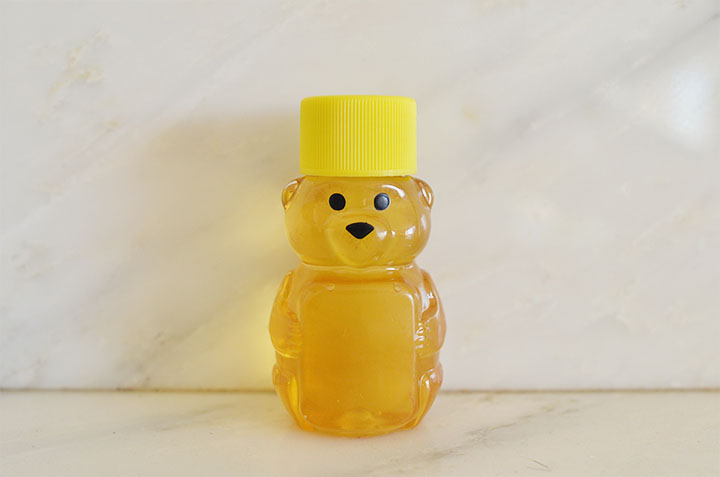
For the honey bears, I added my own favorite local honey from Mikolich into the CUTEST mini honey bear containers you can find here. I can’t even stand how cute they are!
For the tea, I added my favorite local decaf Earl Grey tea into plain cloth bags you can find here. I stamped them with a fabric-safe ink. Cute, right?
For the final and biggest touch, I added a gift card that I got to the tea-cup. Some of my go-tos are iTunes, REI, and Target. All of the small items pictured make that gift card so much for meaningful, don’t you think?!
Click below to follow us on:
F a c e b o o k // T w i t t e r // P i n t e r e s t // I n s t a g r a m // E m a i l
For writing this post, I received compensation. However, the opinions expressed are my own and I was totally thrilled to write it and share my ideas and thoughts on how to make your holiday easier.
Page 2 of 13«12345...10...»Last »
|
|


