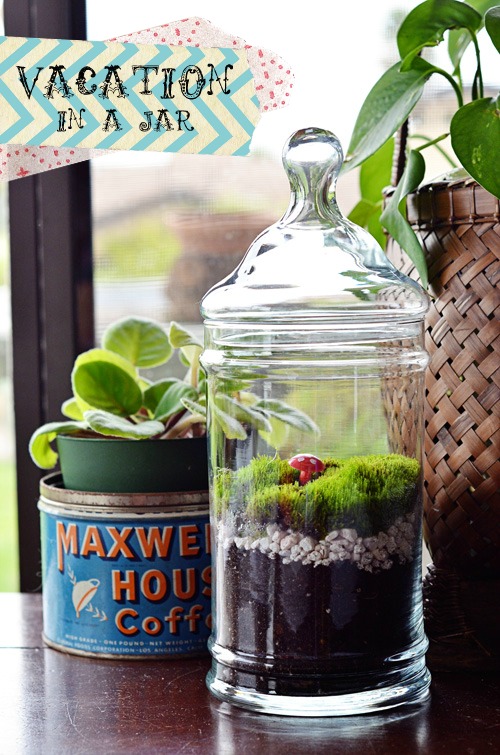
Vacation In A Jar

Vacation is a wonderful thing.   We recently got to go back to PA to see some family and friends,  the Bloomsburg Huskies play (the special teams coach is my father-in-law), and attend the movie premier for “The Mighty Macs” (about my mother-in-law…check it out  here and here).  It was a fun yet very exhausting trip.  I’m still glad we took it.  It’s very difficult to squeeze everyone and everything into a 6 day trip, but we made it happen!  If there’s one thing I’ve learned about travel and family it’s that you can never make everyone happy so you might as well make the best choices you can considering all and move on with that choice.  In any case, I wanted to bring a piece of Pennsylvania home so we could talk about our trip and what we did.  So, as we were pulling away, I grabbed some moss from the grass by the fence and threw it in a bag, hoping security wouldn’t snatch it away.   I threw a few orange and red leaves in for good measure.  Thankfully, it made it all home with no questions asked, just a few raised eyebrows.

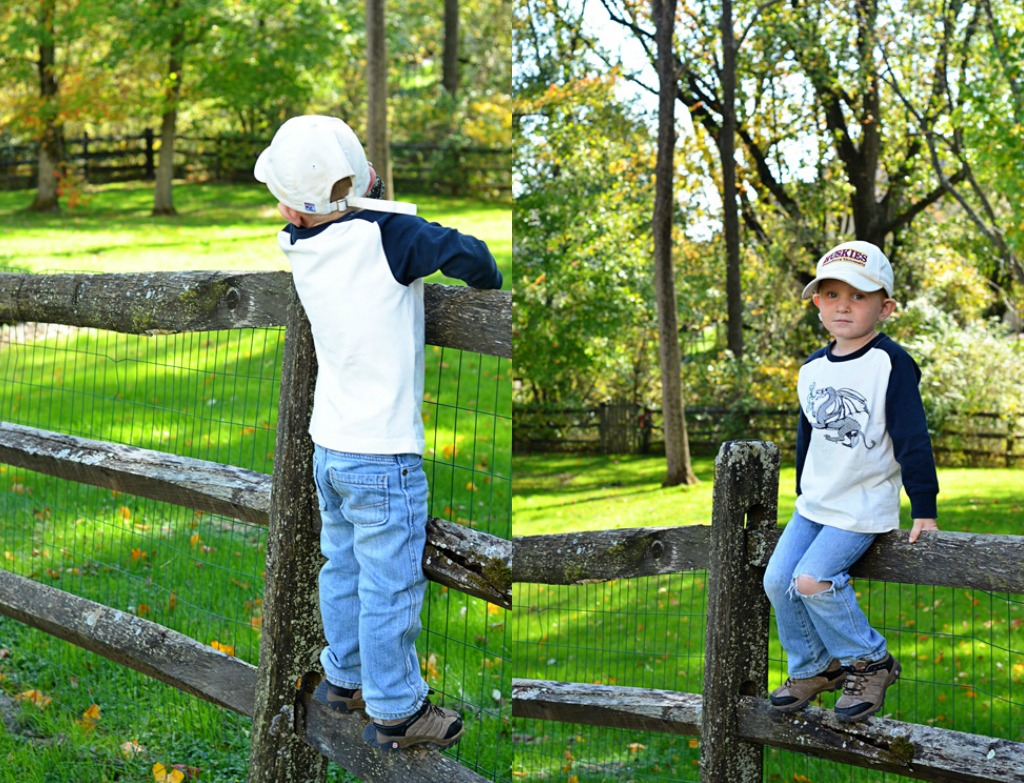
At Papa Ed and Grandma Trudy’s house.  We all loved the green.  Look at my sweet boy :)

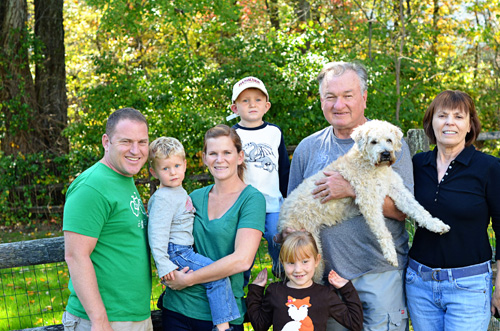
All of us with Gram.

All of us with Papa Ed and Grandma Trudy.

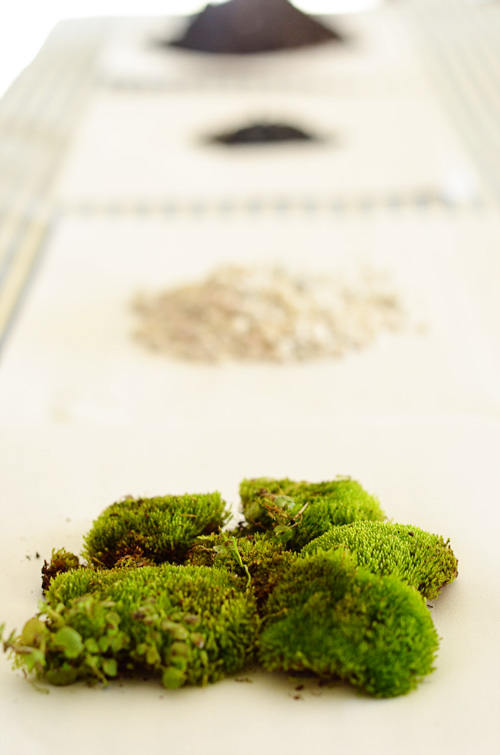
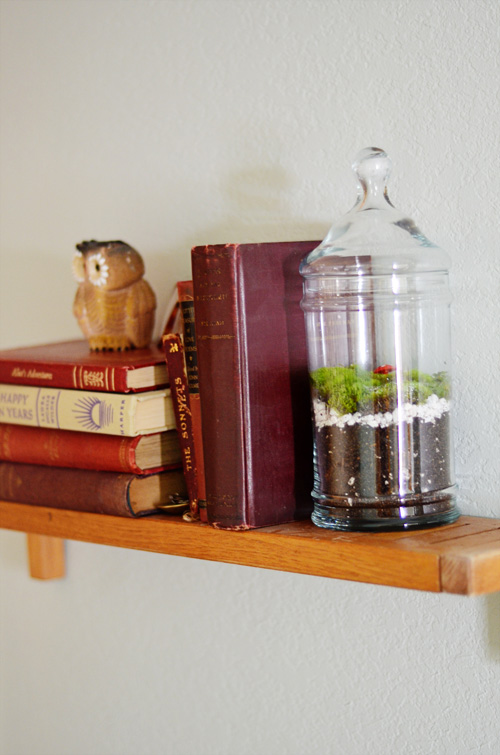
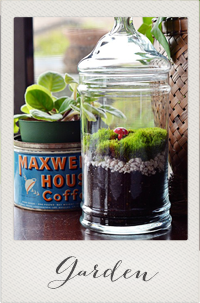
Back to the fantastic moss.  Isn’t it lovely?  To make sure we could enjoy this moss for a long time, I decided to make a terrarium.

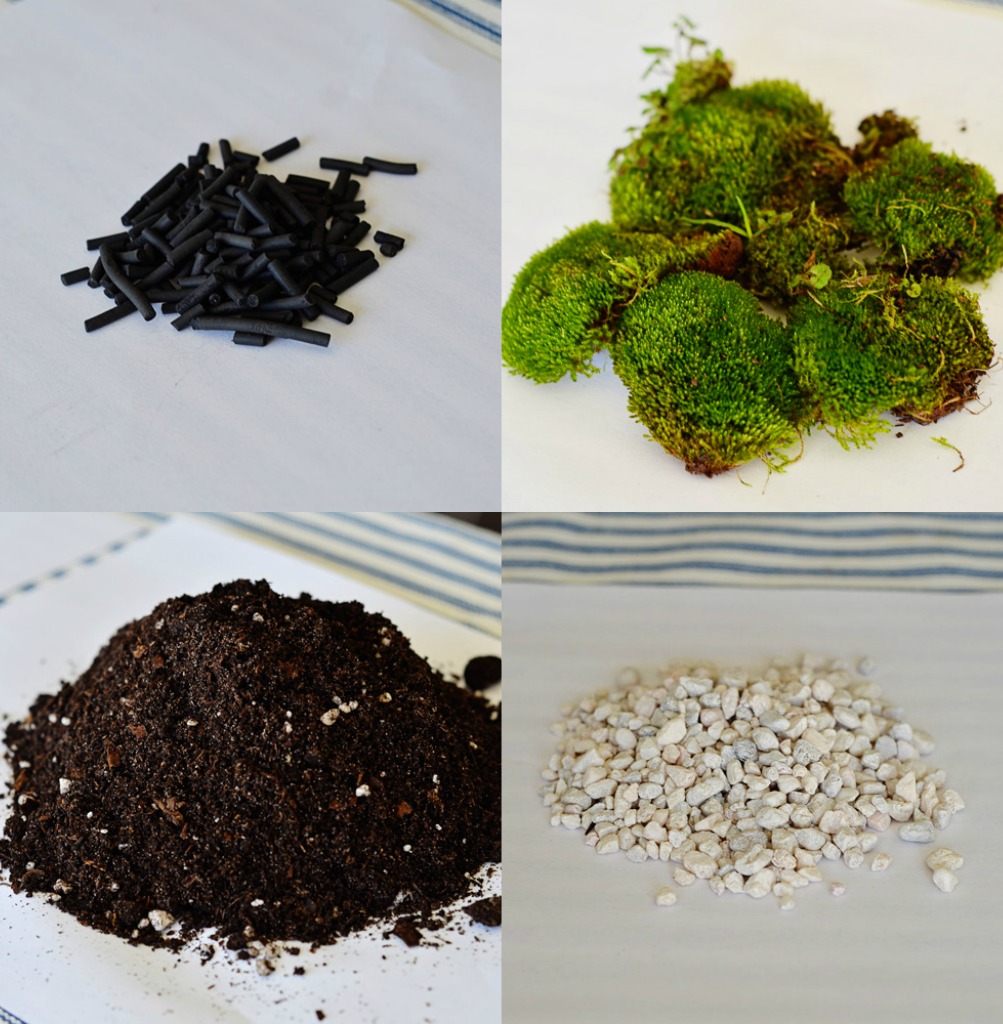
To make a good terrarium, you have to make sure the moisture is balanced enough for the moss to be alive but not grow mushrooms.  Mushrooms are cute, but the kind that grow in this dirt are very much not.  You’ll need soil, small rocks or pieces of gravel (about the size of aquarium gravel), charcoal pellets (to keep odor at bay), and your moss of choice.

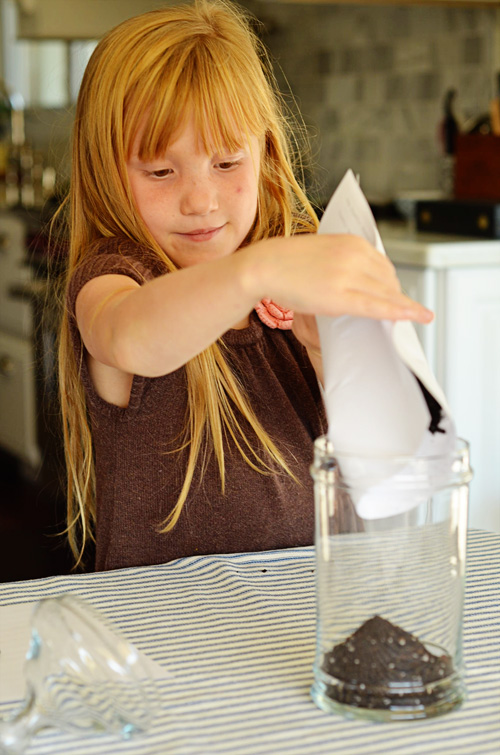
Of course the project lady herself was involved.  I can’t think of one thing I have done, of late, that has not involved this girl.  Am I creating a monster?  If so, at least she’ll be a productive monster.

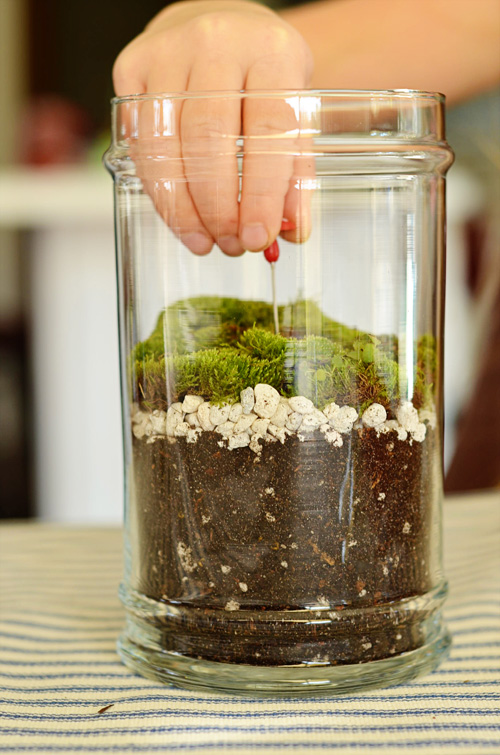
So, we layer the materials as follows.  I realized afterwards that my rocks should go on the bottom for drainage.  Sorry.

R O C K S

1/2  D I R T, moist

C H A R C O A L   P E L L E T S

1/2 D I R T, moist

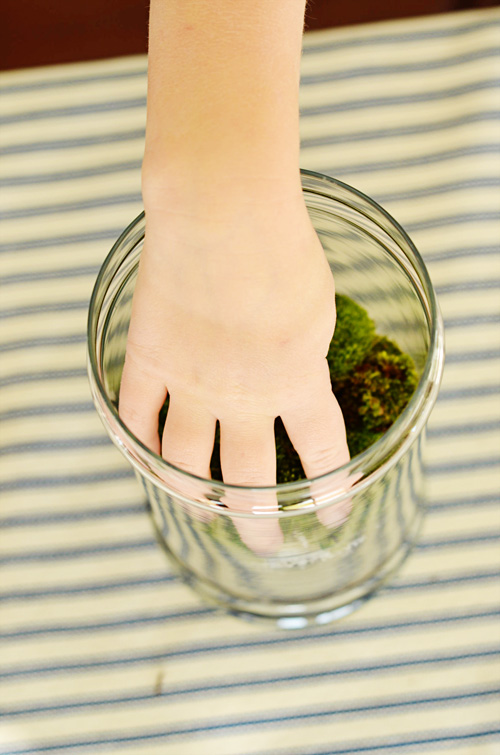
M O S S

The idea is for the moist soil to keep the moss wet enough, while not getting moldy and soggy.  I spray mine every now and then with a spray bottle.

Here are the layers and Miss F adding the finishing touches.  This mushroom is actually from my super-cute pincushion from Hi Tree.   It is a felt tree stump, like below.

Cute, right?

You shouldn’t need to re-moisten it for a LOOONNNG time.  If you do see moisture on the lid, remove it for a day.

Enjoy your vacation!

InstaFriday

life rearranged

A very small snapshot of our week through my phone.

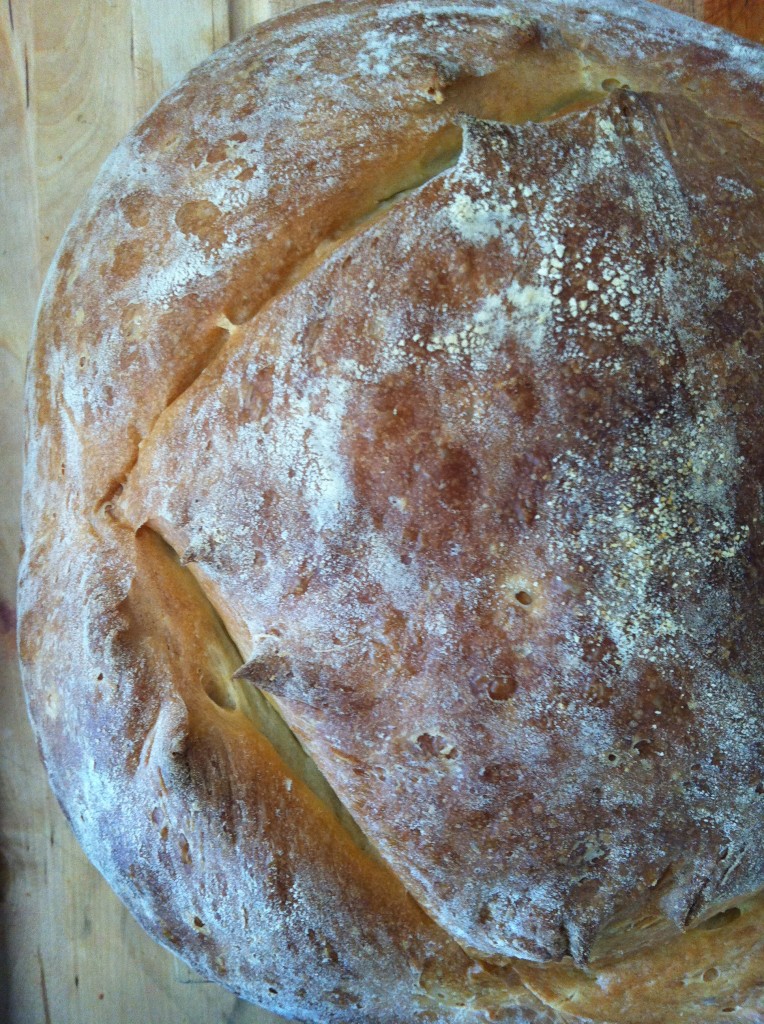
I love to start our weeks with fresh bread.  This is Martha’s Olive Oil bread and it rocks.  SO easy.

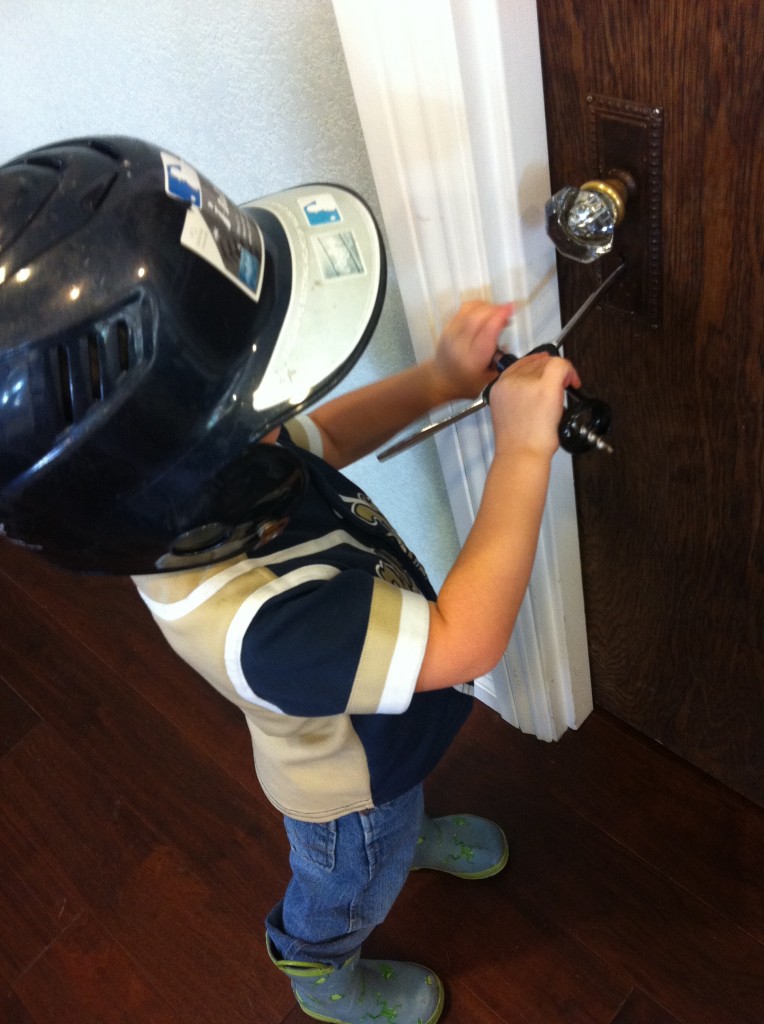
Little D is trying to use the cork remover to force his way into the locked pantry…didn’t work but I give him credit for trying.

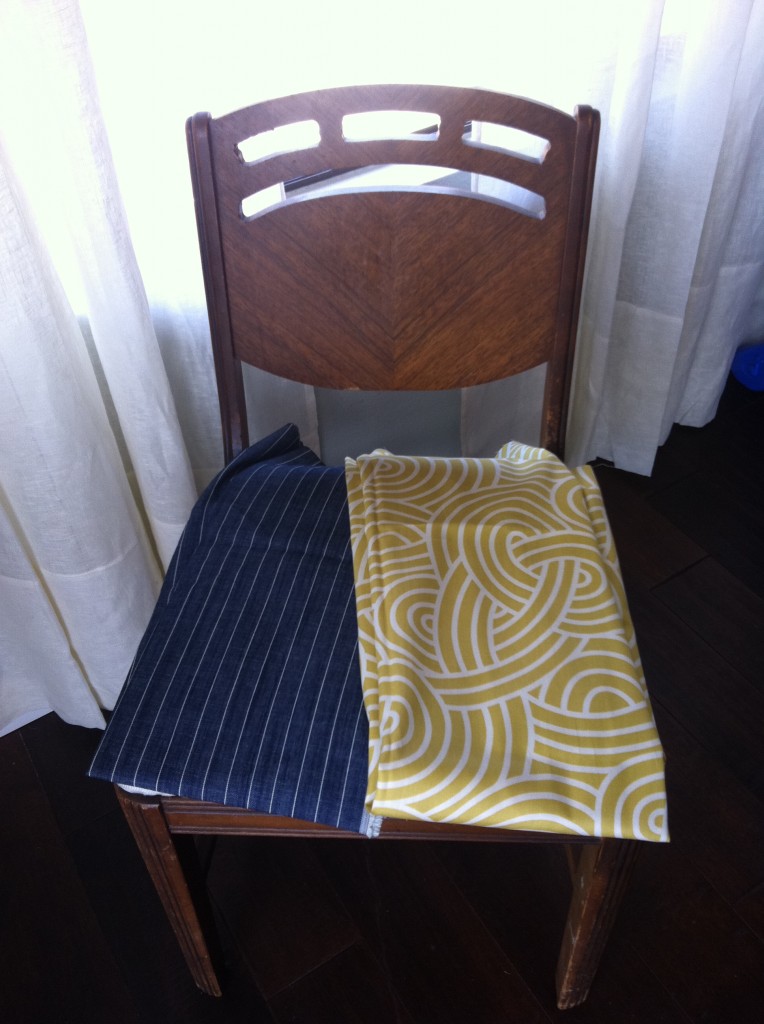
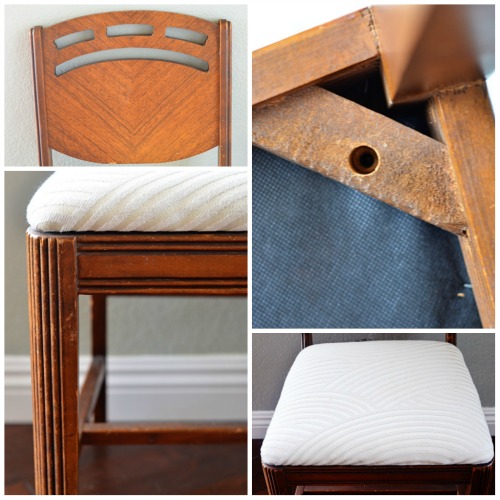
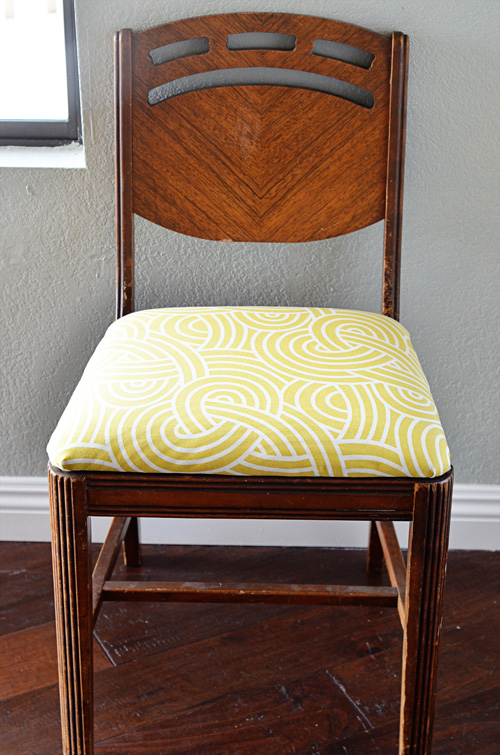
Finally did the super easy chair re-vamp found here.

Re-stocked the beer fridge for frequent visitors of late.

Used my husbands beer to make beer can chicken.  Recipe to follow soon!
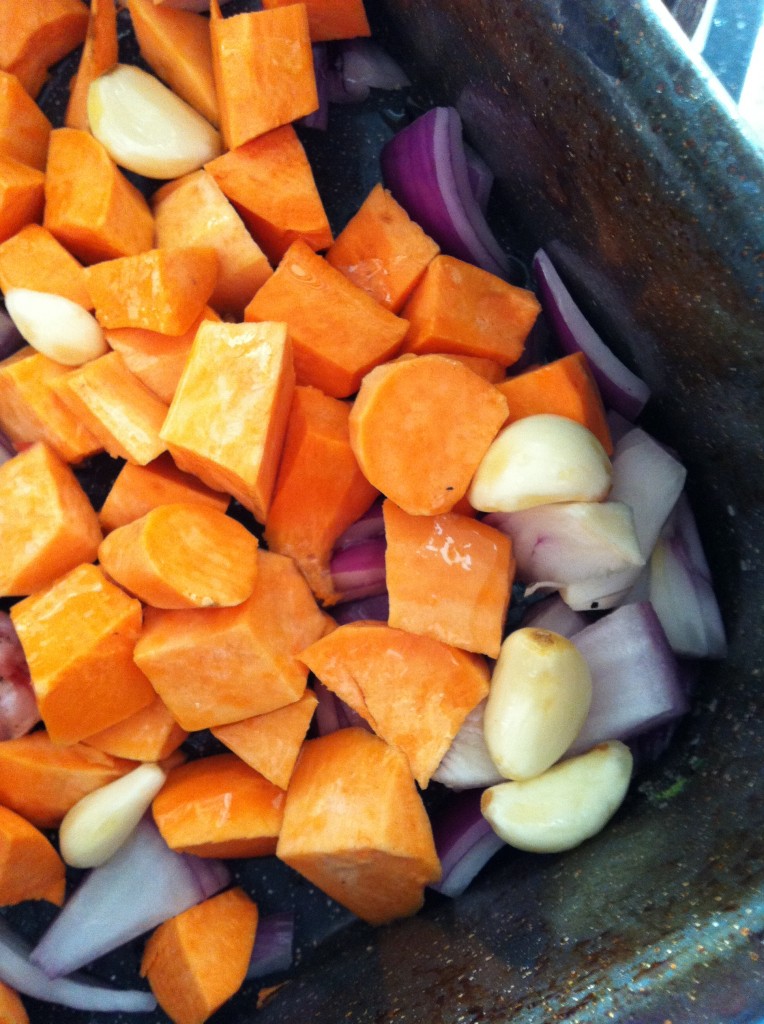
Made it again but with roasted sweet potatoes, garlic, and onions for a friend followed by awesome conversation.  Love that.

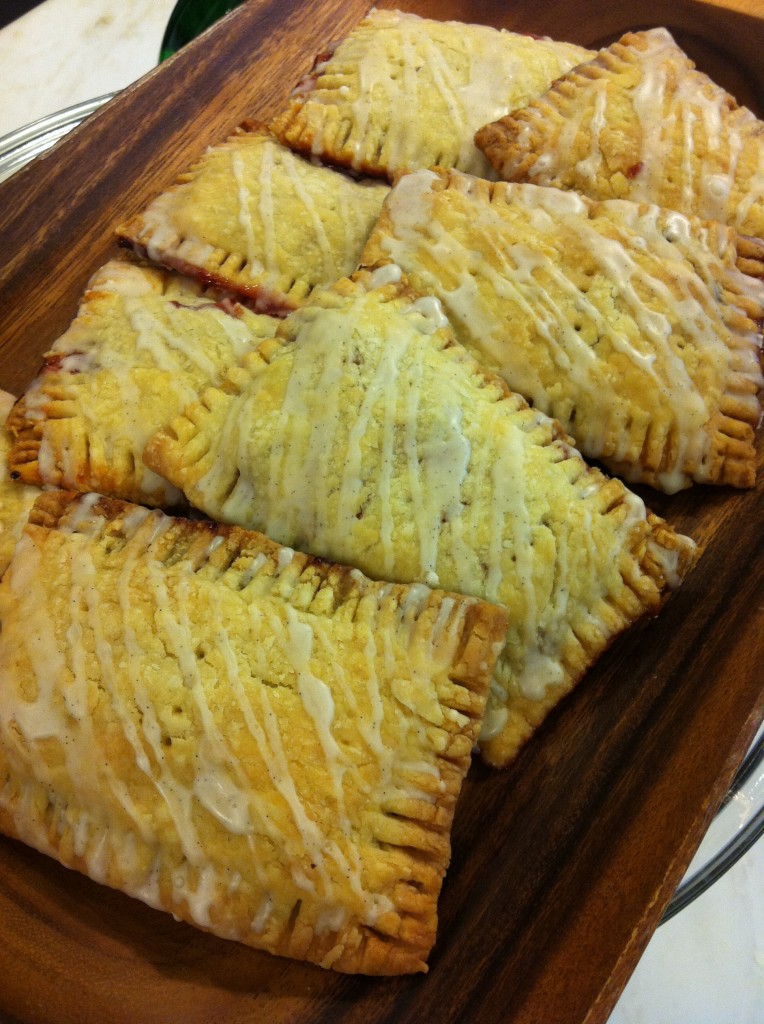
Following school one day, Faith and I made homemade pop-tarts (cherry and nutella)  They were good.  Stay tuned for a tutorial for that too!

I love this child so much.  Her personality is so much like my firstborn so I am very amused by her.  I kinda like her mom a lot, too :)

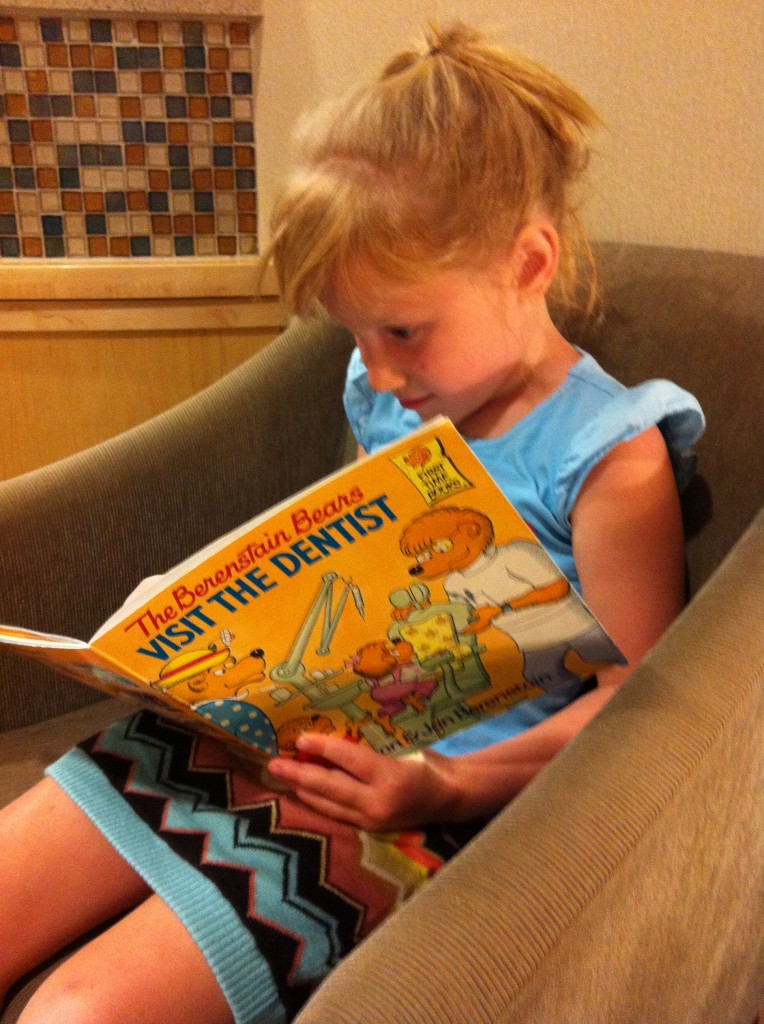
Dentist teeth cleaning for Miss F and I.  Dr. Kint is the best dentist ever!

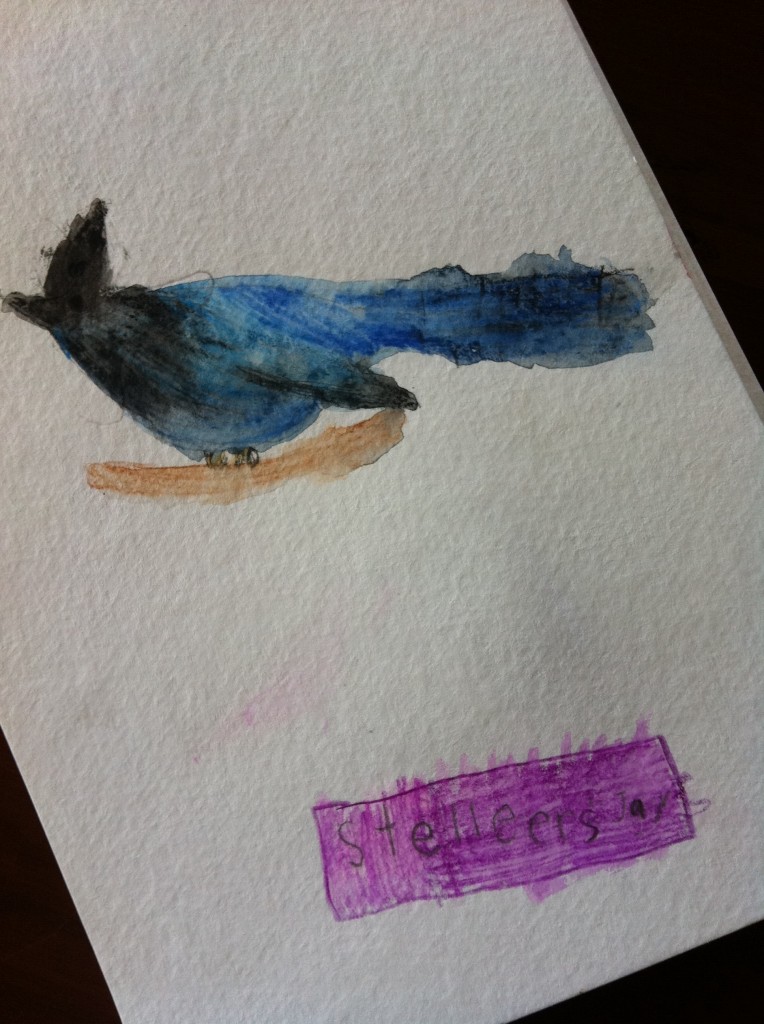
Miss F’s killer Steller’s Jay nature journal drawing.  Frame for sure.

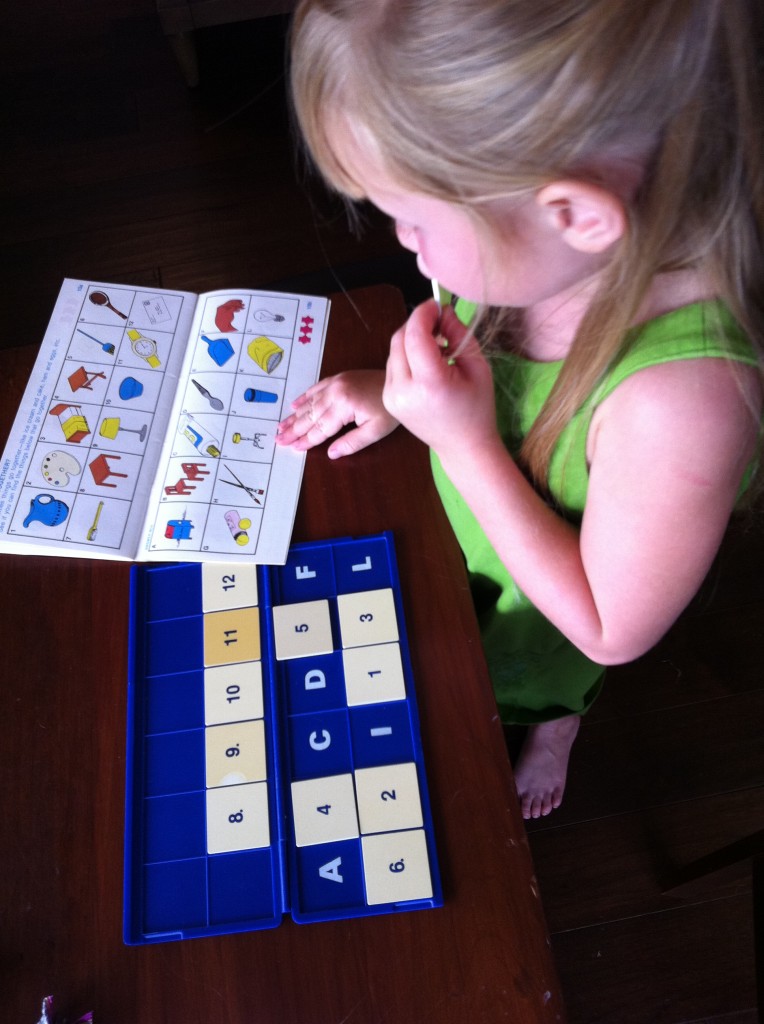
Toys from my childhood enjoyed by a second generation.

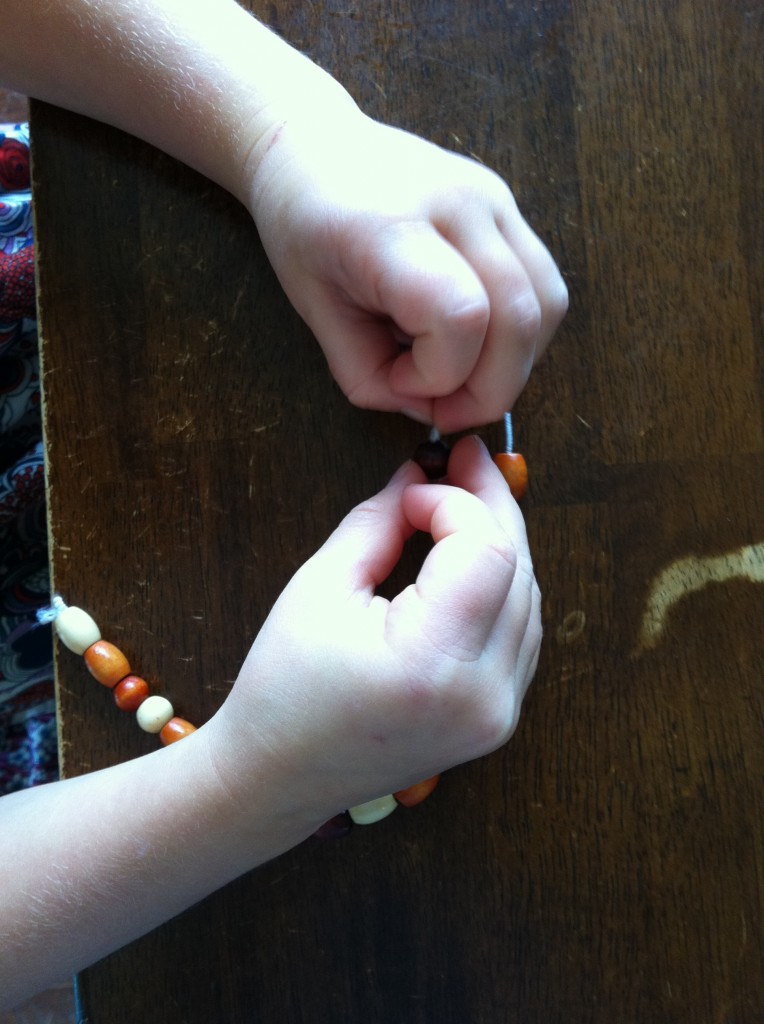
Bracelet crafted for a special person’s birthday coming up who may or may not live in PA.  She was pretty excited about it.

Old to New: Vintage Chair Re-do

**I am NOWHERE near being skilled in this area, I’m just sharing what I’ve learned :)**

So, let me start by saying I just REALLY love my chair.  I happened upon it after making friends with a guy at an estate sale.  He appreciated a listening ear and I was happy to be that listener.  He had just lost his mother and was hesitant to release his physical memories of her in the form of her heirloom furniture pieces.  I connected with him because I like to find pieces which have a story and appreciate them for it.  The style is the 1940s era “Waterfall” Art Deco furniture which is just full of craftsmanship and fun design.  Plus, the coloring of this era of wood is lovely…at least to me.  I purchased a full bedroom set, including this chair last year (2010) and am LOVING them.  I’m sure I’ll show more pictures of the full set eventually.  The pieces were original to this family and had been trekked all over the world through Navy moves.  Considering that, they are in awesome shape.  They must have had awesome military movers back then, unlike now.  I’ve heard too many bad stories which is why for each one of our re-locations, we moved ourselves.

The guy had recently had the chairs (yes, there’s a vanity chair, too) recovered in this creme fabric.  It wasn’t a bad fabric, by any means, but it wasn’t my style.

Changing the fabric on your chair can be just as easy, so stick with me.  This is a very simple project which takes less than 10 minutes.

You only need fabric, a screwdriver, and a staple gun with staples.

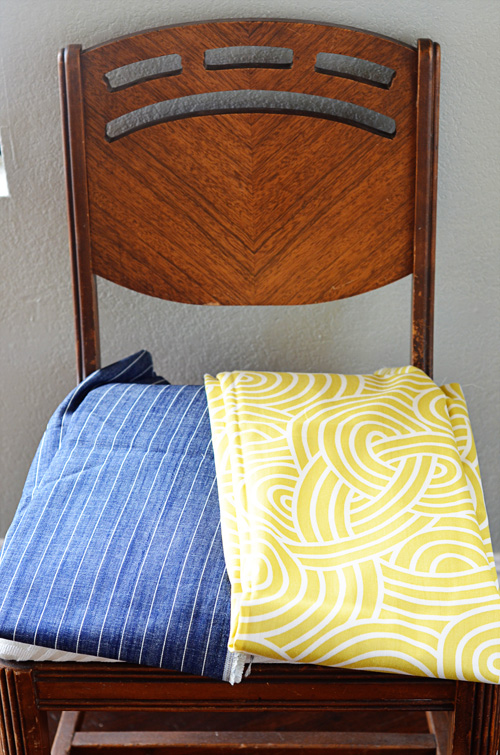
I was torn between this yellow/lime fabric I’ve had stashed for a while and the other blue menswear fabric which has been striking my fancy of late.

Some chairs are nailed into their frames.  Some are glued because of urgency or just cost.  Most modern chair seats are screwed in and are super easy to re-cover.  If you are looking to re-cover vintage and don’t want to invest crazy amount of time learning to do it, just look for chair covers that unscrew.  I have found many lovely (and cheap!) vintage chairs which would require a professional level of skill.  For me, I love to learn new things but I am trying to scale it back a bit.

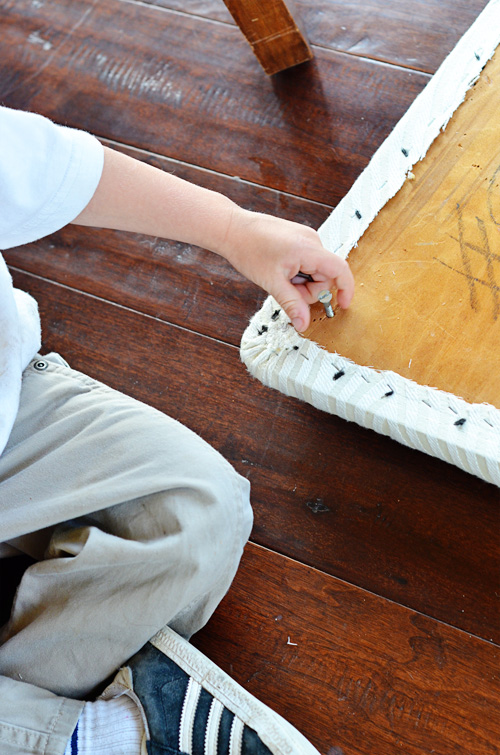
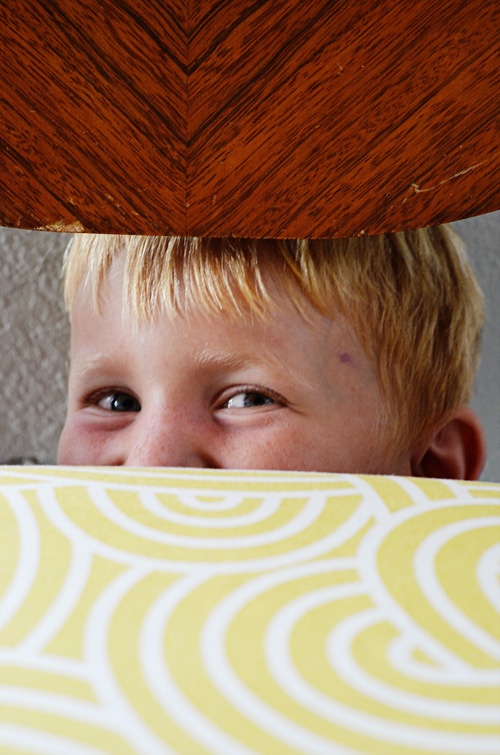
My little buddy was ready and willing to assist with any unscrewing or screwing in needs.

 Staples guns can be purchase for a minimum of $10 at Lowes/Home Depot.  Trust me, you will feel cool and confident with this purchase. I do.  mine is a nail/staple combo and it is wonderful.

Because I had 10 minutes before I had to leave for my daughter’s ballet class, I simply covered over what was there.
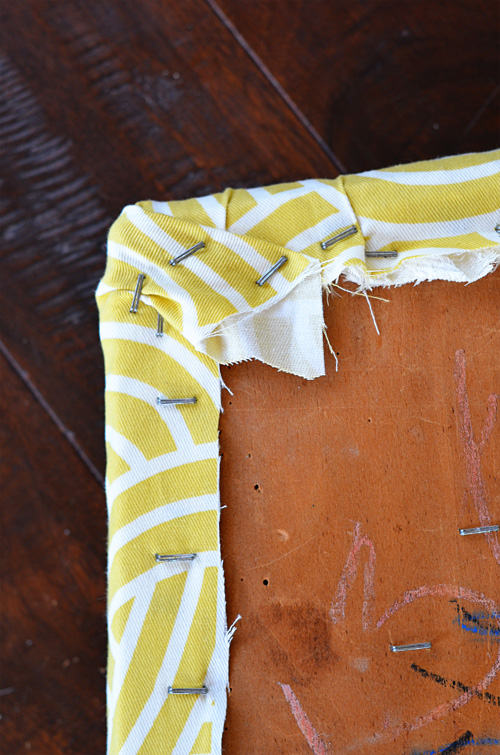
For the corners, I played around with a few techniques and stapled the north side and then immediately south.  After, I went for the East side and then the west.  I was careful to start the stapling in the middle of each side and then work towards the ends.  I have NO idea if this is correct, I just tend to go with what seems natural.  I stop a few inches towards each side.  Now, I gather the corners in a way that made the least amount of creases or pleats where I didn’t want them.  You can see in the pictures 2 little bumps at the tops that i eventually eliminated.

Basically, I see 3 options here:

1. make a corner like you fold a bed sheet under as a nurse (thanks you nursing school for having this technique always in my mind).

2. force the pleating to the center, for a small gathered pleat.

3. spend 20 minutes making super tiny gathers, as a professional would do to create zero pleats.

**Homeschooling Mother of 3 chose #2 which works for the chair which is mostly used near the piano for the 2nd person in a duet.**

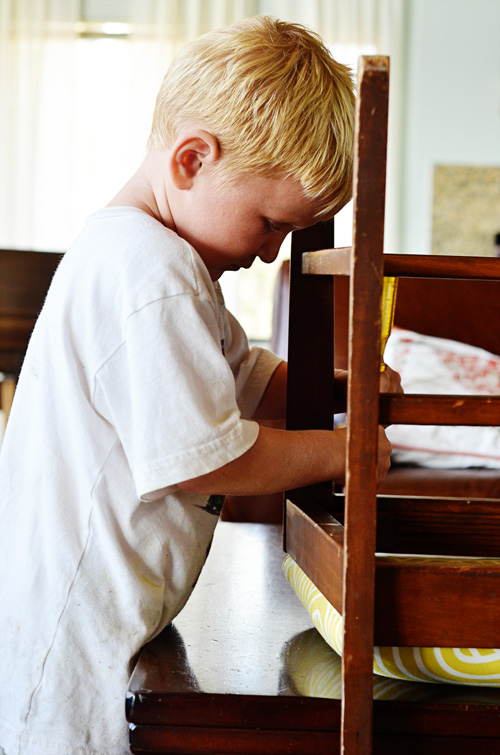
My helper screwing the seat in.  I found that this table position is great for the pressure needed for a sturdy installation.

Overall, I’m happy because what can you expect out of less than 10 minutes?  I can see the fabric peeking out but you could very easily remove your fabric and cover over the padding, assuming it’s in good condition.

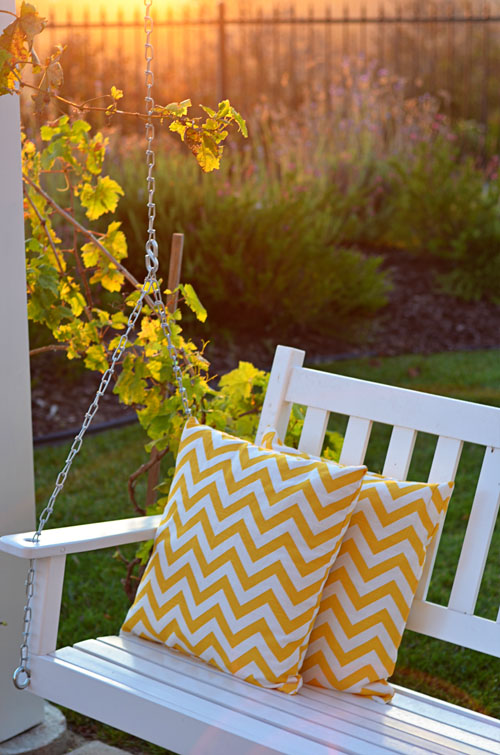
Loving now: chevrons

 I finally finished my pillows…


“Know what you want to do, hold the thought firmly, and do every day what should be done,

and every sunset will see you that much nearer the goal”

Elbert Hubbard

Colour Lovers

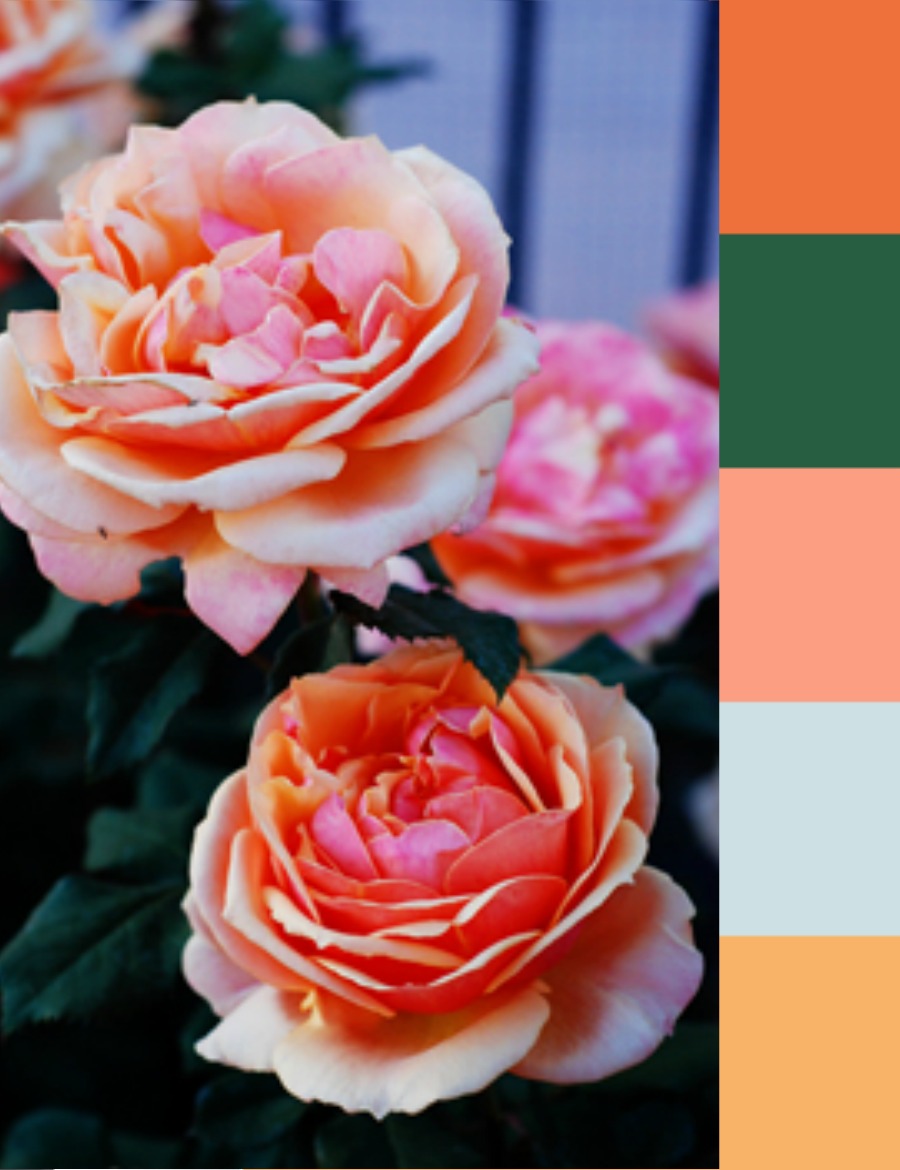
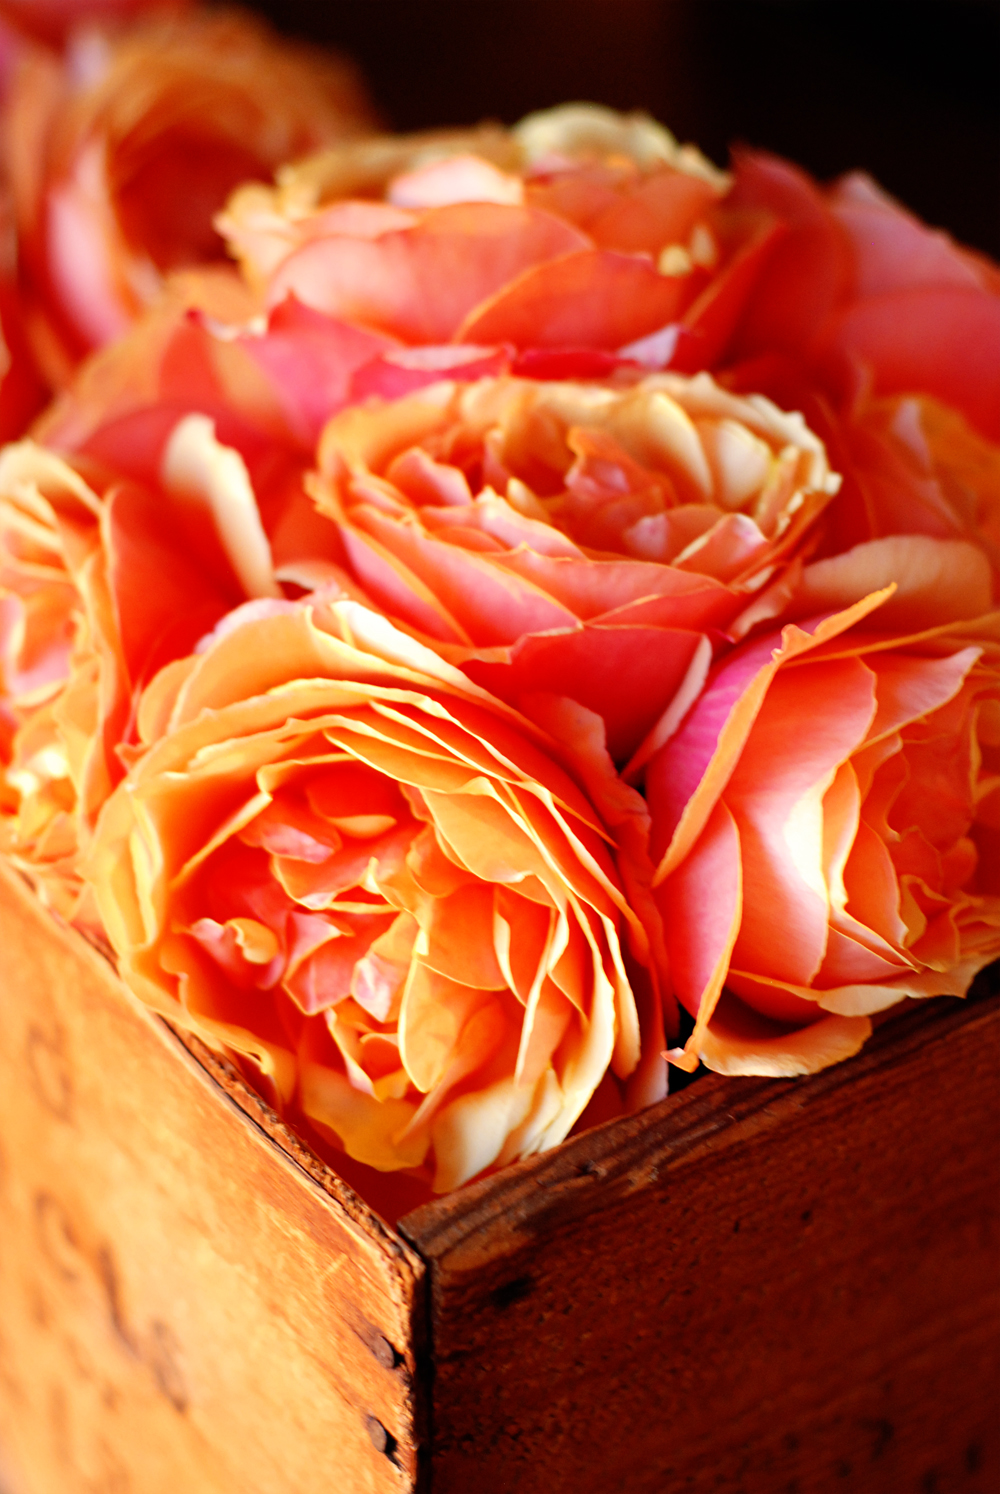
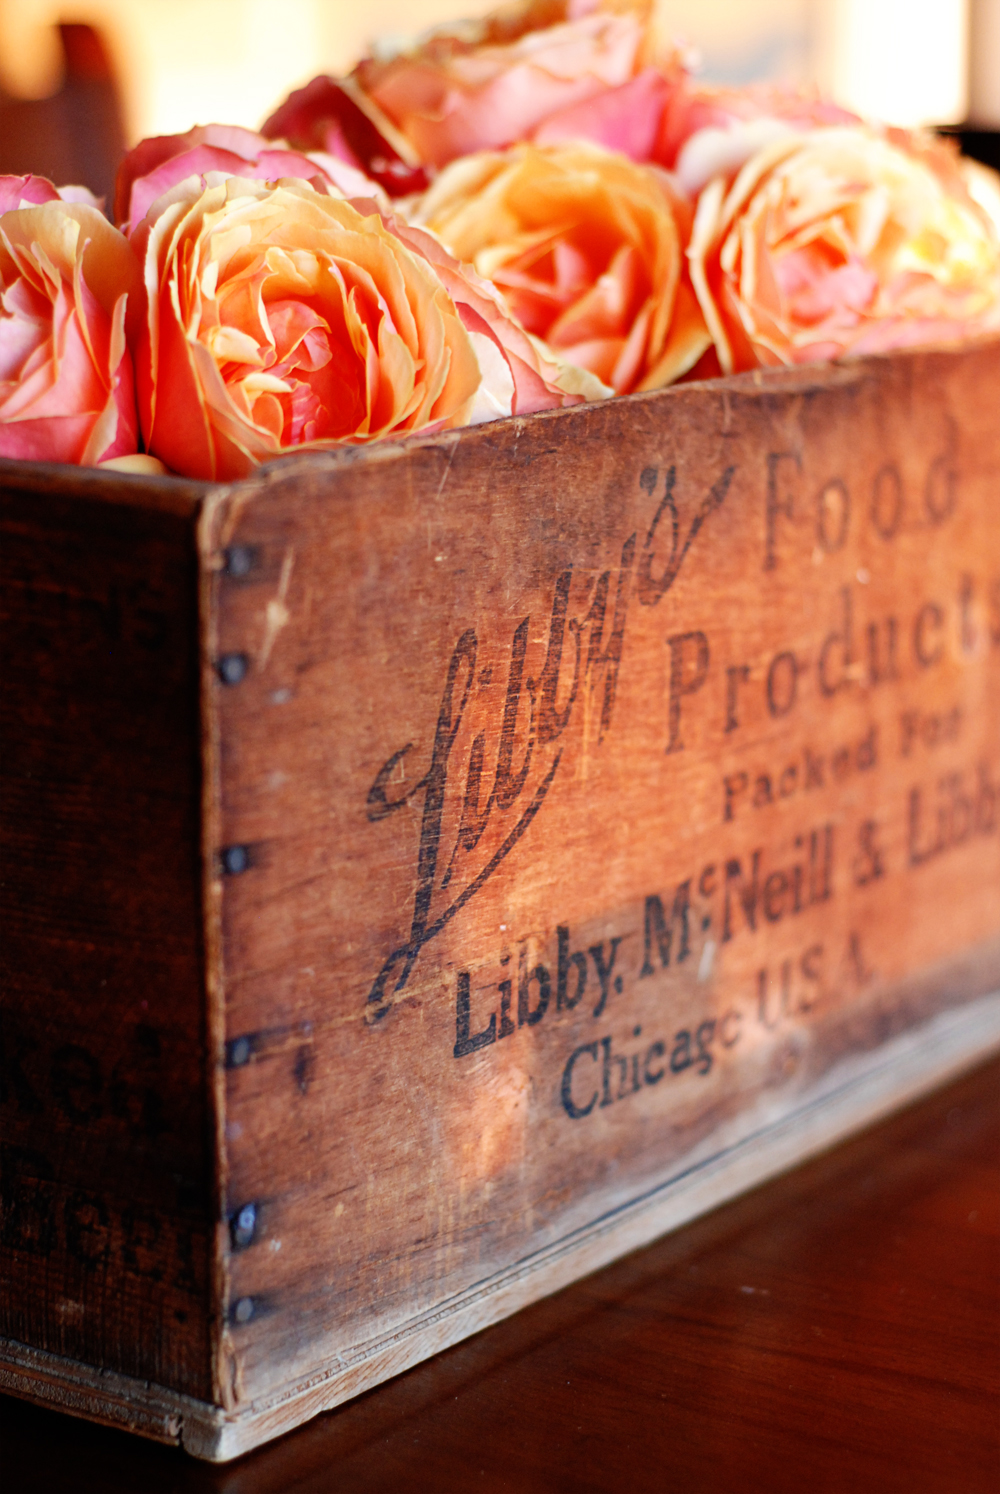
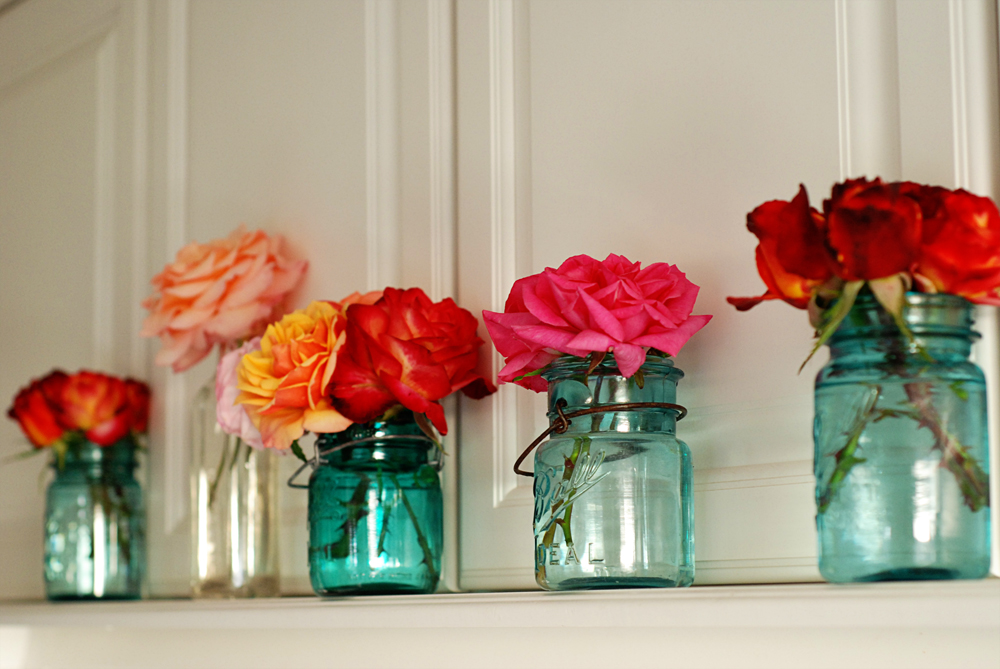
I have been very inspired by the color palettes floating around the blogs right now.  I have figured out a few websites over the last few months  that allow you to make them but,  ultimately, I would have to pay $ to upgrade to the right adobe program or similar program.  Since I didn’t pay the extra smackers, I just made my own.  I don’t have the fancy color hash marks on it but you get the idea.  Each photo or even just things you look at out your window will jump out to a person in different ways.  These colors are simply the ones that jumped out at me when I took this picture of my roses.  Aren’t they lovely?

I did find one site which has a cute little community, which is called Colour Lovers.  Colors or Colours, to borrow from the British and French, have always been something I love to play around with and this is the perfect place to do it.

Design Seeds is another for great color eye candy.  Just.plain.loveliness.

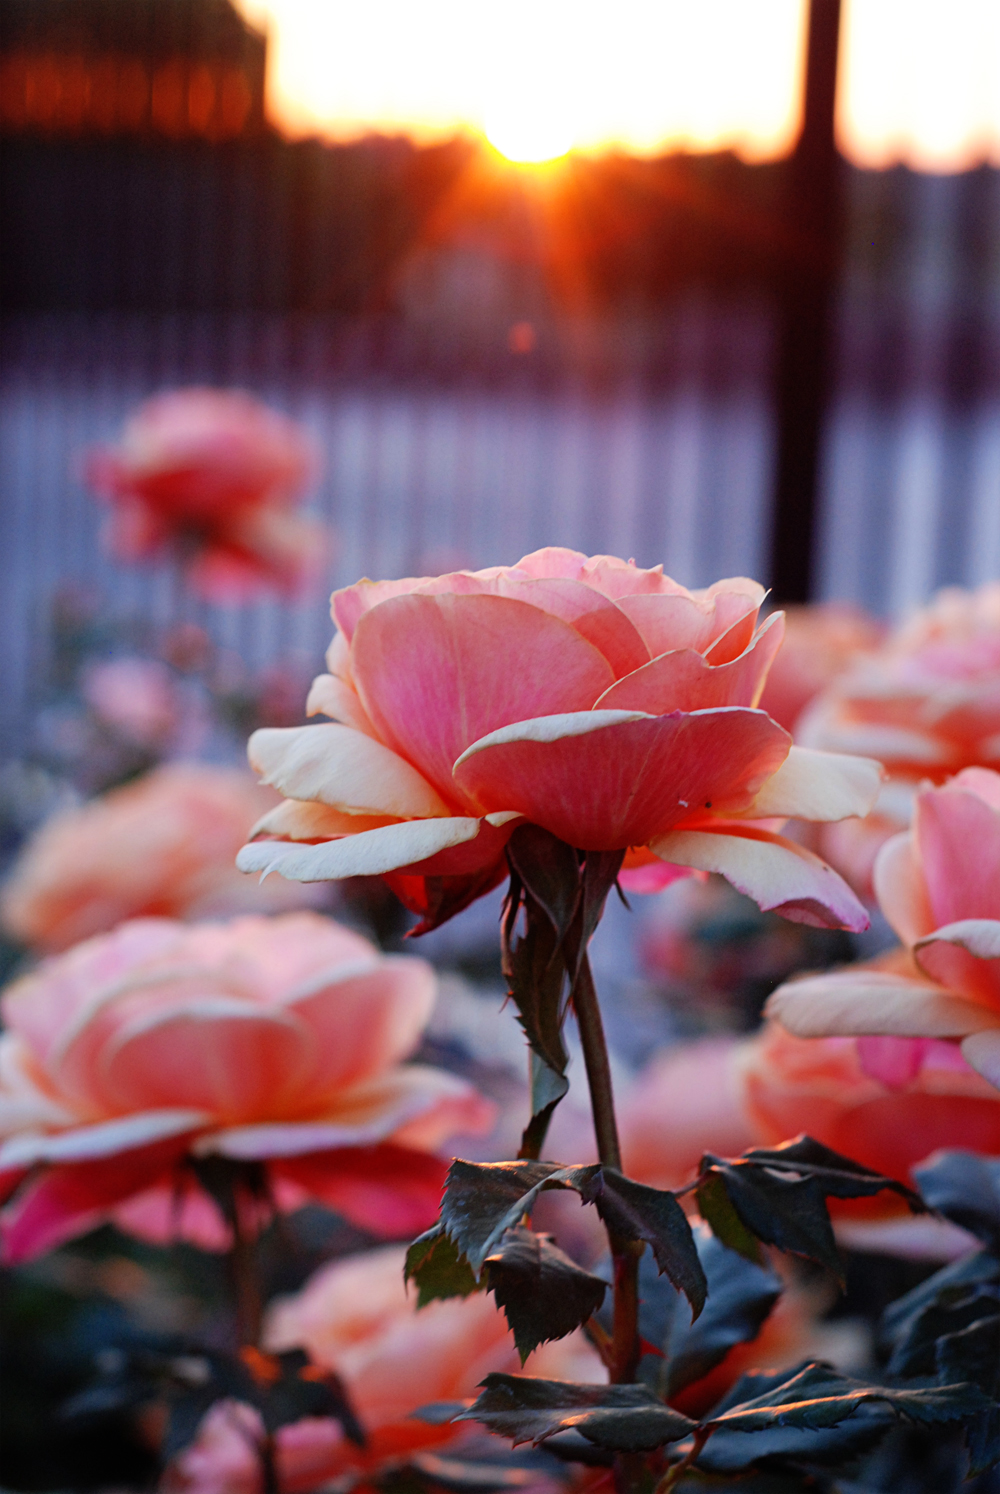
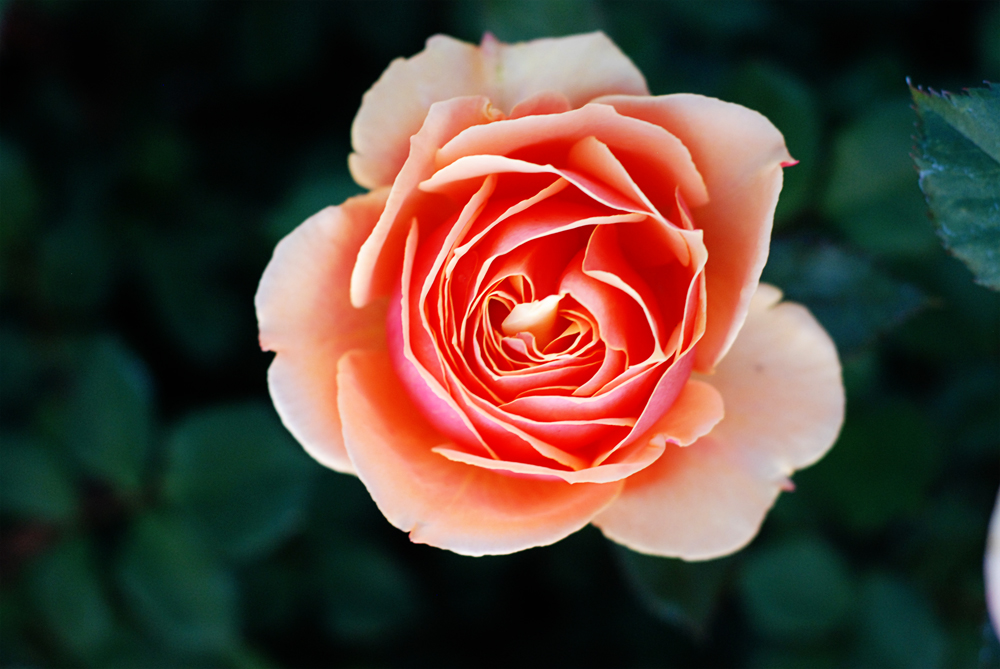
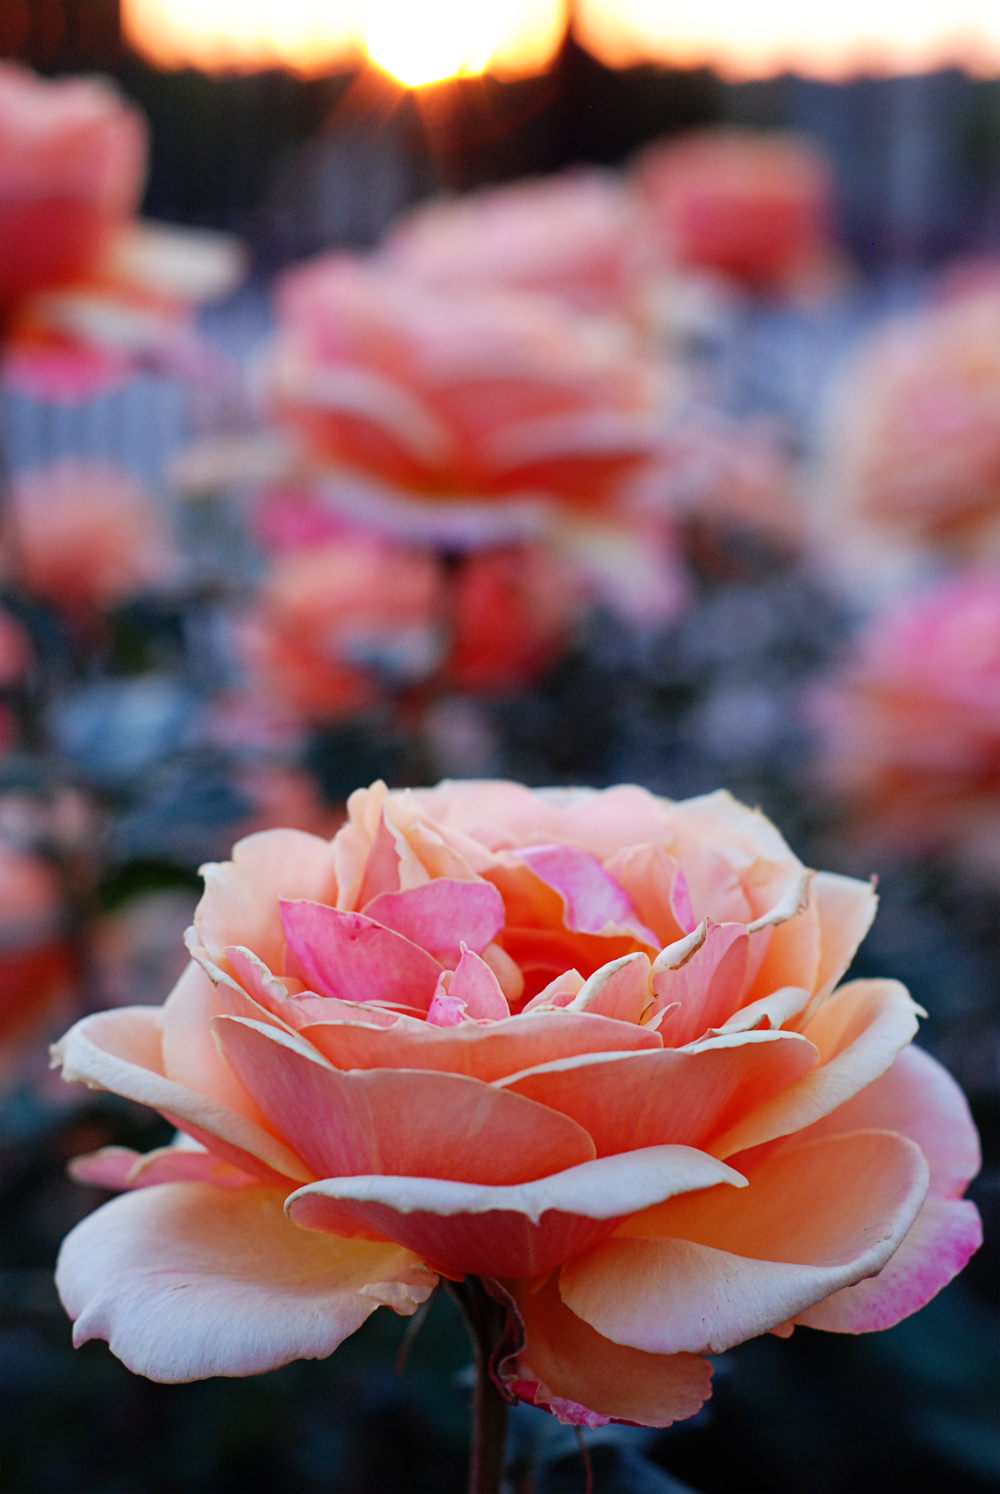
Now for some other pictures of my flowers.  I can’t get enough of this color!

Page 11 of 13« First...910111213