Aoife Rie: Celebrating New Life

agoldenafternoon-7
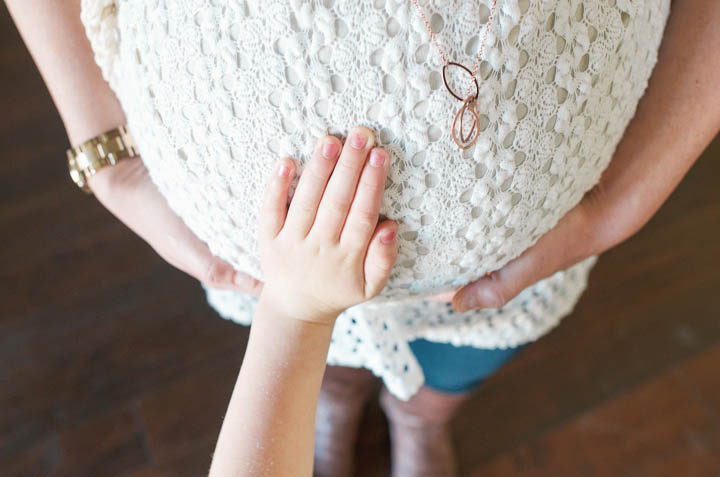
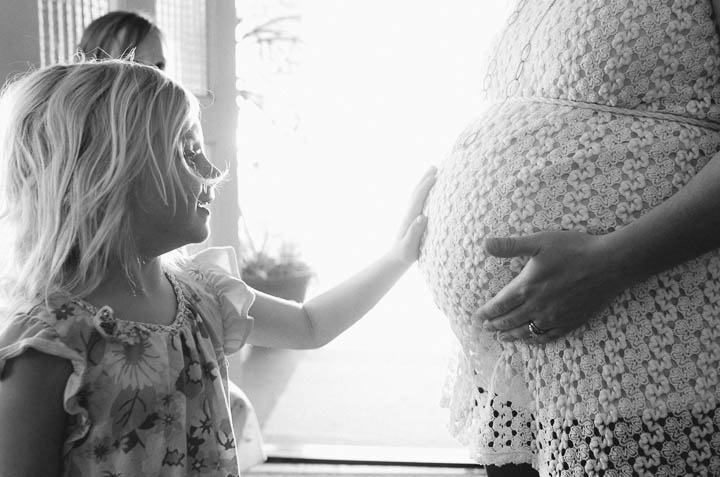
On this special day, the joy was overwhelming for my friend Erin, as she awaited the blessing of a little one.  We had been praying a long time for little Aoife.  She is truly a gift.

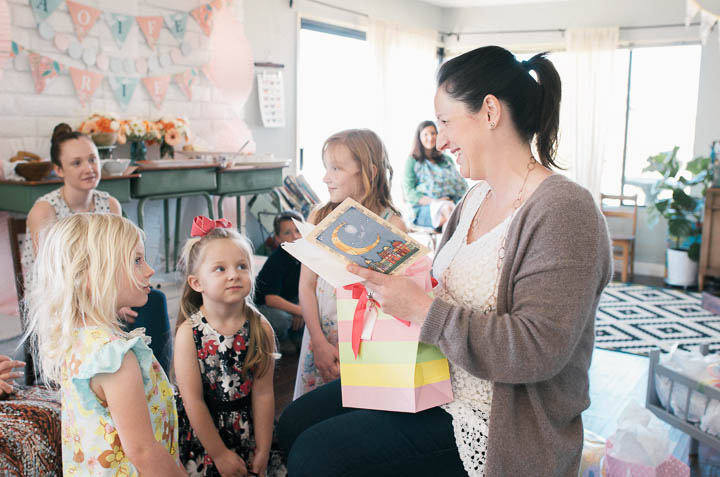
I wanted Erin to feel special and loved.  She is one of my besties so of course she deserves THE best.

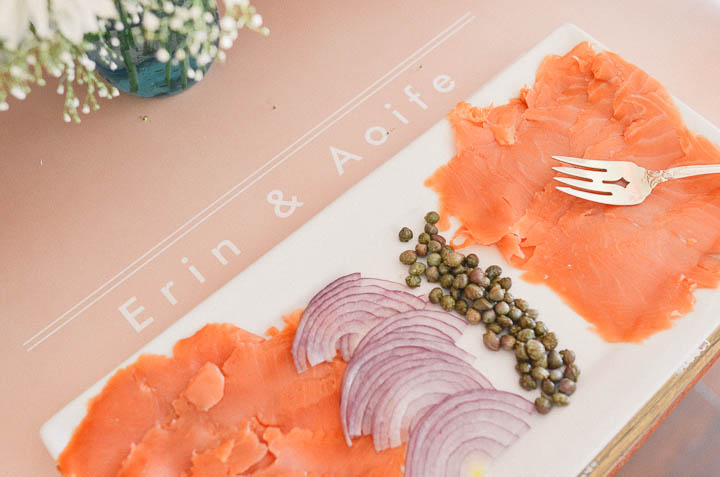
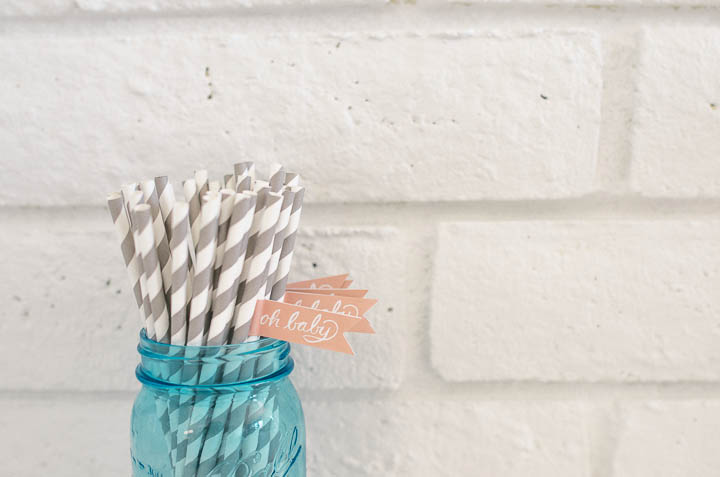
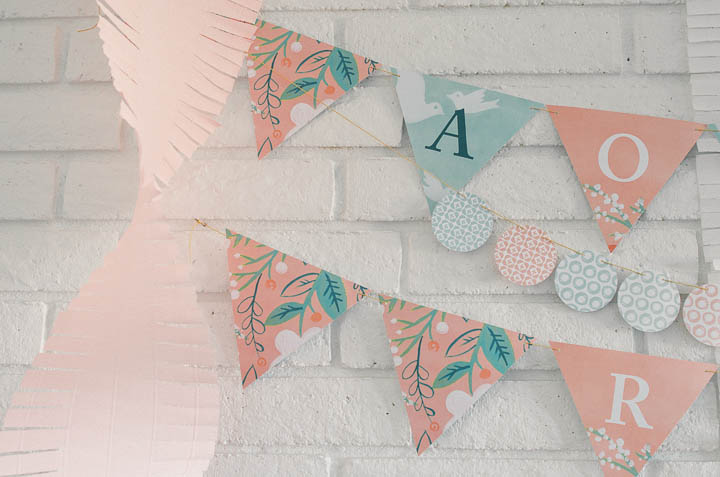
I chose a simple brunch menu, so I didn’t need to flutter about the kitchen as I usually do. I partnered with Minted for the decorations because I’ll use any excuse for hanging their products at a party!  The lovely banner with Aoife’s name, the table runner (very durable material), striped grey paper straws, floral stickers, and the cutest matching straw banners that say “Oh baby” were all from the Minted party decor.   They can be found here on their website under the name “Matthiola”.  To complement the decor, thick crepe rolls can be found from Paper Mart for only a few dollars a piece (pictured surrounding the banner).  Plus, you can reuse the rolls since they are more durable than their baby crepe paper brother you’ve used at parties before!

agoldenafternoon-4agoldenafternoon-5agoldenafternoon-3Simple Brunch Menu:

Smoked salmon platter (thinly sliced red onion, capers, cream cheese, wild smoked salmon, bagels)

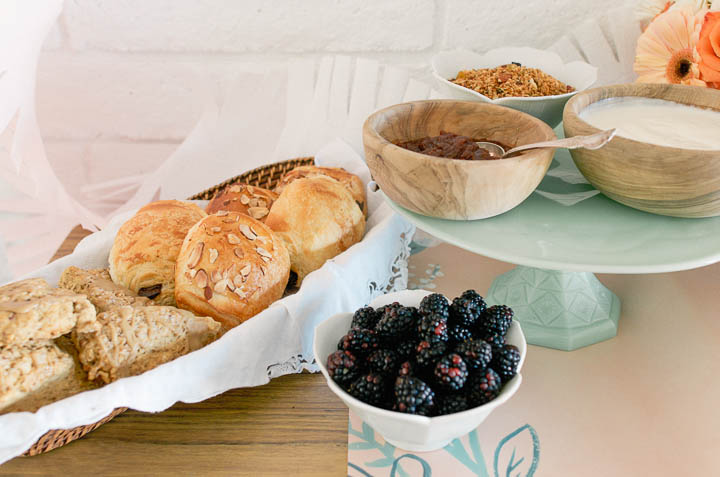
Yogurt, local granola, blackberries, and homemade spiced apple butter

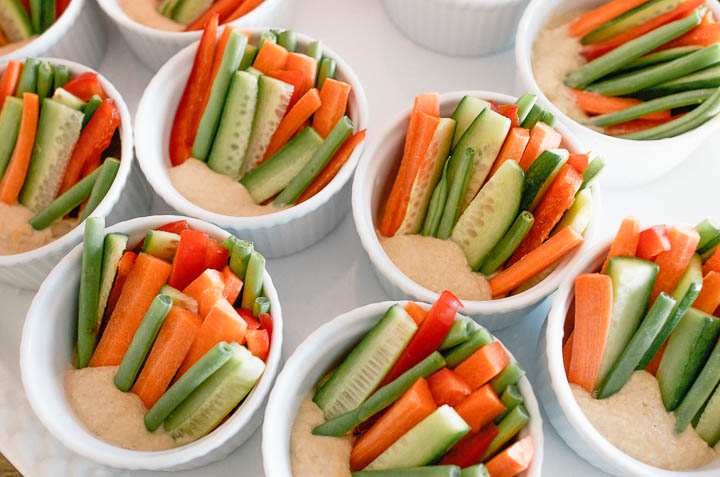
Vegetable crudites and hummus

Chocolate croissants

Maple walnut scones

Bruleed grapefruit (attempted)

Freshly squeezed orange juice from Stehly Farm‘s oranges

Freshly juiced beets, oranges, strawberries, and spinach

To make your party day prep smoother, prep as much the day or night before.  Put things in bowls if you can, prep and cut veggies, put any items you can ready to go on platters, squeeze your juices, and you can even put the serving utensils in your bowls if you are serving everything first thing in the morning.  Every little bit helps.  I try to make my baked items fresh that morning if possible.  In this case, Faith made the scones so they were nice and fresh!

agoldenafternoon-28agoldenafternoon-2agoldenafternoon-10agoldenafternoon-9agoldenafternoon-11agoldenafternoon-12agoldenafternoon-14agoldenafternoon-26agoldenafternoon-16

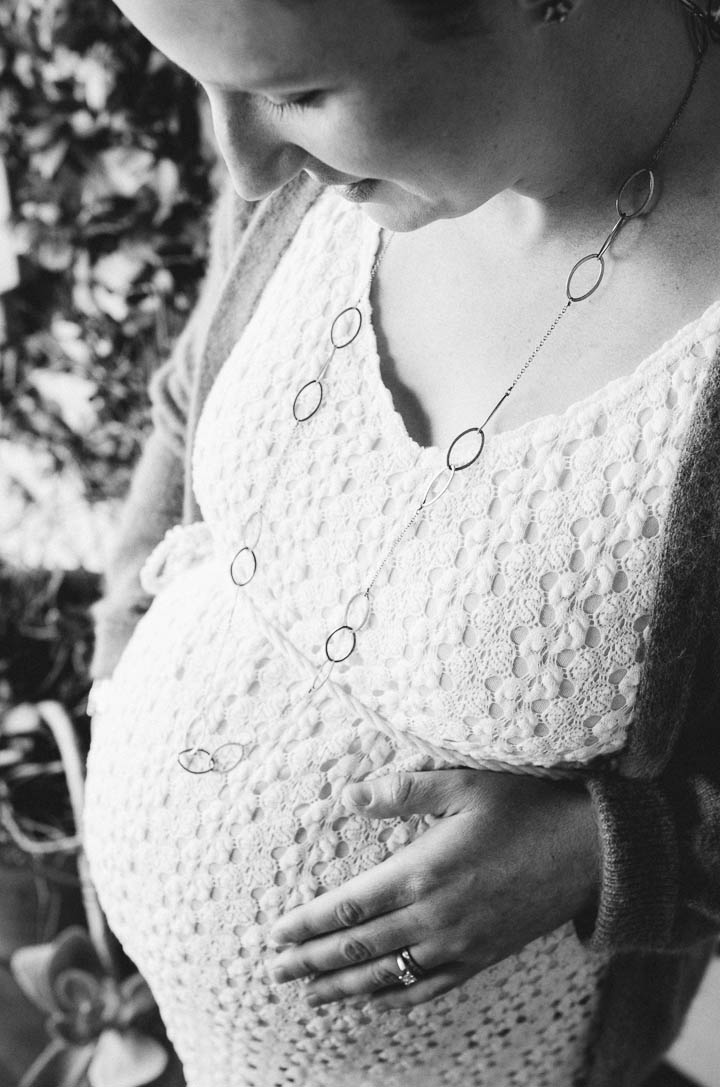
It’s always a joy to celebrate new life.  Such a great reminder of the new life that Jesus brings to us.

I partnered with Minted for the decor shown in this post.  I love this company and all opinions are completely my own.

Click below to follow us on:

F a c e b o o k  //  T w i t t e r  //  P i n t e r e s t  //  I n s t a g r a m  //  E m a i l

Weaving 101

agoldenafternoonweaveAfter posting about our weaving project on Instagram,  I’ve had a lot of questions about our setup and process.

Let me be clear, I AM NOT an expert weaver.  I’m just sharing what I’ve learned in my experience.  Like many others, I have been inspired by Maryanne Moodie. (She sells her own starter kits…I bought one ;)) Her weavings are so dreamy!

Like any kind of creative art, weaving will be a totally different process for every person.  For our first larger weaving,  I wanted to create a weave-as-you-go project for the whole family.  Meaning, I wanted the 5 of us to add whatever we liked, to create this piece of art together.  The only restriction was that the items had to be white or cream colored and a natural product.  At least this way, there would be some uniformity.  The sticks didn’t make the cut…nice try boys. ;)

Kind of looms and links for where to buy:

Potholder Looms:  You can find vintage metal ones on ETSY or Ebay.  This was our first kind of loom several years ago.  (less than $15)

Lap looms:   Best option for starting because of price and the size of the weaving space.  Best for kids who have short attention spans and want immediate satisfaction. (less than $20)

Standing/Tabletop Loom:   My favorite choice for a more substantial weaving.  More expensive.  (less than $75)

Floor Loom:  If you wanted one of these, this post is irrelevant to you.  haha (more than $1500)

Below is a BASIC weaving tutorial…have fun!

agoldenafternoonagoldenafternoon-4agoldenafternoon-2agoldenafternoon-9

Weaving 101

Supplies:

Loom

1 weaving needle

Shuttle (that holds your thread to be passed through)

2 pickup sticks

warp thread (to use up and down.  I use cotton twine.)

weft thread (to use side to side.  Use any material for this!)

any additional weaving fibers:

lace, wool roving (my fave!), wool yarn, twine

To start your weaving:

1. Starting at the bottom left, you’ll take your warp thread (the name of the threads which run top to bottom) and tie it to the furthest peg on the left.

2. Now, bring the warp thread up to the furthest peg on the top left.

3. Bring it back down to the bottom where you tied the warp thread initially, skip a peg, then loop around the next one.

4. Repeat, going back up to the top, always skipping a peg.  when you’ve reached the end of the pegs, tie the thread to the last peg.

5. To start your initial weaving process, weave the pick-up stick over and under each warp thread, until you reach the end.  I started on the right side because it felt right (I’m right-handed).  You could totally start on the left, lefties. ;).  Now, turn it on its side so it makes a space in between the threads (called a shed).

6. With a new piece of thread (called the weft) attached to a weaving needle, leave a tail for the thread, and pull this through the space or shed to the other end.  Now, slide the stick to slightly tighten the row and then up to the top of the loom, where you will use it for every other weave.  This step with save you from weaving a single thread back and forth each time.

7. After you slide the stick up, start weaving with your pick-up stick on the opposite side you started. Mae sure you are going under and over the OPPOSITE you did last time.  You can test this by pushing the stick down.  If it touches your previous row, you are on the wrong track.  If you push down and meet with the resistance of your warp thread, you are on the right track!  Weave to the end. Slide the stick down to tighten the row and remove it after.  One stick stays on the loom at all times (either creating a shed or “resting”), while the other is used alternately.  As you’re weaving each row, don’t pull too hard or the whole weaving piece will start to pull towards the center, losing your desired square shape.  This might be hard to teach the kids but I don’t really sweat it. ;)

8. Now, slide the stick back down and turn it to make a shed again.  You can now continue with steps 6-7 again until the weaving is your desired size.

9. Remove the weaving from the loom.  Gently pull each loop to make the weaving tight.  Once all loops are tightened, secure each end thread with a knot, then cut the extra off. (You can also add tassels to the end loops at this point but i was keeping this basic. :)

Enjoy your creation!  You were just WEAVING! Can you believe it?!

agoldenafternoon-7agoldenafternoon-12agoldenafternoon-3agoldenafternoon-5

Click below to follow us on:

F a c e b o o k  //  T w i t t e r  //  P i n t e r e s t  //  I n s t a g r a m  //  E m a i l


Fall in Love with Food

10475225_646982808709628_3687925982727578183_nReal food wants you to love it again.

It’s been waiting patiently for you while you were with other foods who were pretending to be something they aren’t. Just eat the whole foods that haven’t had plastic surgery or botox and you will fall in love with flavor, color, and intense deliciousness all over again.

This relationship wasn’t meant to be complicated.

Go find real, pure, awesome, local food this summer and love it to pieces.

Click below to follow us on:

F a c e b o o k  //  T w i t t e r  //  P i n t e r e s t  //  I n s t a g r a m  //  E m a i l

Capturing Childhood: Phone Photography Tips

agoldenafternoonkidsphototipsI get asked for tips on iphone photography ALL the time.  I don’t consider myself to be the best at this, but I am willing to share what I have learned. Today, you will find some of my tips on my friend Audrey’s blog, This Little Street.  She just had a sweet little baby girl and asked me to guest post while she enjoys her little one.  I had a slight delay because of some family issues, but now I am excited to be back in the writing game!  She was so patient and sweet to me while she waited for my post!  Enjoy my post and I KNOW you will linger on her blog awhile!  She is lovely. ;)

Click below to follow us on:

F a c e b o o k  //  T w i t t e r  //  P i n t e r e s t  //  I n s t a g r a m  //  E m a i l


Book Club: The Count of Monte Cristo

montecristoCan’t put this book down!

We are reading “The Count of Monte Cristo” for our book club. I’ve always wanted to read it. If you’ve never read it, DO IT! Long but worth it.

Have any of you read it?!

Page 7 of 54« First...56789...203040...Last »