You have no idea how excited I am about this drink. My friends and family know me by now as a crazy cocktail dabbler. I can’t help it. I just love mixing flavors and following trends of my own changing taste in food and drink. When I pick a flavor, I pretty much stick to it for a while and it will appear EVERYWHERE!
Grapefruit:
I made a cocktail, cookies, and soap.
Honey:
replacing every sugar product I can with it.
Ginger:
I made many different cocktails (some with grapefruit), cookies, and also just ate it candied.
Five spice:
It went in chicken, soup, and cookies.
The next one is definitely bourbon. I have had this trend in the past, but I am definitely using bourbon whenever I can at this point.
I love it so.
This cocktail is very special to me because I really love it. If you asked my husband if I am happy with the food and drink I create, he would say no way! I can’t help but want to improve upon things and make them better. This drink, however, I just really love as it is. The maple syrup really holds down the bourbon, making it nice and smooth. I love the sweet finish of apple brandy and our homegrown apple slice on top.
Introducing my Holiday 2012 cocktail:
Maple Bourbon Twist
(thanks to Brianne and Kristin for helping me name it)
1 oz. Bourbon (I prefer Knob Creek or a small batch bourbon)
3/4 oz. maple syrup
3/4 oz. lemon juice, fresh squeezed
2 small splashes of apple brandy
Combine all ingredients in a shaker and shake for 1 minute. Serve in a martini glass with an apple slice. This can easily be made into large batches. Add a little club soda if it’s too strong for you!
C H E E R S !

If you liked what you see, stick around and find me on:
F a c e b o o k // T w i t t e r // P i n t e r e s t // I n s t a g r a m // E m a i l
Aren’t you guys just loving fall?!
spice
chill
snuggling
baking
leaves
cider
friends
The weather stays pretty mild here, but we try to soak fall in whenever we can. Sometimes we just pretend it’s cold and bake something anyway.
For the holidays, I would be lying if I said I like to keep it easy. I do however like to find ways to make the process easier. I’m learning. One way to keep things simple is to make the cranberry sauce ahead of time. I usually make 2 kinds, this one and a canned remake you can find here…tin can mold and all!
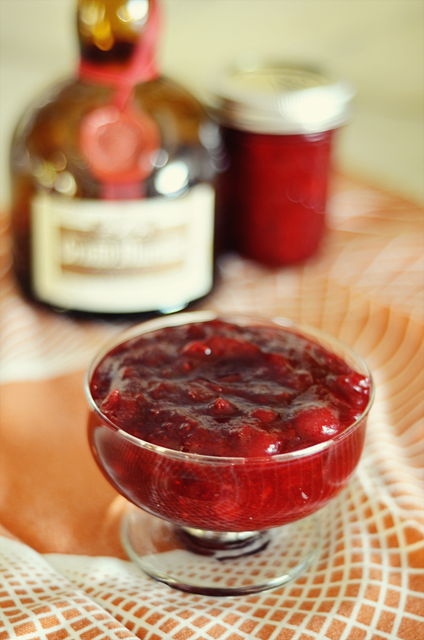
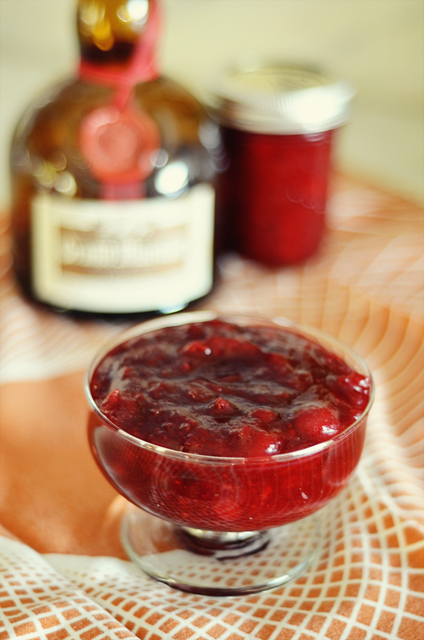
The orange zest and Grand Marnier in this cranberry sauce are a bright and fresh addition to any holiday table. This recipe makes plenty to share. If you are just a few this year, cut the recipe in half, share with a random neighbor down the street, or follow the instructions for canning it!
Fresh Cranberry Sauce with Grand Marnier
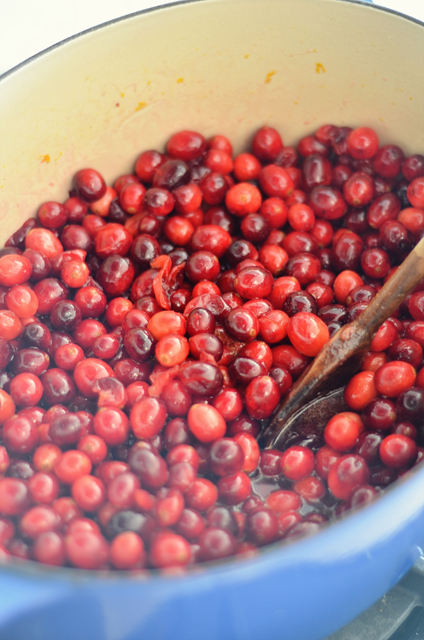
2 12 oz. packages of cranberries
2 cups of sugar, add more if desired really sweet
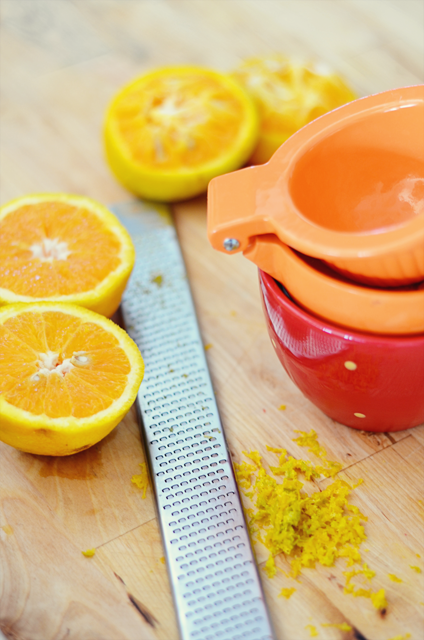
zest from 1 orange
juice from 2 oranges
4 Tablespoons Grand Marnier
few dashes of cinnamon
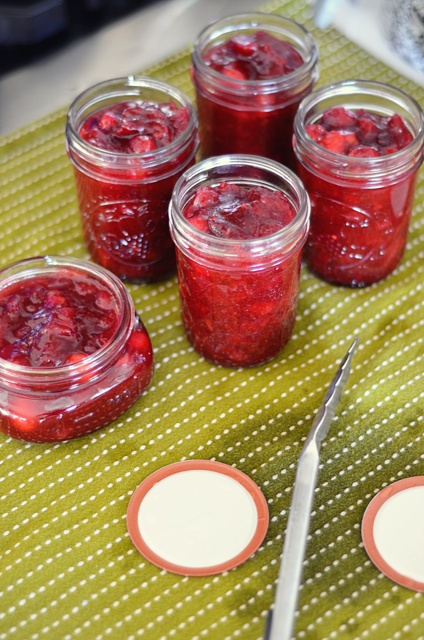
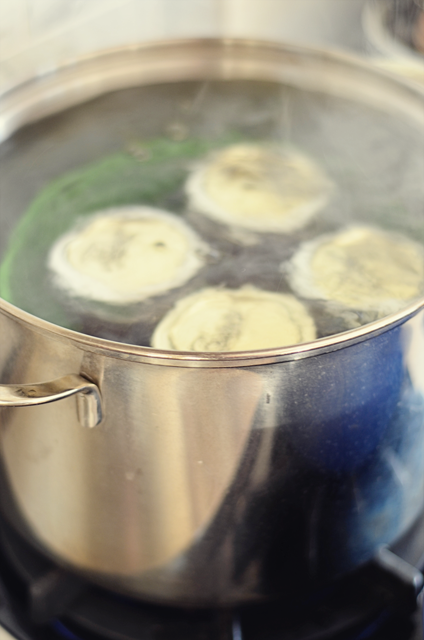
Boil a large pot of water, 3/4 full (only if canning the sauce). In a second large pot, combine all ingredients. Over medium heat, simmer the mixture until the cranberries have burst or until it has thickened. If not canning, refrigerate up to 3 days before you would like to serve it. If canning, sterilize the jars and lids, then immediately add the hot cranberry sauce to the jars, leaving 1/4 of headspace/room on top. Wipe the rims with a clean cloth to prevent the lids from sticking and to encourage a proper seal Process/boil with 1 inch of water covering them for 5 minutes, remove, and cool for 24 hours before moving.
If you can this sauce, you can easily travel with it to parties or give as hostess gifts. I did this last year and it saved me a lot of time. You could even check it in your luggage as a way to bring some homemade to wherever you are traveling this holiday season!
Either way, it’s a wonderful handmade gift!
Add a lovely label from Heather’s new Paperie Shop for a perfect finishing touch!
How many of you like pumpkins? Yeah, me too.
Carving them? Some of you? Not my thing.
Do you like messes? Yeah, I don’t either.
Do you like to do fall decorating projects with your kids? Totally!
That’s why you’re reading this, right?
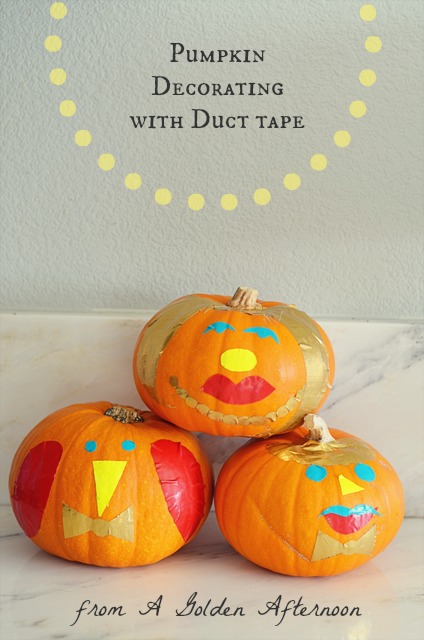
So, basically I created this project to be a fall activity, to do with your kids, which is not messy, still involving a pumpkin (although it is not being carved), and can still be used as a decoration.
***SPECIAL BONUS: YOU CAN STILL EAT THE PUMPKINS AFTER! YAY!***
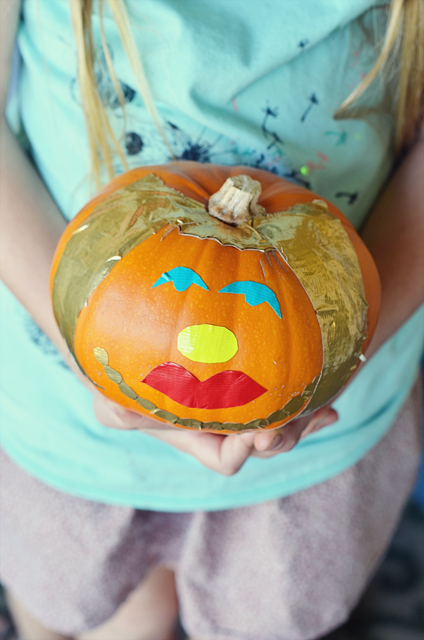

To start, become familiar with what will be your new friend….DUCT TAPE. We all love it and use it regularly. I recently repaired my central vac hose with it, “fixed” the bottom of my computer so it wouldn’t fall off, and put board game boxes back together with it. It is an amazing invention and I am so very grateful to Johnson & Johnson for creating cloth backed tape in WWII days (yes, I totally googled that).
The brand Duck has since turn this remarkable product into something beautiful as well. There are so many designs and colors to pick from so run out and grab some so you can start some projects, including these pumpkins. While you are on their site, check out the amazing contest they are having right now. You could design the next Duct Tape!
No-Carve pumpkin decorating with Duct tape:
I based my designs on a template I printed from Merrilee over at the always lovely Mer Mag blog (best wishes with the new bebe!). She has a post on creating felt pumpkins with interchangeable faces and pieces. You can find her template here, which can be used as a starting point for this project and you can also use to make her felt pumpkins.
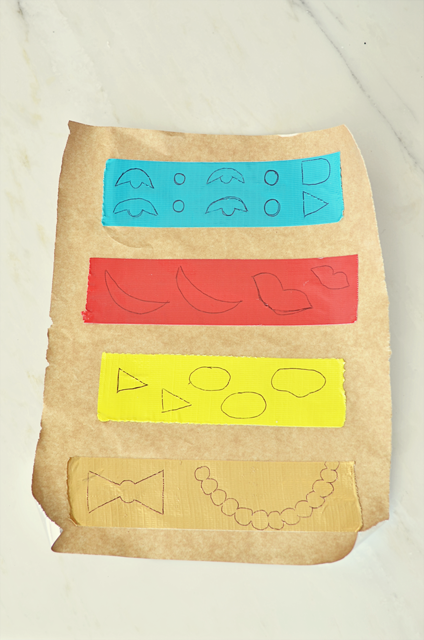
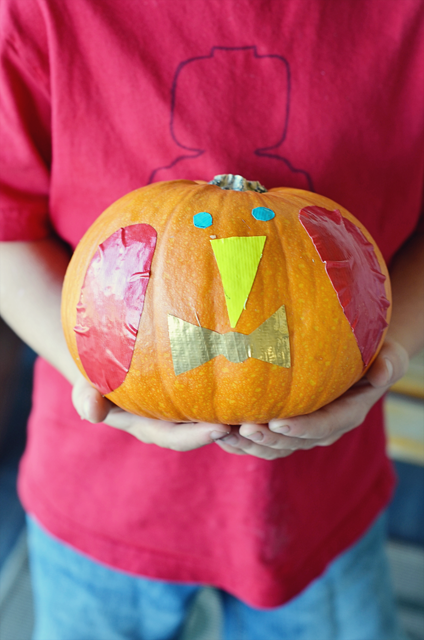
I placed strips of duct tape on parchment paper so they would be easier to cut. I just learned you can also buy duct tape sheets which would save this step. Then, I drew the shapes from the template plus my own. You could also cut out the template pieces and then place them on top of the tape so you can trace them if that’s easier. I added a few bird pieces (for Jack who requested it), a pearl necklace, some girl hair, a mustache, and some curly hair for Dean (also, by request). Cut the shapes out and remove the parchment paper backing.
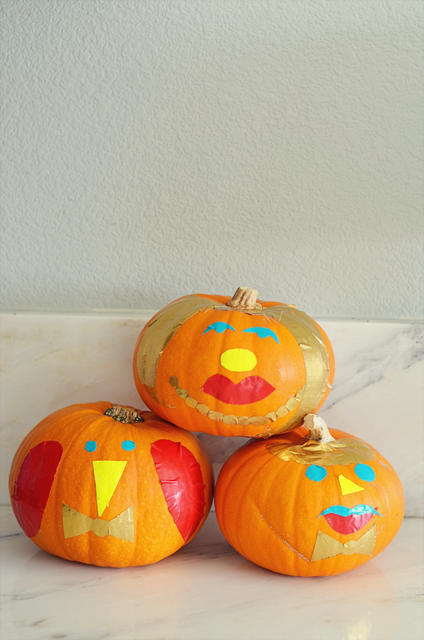
The faces are very easy to take off and move around as you please!

If you are new to this space and have enjoyed your time, stick around and find me on:
F a c e b o o k // T w i t t e r // P i n t e r e s t // I n s t a g r a m // E m a i l
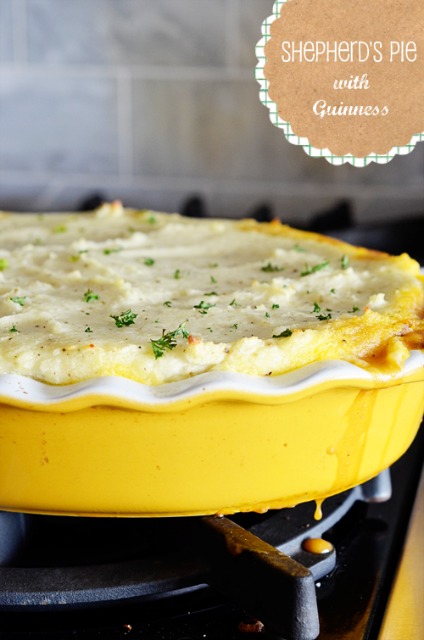
I love Holidays. They are an awesome way to get people together, eat good food, share a bit of happiness, and maybe even relax a little (if you’re not the hostess, of course!) St. Patrick’s day is no Christmas, but there’s a little piece of history there for everyone to celebrate in.
St. Patrick (or Maewyn Succat, as he was known) is a really incredible person. He was actually an accidental slave brought to Ireland, who seemed to know, even then, that God had a reason for sending him to such a crazy far-away place. Years later, when returned to his home country, he felt the need to go back to Ireland and share Jesus with as many people as he could. Now, how many times have we complained about something horrible or even just inconvenient happening to us and we wonder what God could possibly be thinking? I do it all the time. I probably did it today. I’m sure Maewyn wondered, but he still went. He trusted God’s plan even though it meant a complete 180. Sometimes we are meant to have u-turns, like Joye said the other day, even though they are confusing and sometimes painful. God was with Maewyn and He is with US through every decision, giving us the Holy Spirit, wisdom, and FAITH.
Anyone out there Irish? I may have red hair but I am not the teeniest bit Irish (that I am aware of). 99% of the people who ask me about my hair color, assume I’m Irish. My kids have some Irish in them from their Daddy’s side but Scotland is where it’s at for this girl!
I wish you could all come over for a big party on St. Patrick’s day, so instead I’d like to share my shepherd’s pie recipe.
Shepherd’s Pie with Guinness
potato top:
1 1/2 pounds of russet potatoes, pealed and cut into large chunks
1 cup milk
4 T. butter
salt and pepper
meat filling:
a few T. canola oil for pan
6-8 medium carrots, chopped
1 c. red onion, diced
4 garlic cloves, miced
1 1/2 lbs. ground lamb, turkey, or beef
(Lamb is the traditional meat, but I’ve made it with all 3 meats successfully)
salt and pepper for seasoning
3 T. Gluten-free flour (or whole wheat)
1 T. tomato paste
12 tsp. Worcestershire sauce
1 T. rosemary, chopped
1 T. thyme, chopped
1 1/2 c. Guinness beer (you can sub a broth for this if you prefer)
1 c. peas, fresh or frozen
1 tsp. parsley, for garnish
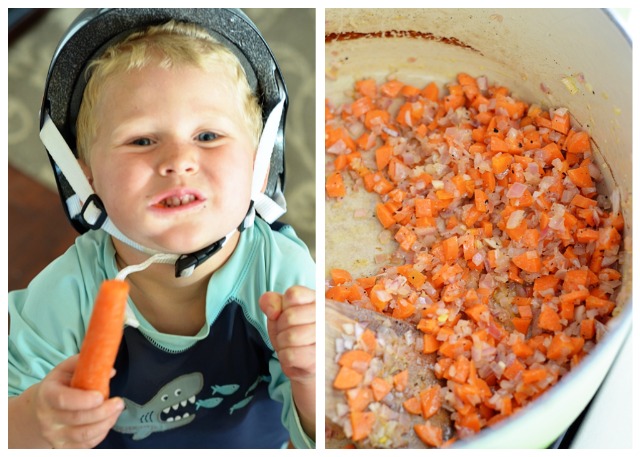
Start by boiling the cut potatoes until tender. They usually take at least 30 minutes, which is why it’s best to start with them. Then, saute the carrots, onions, and garlic with a few tablespoons of olive oil on medium heat. You can find some lovely carrots this time of year if you have a local farmer’s market. Add some salt and pepper (to taste) and cook until the onions are browned, about 10 minutes.
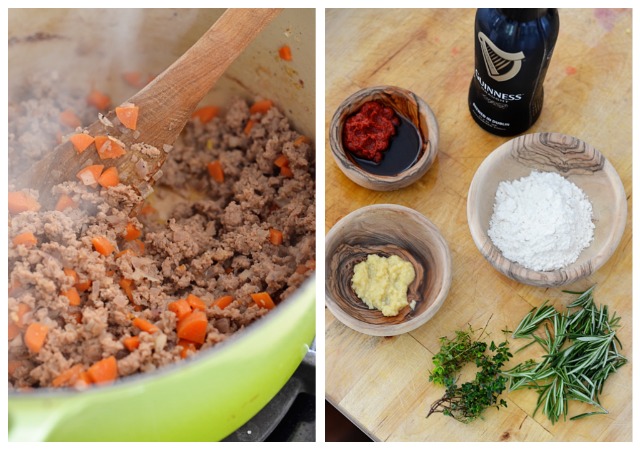
Add the meat to the veg mixture and cook through. While this is cooking you can measure and prepare the seasonings above.
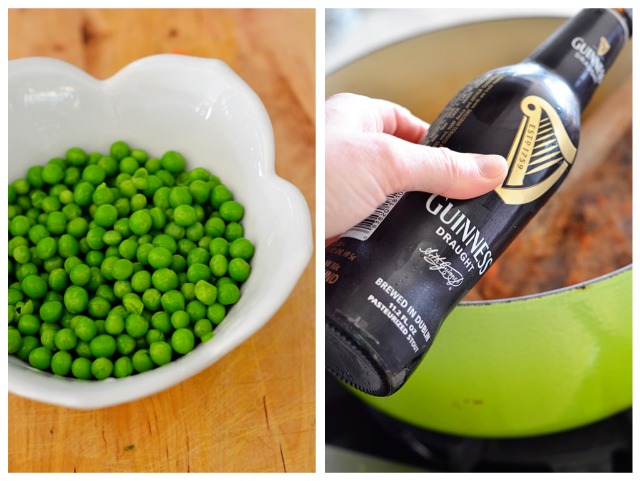
After the meat is cooked, add the flour. Stir. Then, add the tomato paste, Worcestershire sauce, rosemary, thyme, and beer. Add more salt and pepper as needed. Cook for 10-15 minutes until the liquid thickens a bit.
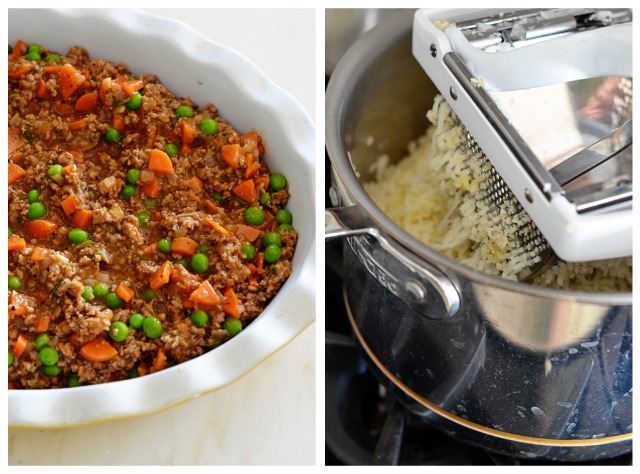
Put the meat filling in an oval baker or 11×7 in. pan. Mash the potatoes or put them through a ricer. Add the milk, butter, and salt and pepper and stir until combined. Spread the potatoes over the filling. Place on a baking sheet (in case it bubbles over a bit) and cook at 400 degrees for about 25 minutes.
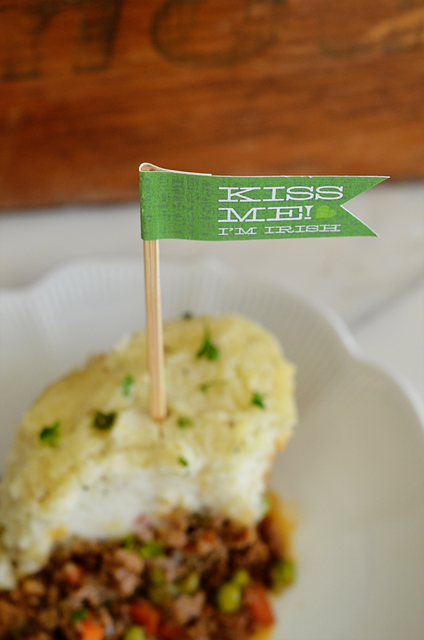
I found these adorable St. Patty’s printables from Ellinee. Enjoy the food and invite a few people over for some good Irish beer and some laughs :)
Back in the very very beginning of my time of writing posts here, I made vanilla extract. It was a wonderful experience. No, I’m not weird for thinking that. The reason it was so wonderful was because it was SO easy. I love replacing things that I buy at the store with homemade versions, but even more than that, I love it when they are EASY projects. I do have to warn you that you will probably never buy it again if you make it. That’s probably exciting for some of you, but there are others of you who will be doubtful of it. If you were a vanilla snob already and are used to forking over $19 for the big Nielsen-Massey vanilla bottle (although my mom has given some to me in the past that she found cheap somewhere…thanks, mom). If that is you, this will definitely save you some big bucks. If you typically buy the grocery store brand of vanilla that is “imitation” and usually doesn’t contain alcohol, this will not save you money. You should still make it, though, since that imitation stuff is pretty yucky.
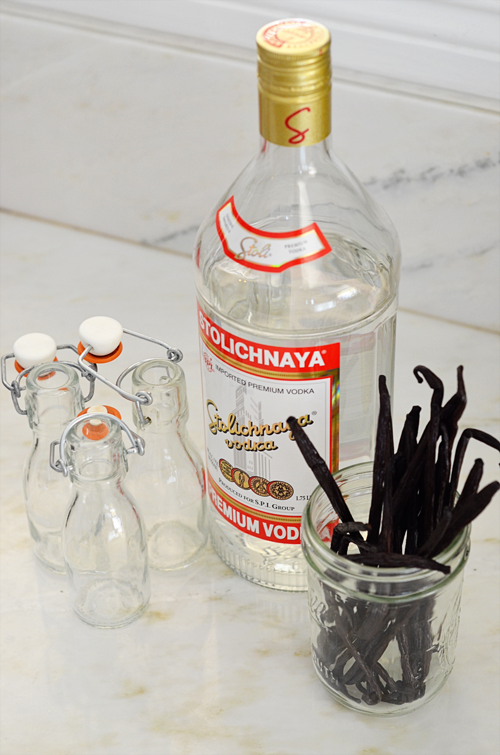
The only ingredients are:
Vanilla Beans (2 for every 1/4 c. vodka) & vodka
I followed this site again in their recommended ratio of beans to vodka.
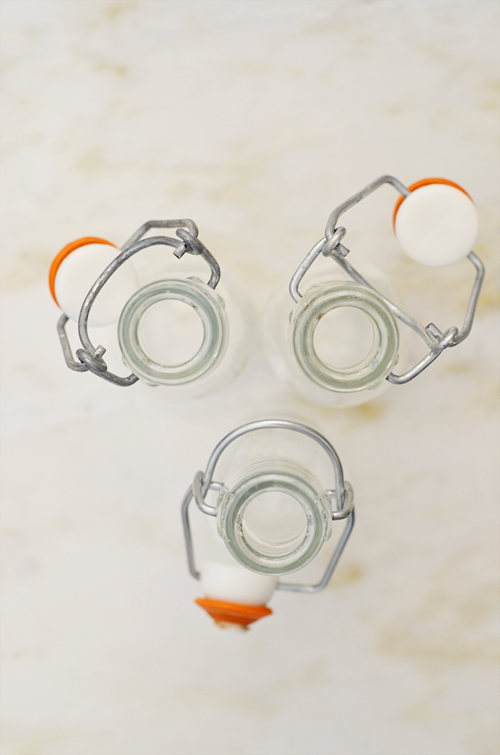 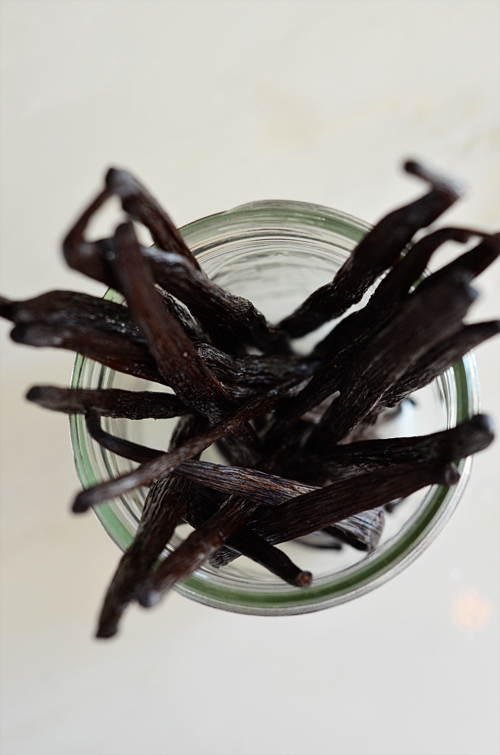
I got these perfect size little bottles at The Container Store last year and they would be perfect if you can find them. I went this year (during the annual awesome wrapping paper extravaganza) and they didn’t have any. UGH!! I search all over online and nobody ships this size. The will ship one that is 10X as big, but not this teeny tiny one. So weird. This year I decided to try the cheaper beans from Trader Joe’s which are $4 for 2. Trust me, that’s a deal compared to $14 from McCormick’s at the grocery store or $8.50 for the Nielsen-Massey.
 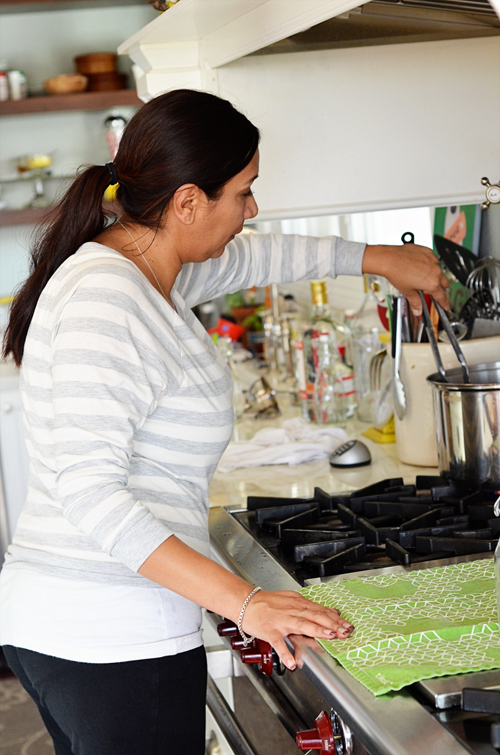
Before you start, sterilize the jars in boiling water for 8 minutes. Erica is doing an awesome job showcasing this :).
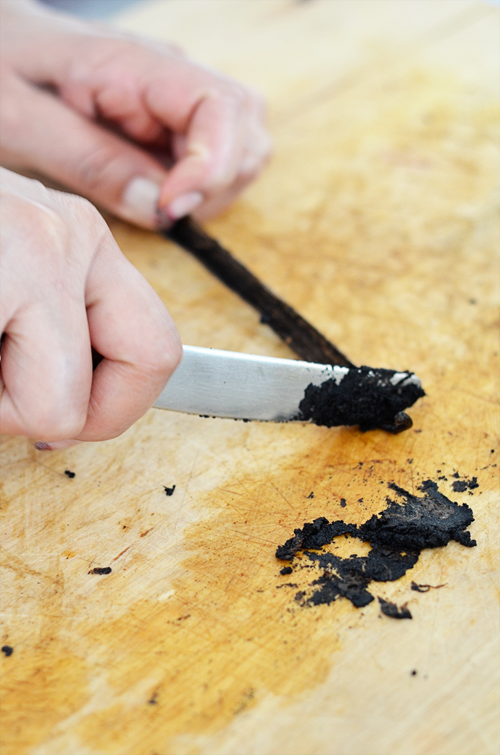
1. First scrape the beans. If you slice the bean down the middle without going through the bottom layer, you can peel it open and get a good, clean scrape.
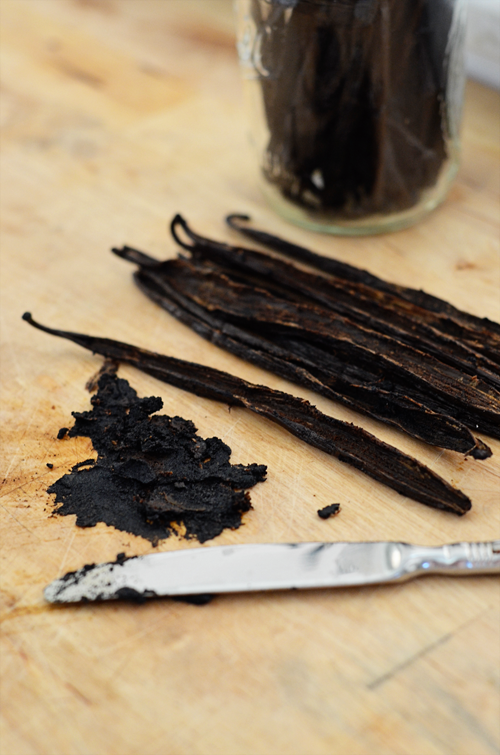 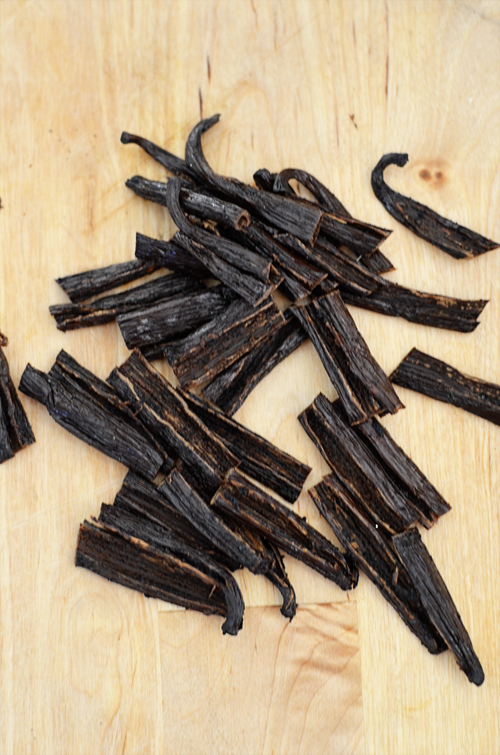
2. After a the seeds (called caviar…love that!) are removed, cut the beans in about 1 inch pieces. They will not float to the top if they are smaller pieces.
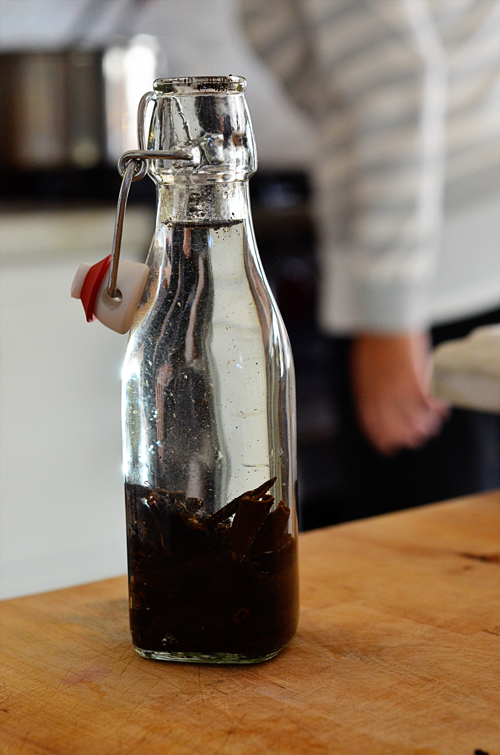
3. Measure your liquid space in the jar by using water first. Once you know how much liquid you need, you will know how many beans to use. For example, I used a cup of vodka in my jars, so I placed 8 beans inside.
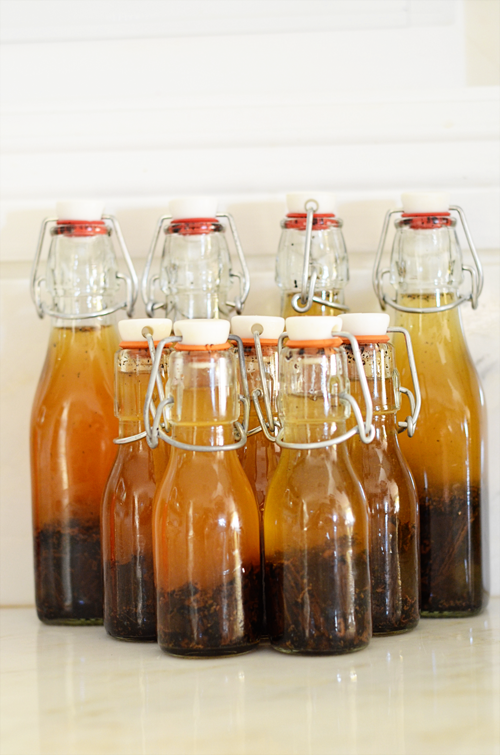
4. At first the bottles will just look murky, but as you shake them every day, the fluid will get darker. For the first few days, shake them a few times a day. After that, shake them once a day for 2 weeks. Then, you can shake them only when you think of it.
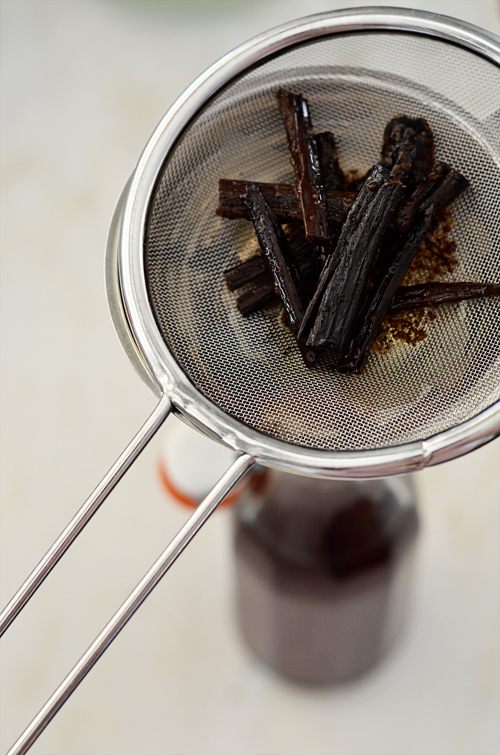
After 6 months, you can strain the extract. I’ve kept mine in for a year, but I’ve heard the beans go bad after a while. You can also put new beans back in the bottles if you like.
I am aching to make something I tried today at WhiskandLadle. We went to the Scripps La Jolla Aquarium and then over to WhiskandLadle for brunch. To start, I had a piece of butterscotch banana bread with dulce de leche. Yes, it was as good as it sounds and was a perfect comfort food since I wasn’t feeling really great. I really want to make it and this vanilla extract will be perfect in both the banana bread and the dulce de leche.
Now, for some vanilla extract labels…
|
|


