West Elm Summer Entertaining Event

WestElm

I’m so excited to be participating in another West Elm entertaining event!  This time we are freshening up for Summertime!  I will be sharing some ideas to brighten up your Summer tables and patio!

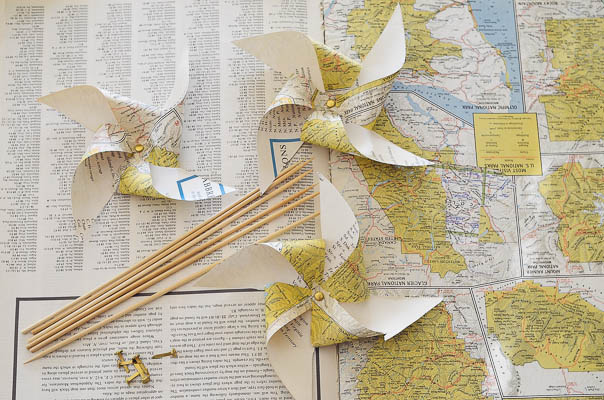
This time, West Elm San Diego is extending the welcome to your littles!  I will have a special DIY craft for kids (teaser below!).  They will be so thrilled with it and can put right in their yard at home to welcome the new season.

For everyone else, I have some fun DIY drink garnishes and garlands that will be sure to put a smile on your guest’s faces and yours too!

Also, I will be sharing some fun Spring cocktails and mocktails for you to taste with one of my favorite drink ingredients lately, grapefruit!  It’s time to add a few new things to your summer entertaining menu!

Where: West Elm San Diego

When: April 10th from 6pm to 8pm

RSVP by commenting below.

It’s going to be awesome plus you can check out the new West Elm Market, which is amazing.  There are so many things that I have my eye on like, these and this.

I’m excited to meet many of you there!  Bring your kids!

Who’s in?

Not in San Diego?  Check with your local West Elm to see if they are hosting the same event!

pinwheel-4


Let’s Throw a Party: How to make a banner for a cake

cakebanner

I love to throw parties.

I love the planning, the shopping, the excitement on everyone’s faces, the DIY creating, and the cooking.  My husband has become very patient with me throughout the process in which I plan a party and I might even say he gets a little excited…a little.  Maybe he’s just become really good at pretending to be excited.  In any case, I love the whole process.

Most parties I throw, I never end up having pictures from because I’m usually putting it all together.  I’m trying to be better at catching little snapshots here and there to share like this DIY birthday banner.

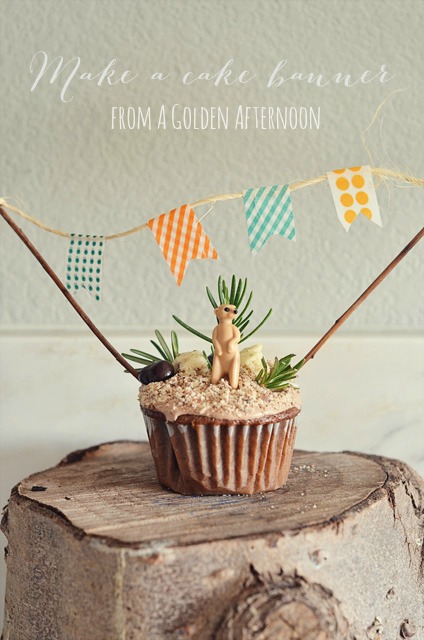
This banner is super-easy and very fast to make.  My littlest, Dean, wanted a meerkat party (incredibly common) so I threw together these chocolate cupcakes with chocolate frosting, crumbled graham crackers for dirt, and a little meerkat on top with some rosemary shrubbery.

It was a hit!

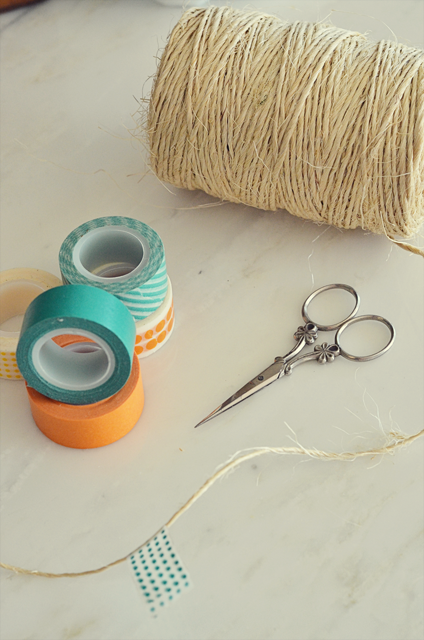
Banner materials:

twine or string

washi or paper tape

skewers or twigs

scissors
Start by measuring the amount of twine you want to hang across your cake or cupcake.  I like mine to hang out to the side for a more whimsical look.
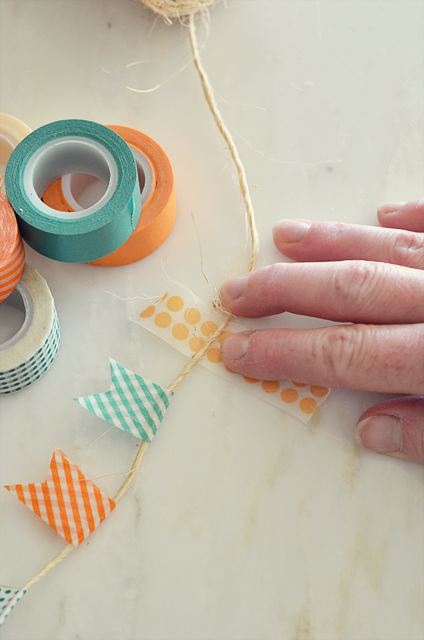
Next, pick the repeating color order you want the tape to appear in and start tearing 1 1/2 inch pieces off.   Put the twine in the middle of the sticky side and fold over, meeting the ends of the tape.

(Also, those are totally my 29 year-old hands and not my Grandma’s…I blame the gardening.)
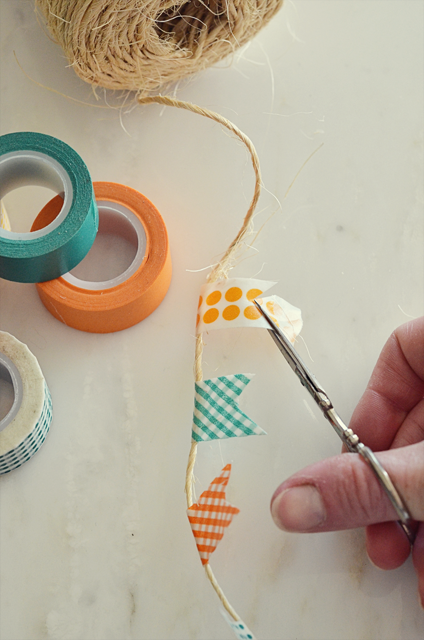
Next, snip a triangle on the end, making a cute little flag.  You could also keep them square or make them into triangles.
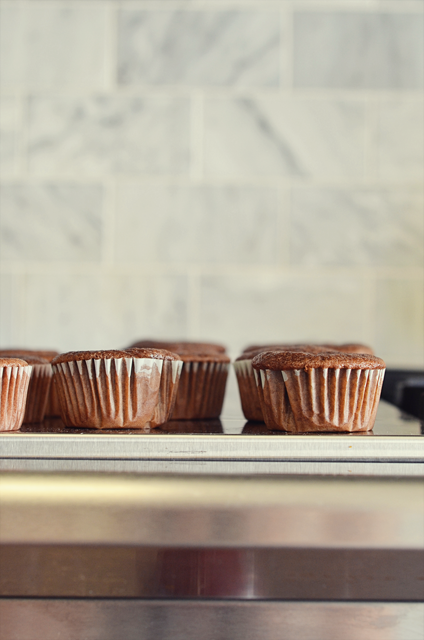
Now, get your cake.  My sister turned me on to Thomas Keller’s chocolate cake and frosting recipe a few years ago like I used in these owl cupcakes.  You can find it in his Ad Hoc cookbook.  So good and the only recipe I’ve ever tried that is moist like boxed cakes!
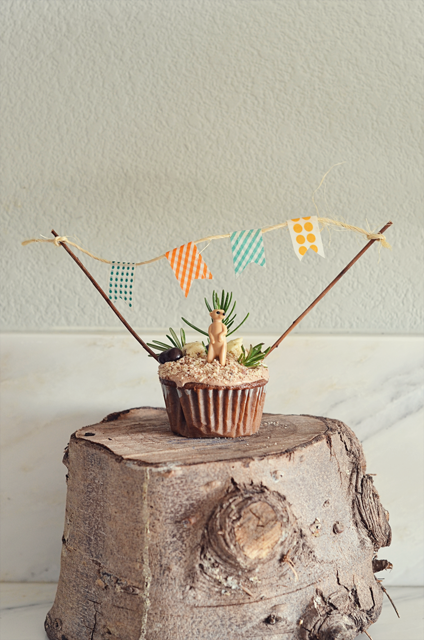
Lastly, tie the ends of the twine onto the sticks/skewers and place at an angle in the cake for a cute DIY birthday banner!  Twigs are my favorite trick for making easy and FREE touches to any cake.  You can also use paper and just glue the pieces over the twine for the banner.  These are fun because you can add words or names!

Now, if you ever have to throw a meerkat party, you will have at least one things to make! haha.

Anyone planning a party? :)

If you liked what you see, stick around and find me on:

F a c e b o o k  //  T w i t t e r  //  P i n t e r e s t  //  I n s t a g r a m  //  E m a i l


How I get stuff done

DSC_24716

However good or bad they are, we all have our own systems that we use to get stuff done.  By no means do I think I have mastered the art of efficiency, but I’m trying!

My friend Deborah, from My life at Playtime, asked me a few questions for her series, “New To Me Blogs”.

The questions relate to efficiency or getting things done.

Go check them out here on her blog!

Thanks for having me, Deborah!

Travel: Sea World

DSC_2950

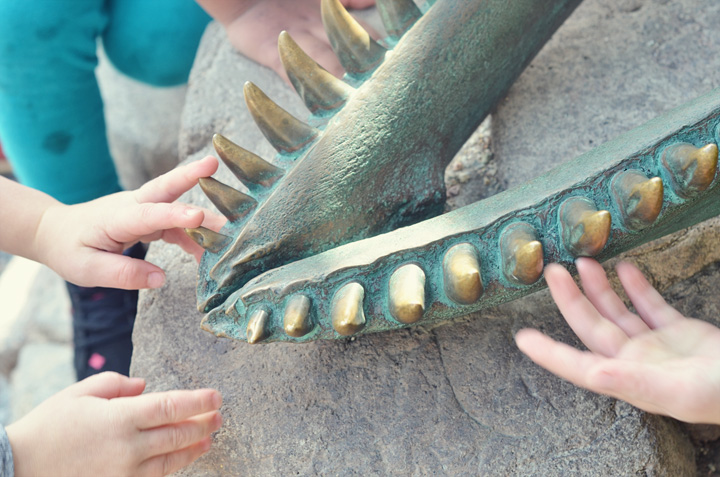
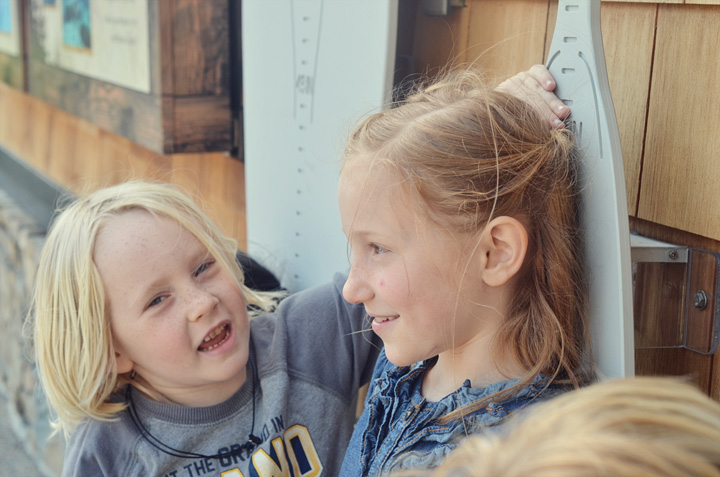
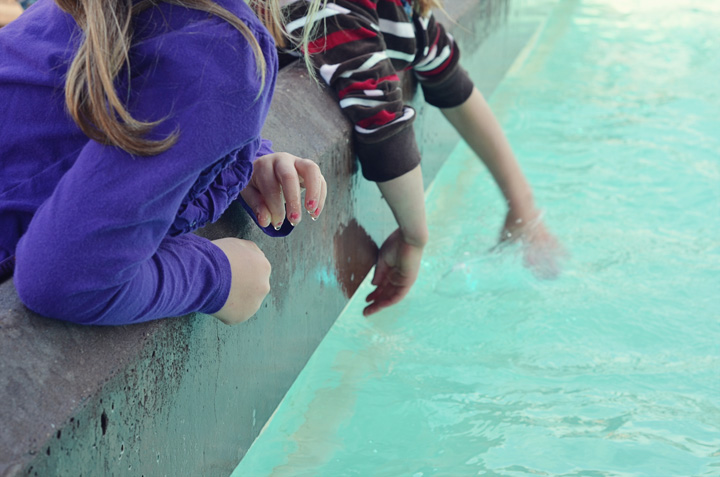
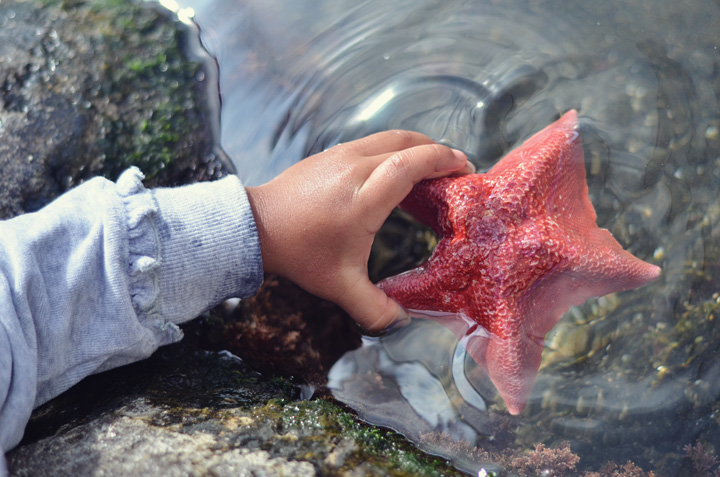
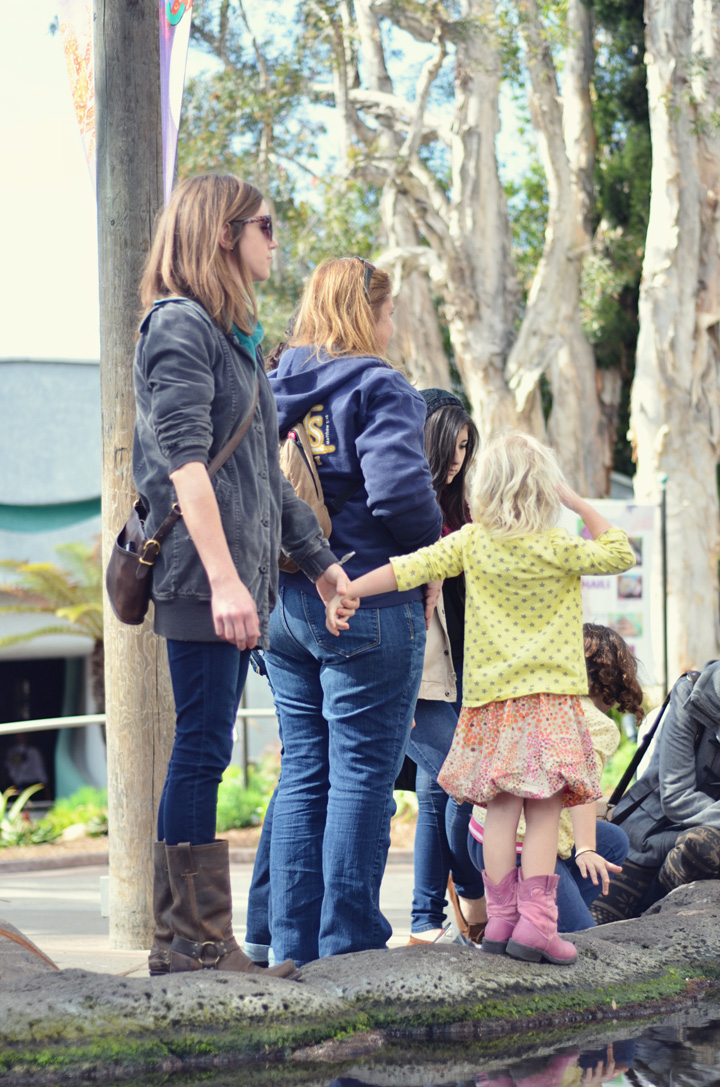
Sometimes it’s just nice to escape cleaning your room and doing your math worksheet to just enjoy what nature has to offer.  God has given us so many awesome, intricate, hilarious, and inspiring animals to look at in this world.  At Sea World San Diego, homeschoolers are very welcome.  They give us a special day, a few times a year, to roam around for $6 (amazing!) and soak in the wonders.  I’m so thankful for opportunities like this for my kiddos…and I kinda have fun too.  Check the site to see if they offer it in your area and check here for San Diego dates and info!  You’ll love it!

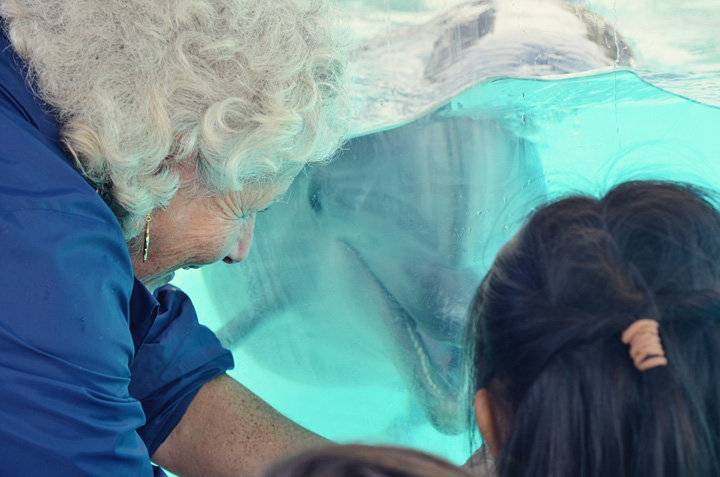
This time, we had a little foster girl with us who ended up staying with us for a month.  Seeing her face light up with all of  her new discoveries was amazing.  It was a little rough to take all 4 by myself, considering this sweet little girl knows no boundaries, but I’m glad I took her.  One of my favorite moments was when she stood eye to eye with a dolphin after a lady showed her how she calls the dolphins over.  Apparently, this lady is a frequent visitor of these mammals so they recognize her.

 So sweet.

DSC_2913

DSC_2916

DSC_2785DSC_2890

DSC_2869DSC_2903DSC_2871DSC_2758

DSC_2735DSC_2741DSC_2772DSC_2878

Sweets: Nutella Heart Poptarts

11

We love Nutella.

We love hearts.

We love pop-tarts.

Now, they have been brought together as one.  It’s a good day.

I’ve made Nutella pop-tarts before here, but the heart really gives it that sweet touch (sweet tasting and also sweet looking…har har).

Nutella Heart Pop-tarts

1  recipe for pie crust dough or a prepared pie crust, split in 2

Nutella

1 egg, beaten

crystallized sugar for sprinkling

Heart-shaped cookie cutter

Roll one part of the pie dough out until it’s 1/4 inch thick.  Cut the heart shapes out and then place them on a cookie sheet.  They need to be far enough away to allow for you to seal the edges with a fork.  They won’t rise much so you don’t need to worry about allowing spacing for that.  Spread the filling over the hearts , leaving 1/4 space on the edges for sealing.  Place an additional heart over the heart with the filling on it.  Then, seal the edges all the way around with a fork.  Brush the hearts with the beaten egg and sprinkle with sugar.  Bake for 10-15 minutes or until brown.  The time will depend on the size of the hearts.

Share the love!

15121314

If you liked what you see, stick around and find me on:

F a c e b o o k  //  T w i t t e r  //  P i n t e r e s t  //  I n s t a g r a m  //  E m a i l
Page 17 of 54« First...10...1516171819...304050...Last »